
Benefits of Moving Phone Storage to an SD Card
Moving your phone storage to an SD card can offer numerous advantages, making it a practical solution for many smartphone users. Here are some key benefits to consider:
-
Increased Storage Space: One of the most significant advantages of using an SD card is the ability to expand your phone's storage capacity. This is particularly beneficial for individuals who frequently capture photos and videos, download apps, or store large files on their devices. By transferring data to an SD card, you can free up valuable internal storage space and avoid running out of room for new content.
-
Enhanced Performance: When you move apps and media files to an SD card, you can potentially improve your phone's overall performance. This is especially true for devices with limited internal storage, as offloading data to an external card can help alleviate the burden on the internal memory, leading to smoother operation and faster access to apps and files.
-
Portability and Backup: SD cards are portable and can serve as a convenient backup solution for your important data. If you ever need to switch to a new phone or perform a factory reset, having your data stored on an SD card ensures that you can easily transfer it to another device without losing valuable information. Additionally, if your phone malfunctions, having data backed up on an SD card provides an extra layer of security.
-
Flexibility and Customization: By utilizing an SD card, you gain the flexibility to organize your data as you see fit. Whether it's creating specific folders for photos, videos, or documents, or categorizing apps based on usage or importance, an SD card allows you to customize your storage arrangement according to your preferences.
-
Cost-Effective Solution: Purchasing an SD card is often more cost-effective than buying a phone with larger internal storage capacity. Instead of investing in a pricier device, you can simply buy an SD card to expand your storage, saving money while still meeting your storage needs.
Incorporating an SD card into your phone's storage strategy can bring about several practical benefits, from increased space and improved performance to enhanced flexibility and cost savings. Understanding these advantages can help you make an informed decision about whether moving your phone storage to an SD card is the right choice for you.
How to Check If Your Phone Supports SD Card
Before you proceed with moving your phone storage to an SD card, it’s essential to confirm whether your device supports this external storage option. Here’s how you can check if your phone is compatible with an SD card:
-
Refer to the Device Manual or Manufacturer’s Website: Start by consulting your phone’s user manual or visiting the manufacturer’s website to review the specifications of your device. Look for information related to external storage options, including SD card compatibility and supported card capacities. Manufacturers often provide detailed guidelines on expanding storage using an SD card.
-
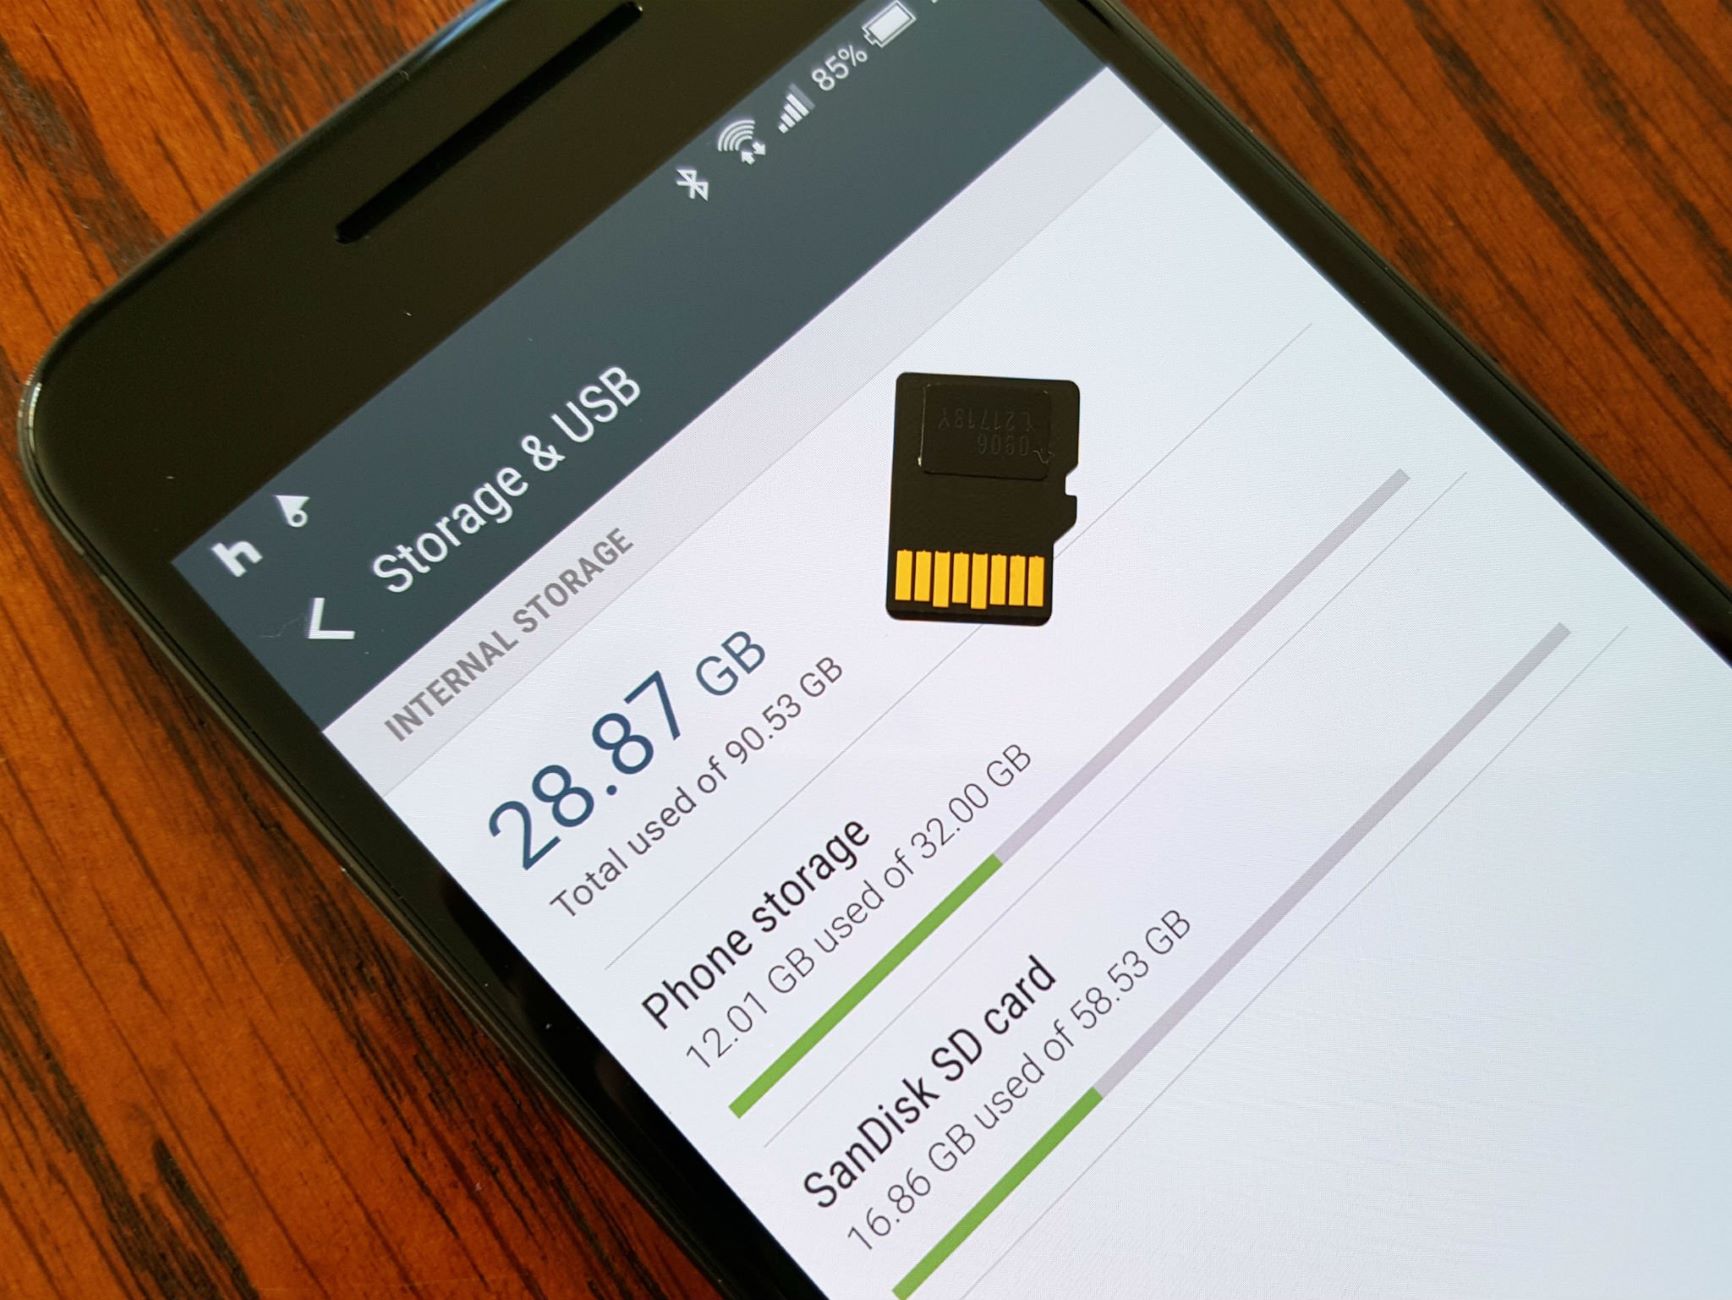
Check the Phone’s Settings: Navigate to your phone’s settings menu and look for the “Storage” or “Memory” section. Within this menu, you should find details about the current storage capacity, as well as any available options for expanding storage using an SD card. Some devices may also include a specific “SD Card” section within the settings, allowing you to view and manage external storage options.
-
Inspect the Physical Hardware: If you’re unsure about your phone’s compatibility with an SD card, you can physically inspect the device for an SD card slot. Most smartphones feature a small slot, often located near the SIM card tray, where you can insert an SD card. If your phone has this slot, it’s a strong indication that the device supports external storage expansion.
-
Online Research and Community Forums: Utilize online resources such as tech forums, community websites, and smartphone review platforms to gather insights from other users who may have experience with your specific phone model. Engaging in discussions and seeking advice from the tech community can provide valuable information about SD card compatibility and potential limitations.
By exploring these methods, you can determine whether your phone supports an SD card and gain a clearer understanding of the available storage expansion options. This initial assessment is crucial in ensuring that you can proceed with confidence when considering the use of an SD card to augment your phone’s storage capacity.
How to Insert an SD Card into Your Phone
Inserting an SD card into your phone is a straightforward process that typically involves a few simple steps. Here’s a guide to help you seamlessly add an SD card to your device:
-
Locate the SD Card Slot: Begin by identifying the location of the SD card slot on your phone. The slot is usually situated near the SIM card tray and may be concealed by a small cover. Some phones have a designated slot for the SD card, while others may require you to insert the card into the same tray as the SIM card.
-
Power Off Your Phone: Before inserting the SD card, it’s advisable to power off your phone to prevent any potential damage to the device or the card. Turn off the phone and wait for it to completely shut down before proceeding to the next step.
-
Remove the SIM Card Tray: If the SD card slot is located within the SIM card tray, use the ejector tool or a small pin to gently push the SIM card tray’s release button. Once the tray is partially ejected, carefully remove it from the phone to access the slot where the SD card will be inserted.
-
Insert the SD Card: Take the SD card and orient it correctly according to the markings on the tray or the slot. Carefully slide the card into the designated slot, ensuring that it fits securely and aligns with the guide rails. Exercise caution to avoid applying excessive force or inserting the card in the wrong direction.
-
Reinsert the SIM Card Tray: If you removed the SIM card tray to access the SD card slot, gently reinsert the tray back into the phone, ensuring that it aligns properly with the device’s frame. Apply gentle pressure to secure the tray in place, taking care not to dislodge the SD card in the process.
-
Power On Your Phone: Once the SD card is securely inserted, power on your phone to initiate the recognition and configuration of the newly added storage. Your device should detect the SD card and prompt you to set it up for use, allowing you to format the card and designate its primary function.
Following these steps will enable you to seamlessly insert an SD card into your phone, expanding your device’s storage capacity and providing a convenient solution for managing your data and media content.
How to Move Apps to SD Card
Transferring apps to an SD card can be a practical way to free up internal storage space on your phone. However, not all apps are eligible for this transfer, and the process may vary based on your device and Android version. Here’s a general guide to moving apps to an SD card:
-
Check App Compatibility: Start by determining which of your installed apps are eligible for transfer to the SD card. To do this, navigate to your phone’s settings, select “Apps” or “Applications,” and then choose an app from the list. If the option to move the app to the SD card is available, you will find it within the app’s details or storage settings.
-
Access the App Settings: Once you’ve identified an app that can be moved to the SD card, open its settings and look for the “Storage” or “Memory” option. Within this section, you should find the choice to change the app’s storage location from internal storage to the SD card.
-
Initiate the Transfer: Select the option to move the app to the SD card, and follow the on-screen prompts to confirm the transfer. Depending on your device and Android version, you may be able to move the entire app or specific data associated with the app, such as offline content or media files.
-
Monitor the Transfer Progress: Once the transfer process begins, monitor the progress to ensure that the app and its associated data are successfully moved to the SD card. Depending on the app’s size and the speed of your SD card, the transfer may take a few moments to complete.
-
Verify App Functionality: After the transfer is complete, verify that the app functions as expected from the SD card. In some cases, moving an app to external storage may slightly impact its performance, so it’s essential to confirm that the app operates seamlessly from the new storage location.
It’s important to note that while moving apps to the SD card can free up internal storage, certain apps may not function optimally from external storage, and some devices may have limitations on which apps can be transferred. Additionally, newer Android versions may offer alternative methods for managing app storage, so it’s advisable to explore the specific options available on your device to optimize app management and storage utilization.
How to Move Photos and Videos to SD Card
Transferring photos and videos to an SD card is an effective way to free up space on your phone’s internal storage while ensuring that your media files remain easily accessible. Here’s a step-by-step guide to help you move your photos and videos to an SD card:
-
Access the File Manager: Begin by opening the file manager app on your phone. This app may be named “Files,” “File Manager,” or something similar, and it allows you to navigate through your device’s storage to manage files and folders.
-
Locate Your Media Files: Once you’re in the file manager, navigate to the location where your photos and videos are stored. This is typically the “Pictures” or “Camera” folder for photos and the “Videos” folder for video files. You may also have media stored in other directories or within specific app folders.
-
Select the Files to Transfer: Tap and hold on a photo or video to initiate the selection process. Once the file is selected, you can continue to tap on additional files to add them to the selection. Alternatively, some file managers allow you to select all files within a folder at once.
-
Choose the “Move” or “Copy” Option: After selecting the files, look for an option to “Move” or “Copy” the files to another location. Select this option and proceed to choose the destination for the files, which will be the SD card. Depending on your file manager, you may need to navigate to the SD card directory or select it as the destination for the transfer.
-
Confirm the Transfer: Once you’ve chosen the SD card as the destination, confirm the transfer to initiate the process of moving or copying the selected photos and videos to the external storage. Depending on the number and size of the files, the transfer may take some time to complete.
-
Verify the Transfer: After the transfer is complete, navigate to the SD card using the file manager to ensure that your photos and videos have been successfully moved. Open the respective folders on the SD card to confirm that the transferred files are accessible and intact.
By following these steps, you can efficiently relocate your photos and videos to the SD card, freeing up space on your phone and organizing your media content for easy access. This method offers a practical solution for managing your multimedia files while optimizing your device’s internal storage capacity.
How to Set SD Card as Default Storage
Setting your SD card as the default storage location for various types of data, such as photos, videos, and app installations, can help streamline your device’s storage management. While the process may vary depending on your device and Android version, the following general steps can guide you through the process:
-
Access the Settings Menu: Begin by opening the settings app on your phone. The settings icon is typically represented by a gear or cogwheel and can be found on your home screen or in the app drawer.
-
Navigate to Storage Settings: Within the settings menu, look for the “Storage,” “Storage & USB,” or “Device Care” option. This section provides access to storage-related settings and allows you to manage your device’s storage options.
-
Locate the Default Storage Settings: Once you’re in the storage settings, search for an option that allows you to set the default storage location. This may be listed as “Default Storage,” “Storage Settings,” or “Storage Preferences.” Some devices may have specific sections for setting default storage for different types of data, such as photos, videos, or apps.
-
Select the SD Card as Default: Within the default storage settings, you should see the option to choose the default storage location for various types of data. When setting the default storage for photos, videos, or media, you can typically select the SD card as the preferred location. For app installations, there may be a separate option to designate the SD card as the default installation location.
-
Confirm the Changes: After selecting the SD card as the default storage for the relevant data types, proceed to confirm the changes. Depending on your device, you may be prompted to confirm the selection or to acknowledge that future data will be stored on the SD card by default.
-
Verify Default Storage Settings: Once you’ve set the SD card as the default storage, navigate through your device’s storage settings to verify that the changes have been applied. You should see the SD card listed as the default storage location for the selected data types, indicating that new data will be stored on the external storage by default.
By following these general steps and exploring the specific storage settings on your device, you can effectively set the SD card as the default storage location for photos, videos, and apps, optimizing your device’s storage utilization and streamlining data management.
Things to Consider Before Moving Storage to SD Card
Before making the decision to move your phone’s storage to an SD card, it’s important to take several factors into consideration to ensure that this transition aligns with your specific needs and device capabilities. Here are key considerations to ponder:
-
Device Compatibility: Verify that your phone supports the use of an SD card for storage expansion. Not all devices are equipped with an SD card slot, and some newer models may have limited support for external storage. Review your device’s specifications and consult the manufacturer’s guidelines to confirm compatibility.
-
SD Card Speed and Capacity: When selecting an SD card, consider both its speed class and storage capacity. Opt for a high-speed card, such as Class 10 or higher, to ensure optimal performance, especially if you intend to store apps or capture high-resolution media. Additionally, choose a card with sufficient capacity to accommodate your storage needs without frequent data management.
-
App Compatibility and Performance: Not all apps are designed to run from an SD card, and some may experience reduced performance when operated from external storage. Before moving apps to the SD card, research their compatibility and assess potential impacts on performance to ensure a seamless user experience.
-
Data Transfer and Backup: Prior to moving data to the SD card, it’s advisable to back up essential files and media to prevent data loss during the transfer process. Create a backup of important photos, videos, documents, and app data to safeguard your information in the event of any unforeseen issues during the storage migration.
-
File Organization and Accessibility: Consider how you intend to organize and access data stored on the SD card. Establish a clear file structure and labeling system to facilitate easy navigation and retrieval of files. Additionally, ensure that your device’s apps and media players can seamlessly access and utilize content stored on the SD card.
-
Long-Term Storage Management: Evaluate your long-term storage needs and the potential growth of your data collection. Anticipate future storage requirements and assess whether an SD card offers a sustainable solution for accommodating your expanding data without compromising device performance or convenience.
By carefully evaluating these considerations, you can make an informed decision about whether moving your phone’s storage to an SD card is a suitable and beneficial option for optimizing your device’s storage capacity and enhancing your overall user experience.
How to Safely Remove an SD Card from Your Phone
Properly removing an SD card from your phone is essential to prevent data corruption and physical damage to the card. Follow these steps to safely remove an SD card from your device:
-
Power Off Your Phone: Before removing the SD card, power off your phone to ensure that all data transfers and write operations to the card are completed. This helps prevent potential data corruption or loss.
-
Locate the SD Card Slot: Identify the location of the SD card slot on your phone. The slot is typically located near the SIM card tray and may have a small icon or label indicating its presence.
-
Eject the SD Card Tray: If your phone has a removable tray for the SD card, use the ejector tool or a small pin to gently push the tray’s release button. The tray will partially eject, allowing you to carefully remove it from the phone.
-
Remove the SD Card: Once the tray is accessible, carefully extract the SD card from the tray by gently pressing it to release the locking mechanism. Handle the card with care, avoiding excessive bending or touching the metal contacts.
-
Inspect the SD Card and Slot: After removing the SD card, inspect it for any signs of physical damage, such as scratches or bends. Additionally, check the SD card slot in your phone to ensure that there is no debris or foreign objects that may interfere with future insertions.
-
Secure the SD Card: Store the removed SD card in a protective case or sleeve to shield it from physical damage and environmental factors. This ensures that the card remains safe and ready for future use.
-
Reinsert the SD Card Tray: If you’re not immediately reinserting the SD card into your phone, carefully place the tray back into the device to prevent misplacement or damage. Ensure that the tray aligns properly with the phone’s frame and is securely seated.
-
Power On Your Phone: Once the SD card has been safely removed, power on your phone to resume normal operation. With the SD card removed, your device will automatically adjust its storage configuration to accommodate the absence of the external storage.
By following these steps, you can safely remove an SD card from your phone, minimizing the risk of data loss, physical damage, or operational issues. Practicing proper SD card handling and removal procedures helps maintain the integrity of your data and ensures the longevity of the external storage device.