
Checking Available Storage Space
Checking Available Storage Space
Before transferring pictures from your phone’s internal storage to the SD card, it’s essential to ensure that there is sufficient space on the SD card. This simple step can prevent any potential issues during the transfer process.
Here’s how you can check the available storage space on your phone and SD card:
- Navigate to Settings: Open the settings app on your phone.
- Find Storage: Look for the "Storage" or "Storage & USB" option in the settings menu and tap on it.
- Check SD Card Storage: Under the storage settings, you should see the option to view the available space on your SD card. Tap on the SD card storage to see the details.
- Check Internal Storage: Similarly, you can also check the available space on your phone's internal storage by navigating back to the storage settings.
By following these steps, you can easily determine whether there is enough space on your SD card to accommodate the pictures you intend to transfer. If the available space is insufficient, consider freeing up space by deleting unwanted files or transferring them to another storage location.
Ensuring adequate space on the SD card before initiating the transfer process can help prevent interruptions and errors, allowing for a smooth and efficient transfer of your precious pictures.
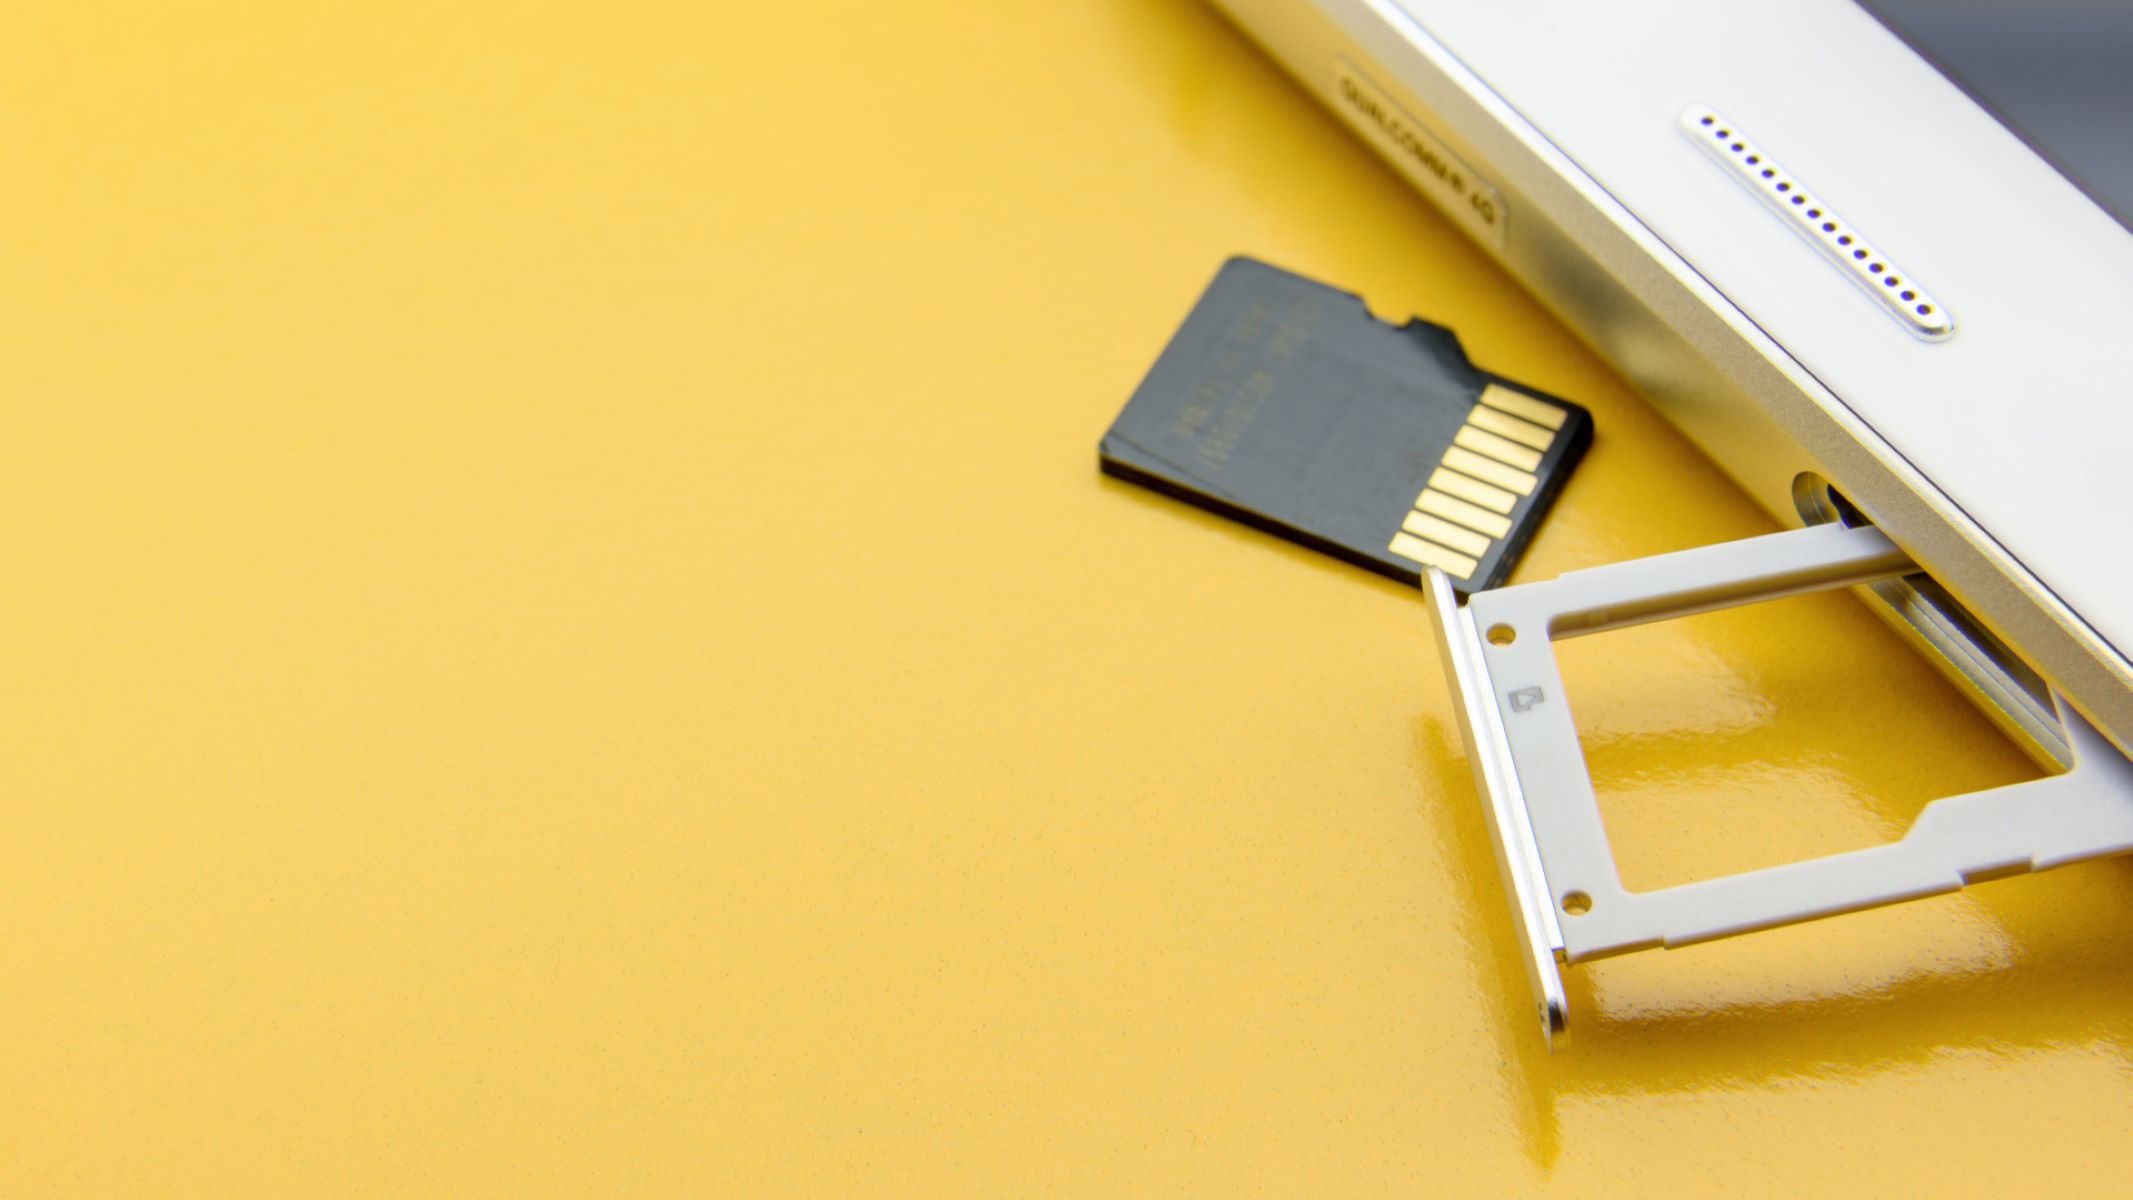
Inserting the SD Card
Before you can transfer pictures from your phone’s internal storage to the SD card, it’s crucial to ensure that the SD card is properly inserted and recognized by your device. Here’s a step-by-step guide to help you insert the SD card:
- Power Off Your Device: To prevent any potential damage to the SD card or your device, it’s advisable to power off your phone before inserting or removing the SD card.
- Locate the SD Card Slot: Depending on your device model, the SD card slot may be located on the side, back, or underneath the battery cover. Refer to your device’s user manual or online resources to identify the precise location.
- Insert the SD Card: Carefully insert the SD card into the designated slot, ensuring that it is oriented correctly. Most devices have markings to indicate the proper orientation of the SD card. Gently push the card into the slot until it clicks into place.
- Power On Your Device: After securely inserting the SD card, power on your device. Once your phone has booted up, it should recognize the SD card and make it available for use.
- Verify SD Card Recognition: To confirm that the SD card has been successfully recognized, you can navigate to the storage settings in your device’s settings menu and check if the SD card’s storage capacity is displayed.
By following these steps, you can ensure that the SD card is correctly inserted and ready to be utilized for storing and transferring pictures. Properly inserting the SD card is a fundamental prerequisite for seamless picture transfer and storage management on your mobile device.
Transferring Pictures Manually
When it comes to transferring pictures from your phone’s internal storage to the SD card, manual transfer provides a straightforward method to manage your media files. Follow these steps to manually transfer pictures:
- Open the File Manager: Navigate to the file manager app on your device. Most Android devices come pre-installed with a file manager, and you can also download third-party file manager apps from the Google Play Store.
- Select Pictures to Transfer: Once in the file manager, locate the folder containing the pictures you wish to transfer. Tap and hold on a picture to select it. You can then select multiple pictures by tapping on each one.
- Choose the SD Card Location: After selecting the pictures, look for the option to "Move" or "Copy" within the file manager app. Tap on this option and navigate to the directory on the SD card where you want to transfer the pictures.
- Confirm the Transfer: Once you have chosen the destination on the SD card, tap "Paste" or the equivalent action to initiate the transfer process. The selected pictures will then be transferred from the internal storage to the SD card.
By manually transferring pictures, you have direct control over which files are moved to the SD card, allowing for a more personalized approach to managing your media. This method is particularly useful when you want to selectively transfer specific pictures or organize them into custom folders on the SD card.
Manual transfer also provides an opportunity to review and organize your pictures as you move them, ensuring that they are neatly arranged and easily accessible on the SD card. This hands-on approach to picture transfer empowers you to curate your media collection according to your preferences and storage requirements.
Using File Manager Apps
File manager apps offer a convenient and user-friendly way to manage and transfer pictures between your phone’s internal storage and the SD card. These apps provide a range of features that simplify the process of organizing and moving files. Here’s how you can utilize file manager apps to transfer pictures:
- Download a File Manager App: If your device does not have a pre-installed file manager or if you prefer additional features, explore the Google Play Store to find and download a file manager app that suits your preferences.
- Open the File Manager: Once you have installed a file manager app, launch it from your device’s app drawer or home screen. The app will provide an intuitive interface for navigating and managing your files.
- Navigate to the Pictures: Locate the folder containing the pictures you want to transfer within the file manager app. You can browse through your device’s internal storage to find the desired pictures.
- Select and Transfer: Tap and hold on the pictures you wish to transfer, and look for options such as "Move" or "Copy" within the file manager app. Choose the destination folder on the SD card and initiate the transfer process.
File manager apps often offer additional functionalities such as batch file operations, built-in image viewers, and the ability to create new folders, providing a comprehensive solution for managing your media files. These apps empower you to efficiently organize and transfer pictures while offering a visual and interactive interface for file management.
By leveraging the capabilities of file manager apps, you can streamline the process of transferring pictures, ensuring that your media files are neatly organized and readily accessible on the SD card. The intuitive nature of these apps simplifies the management of pictures, allowing you to maintain a well-structured media library on your device.
Setting the Default Storage Location
Setting the default storage location for your pictures can streamline the process of capturing and saving images directly to the SD card, eliminating the need for manual transfers. Many Android devices offer the flexibility to designate the SD card as the default storage location for various types of media, including pictures. Here’s how you can set the default storage location:
- Access the Camera Settings: Open the camera app on your device and access the settings menu. The location of the settings may vary depending on the camera app’s interface, but it is typically represented by a gear or cog icon.
- Locate Storage Options: Within the camera settings, look for options related to storage or storage location. Some devices may label this option as "Storage" or "Storage location." Tap on this option to proceed.
- Choose the SD Card: If the option is available, select the SD card as the default storage location for pictures. This setting ensures that any new pictures captured with the device’s camera will be automatically saved to the SD card.
- Confirm the Setting: Once you have designated the SD card as the default storage location, exit the camera settings. Any subsequent pictures you capture will be saved directly to the SD card, reducing the need for manual transfers from the internal storage.
By setting the default storage location to the SD card, you can optimize the use of available storage space and simplify the management of pictures on your device. This approach minimizes the effort required to transfer pictures manually and ensures that newly captured images are seamlessly stored on the SD card.
Additionally, setting the default storage location can be particularly beneficial for users who frequently capture a large number of pictures and wish to conserve the internal storage capacity of their devices. This feature empowers you to harness the expansive storage capabilities of the SD card for your media needs, enhancing the overall usability and efficiency of your device.
Organizing Pictures on the SD Card
Once you have transferred pictures to the SD card, organizing them effectively can enhance accessibility and streamline your media management. By creating a well-structured system for storing and categorizing your pictures, you can easily locate specific images and maintain a cohesive media library. Here are some strategies for organizing pictures on the SD card:
- Create Folders: Use your device’s file manager or a dedicated photo management app to create folders on the SD card. Organize the folders based on themes, events, or any classification that suits your preferences.
- Sort by Date or Event: Consider sorting your pictures within each folder based on the date they were taken or the event they depict. This approach can help you quickly navigate through your collection and locate specific images with ease.
- Add Descriptive Titles: When naming your picture folders or individual images, use descriptive titles that provide context or information about the contents. This can be especially helpful for large collections of pictures.
- Utilize Subfolders: If you have a substantial number of pictures within a specific category, consider creating subfolders to further organize the content. This hierarchical structure can prevent clutter and simplify navigation.
- Regular Maintenance: Periodically review and organize your picture folders to ensure that new additions are appropriately categorized. This practice can prevent disorganization and maintain a well-arranged photo library.
By implementing these organizational strategies, you can optimize the arrangement of pictures on your SD card, facilitating efficient browsing and retrieval of specific images as and when needed. A well-organized photo collection contributes to a seamless and enjoyable user experience, allowing you to relive cherished memories and easily share your pictures with others.
Furthermore, organizing pictures on the SD card can enhance your overall device management, as it contributes to a more structured and manageable storage environment. Whether you’re a photography enthusiast, a casual picture-taker, or someone who values a well-organized digital archive, these practices can significantly improve your media management experience.