
Understanding External Storage on iPad or iPhone
When it comes to expanding the storage of your iPad or iPhone, external storage devices can be a game-changer. They allow you to store and access large files, such as photos, videos, documents, and more, without taking up precious internal storage space.
External storage on iPad or iPhone is made possible through the use of various devices, including USB flash drives, external hard drives, SD or MicroSD cards, and portable SSDs. These devices offer different storage capacities and connect to your device using different methods.
One important thing to note is that the use of external storage depends on the iOS version running on your iPad or iPhone. With the release of iOS 13 and later, Apple introduced improved support for external storage devices, allowing users to connect and access files effortlessly.
External storage devices provide a convenient way to transfer files between your computer and iOS device. They also offer additional storage space for media files, allowing you to capture more photos or videos without worrying about running out of storage.
It is important to keep in mind that external storage devices may require specific apps or file formats to work seamlessly with your iPad or iPhone. For example, some devices may require you to download a companion app from the App Store, while others may support popular file formats like JPEG, MP4, or PDF.
Furthermore, external storage devices may have limitations on file sizes, supported formats, or the number of files that can be transferred at once. It is essential to review the specifications of your chosen device to ensure compatibility and a smooth user experience.
Overall, understanding external storage options for iPad or iPhone allows you to take full advantage of the device’s capabilities and overcome storage limitations. Whether you need additional space to save important documents, high-quality videos, or a large music library, external storage provides a practical solution for managing your files on the go.
Using USB Flash Drives on iPad or iPhone
USB flash drives are a popular choice for expanding the storage of your iPad or iPhone. These small and portable devices offer quick and easy file transfer capabilities, allowing you to access your files on the go.
To use a USB flash drive with your iPad or iPhone, you will need a Lightning to USB adapter or a USB-C to USB adapter, depending on the port available on your device. Simply connect the adapter to your device’s charging port and plug the USB flash drive into the adapter.
Once connected, your iPad or iPhone will recognize the USB flash drive as an external storage device. You can then navigate to the Files app, which is pre-installed on iOS devices, and access the contents of the USB flash drive.
The Files app provides a user-friendly interface for managing files stored on external devices. You can view, copy, move, and delete files directly within the app. Additionally, the app supports various file formats, allowing you to open and edit documents, photos, videos, and more.
Transferring files between your device and the USB flash drive is as simple as dragging and dropping files within the Files app. You can create folders to organize your files and easily locate them when needed.
It is worth noting that the read and write speeds of USB flash drives may vary depending on the device and the file being transferred. Larger files may take longer to transfer, so it is recommended to keep this in mind when managing your files.
When you’re finished using the USB flash drive, it’s important to eject it properly from your iPad or iPhone. This can be done by tapping on the “Eject” button next to the USB flash drive in the Files app. This ensures that all data has been properly written to the device and prevents any potential data loss.
Overall, using USB flash drives on your iPad or iPhone provides a convenient and portable way to expand your storage and transfer files. Whether you need to carry important documents, music, videos, or photos, USB flash drives offer a practical solution for managing your files on the go.
Connecting External Hard Drives to iPad or iPhone
External hard drives are a great option for expanding storage on your iPad or iPhone, especially if you need to store large files or have a significant amount of data. With the right adapter and a compatible external hard drive, you can easily connect and access your files on the go.
To connect an external hard drive to your iPad or iPhone, you will need either a Lightning to USB adapter or a USB-C to USB adapter, depending on your device’s port. Once you have the appropriate adapter, simply connect it to your iPad or iPhone’s charging port.
Next, connect the external hard drive to the adapter using a USB cable. Your device will automatically recognize the external hard drive as an additional storage device. You can access it through the Files app or any other file management app that supports external drives.
When connected, you can browse the contents of your external hard drive and manage files just like you would on your device’s internal storage. You can copy, move, delete, or even open files directly from the external hard drive.
It’s important to note that not all external hard drives are compatible with the iPad or iPhone. Ensure that the hard drive you choose is designed for iOS devices and has the necessary compatibility. Some external hard drives may require additional power to operate, so it’s advisable to check if the hard drive requires a separate power source or if it can be powered via the adapter.
Transferring files between your device and the external hard drive is straightforward. You can simply drag and drop files within the Files app or use the built-in sharing options in other apps to save files directly to the external hard drive.
After using the external hard drive, always remember to safely eject it from your iPad or iPhone through the Files app. This ensures that all data has been properly written and prevents any potential data loss.
Connecting an external hard drive to your iPad or iPhone offers a reliable and efficient way to expand your storage capacity. Whether you need to store documents, videos, photos, or any other type of file, an external hard drive provides the flexibility and convenience you need.
Transferring Files from External Storage to iPad or iPhone
Transferring files from external storage to your iPad or iPhone is a straightforward process that allows you to access and utilize files on the go. Whether you have photos, videos, documents, or any other type of file, you can easily transfer them from your external storage device to your iOS device.
To transfer files, first, ensure that your external storage device is connected to your iPad or iPhone using the appropriate adapter. Once connected, open the Files app or any other file management app that supports external storage.
Navigate to the folder on your external storage device where the files are located. You can browse through folders and subfolders to locate the specific files you want to transfer.
To transfer a single file, simply tap and hold on the file until a menu appears. From the menu options, select “Copy.” Then, go to the location on your iPad or iPhone where you want to transfer the file to, tap and hold until the menu appears, and select “Paste.”
If you want to transfer multiple files or an entire folder, you can use the same method. Instead of selecting a single file, tap and hold on a file or folder until the multiple selection menu appears. From there, you can select additional files or folders to include in the transfer process.
Once you have selected the files or folders you want to transfer, choose the “Copy” option from the menu. Then, navigate to the destination folder on your iPad or iPhone and select “Paste” to complete the transfer.
The transfer speed may vary depending on the size and number of files being transferred, as well as the speed of your external storage device. Larger files may take longer to transfer compared to smaller files.
It’s important to note that some file formats may require specific apps to open or view them on your iPad or iPhone. Ensure that you have the necessary apps downloaded and installed on your device to access the transferred files.
After the files have been successfully transferred, you can access and utilize them on your iPad or iPhone as you would with any other files stored on your device. They will be accessible through the Files app or other relevant apps.
Transferring files from external storage to your iPad or iPhone provides a convenient way to access and utilize your files on the go. Whether you’re transferring important documents, media files, or any other type of content, this process allows you to seamlessly integrate your external storage with your iOS device.
Transferring Files from iPad or iPhone to External Storage
Transferring files from your iPad or iPhone to external storage is a useful process that allows you to free up space on your device while keeping your important files safe. Whether you want to backup photos, videos, documents, or any other type of file, you can easily transfer them to an external storage device.
To start transferring files, first, ensure that your external storage device is connected to your iPad or iPhone using the appropriate adapter. Once connected, open the Files app or any other file management app that supports your external storage device.
Navigate to the folder on your iPad or iPhone where the files you want to transfer are located. You can browse through folders and subfolders to locate the specific files you wish to transfer.
To transfer a single file, tap and hold on the file until a menu appears. From the menu options, select “Copy.” Then, go to the folder on your external storage device where you want to transfer the file to, tap and hold until the menu appears, and choose “Paste.”
If you want to transfer multiple files or an entire folder, you can use the same method. Instead of selecting a single file, tap and hold on a file or folder until the multiple selection menu appears. From there, select additional files or folders to include in the transfer process.
After selecting the files or folders you want to transfer, choose the “Copy” option from the menu. Then, navigate to the destination folder on your external storage device and select “Paste” to complete the transfer.
It’s important to note that the transfer speed may vary depending on the size and number of files being transferred, as well as the speed of your external storage device. Larger files may take longer to transfer compared to smaller files.
When the transfer process is complete, double-check to ensure that the files have been copied to the external storage device successfully. You can disconnect the external storage device from your iPad or iPhone, safe in the knowledge that your files are securely stored.
To access the transferred files in the future, connect your external storage device back to your iPad or iPhone and open the appropriate file management app. Navigate to the folder where the files are located, and you will be able to access and utilize them on your device.
Transferring files from your iPad or iPhone to external storage provides an effective way to manage your files and free up space on your device. Whether you’re backing up important files or creating more room for new content, this process helps streamline your storage management.
Using SD or MicroSD Cards on iPad or iPhone
SD or MicroSD cards are a versatile option for expanding the storage capacity of your iPad or iPhone. These small, removable cards can be easily inserted into the designated card slot or used with an adapter, offering quick access to additional storage space for your files.
To use an SD or MicroSD card with your iPad or iPhone, you will need an SD card reader that is compatible with the Lightning or USB-C port on your device. Simply connect the card reader to your iPad or iPhone, and then insert the SD or MicroSD card into the reader.
Once connected, your iPad or iPhone will automatically recognize the SD or MicroSD card as additional storage. You can access the contents of the card using the Files app or any other compatible file management app on your device.
The Files app provides a user-friendly interface for managing files on SD or MicroSD cards. You can browse through folders, view, copy, move, or delete files, and create new folders to help organize your files efficiently.
To transfer files from your iPad or iPhone to the SD or MicroSD card, open the Files app and navigate to the file you want to transfer. Tap and hold on the file until a menu appears, then select “Copy.” Next, go to the SD or MicroSD card in the Files app or file management app, tap and hold until the menu appears, and choose “Paste” to complete the transfer.
Similarly, you can transfer multiple files or entire folders to the SD or MicroSD card by selecting them using the multiple selection menu and following the same copy and paste process.
It is important to note that some file formats may require specific apps installed on your iPad or iPhone to open or view them from the SD or MicroSD card. Ensure that you have the necessary apps downloaded and compatible with your device.
When you’re finished using the SD or MicroSD card, it’s important to eject it properly from your iPad or iPhone to prevent data loss. In the Files app, tap on the eject icon next to the SD or MicroSD card to safely remove it from your device.
Using SD or MicroSD cards on your iPad or iPhone offers a convenient way to expand your storage capacity and manage your files. Whether you need additional space for photos, videos, documents, or any other type of file, SD or MicroSD cards provide a portable and accessible solution.
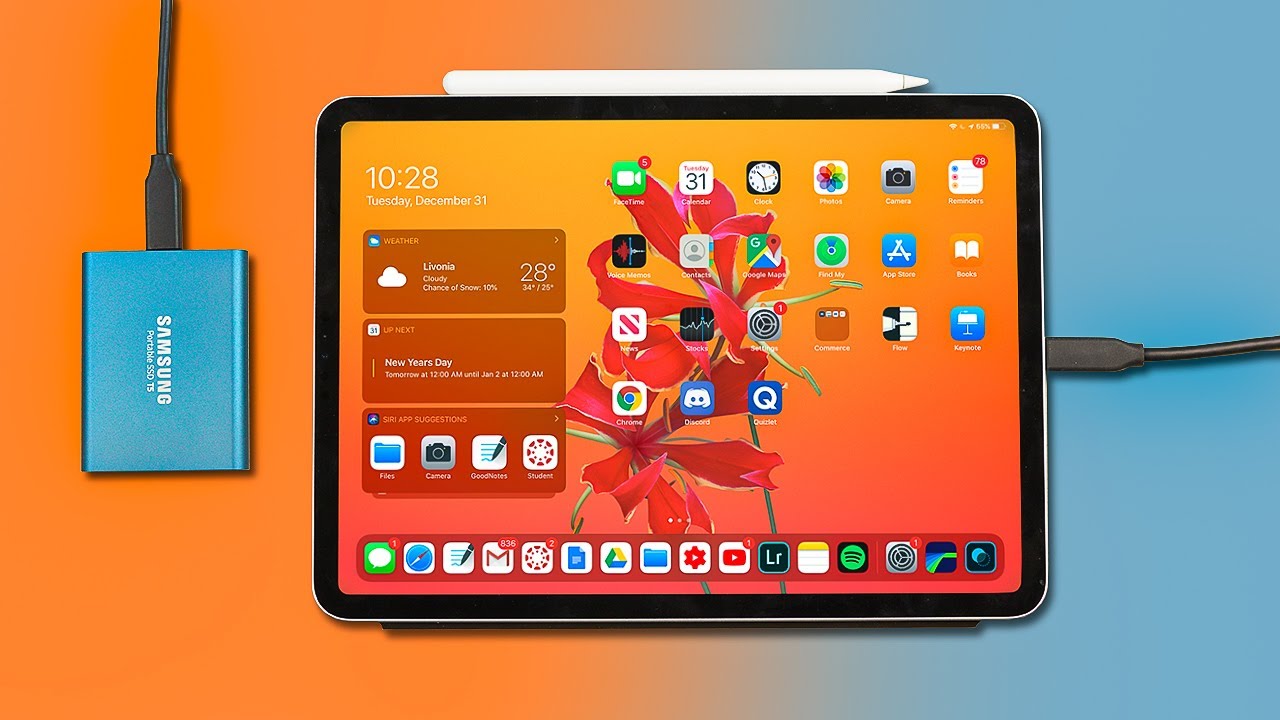
Using Portable SSDs on iPad or iPhone
Portable SSDs (Solid State Drives) are a powerful and efficient solution for expanding the storage capacity of your iPad or iPhone. These high-speed, compact devices allow you to store and access your files quickly, making them ideal for professionals, content creators, and anyone who needs ample storage space on the go.
To use a portable SSD with your iPad or iPhone, you will need an SSD that is compatible with a Lightning or USB-C port, depending on your device. Connect the SSD to your iPad or iPhone using the appropriate cable or adapter.
Once connected, your iPad or iPhone will automatically recognize the portable SSD as an external storage device. You can access the contents of the SSD through the Files app or any other file management app that supports external storage.
The Files app provides a user-friendly interface for managing files on the portable SSD. You can navigate through folders, view, copy, move, or delete files, and create new folders to organize your files effectively.
To transfer files from your iPad or iPhone to the portable SSD, open the Files app and navigate to the file you want to transfer. Tap and hold on the file until a menu appears, then select “Copy.” Next, go to the portable SSD in the Files app or file management app, tap and hold until the menu appears, and choose “Paste” to complete the transfer.
Transferring multiple files or entire folders to the portable SSD follows the same process. Use the multiple selection menu to select the desired files or folders, then copy and paste them onto the SSD.
One of the significant advantages of using portable SSDs is their transfer speed. SSDs offer faster read and write speeds compared to traditional hard drives, ensuring quick and efficient data transfer between your iPad or iPhone and the SSD.
It’s important to note that portable SSDs typically don’t require additional power and are often powered directly from the iPad or iPhone. This eliminates the need for an external power source and makes them highly portable and convenient to use.
When you’re finished using the portable SSD, it’s crucial to safely eject it from your iPad or iPhone. In the Files app, tap on the eject icon next to the SSD to ensure that all data has been properly written and prevent any potential data loss.
Using portable SSDs on your iPad or iPhone offers a reliable and high-performance solution for expanding your storage capacity. Whether you need to store large files, such as videos, high-resolution photos, or complex projects, portable SSDs provide exceptional speed and accessibility for your files on the go.
Managing Files and Folders on External Storage Devices
When using external storage devices with your iPad or iPhone, effectively managing your files and folders is essential for organization and easy access. Whether you’re using a USB flash drive, external hard drive, SD card, or portable SSD, these tips will help you stay organized and maximize the efficiency of your storage solution.
1. Create Folders: Organize your files by creating folders within your external storage device. Categorize your files based on topics, projects, or any other system that makes sense to you. This will make it easier to locate specific files when needed.
2. Rename Files: If you have files with generic names or unclear labels, consider renaming them. Use descriptive and meaningful names to make it easier to identify the contents of each file without having to open it.
3. Use Subfolders: If you have a large number of files within a particular folder, create subfolders to further organize your files. This can help avoid clutter and make it easier to navigate through your storage device.
4. Remove Unnecessary Files: Regularly review your files and remove any unnecessary or duplicate files. This will help free up space on your external storage device and make it easier to locate important files.
5. Backup Your Files: Consider making backups of your important files stored on the external storage device. You can make backups on your computer or in cloud storage to ensure that you have an extra copy in case of any unforeseen data loss.
6. Use File Management Apps: Utilize file management apps that are compatible with your external storage device. These apps offer advanced features for browsing, organizing, and transferring files, allowing you to efficiently manage your files and folders.
7. Secure Your Files: If you store sensitive or confidential files on your external storage device, consider encrypting them or using password protection to prevent unauthorized access. This provides an extra layer of security for your files.
8. Safely Eject Your Device: Always remember to safely eject your external storage device from your iPad or iPhone before physically disconnecting it. This ensures that all data has been properly written and prevents any potential data loss.
By implementing these management strategies, you can keep your files and folders organized, easily navigate through your external storage device, and make the most of your storage solution on your iPad or iPhone.
Troubleshooting Common Issues with External Storage on iPad or iPhone
While using external storage on your iPad or iPhone is generally a smooth experience, you may encounter some common issues along the way. Understanding these issues and how to troubleshoot them can help ensure a seamless and hassle-free user experience. Here are some common issues and their potential solutions:
1. Device Not Recognizing the External Storage: If your iPad or iPhone does not recognize the external storage device, try the following solutions:
- Ensure that the device is properly connected to your iPad or iPhone using the correct adapter or cable.
- Check that the external storage device is formatted correctly and is compatible with iOS devices.
- Restart your iPad or iPhone and try connecting the external storage device again.
- If the problem persists, try connecting the external storage to a different USB port or adapter.
2. Slow Transfer Speed: If file transfer between your iPad or iPhone and the external storage is slow, consider the following solutions:
- Check the speed and compatibility rating of the external storage device. Higher-rated devices typically offer faster transfer speeds.
- Ensure that you are using a high-quality cable or adapter with sufficient bandwidth for data transfer.
- Close any unnecessary apps running in the background of your iPad or iPhone, as they may cause system slowdowns.
- Transfer files in smaller batches rather than all at once to potentially improve transfer speed.
3. Files Not Opening or Playing: If you experience issues opening or playing files from the external storage, try the following solutions:
- Ensure that you have the necessary apps or software installed on your iPad or iPhone to support the file format you are trying to access.
- Check that the files were properly transferred and have not become corrupted during the transfer process.
- Consider converting the file to a different format that is compatible with your iOS device.
4. Device Running Out of Power: External storage devices may consume power from your iPad or iPhone, potentially draining the battery faster. To mitigate this issue:
- Keep your iPad or iPhone charged or connected to a power source while using the external storage device.
- Use external storage devices that have their own power source to reduce dependency on your device’s battery.
If none of the troubleshooting solutions resolve the issue, consider updating the software on your iPad or iPhone to the latest version and check for any software updates specific to your external storage device. Additionally, reaching out to the manufacturer’s support or consulting online forums for further assistance can help resolve more complex problems.
By familiarizing yourself with these common issues and their troubleshooting techniques, you can effectively resolve any problems that may arise while using external storage on your iPad or iPhone.