
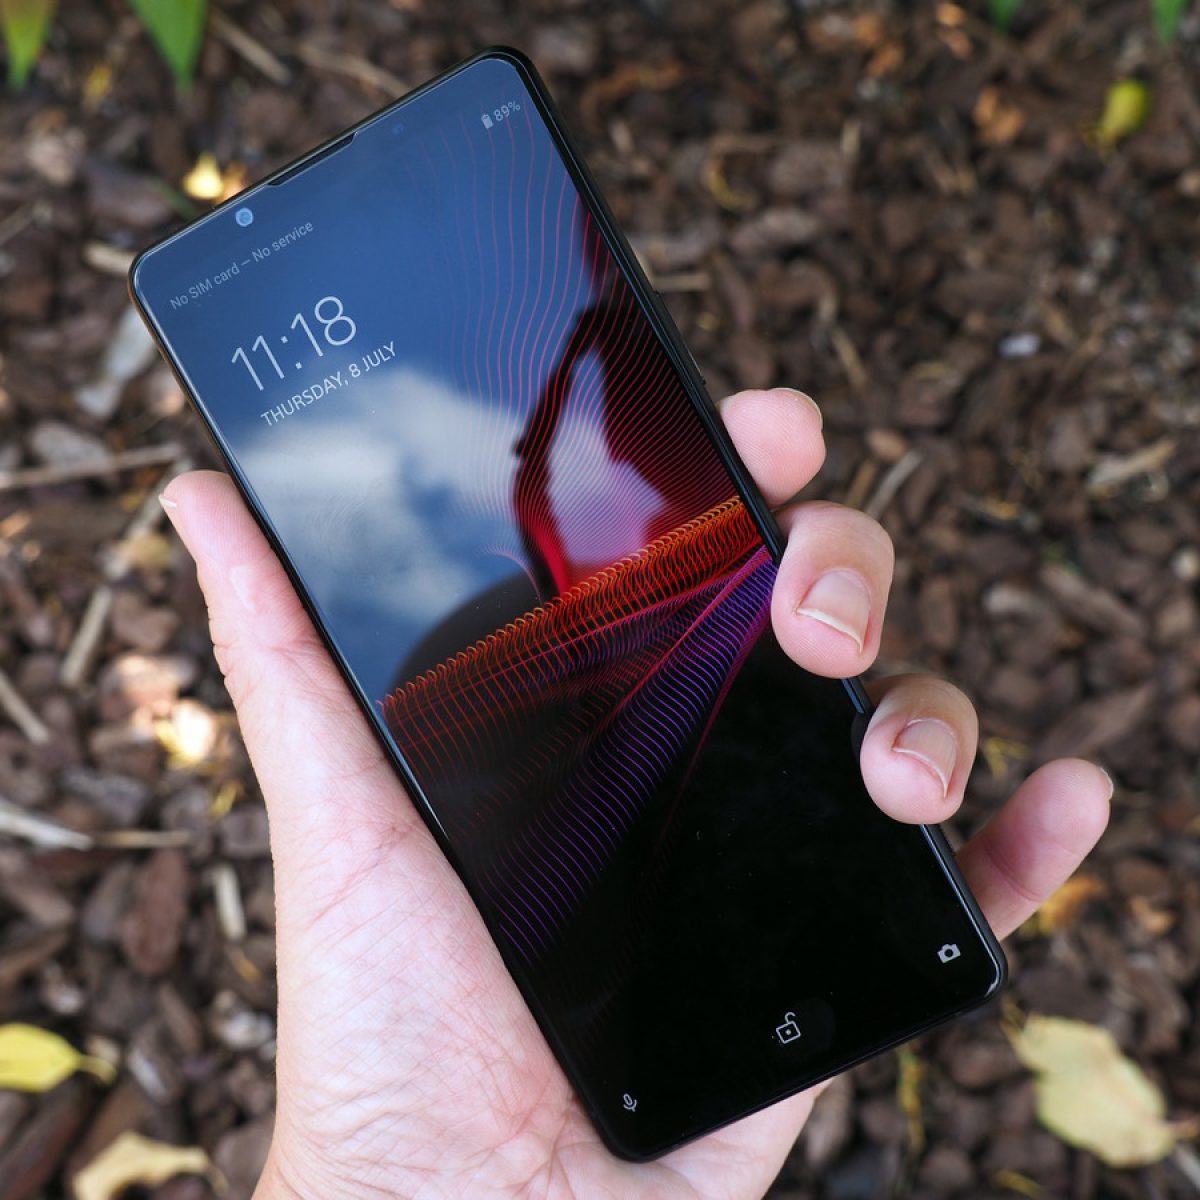
Step 1: Power Off the Xperia Z5
Before removing the SIM card from your Xperia Z5, it's crucial to power off the device to avoid any potential damage and ensure a smooth process. Powering off the Xperia Z5 is a simple yet essential step in the SIM card removal process.
To power off your Xperia Z5, follow these steps:
-
Locate the power button: The power button of the Xperia Z5 is typically located on the right-hand side of the device. It is usually positioned below the volume buttons and can be easily identified by its slightly raised profile.
-
Press and hold the power button: To initiate the power off process, press and hold the power button until the power off menu appears on the screen. This usually takes a few seconds, and you will feel a slight vibration as the device begins to power down.
-
Tap "Power off": Once the power off menu appears, tap on the "Power off" option to confirm the action. This will prompt the Xperia Z5 to begin shutting down, ensuring that it is safely powered off before proceeding with the SIM card removal.
By following these simple steps to power off your Xperia Z5, you can ensure that the device is ready for the subsequent steps of removing the SIM card. This initial preparation sets the stage for a seamless and hassle-free SIM card removal process, allowing you to proceed with confidence and ease.
With the Xperia Z5 powered off, you are now ready to move on to the next step of the SIM card removal process, which involves locating the SIM card tray. This foundational step sets the tone for a successful SIM card removal experience, ensuring that you can proceed with the process smoothly and efficiently.
Remember, taking the time to power off your Xperia Z5 before removing the SIM card is a crucial step in maintaining the integrity of the device and safeguarding against any potential issues. By following these steps, you can navigate the SIM card removal process with ease and confidence, knowing that you have taken the necessary precautions to ensure a successful outcome.
Step 2: Locate the SIM Card Tray
Locating the SIM card tray is a crucial step in the process of removing the SIM card from your Xperia Z5. The SIM card tray houses the SIM card and facilitates its secure installation within the device. By identifying the precise location of the SIM card tray, you can proceed with confidence, knowing that you are on the right track to successfully removing the SIM card from your Xperia Z5.
To locate the SIM card tray on your Xperia Z5, follow these steps:
-
Identify the SIM card tray slot: The SIM card tray slot is typically located on the side of the Xperia Z5. Look for a small, discreet slot with a tiny pinhole next to it. This pinhole is where the SIM card ejection tool will be inserted in the subsequent steps of the removal process.
-
Use visual cues: Examine the sides of your Xperia Z5 to visually identify the location of the SIM card tray. The design of the device may vary slightly depending on the specific model, but the SIM card tray slot is generally positioned on the left-hand side of the device, adjacent to the volume buttons.
-
Refer to the user manual: If you encounter difficulty locating the SIM card tray, refer to the user manual that came with your Xperia Z5. The user manual provides detailed illustrations and descriptions of the device's components, including the SIM card tray, enabling you to pinpoint its exact location with ease.
Once you have successfully located the SIM card tray on your Xperia Z5, you are ready to proceed to the next step of the SIM card removal process. This foundational step sets the stage for a seamless and successful SIM card removal experience, ensuring that you can navigate the process with confidence and precision.
By taking the time to accurately locate the SIM card tray, you are positioning yourself for a smooth and efficient SIM card removal process. This attention to detail underscores the importance of following each step carefully, ultimately leading to a successful outcome as you continue to progress through the process of removing the SIM card from your Xperia Z5.
Step 3: Insert the SIM Card Eject Tool
Inserting the SIM card eject tool is a pivotal step in the process of removing the SIM card from your Xperia Z5. The SIM card eject tool, often provided by the device manufacturer, is designed to facilitate the safe and straightforward removal of the SIM card tray. By utilizing this specialized tool, you can ensure precision and ease as you navigate this crucial stage of the SIM card removal process.
To insert the SIM card eject tool into your Xperia Z5, follow these detailed steps:
-
Retrieve the SIM card eject tool: Begin by locating the SIM card eject tool, which is typically included in the original packaging of your Xperia Z5. The SIM card eject tool is a small, metallic instrument with a narrow, pointed end, specifically crafted for accessing the SIM card tray. If you are unable to locate the SIM card eject tool, a suitable alternative such as a straightened paperclip can be used as a substitute.
-
Identify the SIM card tray pinhole: With the SIM card eject tool in hand, carefully examine the side of your Xperia Z5 to locate the pinhole adjacent to the SIM card tray. The pinhole is a small, discreet opening designed to accommodate the insertion of the SIM card eject tool. Position the device in a well-lit environment to ensure clear visibility as you prepare to insert the tool.
-
Align the SIM card eject tool: Holding the SIM card eject tool between your thumb and forefinger, align the pointed end of the tool with the pinhole next to the SIM card tray. Apply gentle pressure as you insert the tool into the pinhole, ensuring that it fits securely into the opening. Take care to maintain a steady hand and a precise angle to prevent any potential damage to the device.
-
Engage the eject mechanism: Once the SIM card eject tool is inserted into the pinhole, you will encounter a slight resistance as the tool engages with the internal mechanism of the SIM card tray. Continue to apply gentle pressure, exerting a subtle pushing motion to activate the eject mechanism. As the mechanism is triggered, the SIM card tray will begin to protrude from the device, signaling that it is ready to be removed.
By meticulously following these steps to insert the SIM card eject tool into your Xperia Z5, you are setting the stage for a seamless and successful SIM card removal process. This deliberate and methodical approach underscores the importance of precision and attention to detail, ensuring that you can navigate each stage of the process with confidence and ease.
With the SIM card eject tool securely inserted into the pinhole of your Xperia Z5, you are now prepared to proceed to the subsequent steps of removing the SIM card tray and extracting the SIM card from the device. This foundational step lays the groundwork for a smooth and efficient SIM card removal experience, positioning you for a successful outcome as you progress through the remaining stages of the process.
Step 4: Remove the SIM Card Tray
Removing the SIM card tray from your Xperia Z5 is a pivotal step in the process of extracting the SIM card from the device. Once the SIM card tray has been ejected using the SIM card eject tool, the subsequent task involves carefully removing the tray to access the SIM card housed within it. This step demands precision and attentiveness to ensure the safe extraction of the SIM card tray without causing any damage to the device.
To remove the SIM card tray from your Xperia Z5, follow these detailed steps:
-
Gently withdraw the SIM card tray: With the SIM card eject tool securely inserted and the SIM card tray partially protruding from the device, delicately grasp the exposed edge of the tray between your thumb and forefinger. Exercise caution to avoid applying excessive force or tilting the tray at an awkward angle, as this may result in damage to the tray or the device.
-
Slowly retract the SIM card tray: Applying even pressure, slowly and steadily retract the SIM card tray from the Xperia Z5. Be mindful of the smooth, unhurried motion as you guide the tray out of the device, ensuring that it moves along its designated pathway without encountering any resistance or obstruction.
-
Inspect the SIM card tray and slot: As the SIM card tray is fully removed from the Xperia Z5, take a moment to inspect both the tray and the slot within the device. Verify that the tray is free from any visible damage or irregularities, and assess the slot to ensure that it remains clean and unobstructed. This brief inspection serves to confirm the integrity of the components involved in the SIM card removal process.
By meticulously following these steps to remove the SIM card tray from your Xperia Z5, you can navigate this critical stage of the process with confidence and precision. This deliberate and methodical approach underscores the importance of careful handling and attention to detail, ultimately contributing to a successful and seamless SIM card removal experience.
With the SIM card tray safely removed from your Xperia Z5, you are now prepared to proceed to the subsequent steps of extracting the SIM card from the tray and reinserting the tray into the device. This foundational step sets the stage for a smooth and efficient SIM card removal process, positioning you for a successful outcome as you progress through the remaining stages of the process.
Step 5: Take Out the SIM Card
With the SIM card tray successfully removed from your Xperia Z5, the next crucial step in the SIM card removal process is extracting the SIM card from the tray. This task demands careful handling and precision to ensure the safe and seamless removal of the SIM card, ultimately setting the stage for a successful transition to the subsequent steps of the process.
To take out the SIM card from the tray, follow these detailed steps:
-
Inspect the SIM card tray: Before proceeding with the extraction of the SIM card, take a moment to inspect the SIM card tray. Locate the slot within the tray where the SIM card is housed, and carefully observe the position of the SIM card to determine the most effective approach for its removal.
-
Gently remove the SIM card: Using your fingertips, delicately maneuver the SIM card within the tray to initiate its removal. Apply gentle pressure to slide the SIM card out of its designated slot, ensuring a smooth and unhurried motion to prevent any potential damage to the card or the tray.
-
Handle the SIM card with care: As the SIM card is released from the tray, handle it with utmost care to avoid bending or scratching its delicate components. Hold the SIM card by its edges to maintain its integrity, and exercise caution to prevent any accidental contact with dirt, moisture, or other contaminants.
-
Inspect the SIM card: Once the SIM card has been removed from the tray, take a moment to inspect it for any signs of damage or wear. Verify that the gold contacts on the back of the SIM card remain clean and free from debris, as any contamination may hinder its functionality when reinserted into the device.
By meticulously following these steps to take out the SIM card from the tray, you can navigate this critical stage of the process with confidence and precision. This deliberate and methodical approach underscores the importance of careful handling and attention to detail, ultimately contributing to a successful and seamless SIM card removal experience.
With the SIM card safely extracted from the tray, you are now prepared to proceed to the subsequent steps of reinserting the tray into the device and powering on your Xperia Z5. This foundational step sets the stage for a smooth and efficient SIM card removal process, positioning you for a successful outcome as you progress through the remaining stages of the process.
Step 6: Reinsert the SIM Card Tray
Reinserting the SIM card tray into your Xperia Z5 is a pivotal step in the process of completing the SIM card removal and ensuring the seamless functionality of the device. After successfully extracting the SIM card and removing the tray, the subsequent task involves carefully reinserting the tray to secure the SIM card within the device. This step demands precision and attentiveness to ensure the safe and secure installation of the SIM card tray without causing any damage to the device.
To reinsert the SIM card tray into your Xperia Z5, follow these detailed steps:
-
Position the SIM card tray: With the SIM card safely extracted from the tray, carefully position the tray in alignment with the designated slot within your Xperia Z5. Take note of the orientation of the tray to ensure that it fits seamlessly into the slot without encountering any resistance.
-
Guide the tray into the slot: Holding the SIM card tray between your fingertips, gently guide it into the slot within the device. Exercise caution to maintain a steady and even pressure as you maneuver the tray into place, ensuring that it follows its designated pathway without tilting or misalignment.
-
Ensure a secure fit: Once the SIM card tray is positioned within the slot, verify that it sits flush against the device's surface, indicating a secure and proper fit. Take a moment to inspect the tray's alignment and ensure that it is seamlessly integrated into the Xperia Z5 without protruding or feeling loose.
-
Test the tray's functionality: With the SIM card tray securely reinserted, perform a brief test to ensure its functionality. Gently press on the tray to confirm that it remains stable and securely in place, reaffirming that the SIM card is safely housed within the device.
By meticulously following these steps to reinsert the SIM card tray into your Xperia Z5, you can navigate this critical stage of the process with confidence and precision. This deliberate and methodical approach underscores the importance of careful handling and attention to detail, ultimately contributing to a successful and seamless completion of the SIM card removal process.
With the SIM card tray securely reinserted into your Xperia Z5, you have successfully completed the essential task of ensuring the proper installation of the SIM card within the device. This foundational step sets the stage for a smooth and efficient transition to the final step of powering on your Xperia Z5, positioning you for a successful outcome as you conclude the SIM card removal process.
Step 7: Power On the Xperia Z5
Powering on the Xperia Z5 after completing the SIM card removal process is the final step in ensuring the seamless functionality of the device. This essential task marks the culmination of the SIM card removal procedure, allowing you to restore the device to its operational state and resume its full range of features and capabilities. By powering on the Xperia Z5 with the SIM card securely reinserted, you can verify the successful completion of the removal process and confirm that the device is ready for immediate use.
To power on your Xperia Z5, follow these simple steps:
-
Locate the power button: After reinserting the SIM card tray, locate the power button on the right-hand side of the device. The power button is typically positioned below the volume buttons and features a slightly raised profile for easy identification.
-
Press and hold the power button: With the SIM card tray securely in place, press and hold the power button until the Xperia Z5 begins to power on. As you maintain pressure on the power button, you will observe the device's screen illuminating and displaying the Xperia logo, indicating that the power on process has commenced.
-
Wait for the device to boot up: Allow the Xperia Z5 to complete the boot-up sequence, during which the device's operating system initializes and prepares for regular use. As the device powers on, you may notice the familiar start-up animations and indicators that signify the successful activation of the device.
-
Unlock the device: Once the Xperia Z5 has powered on, you will be prompted to unlock the device using your preferred security method, such as a PIN, pattern, or fingerprint scan. Proceed to unlock the device to access the home screen and begin utilizing its full range of functions and features.
By following these straightforward steps to power on your Xperia Z5, you can seamlessly transition from the SIM card removal process to the resumption of regular device usage. This final step ensures that the device is fully operational and ready to meet your communication and connectivity needs, reaffirming the successful completion of the SIM card removal procedure.
With the Xperia Z5 powered on and fully functional, you have successfully concluded the SIM card removal process, positioning the device for immediate use and enabling you to leverage its capabilities with confidence and ease.