
Step 1: Locate the SIM card tray
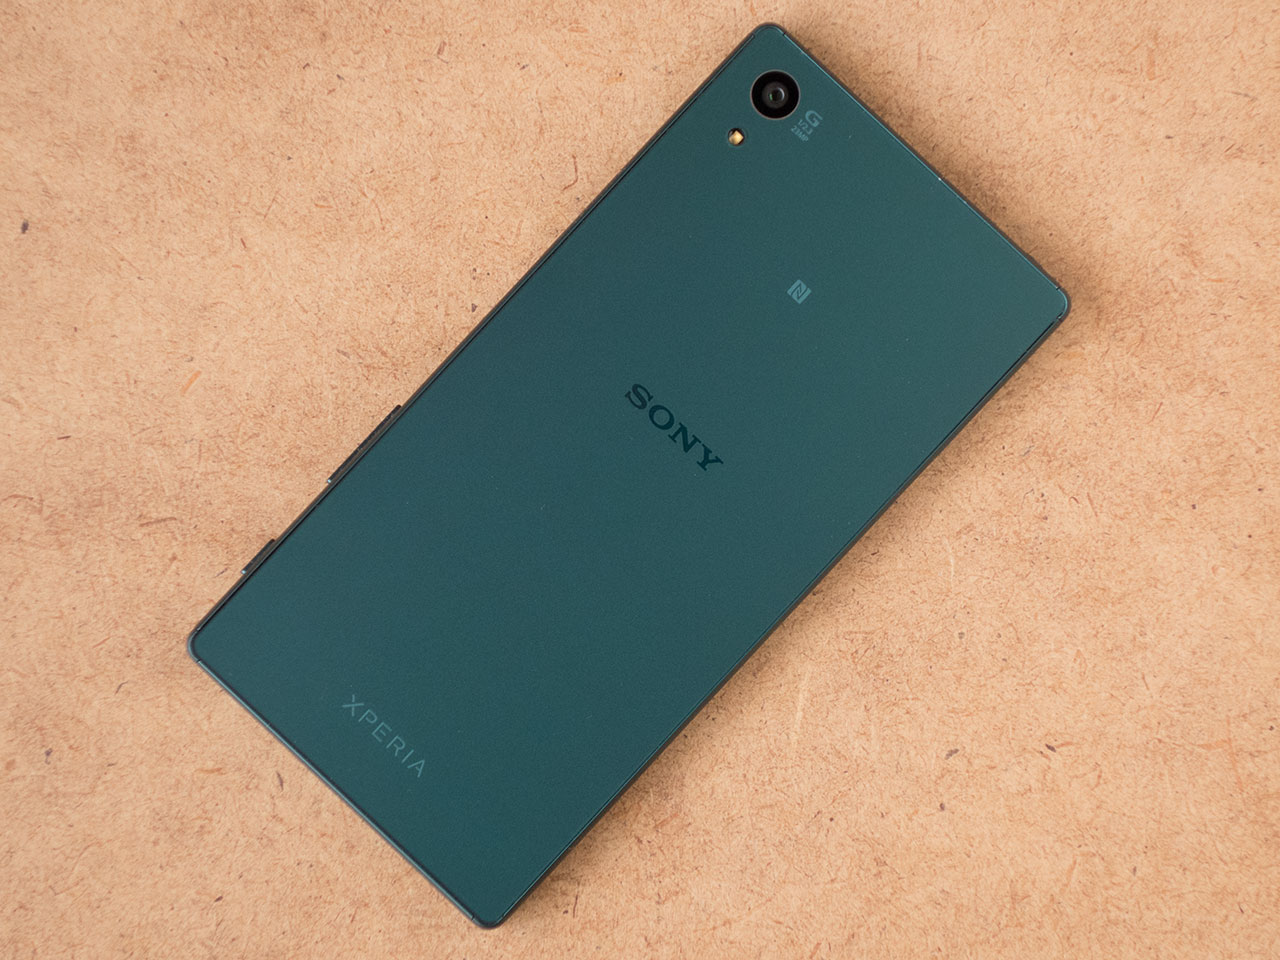
The Xperia Z5 is a powerful and sleek smartphone that offers a wide array of features, including the ability to easily swap out your SIM card. If you're looking to switch to a new network or replace your existing SIM card, the first step is to locate the SIM card tray on your Xperia Z5.
-
Turn Off Your Phone: Before you begin, it's essential to power off your Xperia Z5 to prevent any potential damage to the device or the SIM card.
-
Identify the SIM Card Tray Slot: Once your phone is powered off, you'll need to locate the SIM card tray slot. On the right side of the Xperia Z5, you'll find a small pinhole. This is the location of the SIM card tray.
-
Use the Ejection Tool: The Xperia Z5 comes with a small ejection tool, often included in the original packaging. If you don't have the tool, a paperclip can be used as an alternative. Insert the ejection tool or unfolded paperclip into the pinhole and gently press to release the SIM card tray.
-
Carefully Remove the SIM Card Tray: Once the tray is released, carefully pull it out of the phone. The SIM card tray will accommodate both the SIM card and, in some models, a microSD card for expandable storage.
-
Inspect the SIM Card Tray: Take a moment to examine the SIM card tray. You'll notice a small diagram indicating the proper orientation for the SIM card. This can vary depending on the specific model of the Xperia Z5.
Locating the SIM card tray on your Xperia Z5 is the first step in the process of replacing or inserting a new SIM card. By following these simple instructions, you can easily access the tray and proceed with the next steps to ensure your device is ready to connect to your desired network.
Step 2: Insert the SIM card
Now that you've located the SIM card tray on your Xperia Z5, the next step is to insert or replace the SIM card. This process is straightforward and can be completed in just a few simple steps. Here's a detailed guide to help you seamlessly insert your SIM card into the Xperia Z5:
-
Prepare the SIM Card: Before inserting the SIM card, ensure that it is compatible with your Xperia Z5. The SIM card should be the correct size and shape for your device. Most modern smartphones, including the Xperia Z5, typically use a nano-SIM card. If your SIM card is larger, such as a micro-SIM or standard SIM, you may need to contact your mobile carrier to obtain a compatible replacement.
-
Position the SIM Card: Take the SIM card and position it according to the diagram on the SIM card tray. The diagram illustrates the correct orientation for inserting the SIM card. Align the notched corner of the SIM card with the corresponding notch on the tray to ensure it is inserted properly.
-
Insert the SIM Card: Carefully place the SIM card onto the SIM card tray, ensuring it fits snugly within the designated area. Gently press down on the SIM card to secure it in place. Be mindful of the fragile nature of SIM cards, and avoid using excessive force during this process.
-
Reinsert the SIM Card Tray: Once the SIM card is securely in place, carefully slide the SIM card tray back into the Xperia Z5. Ensure that the tray is inserted in the correct orientation and that it glides smoothly into the phone. Avoid forcing the tray, as this could cause damage to both the tray and the device.
-
Power On Your Xperia Z5: With the SIM card successfully inserted, power on your Xperia Z5 to initiate the setup process. Depending on your network provider, you may need to follow additional instructions to activate the new SIM card and establish a connection to the network.
By following these steps, you can confidently insert or replace the SIM card in your Xperia Z5. This process allows you to seamlessly switch between SIM cards or upgrade to a new one, ensuring that your device remains connected and ready to use with your preferred mobile network.
Step 3: Replace the SIM card tray
After successfully inserting or replacing the SIM card in your Xperia Z5, the final step is to securely replace the SIM card tray. This step is crucial to ensure that the SIM card remains firmly in place and that the device functions optimally. Follow these detailed instructions to seamlessly replace the SIM card tray and complete the process:
-
Align the SIM Card Tray: Before reinserting the SIM card tray, take a moment to ensure that it is properly aligned with the slot on the side of the Xperia Z5. The tray should fit snugly into the designated space, and the edges should align seamlessly with the device.
-
Carefully Slide In the Tray: Holding the SIM card tray between your fingers, gently slide it back into the Xperia Z5. Take care to insert the tray in the correct orientation, aligning it with the slot to avoid any potential damage to the tray or the device. A smooth and steady motion is essential to prevent any mishaps during the reinsertion process.
-
Verify the Secure Fit: Once the SIM card tray is back in place, ensure that it fits securely within the device. Gently press on the tray to confirm that it is flush with the Xperia Z5's frame. A secure fit is essential to prevent any issues with the SIM card connection and to maintain the sleek and seamless design of the device.
-
Power On Your Xperia Z5: With the SIM card tray securely replaced, power on your Xperia Z5 to ensure that the device recognizes the SIM card and establishes a connection to the network. Upon powering on the device, you may need to follow any additional setup prompts provided by your mobile carrier to complete the activation process.
By following these steps, you can successfully replace the SIM card tray in your Xperia Z5, finalizing the process of inserting or replacing the SIM card. This ensures that your device is ready to connect to your preferred mobile network and allows you to enjoy uninterrupted access to calls, messages, and mobile data. With the SIM card securely in place within the Xperia Z5, you can confidently use your device to stay connected and productive in your day-to-day activities.