
Back Up Your Data
Before initiating the manual reset process for your iPhone 14, it's crucial to safeguard your valuable data. Backing up your data ensures that you don't lose important information such as photos, videos, contacts, messages, and app data during the reset. This step is essential as the manual reset will erase all the data on your device, returning it to its factory settings.
To begin, you can back up your iPhone 14 using iCloud or iTunes. iCloud offers a convenient way to back up your data wirelessly, while iTunes provides a reliable option for creating a local backup on your computer. Here's how you can back up your data using both methods:
iCloud Backup:
- Connect to Wi-Fi: Ensure that your iPhone 14 is connected to a stable Wi-Fi network to enable the iCloud backup process.
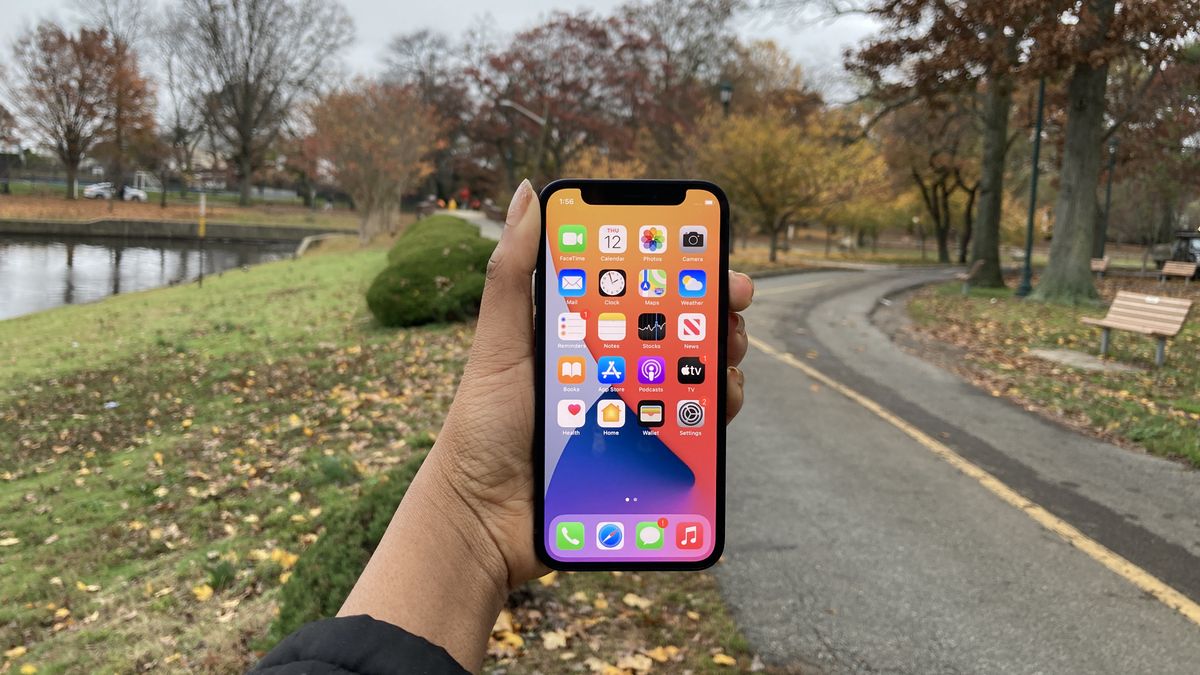
- Access Settings: Open the "Settings" app on your iPhone and tap on your name at the top of the screen.
- iCloud: Tap on "iCloud" and then select "iCloud Backup."
- Enable iCloud Backup: Toggle the "iCloud Backup" switch to turn it on. Your device will start backing up automatically, but you can also tap "Back Up Now" to initiate an immediate backup.
iTunes Backup:
- Connect Your iPhone to Your Computer: Use a USB cable to connect your iPhone 14 to your computer and launch iTunes if it doesn't open automatically.
- Trust This Computer: If prompted, unlock your iPhone and tap "Trust" or "Allow" on the pop-up message to establish a connection between your iPhone and the computer.
- Select Your Device: Click on the iPhone icon in the iTunes interface to access your device's summary.
- Create a Backup: Under the "Backups" section, select "This computer" and click on "Back Up Now" to initiate the backup process.
By following these steps to back up your data, you can ensure that your important information is safely stored before proceeding with the manual reset of your iPhone 14. This precautionary measure provides peace of mind, knowing that your data is secure and can be easily restored after the reset process is complete.
Turn Off Find My iPhone
Turning off Find My iPhone is a crucial step before initiating a manual reset for your iPhone 14. This feature, designed to safeguard your device and personal data, must be disabled to ensure a smooth reset process. By deactivating Find My iPhone, you allow the reset to proceed without any hindrances, enabling a seamless restoration of your device to its factory settings.
Here's a step-by-step guide to turning off Find My iPhone on your iPhone 14:
-
Access Settings: Begin by unlocking your iPhone 14 and navigating to the home screen. Locate and tap the "Settings" app, represented by a gear icon.
-
Tap Your Name: In the Settings menu, scroll down and tap on your name, which appears at the top of the screen. This will lead you to the Apple ID, iCloud, iTunes & App Store settings.
-
iCloud Settings: Within the Apple ID settings, tap on "iCloud." This will grant you access to various iCloud-related features and settings.
-
Find My iPhone: Scroll through the iCloud settings and locate "Find My iPhone." Tap on this option to proceed to the next step.
-
Disable Find My iPhone: You will now see a toggle switch next to "Find My iPhone." To turn off this feature, simply tap the toggle switch. You may be prompted to enter your Apple ID password to confirm the action. Once disabled, the toggle switch will no longer be green, indicating that Find My iPhone is now turned off.
By following these steps, you have successfully turned off Find My iPhone on your iPhone 14. This action is essential as it allows for a seamless manual reset process, ensuring that your device can be restored to its factory settings without any complications.
It's important to note that turning off Find My iPhone is a security measure that must be carried out before initiating a manual reset. By adhering to this step, you are effectively preparing your device for the reset process, enabling a successful restoration while maintaining the security and integrity of your iPhone 14.
With Find My iPhone now disabled, you are ready to proceed to the next steps of the manual reset process, confident that your device is prepared for the restoration to its factory settings.
Connect to iTunes
Connecting your iPhone 14 to iTunes is a pivotal step in the manual reset process, enabling you to initiate the restoration of your device to its factory settings. By establishing a connection with iTunes, you gain access to a powerful platform that facilitates the management and restoration of your iPhone's software. This process is essential for resolving software-related issues, erasing all data from the device, and reinstalling the latest version of iOS.
To connect your iPhone 14 to iTunes, follow these step-by-step instructions:
-
Launch iTunes: Begin by launching the iTunes application on your computer. If you don't have iTunes installed, you can download it from the official Apple website and install it on your computer.
-
Connect Your iPhone: Use a USB cable to connect your iPhone 14 to your computer. Ensure that the USB end of the cable is securely plugged into a USB port on your computer, while the Lightning connector is firmly inserted into the charging port of your iPhone.
-
Trust This Computer: If this is the first time you are connecting your iPhone to the computer, you may see a prompt on your iPhone asking whether you trust this computer. Tap "Trust" to establish a secure connection between your iPhone and the computer.
-
Access Your Device: Once your iPhone is connected and recognized by iTunes, you will see the device icon appear in the upper-left corner of the iTunes window. Click on this icon to access your device's summary.
-
Summary Tab: In the device summary screen, you will find essential information about your iPhone, including its storage capacity, serial number, and software version. This is also where you can initiate the manual reset process.
-
Backup Your iPhone (Optional): At this stage, you have the option to create a backup of your iPhone's data before proceeding with the manual reset. This step is recommended if you haven't backed up your data using iCloud or if you prefer to have a local backup on your computer.
-
Restore iPhone: To initiate the manual reset, click on the "Restore iPhone" button within the device summary screen. A confirmation prompt will appear, informing you that this action will erase all data on your iPhone and restore it to its factory settings. Confirm the action to proceed with the reset process.
By following these steps to connect your iPhone 14 to iTunes, you are one step closer to initiating the manual reset process. This connection enables seamless communication between your device and iTunes, allowing for the efficient restoration of your iPhone to its original state. Once the connection is established and the reset process is initiated, you can proceed with confidence, knowing that your iPhone will be restored to its factory settings, ready for a fresh start or further troubleshooting if needed.
Put Your iPhone in Recovery Mode
Putting your iPhone 14 in recovery mode is a critical step in the manual reset process, allowing you to initiate the restoration of your device to its factory settings. This mode enables your iPhone to communicate with iTunes and undergo the necessary procedures for a successful reset. Whether you are troubleshooting software issues or preparing your device for a fresh start, entering recovery mode is an essential part of the reset process.
To put your iPhone 14 in recovery mode, follow these step-by-step instructions:
-
Connect Your iPhone to Your Computer: Use a USB cable to connect your iPhone 14 to your computer. Ensure that the USB end of the cable is securely plugged into a USB port on your computer, while the Lightning connector is firmly inserted into the charging port of your iPhone.
-
Launch iTunes: If iTunes is not already open on your computer, launch the application to prepare for the next steps in the process.
-
Force Restart Your iPhone: Depending on your iPhone model, the process of entering recovery mode may vary slightly. For iPhone 14, you can force restart the device by quickly pressing and releasing the volume up button, followed by the volume down button. Then, press and hold the side button until the recovery mode screen appears.
-
Recovery Mode Screen: As you continue to hold the side button, a screen will appear on your iPhone 14, prompting you to connect to iTunes. This signifies that your device has entered recovery mode successfully.
-
iTunes Prompt: Upon entering recovery mode, iTunes on your computer will detect the connected iPhone in recovery mode and display a prompt, indicating that a device in recovery mode has been detected. You will be given the option to restore or update your iPhone.
Entering recovery mode is a pivotal step that prepares your iPhone 14 for the manual reset process. This mode allows for the seamless communication between your device and iTunes, enabling the initiation of the reset procedure. Once your iPhone is in recovery mode, you are ready to proceed with the restoration of your device to its factory settings, ensuring a fresh start and potential resolution of software-related issues.
By following these steps to put your iPhone 14 in recovery mode, you are effectively preparing your device for the manual reset, setting the stage for a successful restoration process. Whether you are troubleshooting persistent software issues or preparing your device for a fresh start, entering recovery mode is an essential and empowering step in the manual reset process.
Restore Your iPhone
Restoring your iPhone 14 to its factory settings is a pivotal step in the manual reset process, enabling you to erase all data and settings on the device and reinstall the latest version of iOS. This comprehensive restoration not only resolves persistent software issues but also provides a clean slate for your device, ensuring optimal performance and functionality. Whether you are troubleshooting software-related issues, preparing your device for resale, or seeking a fresh start, the restoration process is instrumental in achieving these objectives.
To restore your iPhone 14, follow these step-by-step instructions:
-
Confirmation Prompt: After putting your iPhone in recovery mode, a prompt will appear in iTunes, indicating that a device in recovery mode has been detected. You will be presented with the option to restore or update your iPhone. Select the "Restore" option to initiate the restoration process.
-
Erasing iPhone: Upon selecting the "Restore" option, iTunes will begin the process of erasing all data and settings on your iPhone 14. This comprehensive erasure ensures that all personal information, apps, and custom settings are removed from the device, returning it to its original factory state.
-
Downloading iOS: Once the erasure is complete, iTunes will proceed to download the latest version of iOS for your iPhone 14. This ensures that your device is equipped with the most up-to-date software, incorporating the latest features, security enhancements, and performance optimizations.
-
Installing iOS: After the iOS download is complete, iTunes will automatically install the software on your iPhone 14. This installation process is crucial for ensuring that your device is equipped with a clean and updated operating system, free from any previous software issues or conflicts.
-
Device Restart: Following the installation of iOS, your iPhone 14 will restart to finalize the restoration process. This restart signifies the completion of the manual reset, with your device now restored to its factory settings and running the latest version of iOS.
By following these steps to restore your iPhone 14, you have successfully completed the manual reset process, ensuring that your device is returned to its original state with a fresh installation of iOS. This restoration not only resolves software-related issues but also provides a clean slate for your device, enabling you to proceed with confidence, knowing that your iPhone is optimized for performance and functionality.
The restoration process empowers you to address persistent software issues, prepare your device for resale, or simply start afresh with a clean and updated operating system. With your iPhone 14 now restored to its factory settings, you can proceed to set up your device according to your preferences, confident in the knowledge that your device is running on the latest version of iOS, ready to deliver a seamless and optimized user experience.
Set Up Your iPhone
After successfully completing the manual reset process for your iPhone 14, the next crucial step is setting up your device to tailor it to your preferences and ensure a seamless user experience. The setup process allows you to configure essential settings, personalize your device, and restore your data from a backup, enabling you to make the most of your freshly reset iPhone.
Upon restarting your iPhone 14 following the restoration process, you will be greeted by the familiar "Hello" screen, marking the beginning of the setup journey. Here's a detailed guide to setting up your iPhone:
-
Select Your Language and Region: Begin by selecting your preferred language and region. This ensures that your device's interface and settings are presented in a language you are comfortable with and tailored to the specific region you are in.
-
Connect to Wi-Fi or Cellular Network: To proceed with the setup, connect your iPhone 14 to a Wi-Fi network or a cellular data network. This connection is essential for completing the setup process and accessing various online services and features.
-
Quick Start or Set Up Manually: If you have an existing iOS device or have recently created a backup, you can use the Quick Start feature to seamlessly transfer your settings, preferences, and data to your freshly reset iPhone. Alternatively, you can choose to set up your device manually.
-
Sign in with Your Apple ID: Sign in with your Apple ID to access iCloud, the App Store, and other Apple services. Your Apple ID provides access to a range of features, including iCloud backups, app purchases, and personalized settings.
-
Restore from iCloud or iTunes Backup (Optional): If you created a backup of your data before the manual reset, you can choose to restore your iPhone from an iCloud or iTunes backup. This allows you to retrieve your photos, contacts, messages, and app data, seamlessly transitioning to your preferred setup.
-
Set Up Touch ID or Face ID (Optional): If your iPhone 14 supports Touch ID or Face ID, you can set up these biometric authentication features for added security and convenience. This allows you to unlock your device, authenticate app purchases, and access secure information with ease.
-
Create a Passcode: Establish a passcode to secure your device and protect your personal information. A passcode adds an extra layer of security, ensuring that only authorized users can access your iPhone 14.
-
Enable or Disable Services: Customize your device by enabling or disabling services such as Location Services, Siri, and Analytics. Tailoring these settings according to your preferences allows you to optimize your iPhone's functionality while respecting your privacy.
-
Set Up Apple Pay (Optional): If you use Apple Pay, you can set it up on your iPhone 14 to make secure and convenient payments in stores, apps, and on the web.
-
Complete the Setup: Once you have configured your preferences, restored your data (if applicable), and personalized your device, you can proceed to complete the setup process. Your iPhone 14 is now ready to deliver a tailored and optimized user experience, reflecting your individual preferences and requirements.
By following these steps to set up your iPhone 14, you have effectively personalized your device, ensuring that it aligns with your preferences and provides a seamless user experience. Whether you are restoring from a backup, configuring security features, or customizing your settings, the setup process empowers you to make the most of your freshly reset iPhone, setting the stage for a personalized and optimized user journey.