
Checking Compatibility
Checking Compatibility
Before inserting a SIM card into your iPhone SE, it's essential to ensure that the SIM card is compatible with the device. The iPhone SE uses a nano-SIM card, which is the smallest SIM card size available. If your current SIM card is not a nano-SIM, you will need to contact your mobile service provider to obtain a compatible SIM card.
To check the compatibility of your SIM card, look for the SIM card size indicated on the card itself. If it's not labeled, you can measure the dimensions to determine the size. The nano-SIM measures 12.3mm x 8.8mm, making it significantly smaller than the standard and micro-SIM cards.
It's important to note that the iPhone SE is compatible with 4G LTE networks, so ensure that your SIM card and mobile plan support this technology for optimal performance. If you're unsure about the compatibility of your SIM card or mobile plan, reaching out to your service provider for assistance is recommended.
By verifying the compatibility of your SIM card and mobile plan with the iPhone SE, you can ensure a seamless and trouble-free activation process, allowing you to make the most of your device's connectivity features.
Power Off the iPhone SE
Power Off the iPhone SE
Before inserting or removing a SIM card from your iPhone SE, it’s essential to power off the device to prevent any potential damage to the SIM card or the iPhone itself. Here’s how to power off your iPhone SE:
- Press and Hold the Side Button: Located on the right side of the iPhone SE, the side button serves multiple functions, including powering off the device. Press and hold the side button until the “slide to power off” slider appears on the screen.
- Slide to Power Off: Once the “slide to power off” slider is displayed, use your finger to slide it from left to right. This action initiates the power-off sequence.
- Wait for Shutdown: Allow the iPhone SE a few moments to complete the shutdown process. You will know the device is powered off when the screen goes dark.
Ensuring that your iPhone SE is fully powered off before manipulating the SIM card tray minimizes the risk of causing any software or hardware issues. This simple precaution can help maintain the integrity of your device and SIM card, promoting a smooth and trouble-free SIM card installation process.
Locate the SIM Card Tray
Locate the SIM Card Tray
Before you can insert a SIM card into your iPhone SE, you’ll need to locate the SIM card tray. The SIM card tray on the iPhone SE is situated on the right side of the device, adjacent to the side button. Here’s how to locate the SIM card tray:
- Identify the Side Button: The side button, which is used to power off the device, is located on the right side of the iPhone SE. The SIM card tray is positioned directly opposite this button.
- Locate the SIM Card Tray Slot: Look for a small pinhole or a tiny recessed area along the right edge of the iPhone SE. This is the location of the SIM card tray slot.
- Use the SIM Eject Tool: To access the SIM card tray, you will need the SIM eject tool that came with your iPhone SE. If the tool is not readily available, a small paperclip can be used as an alternative. Insert the eject tool or paperclip into the pinhole or recessed area and gently apply pressure to release the SIM card tray.
By familiarizing yourself with the location of the SIM card tray and understanding how to access it, you’ll be well-prepared to proceed with inserting the SIM card into your iPhone SE. This knowledge will streamline the SIM card installation process and minimize the likelihood of any complications.
Inserting the SIM Card
Inserting the SIM Card
Once you’ve located the SIM card tray on your iPhone SE, the next step is to insert the SIM card securely into the tray. Here’s a step-by-step guide to help you through the process:
- Remove the SIM Card Tray: Gently insert the SIM eject tool or a paperclip into the pinhole or recessed area next to the SIM card tray slot. Apply light pressure to release the SIM card tray from the iPhone SE.
- Place the SIM Card on the Tray: Once the SIM card tray is removed, position the nano-SIM card onto the tray. The SIM card should fit snugly within the designated area, with the gold contacts facing down and the notched corner aligned with the corner of the tray.
- Reinsert the SIM Card Tray: Carefully reinsert the SIM card tray back into the iPhone SE, ensuring that it is oriented in the correct position. Apply gentle pressure to fully seat the tray into the device.
- Power On the iPhone SE: After successfully inserting the SIM card, power on your iPhone SE by pressing and holding the side button until the Apple logo appears on the screen.
By following these steps, you can confidently insert the SIM card into your iPhone SE, enabling you to utilize cellular services and enjoy seamless connectivity on your device. Ensuring that the SIM card is properly inserted and the tray securely repositioned will allow for uninterrupted functionality and optimal performance.
Power On the iPhone SE
Power On the iPhone SE
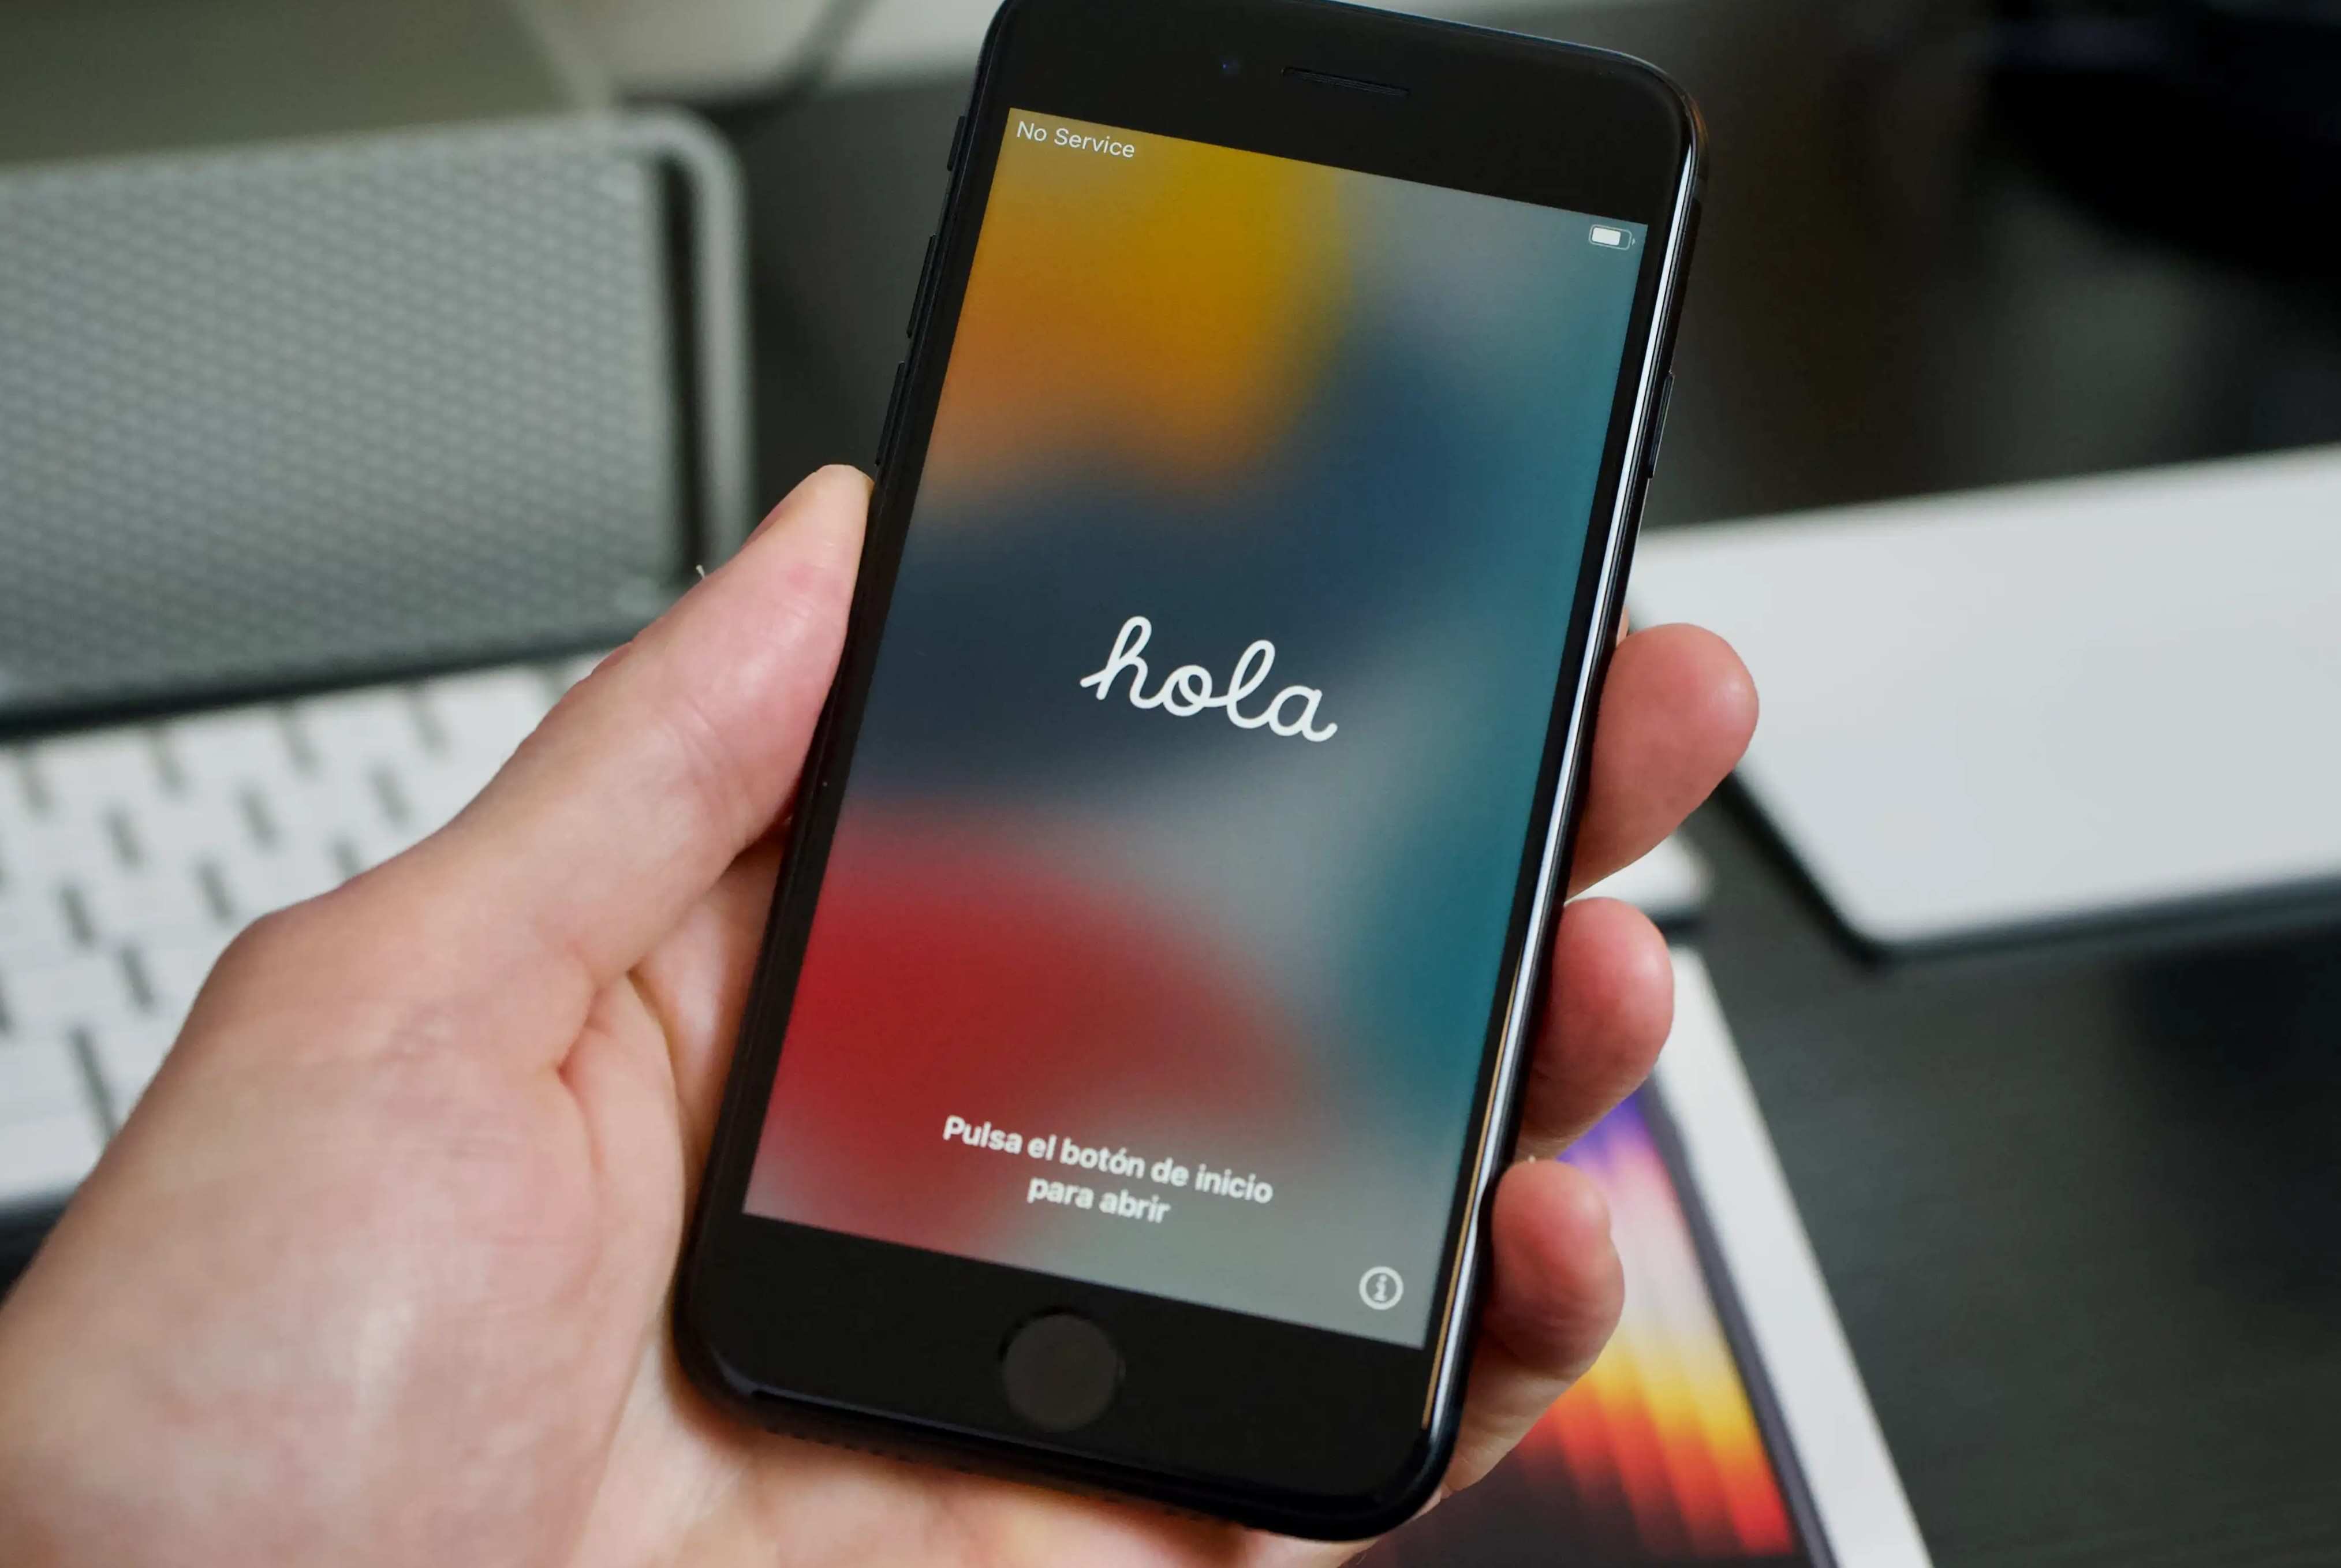
After successfully inserting the SIM card into your iPhone SE, the next step is to power on the device. Here’s a simple guide to help you power on your iPhone SE:
- Press and Hold the Side Button: Located on the right side of the iPhone SE, the side button also functions as the power button. Press and hold this button until the Apple logo appears on the screen.
- Release the Side Button: Once the Apple logo is displayed, release the side button. The iPhone SE will continue to boot up, and you will be prompted to enter your passcode or use Touch ID, depending on your device’s settings.
- Set Up Your iPhone SE: Follow the on-screen instructions to set up your iPhone SE, including connecting to a Wi-Fi network, signing in with your Apple ID, and configuring additional settings to personalize your device.
By powering on your iPhone SE after inserting the SIM card, you can ensure that the device recognizes the new SIM card and establishes connectivity with your mobile network. This straightforward process allows you to begin using your iPhone SE for calls, messaging, and data services without any interruptions.
Troubleshooting Tips
Troubleshooting Tips
While inserting a SIM card into your iPhone SE is typically a straightforward process, you may encounter occasional issues. Here are some troubleshooting tips to address common concerns:
- No SIM Card Detected: If your iPhone SE displays a “No SIM Card Installed” or similar message after inserting the SIM card, ensure that the card is inserted correctly and that the SIM card tray is securely positioned. Additionally, restarting your device may resolve this issue.
- Weak or No Signal: If you notice a weak or absent cellular signal after inserting the SIM card, try restarting your iPhone SE to re-establish the connection with your mobile network. You can also check if your mobile plan is active and properly provisioned for cellular services.
- Invalid SIM Card: In the event of an “Invalid SIM” message, remove the SIM card from the tray, gently wipe the gold contacts with a soft, dry cloth, and reinsert the SIM card. If the issue persists, contacting your mobile service provider for assistance is recommended.
- Network Activation Issues: If you encounter difficulties with network activation, ensure that your mobile plan is active and that your carrier’s network is operational. Contact your service provider to verify the activation status of your SIM card and troubleshoot any network-related issues.
- Software Updates: Periodically check for software updates on your iPhone SE, as these updates may include fixes for SIM card-related issues. Updating to the latest iOS version can address compatibility issues and enhance the performance of your device.
By applying these troubleshooting tips, you can address potential challenges associated with inserting and activating a SIM card in your iPhone SE. These simple yet effective solutions can help optimize the functionality of your device and ensure a seamless experience with your mobile carrier’s services.