
Step 1: Locate the SIM Card Tray
Before embarking on the process of removing the SIM card from your iPhone SE, it’s essential to familiarize yourself with the location of the SIM card tray. This small yet crucial component is typically situated on the right-hand side of the device. To access it, you’ll need to locate the SIM card tray eject hole, a tiny pin-sized opening that allows the tray to be removed.
Firstly, ensure your iPhone SE is powered off. This is a crucial step to prevent any potential damage to the device or the SIM card itself. Once the phone is switched off, turn your attention to the right-hand side of the device. You’ll notice a small, inconspicuous pinhole. This is the SIM card tray eject hole. It’s designed to accommodate the SIM card removal tool, which is included with the iPhone SE or can be obtained separately if needed.
Upon locating the SIM card tray eject hole, take a moment to familiarize yourself with its precise location. It’s often located just below the power button on the right-hand side of the device. The placement may vary slightly depending on the specific model of the iPhone SE, so take a close look to ensure you’ve identified the correct location.
By taking the time to locate the SIM card tray and the eject hole, you’ll be well-prepared to proceed with the subsequent steps, confidently navigating the process of removing and reinserting the SIM card with ease.
Step 2: Insert the SIM Card Removal Tool
With the SIM card tray located, the next step is to prepare the SIM card removal tool for use. This small, specialized tool is essential for safely ejecting the SIM card tray from your iPhone SE. The tool is typically provided by Apple and can also be obtained from authorized retailers or online stores if it’s not available with your device.
When you have the SIM card removal tool in hand, take a moment to inspect it closely. You’ll notice that it’s a slender, metallic pin with a small, flattened end. This flattened end is designed to fit precisely into the SIM card tray eject hole, allowing you to release the tray and access the SIM card within.
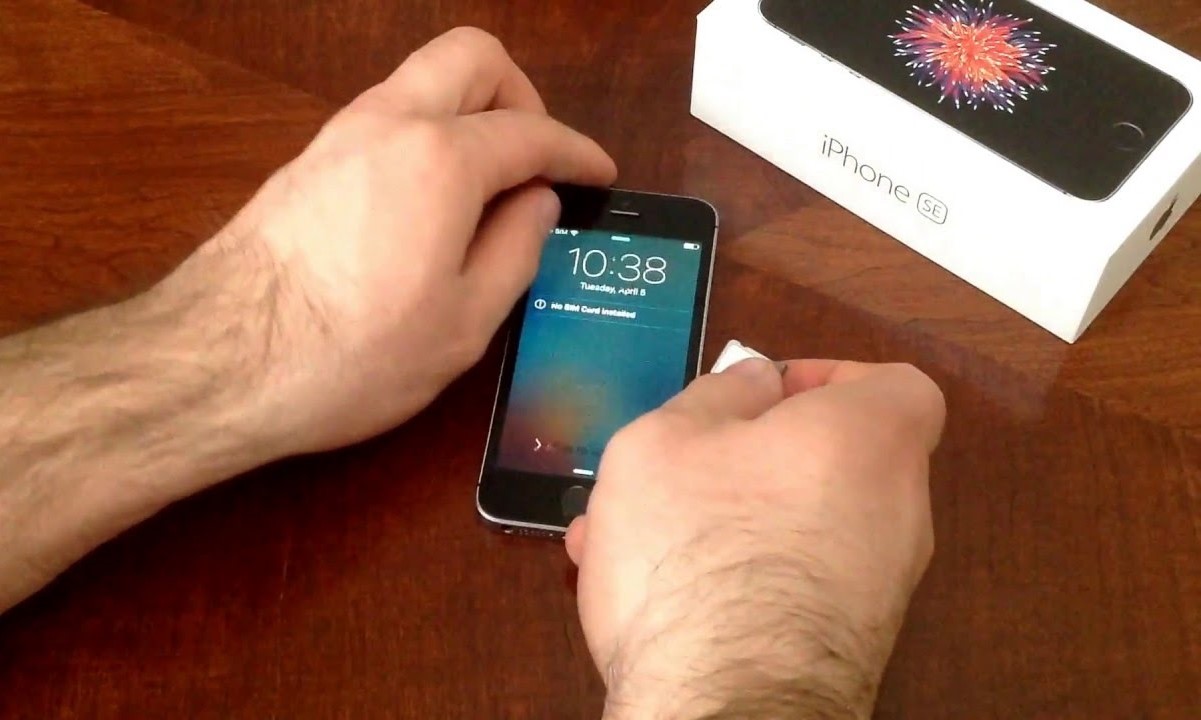
To begin, firmly grasp the SIM card removal tool between your thumb and forefinger, ensuring that you have a secure grip on the tool. With the iPhone SE still powered off, gently insert the flattened end of the tool into the SIM card tray eject hole. Apply steady, even pressure to ensure that the tool is fully inserted into the hole. You should feel a slight resistance as the tool engages with the internal mechanism of the SIM card tray.
It’s important to approach this step with care and precision, as the SIM card tray and the delicate components within the device require gentle handling. Avoid using excessive force when inserting the tool, as this could potentially damage the internal mechanism or the SIM card itself. By exercising caution and taking your time, you can ensure that the tool is correctly positioned to facilitate the smooth ejection of the SIM card tray.
Once the SIM card removal tool is securely inserted into the eject hole, you’re ready to proceed to the next step of the process, confidently preparing to eject the SIM card tray from your iPhone SE.
Step 3: Eject the SIM Card Tray
With the SIM card removal tool correctly inserted into the SIM card tray eject hole, you’re now ready to proceed with the next crucial step: ejecting the SIM card tray from your iPhone SE. This step requires a steady hand and a gentle touch to ensure the safe removal of the tray without causing any damage to the device or the SIM card.
Before proceeding, it’s important to reiterate the significance of ensuring that your iPhone SE is powered off. This precautionary measure reduces the risk of any potential damage to the internal components of the device and minimizes the chance of disrupting the SIM card’s connection during the removal process. Once you’ve confirmed that the phone is powered off, proceed with the following steps to eject the SIM card tray.
Apply gentle, even pressure to the SIM card removal tool, keeping your hand steady as you press inward. You should feel a slight resistance as the internal mechanism of the iPhone SE responds to the pressure applied by the tool. Continue to exert gentle pressure until you sense the SIM card tray beginning to emerge from the device.
As the SIM card tray starts to slide out, maintain a firm grip on the SIM card removal tool to guide the tray smoothly out of the iPhone SE. Exercise caution and patience during this step, as the tray should be removed slowly and steadily to prevent any jarring movements that could potentially dislodge the SIM card or cause damage to the internal components.
Once the SIM card tray is fully ejected from the device, carefully set it aside in a secure location, ensuring that it’s placed on a flat surface to prevent the SIM card from dislodging or becoming damaged. With the tray removed, you’re now ready to proceed to the next step of the process, which involves safely removing the SIM card from the tray itself.
Step 4: Remove the SIM Card
With the SIM card tray successfully ejected from your iPhone SE, the next step is to carefully remove the SIM card from the tray. This process requires precision and a delicate touch to ensure that the SIM card is handled with care and that it remains in optimal condition for reinstallation or potential future use.
Upon removing the SIM card tray from the device, take a moment to inspect the tray and locate the SIM card. The SIM card is typically situated within a small, rectangular slot on the tray. It’s essential to handle the SIM card and the tray with care, avoiding any abrupt movements or excessive force that could potentially damage the delicate components.
To remove the SIM card, gently tilt the tray to a slight angle, allowing the SIM card to slide out of its slot. Exercise caution to prevent the SIM card from falling or becoming dislodged from the tray. Once the SIM card is partially exposed, use your fingers to carefully grasp the card, ensuring that you’re holding it by the edges to avoid touching the metal contacts or the delicate circuitry on the card’s surface.
With a steady hand, gently slide the SIM card out of the tray, taking care to maintain a firm grip and a controlled motion. Avoid bending or flexing the SIM card, as this could potentially damage the card and compromise its functionality. By handling the SIM card with care and attention to detail, you can ensure that it remains in pristine condition throughout the removal process.
Once the SIM card is removed from the tray, set it aside in a secure location, taking care to place it on a flat surface away from any potential sources of damage or interference. By handling the SIM card with care and attention to detail, you can ensure that it remains in optimal condition for reinstallation or safekeeping.
With the SIM card safely removed from the tray, you’re now ready to proceed to the final step of the process, which involves reinserting the SIM card tray into your iPhone SE.
Step 5: Reinsert the SIM Card Tray into the iPhone SE
Having successfully removed the SIM card from your iPhone SE, the final step in the process is to reinsert the SIM card tray back into the device. This step is crucial to ensure that the SIM card is securely placed within the iPhone SE, allowing for seamless connectivity and optimal functionality.
Before reinserting the SIM card tray, take a moment to inspect the SIM card itself. Ensure that the card is free from any dust, debris, or damage that could potentially hinder its performance or connectivity. By verifying the condition of the SIM card, you can proceed with confidence, knowing that the card is in optimal condition for reinstallation.
With the SIM card tray in hand, carefully position the SIM card within the designated slot on the tray. The SIM card should align with the contours of the slot, ensuring a proper fit within the tray. Take care to orient the SIM card in the correct position, aligning the notched corner of the card with the corresponding notch in the slot to ensure that it is inserted properly.
Once the SIM card is securely in place on the tray, gently position the tray at a slight angle, allowing the SIM card to slide smoothly into the device. Exercise caution to prevent any jarring movements or misalignment that could potentially damage the SIM card or the internal components of the iPhone SE.
As the SIM card tray is reinserted into the device, apply gentle pressure to ensure that it fits snugly and securely within the designated slot. Take care to align the tray with the opening, ensuring that it sits flush against the device’s exterior. Once the tray is positioned correctly, exert steady pressure to fully seat the tray within the iPhone SE.
With the SIM card tray securely reinserted into the device, take a moment to power on your iPhone SE and verify that the SIM card is recognized and functioning as expected. By following these steps with care and precision, you can confidently complete the process of removing and reinserting the SIM card in your iPhone SE, ensuring seamless connectivity and optimal performance.