
What is the HTC Vive?
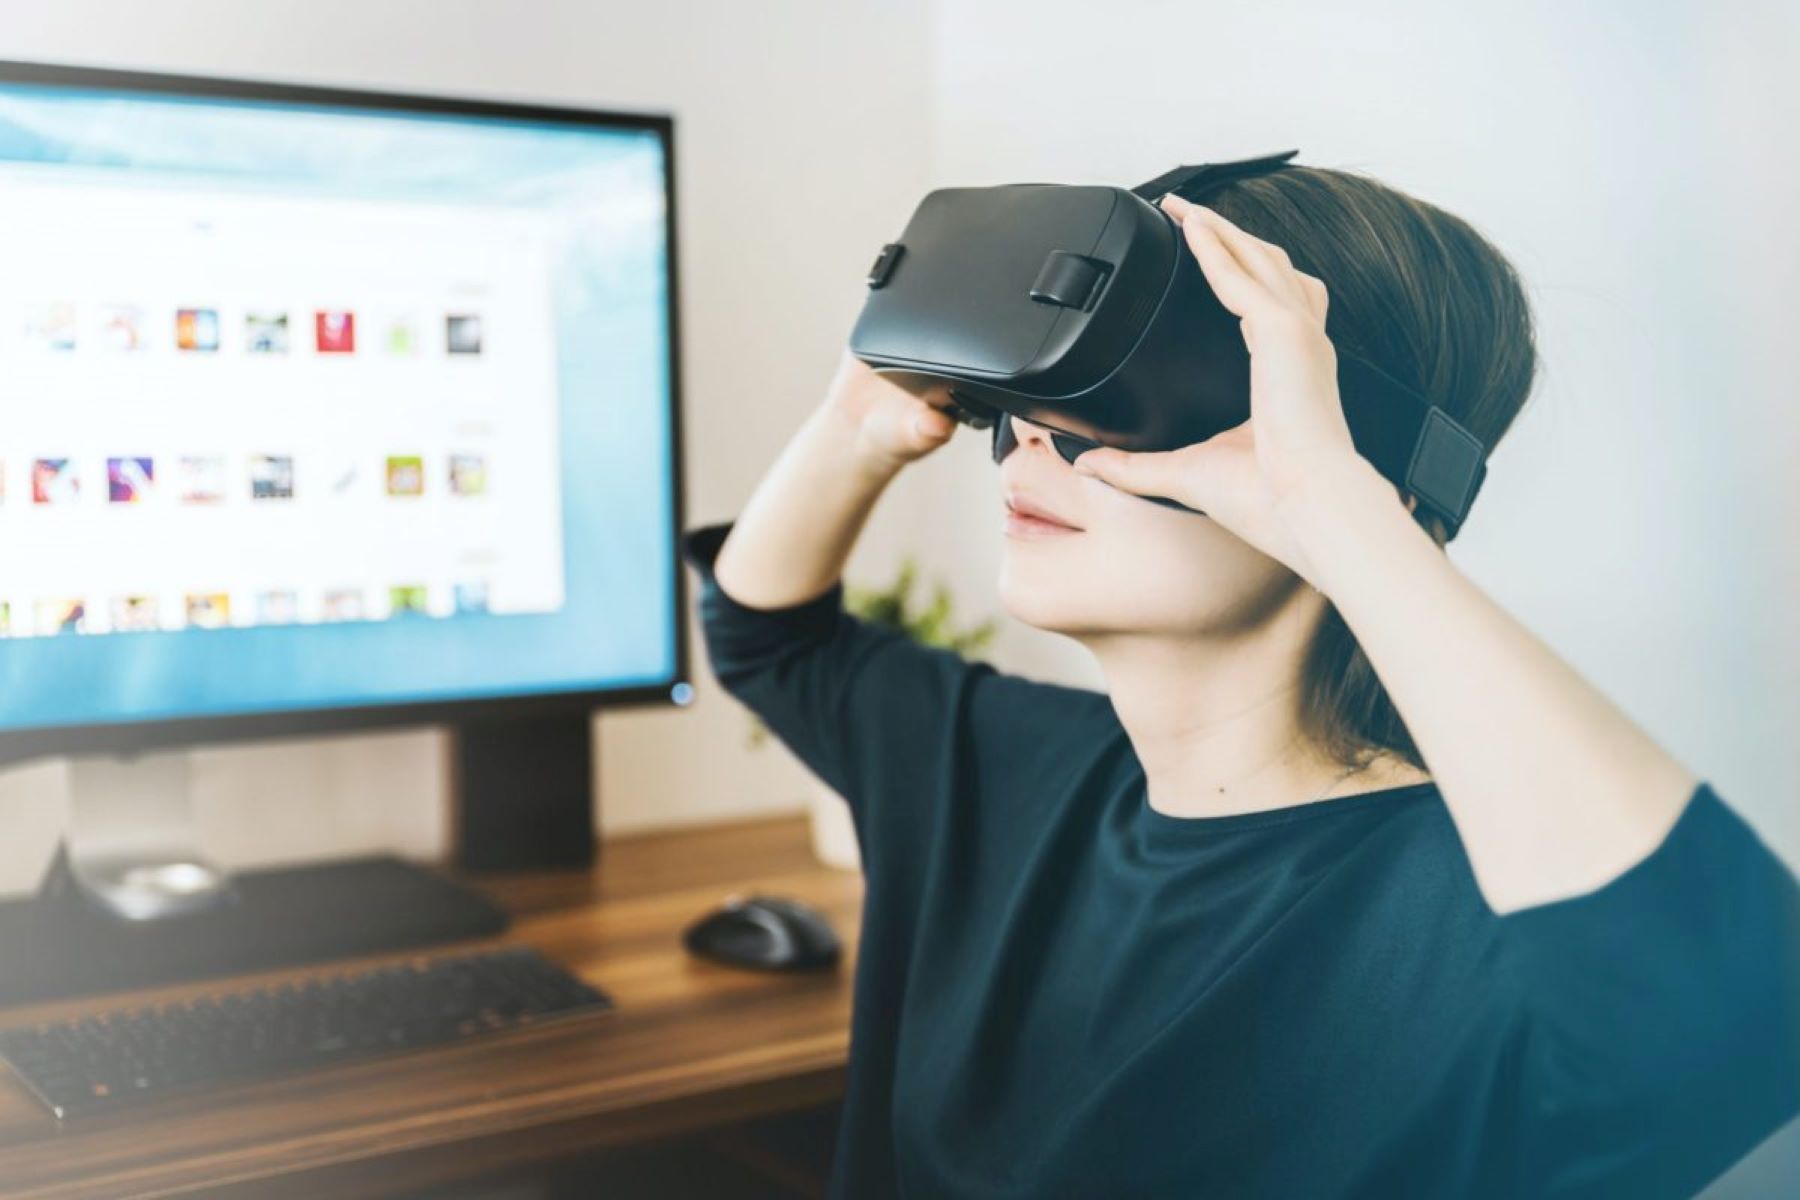
The HTC Vive is a virtual reality (VR) headset developed by HTC and Valve. It is designed to transport users into immersive virtual worlds, allowing them to interact and explore their surroundings in a way that feels incredibly realistic. With its high-resolution display and precision tracking, the HTC Vive provides a truly immersive VR experience that can transport users to places they’ve never been before.
One of the standout features of the HTC Vive is its room-scale tracking capability. This means that instead of being limited to a seated or standing experience, users can physically move around in a designated play area, known as a VR room, and have their movements translated into the virtual environment. This adds another layer of realism and interactivity to the VR experience, as users can walk, crouch, and reach for objects within the virtual world.
The HTC Vive also features intuitive motion controllers that allow for precise hand tracking and interaction in the virtual environment. These controllers can accurately capture the user’s hand movements and gestures, giving them the ability to grab and manipulate objects, interact with virtual buttons and switches, and engage in realistic hand-to-hand interactions in VR games and experiences.
Furthermore, the HTC Vive provides a wide field of view and high refresh rate, which helps to reduce motion sickness and create a more comfortable and immersive experience. The headset is equipped with built-in headphones, delivering spatial audio that enhances the sense of presence in the virtual world.
Since its release, the HTC Vive has become a popular choice among VR enthusiasts, gamers, and professionals in various industries. Its rich features and expansive library of VR games and applications make it a versatile and powerful tool for entertainment, education, training, and more.
System Requirements for Using HTC Vive as a Monitor
Using the HTC Vive as a monitor requires a powerful and capable computer setup. The following are the minimum system requirements you should meet to ensure a smooth and optimal experience:
- Processor: A quad-core Intel Core i5 or AMD Ryzen 5 processor is recommended. The faster the processor, the better the performance.
- Graphics Card: You will need a powerful graphics card to handle the intensive visual rendering required for VR. The minimum requirement is an NVIDIA GeForce GTX 1060 or AMD Radeon RX 480.
- Memory: A minimum of 8GB RAM is necessary for running VR applications, but it is recommended to have 16GB for a smoother experience.
- Operating System: The HTC Vive is compatible with Windows 10 and newer versions.
- Available USB Ports: You will need at least one USB 2.0 or USB 3.0 port to connect the HTC Vive headset.
- Display Output: Your graphics card should have HDMI 1.4 or DisplayPort 1.2 output to connect the HTC Vive.
- Room Space: For the room-scale VR experience, you will need a clear play area of at least 6.5 feet by 5 feet (2m x 1.5m) to move around comfortably.
Additionally, it’s vital to ensure that your computer meets or exceeds the recommended specifications for any specific VR applications or games you plan to use with the HTC Vive. Some demanding VR experiences may require even more powerful hardware to run smoothly.
Remember to regularly update your graphics card drivers and keep your operating system up to date for the best compatibility and performance with the HTC Vive.
Setting up the HTC Vive as a Monitor
Setting up the HTC Vive to use as a monitor involves several steps. Here’s a guide to help you get started:
- Connect the Hardware: Start by connecting the HTC Vive headset to your computer. Plug the HDMI cable into the graphics card’s HDMI output port and connect the USB cable to an available USB port. Make sure both connections are secure.
- Set up the Base Stations: Position the base stations in opposite corners of your play area, ensuring that they are securely mounted or placed on stable surfaces. Plug in the power adapters and make sure the base stations are facing each other. Ensure nothing is obstructing their view of each other.
- Enable SteamVR: If you haven’t done so already, download and install the SteamVR software from the Steam website. Launch SteamVR and follow the on-screen prompts to calibrate your room and controllers. This will help ensure accurate tracking and optimal performance.
- Put on the Headset: Put on the HTC Vive headset and adjust the straps for a comfortable fit. Make sure the lenses are clean and positioned correctly in front of your eyes.
- Set Up Display Preferences: In the SteamVR dashboard, go to Settings and navigate to the Display tab. From here, you can set your preferred display mode, resolution, and refresh rate. You may need to adjust these settings based on your computer’s performance and personal preferences.
- Calibrate the Play Area: Follow the on-screen instructions to calibrate your room’s boundaries. Use the controllers to trace the borders of your play area by pointing and squeezing the triggers. This will help create a virtual boundary that keeps you within the designated VR space.
- Start Using the HTC Vive as a Monitor: With the setup complete, you can now use the HTC Vive as a monitor. Launch applications or games through SteamVR and enjoy the immersive experience of using your virtual space as a monitor.
Keep in mind that adjusting the display settings and properly calibrating the play area can greatly enhance your experience and reduce any potential discomfort while using the HTC Vive as a monitor. Take your time to find the optimal settings for your preferences and ensure a smooth VR experience.
Extending Display from the PC to the HTC Vive
To extend the display from your PC to the HTC Vive headset, follow these steps:
- Check Connection: Make sure the connections between your PC and HTC Vive are correctly set up. Ensure that the HDMI cable is securely plugged into the graphics card’s HDMI output port and that the USB cable is connected to an available USB port.
- Enable Extended Mode: Open the SteamVR dashboard on your computer. From the drop-down menu on the status window, select “Settings.” In the settings menu, go to the “Developer” tab and check the box beside “Enable Direct Mode.” This will allow you to access the “Set Up” tab, where you can switch to extended mode.
- Configure Display Settings: Once in extended mode, you will need to configure the display settings. Go to the system tray on your desktop, right-click on the display icon, and select “Display Settings.” Find the HTC Vive display and click on it. Set it as an extended display and adjust the resolution and orientation as needed.
- Adjust VR Settings: Open the SteamVR dashboard and navigate to “Settings.” In the “Display” tab, check to ensure that the resolution and refresh rate match the settings you configured for the HTC Vive display in the previous step.
- Confirm the Display Order: In the display settings on your computer, make sure the HTC Vive display is set as the secondary display. You can drag and arrange the display icons in the display settings window accordingly.
- Test the Extended Display: Launch a VR application or game through SteamVR and make sure the display is being extended to the HTC Vive headset. You should see the content on your PC monitor as well as in the VR headset.
With the display successfully extended to the HTC Vive, you can now enjoy an immersive VR experience with content being displayed both on your monitor and in the headset. This allows you to explore virtual worlds and interact with applications in a more engaging and interactive manner.
If you encounter any issues during the process, ensure that your graphics card drivers are up to date and that your PC meets the necessary system requirements. You may also need to consult the documentation provided with the HTC Vive or visit the manufacturer’s website for further troubleshooting steps.
Adjusting Display and Resolution Settings on the HTC Vive
The HTC Vive allows you to adjust display and resolution settings to optimize your VR experience. Here’s how you can do it:
- Access SteamVR Dashboard: While wearing the HTC Vive headset, press the system button on one of the controllers to open the SteamVR dashboard.
- Navigate to Settings: Within the SteamVR dashboard, use the trackpad or thumbstick on the controller to navigate to the “Settings” option.
- Go to Display Options: In the settings menu, select “Display” to access the display options for the HTC Vive.
- Adjust Resolution: In the Display options, you can adjust the resolution of the HTC Vive headset. Higher resolutions provide a sharper image but may require more GPU power. Find the resolution that balances visual quality and performance for your specific hardware.
- Change Display Mirror Options: The display mirror option allows you to mirror the content being displayed in the HTC Vive headset on your computer monitor. You can choose to enable or disable this option based on your preferences.
- Modify Refresh Rate: The refresh rate determines how many times the image on the HTC Vive display is refreshed per second. Higher refresh rates result in smoother motion and reduced motion sickness. Select the refresh rate that provides the best balance between smoothness and performance for your VR experience.
- Adjust Brightness and Color Contrast: Some VR applications may have their own brightness and color contrast settings. If necessary, adjust these settings directly within the VR application for optimal visuals. Consult the application’s documentation or settings menu for more details.
Experiment with different resolution, refresh rate, brightness, and color contrast settings to find the configuration that best suits your preferences and hardware capabilities. Keep in mind that higher settings may require more powerful hardware to maintain a smooth and enjoyable VR experience.
Properly adjusting the display and resolution settings on the HTC Vive can greatly enhance the visual quality, immersion, and comfort of your VR experience. Take the time to explore the options and find the settings that provide the most enjoyable and realistic virtual environment.
Controlling the HTC Vive as a Monitor
Controlling the HTC Vive as a monitor involves using the included motion controllers or other compatible input devices. Here’s how you can interact with the virtual environment on the HTC Vive:
- Use Motion Controllers: The HTC Vive comes with motion controllers that allow for precise hand tracking and interaction in the virtual environment. These controllers have buttons, triggers, and trackpads that can be used to navigate menus, interact with objects, and perform various actions within VR applications and games.
- Point and Click: In many VR applications, you can simply point at objects or buttons using the motion controllers and click the trigger or buttons to interact with them. This allows you to grab and manipulate virtual objects, press buttons, and engage in virtual interactions.
- Menu Navigation: VR applications have user interfaces that can be accessed and navigated using the motion controllers. Typically, you can use the trackpad or thumbstick on the controllers to move through menus, make selections, and adjust settings within the VR environment.
- Gestures and Movements: Depending on the VR application or game, certain hand gestures or movements may be recognized by the HTC Vive. These gestures can be used to trigger specific actions or interactions within the virtual environment, adding an extra layer of immersion and interactivity.
- Keyboard and Mouse Support: If you prefer using a keyboard and mouse, the HTC Vive also supports their usage. You can connect a keyboard and mouse to your computer and use them as input devices to control the VR environment, particularly when navigating menus or typing within virtual applications.
- Third-Party Controllers: Besides the motion controllers provided with the HTC Vive, there are also other compatible input devices available, such as gamepads or custom VR controllers. These third-party controllers can be used as alternative input methods depending on the compatibility and support of the specific VR application or game.
Each VR application may have its own unique controls and interactions, so it’s essential to familiarize yourself with the specific instructions provided within the application or game. Experiment with different control methods and gestures to fully utilize the capabilities of the HTC Vive as a monitor and immerse yourself in the virtual world.
Enjoy the freedom and interactivity the HTC Vive provides as you control and navigate through the virtual environment using the motion controllers or other compatible input devices. Let your imagination roam and make the most out of your VR experience.
Using the HTC Vive for Productivity and Multitasking
While the HTC Vive is primarily known for its immersive gaming capabilities, it can also be utilized for productivity and multitasking purposes. Here are some ways you can make the most out of the HTC Vive in a productive setting:
- Virtual Desktops: Utilize virtual desktop applications that allow you to create and interact with multiple virtual screens within the HTC Vive. This can greatly enhance your multitasking abilities, as you can have different applications and windows open simultaneously without cluttering your physical workspace.
- Workplace Collaboration: Utilize VR collaboration tools that enable remote teams to meet and work together in a virtual environment. These tools provide features such as whiteboards, file sharing, screen sharing, and real-time communication, allowing for seamless collaboration and brainstorming sessions.
- Immersive Learning Experiences: Take advantage of VR applications and simulations for educational purposes. Whether it’s learning new skills, exploring historical landmarks, or understanding complex concepts, the HTC Vive can provide a more engaging and interactive learning experience.
- Visualization and Design: Use VR applications that allow you to visualize and design in a three-dimensional space. Architects, interior designers, and product designers can benefit from the immersive nature of the HTC Vive to explore and refine their designs with a sense of scale and depth.
- Virtual Meetings and Presentations: Conduct virtual meetings or presentations using VR collaboration tools. This allows participants to join from different locations and engage in a more interactive and immersive manner, making meetings and presentations more engaging and memorable.
- Workout and Productivity Breaks: Engage in active VR experiences during breaks to refresh your mind and stimulate your body. VR fitness applications can provide an interactive and fun way to exercise, helping to boost energy levels and improve productivity.
- Mindfulness and Relaxation: Utilize VR relaxation applications that offer soothing environments, guided meditation, and mindfulness exercises. These experiences can help reduce stress and improve focus and concentration.
With evolving VR technology and an expanding library of productivity-focused applications, the HTC Vive has the potential to transform the way we work, learn, collaborate, and relax. Explore the various productivity-oriented VR applications and find the ones that align with your specific needs and interests to enhance your productivity and multitasking abilities.
Troubleshooting Common Issues while Using HTC Vive as a Monitor
Using the HTC Vive as a monitor may occasionally come with certain challenges and issues. Here are some common problems that users may encounter and suggested troubleshooting steps to resolve them:
- No Video or Display: If you can’t see anything on the HTC Vive display, check the connections between the headset and your computer. Ensure that the HDMI cable is properly connected to the graphics card and that the USB cable is securely plugged into an available USB port. Additionally, make sure that the HTC Vive headset is powered on.
- Poor Image Quality or Blurry Display: Adjust the positioning of the headset on your face to ensure that it sits comfortably and securely. Use the headset’s adjustment straps to achieve a clear and focused image. If the display is still blurry, check the lens for dirt or smudges and clean them using a microfiber cloth.
- Tracking Issues: If you experience tracking problems, ensure that the base stations are properly set up and facing each other. Make sure that there are no objects obstructing the line of sight between the base stations and the headset. Additionally, check the power connections to the base stations and ensure that they are securely plugged in.
- USB Connection Errors: If you encounter USB connection errors, try connecting the HTC Vive to a different USB port on your computer. Avoid using USB hubs or extension cables, as these may cause connectivity issues. Also, ensure that your USB ports are functioning properly by testing them with other devices.
- Audio Issues: If you are experiencing audio problems, check the audio settings on your computer and make sure that the HTC Vive audio device is selected as the default playback device. Verify that the headphone cables are properly connected to the HTC Vive headset. You can also try restarting the VR application or restarting SteamVR.
- Performance or Crashing Problems: If you encounter performance issues or the VR application crashes frequently, ensure that your computer meets the recommended system requirements. Update your graphics card drivers to the latest version and make sure that your operating system is up to date. Close any unnecessary background applications that might be consuming system resources.
If you have tried these troubleshooting steps and the issues persist, consult the HTC Vive support resources, including their website, forums, or customer support, for further assistance. It’s important to stay updated with the latest software and firmware updates for the HTC Vive to ensure optimal performance and compatibility.
Remember that technical issues may arise from time to time, but with proper troubleshooting and support, you can overcome them and continue to enjoy the immersive experience offered by the HTC Vive as a monitor.