
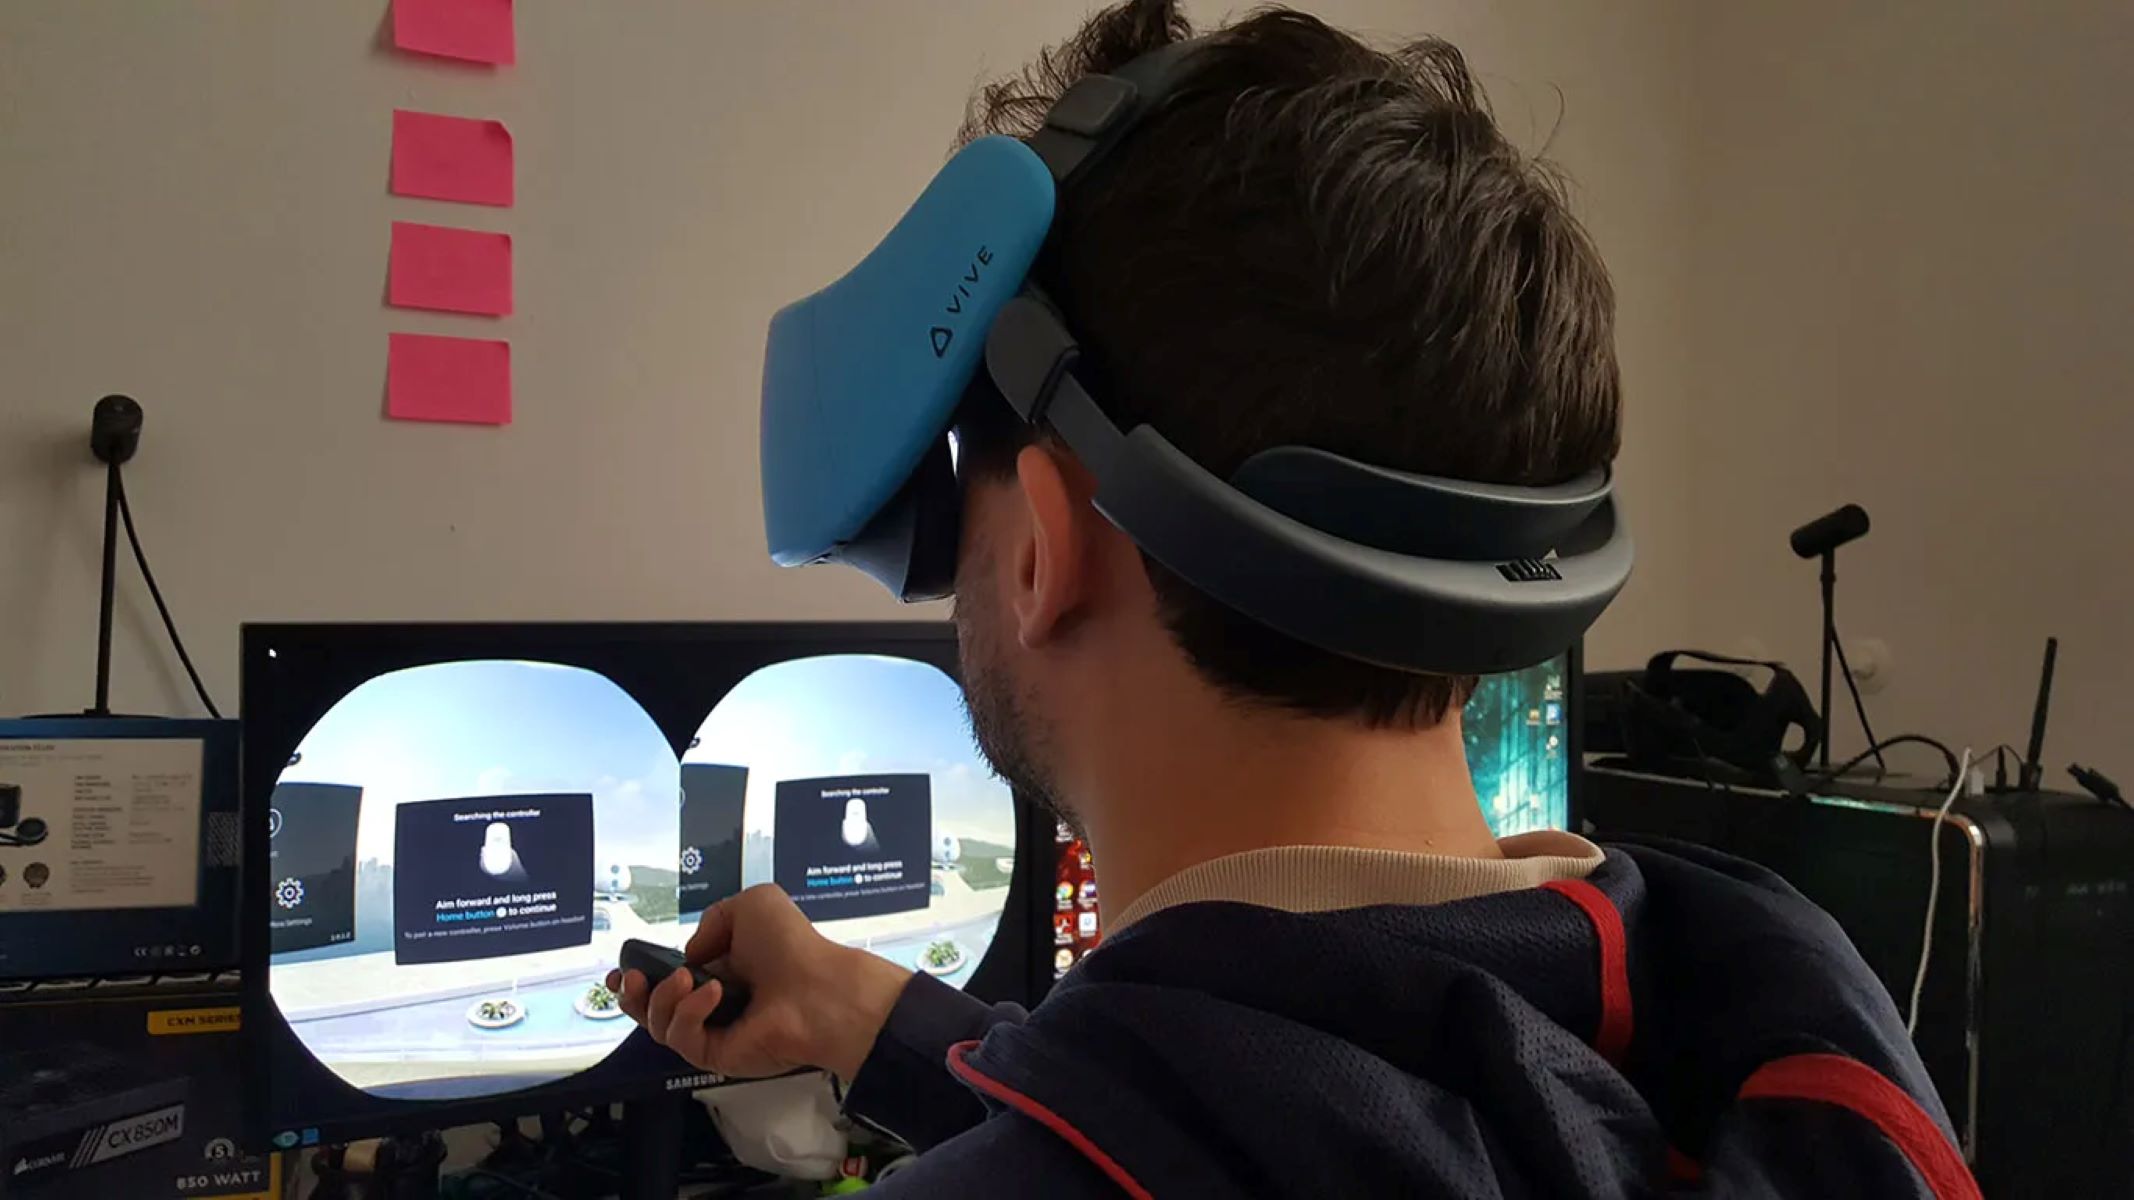
What is HTC Vive?
The HTC Vive is a virtual reality (VR) headset developed by HTC and Valve Corporation. It was released in 2016 and quickly became one of the leading VR platforms in the market. With its high-quality display, accurate tracking system, and immersive experience, the HTC Vive offers users the opportunity to explore virtual worlds and interact with them in a completely new way.
Designed for both gaming and non-gaming purposes, the HTC Vive allows users to step into a virtual environment and engage with their surroundings through a combination of head movements and handheld controllers. The headset provides a 360-degree field of view, creating a sense of presence and realistic immersion.
One of the standout features of the HTC Vive is its tracking system. The headset is equipped with outward-facing sensors that track the movement of the headset and the controllers in real-time. This enables precise and responsive interactions within the virtual world, making the overall experience more lifelike and engaging.
Furthermore, the HTC Vive comes with a vast library of VR games and applications. From action-packed adventures to educational experiences and creative platforms, there is something for everyone. With ongoing developments and updates, the VR content available for the HTC Vive continues to expand, ensuring a dynamic and evolving virtual reality experience.
Overall, the HTC Vive is a cutting-edge VR headset that brings virtual worlds to life. Whether you are a gamer, a creative professional, or simply curious about the possibilities of virtual reality, the HTC Vive offers an unparalleled immersive experience that will transport you to new realms of exploration and excitement.
Why Mirror Display?
Mirroring the display of your HTC Vive can be a useful feature for several reasons. Whether you are a content creator, a presenter, or simply want to share the virtual experience with others, mirroring the display allows everyone to see what you are experiencing inside the VR world. Here are some key reasons why mirroring the display is beneficial:
- Sharing the experience: When you mirror the display of your HTC Vive, it enables others in the room to see exactly what you are seeing in the virtual world. This is particularly useful in social gatherings or when you want to showcase a VR experience to friends, family members, or colleagues.
- Collaboration and presentation: If you are using the HTC Vive for professional presentations, training sessions, or collaborative projects, mirroring the display allows everyone in the room to follow along with the content. This can enhance communication, coordination, and understanding among team members.
- Content creation: For content creators and streamers, mirroring the display enables the ability to capture and record the VR experience. It allows you to create engaging gameplay footage, instructional videos, or immersive content for your audience to enjoy.
- Troubleshooting and support: Mirroring the display can also aid in troubleshooting VR issues or providing support. If you encounter any technical difficulties or need assistance, sharing the mirrored display with a support technician can help them identify and resolve the problem more effectively.
System Requirements
Before you dive into the world of virtual reality with your HTC Vive, it is important to ensure that your system meets the necessary requirements. Here are the key system requirements for running the HTC Vive:
- Processor: The HTC Vive requires a powerful processor to handle the demanding graphics and processing requirements of virtual reality. A quad-core Intel Core i5 processor or equivalent AMD processor is recommended for optimal performance.
- Graphics Card: A capable graphics card is crucial for a smooth and immersive VR experience. The HTC Vive requires at least an NVIDIA GeForce GTX 970 or AMD Radeon R9 290 graphics card (or equivalent). Upgrading to a higher-end GPU will provide better visuals and performance.
- Memory: Sufficient RAM is essential for running VR applications without lags or stutters. The recommended minimum system memory for the HTC Vive is 8GB, but having 16GB or more will ensure a more seamless experience, especially when running resource-intensive applications.
- Operating System: The HTC Vive is compatible with various operating systems, including Windows 10, Windows 8.1, and Windows 7 SP1. However, it is important to ensure that your operating system is up to date with the necessary drivers and software updates for optimal performance.
- Display Output: The HTC Vive requires a high-resolution display output to deliver immersive VR visuals. Ensure that you have an HDMI 1.4 or DisplayPort 1.2 output, as well as a compatible display screen with a refresh rate of 90Hz for smooth gameplay and minimal motion sickness.
- Available Ports: Your system should have available USB ports for connecting the HTC Vive’s sensors and controllers. It is recommended to have at least one USB 2.0 port and one USB 3.0 port for stable and reliable tracking.
By meeting these system requirements, you can ensure a seamless and enjoyable VR experience with your HTC Vive, allowing you to fully immerse yourself in the virtual world.
Connection Options
When setting up your HTC Vive, there are a few different connection options available to ensure a proper and smooth operation of the VR headset. Here are the main connection options for the HTC Vive:
- HDMI and USB: The HTC Vive connects to your computer using an HDMI cable for the display output and a USB cable for data transfer. These cables should be connected to the corresponding ports on your computer to establish a stable connection.
- Base Stations: The base stations, also known as lighthouses, are an important component of the HTC Vive’s tracking system. They need to be properly positioned and connected to a power source. Ensure that the base stations have a clear line of sight with each other and with the headset for accurate tracking.
- Link Box: The link box serves as a hub between your computer and the HTC Vive. It provides additional connectivity options such as DisplayPort, mini DisplayPort, and power input. The link box should be connected to your computer using a USB cable and to the headset using another set of HDMI and USB cables.
- Wireless Adapter: If you prefer a wireless setup, you have the option to use an HTC Vive wireless adapter. This adapter uses a dedicated WiGig connection to transmit both the display and audio wirelessly between the VR headset and your computer. It provides freedom of movement and eliminates the need for cables.
- Audio Connection: For audio, the HTC Vive features built-in headphones. These headphones can be adjusted to fit comfortably over your ears and provide immersive sound. Alternatively, you can use your own headphones by plugging them into the audio jack located on the side of the VR headset.
These connection options ensure that the HTC Vive is properly integrated with your computer and allow for seamless communication between the VR headset and the necessary components. Follow the manufacturer’s instructions and guidelines when setting up the connections to ensure optimal performance and an immersive VR experience.
Mirroring with Direct Mode
Direct Mode is a built-in feature of the HTC Vive that allows for easy mirroring of the VR display to an external monitor or projector. This mode provides a seamless and efficient way to share the virtual reality experience with others. Here’s how you can mirror the display with Direct Mode:
- Enable Direct Mode: Ensure that your HTC Vive is connected to your computer and powered on. Open the SteamVR application on your computer and click on the SteamVR menu. Go to “Settings” and select the “Developer” tab. Check the box next to “Direct Mode” to enable it. Restart SteamVR for the changes to take effect.
- Connect External Display: Connect an external monitor or projector to your computer. Ensure that the display is set up correctly and functioning properly. This will be the display that mirrors the VR experience.
- Mirror Display: In SteamVR, go to the SteamVR menu and select “Display VR View.” A window will appear showing the VR display. Drag this window to the external monitor or projector screen.
- Adjust Display Settings: To optimize the mirroring experience, you can adjust the resolution and refresh rate of the external display. Right-click on the desktop, go to “Display Settings,” and select the external display. From here, you can customize the display settings to your preference.
- Start VR Experience: Start a VR application or game on your HTC Vive. The VR display will be mirrored in real-time on the external monitor or projector. Others can now view the virtual reality experience while you navigate and interact within the VR environment.
- Manage Audio: By default, the audio will play through the HTC Vive’s built-in headphones. If you want the audio to play through the external display’s speakers, you can change the audio output settings on your computer. Go to the Sound settings and select the external display as the default audio output device.
Mirroring the display with Direct Mode provides an effective way to share the HTC Vive’s virtual reality experience with others in real-time. Whether you are presenting, collaborating, or simply showcasing VR content, this feature allows for a more engaging and inclusive experience for everyone involved.
Mirroring with Extended Mode
In addition to Direct Mode, the HTC Vive also offers the option to mirror the display using Extended Mode. This mode allows you to extend your desktop onto the VR headset, enabling you to have a separate view on the headset while mirroring the VR display to an external monitor or projector. Here’s how you can set up mirroring with Extended Mode:
- Enable Extended Mode: Ensure that your HTC Vive is connected to your computer and powered on. Open the SteamVR application on your computer and click on the SteamVR menu. Go to “Settings” and select the “Developer” tab. Check the box next to “Enable VR Dashboard” and then select “Developer Settings.” From there, select “Force the system into Extended Mode.”
- Configure Display Settings: Right-click on the desktop of your computer and select “Display Settings.” Make sure that the extended display (the HTC Vive) is detected and correctly positioned in relation to your primary display. Adjust the resolution and orientation if needed.
- Extend Desktop to VR Display: Once the display settings are configured, go back to the SteamVR application. In the SteamVR menu, select “Display VR View.” A window will appear with the VR display. Drag this window onto the HTC Vive’s extended display.
- Connect External Display: Connect an external monitor or projector to your computer. This will be the display that mirrors the VR experience in real-time.
- Start VR Experience: Start a VR application or game on your HTC Vive. The VR display will be mirrored on the external monitor or projector, while you can have a separate view on the HTC Vive headset.
- Manage Audio: By default, the audio will play through the HTC Vive’s built-in headphones. If you prefer the audio to be played through the external display’s speakers, you can change the audio output settings on your computer. Select the external display as the default audio output device.
- Adjust Display Settings: If needed, you can adjust the display settings of the external monitor or projector to optimize the mirroring experience. Right-click on the desktop, go to “Display Settings,” and select the external display. From here, you can customize the display resolution, refresh rate, and other settings.
Using Extended Mode allows you to have a separate view on the HTC Vive headset while mirroring the VR display to an external monitor or projector. This is beneficial for presentations, demonstrations, or collaborative work where you need to interact with the VR environment while others observe the mirrored display.
Adjusting Display Settings
When using the HTC Vive, it is important to ensure that the display settings are properly configured for the best possible VR experience. Fine-tuning the display settings can enhance visual clarity, reduce motion sickness, and optimize overall performance. Here’s how you can adjust the display settings on your HTC Vive:
- Resolution: The resolution of the VR display impacts the level of detail and sharpness in the virtual world. To adjust the resolution, go to the SteamVR settings on your computer. From there, navigate to the “Video” tab and select a resolution that balances visual quality with smooth performance.
- Refresh Rate: The refresh rate determines how many frames are displayed per second on the VR headset. A higher refresh rate can provide smoother and more comfortable gameplay. In the SteamVR settings, under the “Video” tab, select the desired refresh rate that your hardware can support. The standard refresh rate for the HTC Vive is 90Hz.
- IPD Adjustment: The Inter-Pupillary Distance (IPD) adjustment allows you to customize the distance between the lenses to match the width of your eyes. This ensures a more accurate and comfortable viewing experience. The IPD adjustment knob is located on the bottom right side of the HTC Vive headset. Rotate the knob to align the lenses with your eyes.
- Lens Distance: The distance between the VR lenses and your eyes can affect the clarity of the image. Some users may find it more comfortable to adjust the lens distance to suit their vision. This can be done by using the lens distance adjustment knob located on the bottom left side of the headset.
- Brightness and Contrast: You can adjust the brightness and contrast levels of the display to enhance visibility and improve the overall visual experience. These settings can be adjusted directly on your computer’s graphics control panel or through the display settings within the VR application you are using.
- Supersampling: Supersampling is a technique that renders the VR image at a higher resolution than the display’s native resolution. This can lead to improved image quality and reduced screen-door effect. You can adjust the supersampling setting within the SteamVR settings, under the “Developer” tab. Increase the supersampling value for better image quality, but keep in mind that higher values require more processing power.
By adjusting the display settings of your HTC Vive, you can tailor the visual experience to your preferences and ensure optimal performance. Experimenting with these settings can help you find the right balance between visual quality, comfort, and performance, ultimately enhancing your overall VR experience.
Troubleshooting Tips
While the HTC Vive offers an immersive and seamless VR experience, you may encounter occasional issues or glitches. Here are some troubleshooting tips to help you resolve common problems and ensure a smooth operation of your HTC Vive:
- Check Connections: Ensure that all cables and connections are properly connected and secure. Check the HDMI and USB connections from the headset to the computer, as well as the power and data connections to the base stations.
- Restart Devices: Sometimes, simply restarting the HTC Vive headset, base stations, and your computer can resolve connectivity or tracking issues. Power off all devices, wait for a few seconds, and then power them back on.
- Update Drivers and Firmware: Regularly check for driver and firmware updates for the HTC Vive system. These updates often include bug fixes and performance improvements. Visit the HTC Vive website or use the SteamVR software to check for updates and install them if available.
- Clear Play Area: Ensure that there are no objects or obstacles within the play area that could interfere with the tracking system. Move any furniture, mirrors, or other reflective surfaces that may disrupt the sensors’ line of sight.
- Check Lighting Conditions: Excessive sunlight or bright artificial lighting can affect the tracking accuracy of the HTC Vive. Make sure the play area is well-lit but not overly bright. Consider closing curtains or blinds to control the amount of light entering the room.
- Re-run Room Setup: If you are experiencing tracking issues, consider re-running the room setup process in the SteamVR settings. This recalibrates the base stations and adjusts the tracking settings to match the current environment.
- Check Hardware Compatibility: Ensure that your computer meets the minimum system requirements for running the HTC Vive. Inadequate hardware specifications can lead to performance issues and compatibility problems.
- Disable Background Applications: Close any unnecessary background applications and processes on your computer to free up system resources. Background tasks and applications can cause performance issues and affect the VR experience.
- Contact Support: If you have tried all troubleshooting steps and are still experiencing issues, consider reaching out to the HTC Vive support team or checking online forums for assistance. They can provide specific guidance based on your situation.
By following these troubleshooting tips, you can address common problems and ensure a smooth and enjoyable VR experience with your HTC Vive. Remember, patience and persistence are key when troubleshooting, and don’t hesitate to seek help if needed.