How to Take a Screenshot on Windows
Being able to capture screenshots on your Windows computer can be incredibly useful in various situations. Whether you want to capture an error message, save a web page, or share something interesting you found online, taking a screenshot allows you to quickly and easily capture what’s on your screen.
Here are several methods you can use to take a screenshot on Windows:
- Method 1: Print Screen
- Method 2: Alt + Print Screen
- Method 3: Windows Key + Print Screen
- Method 4: Snipping Tool
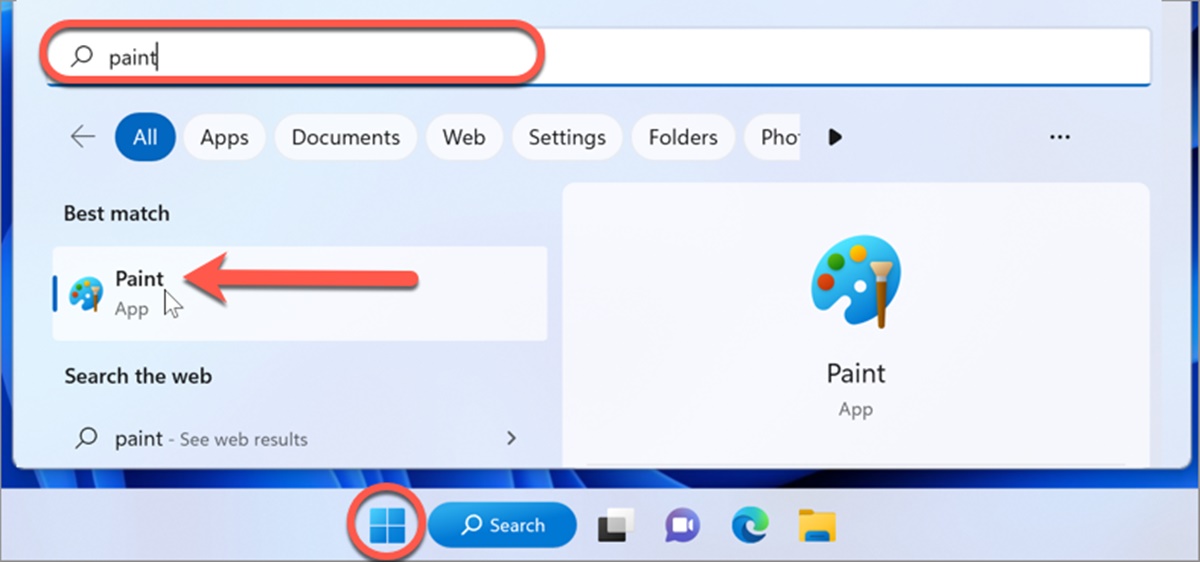
The Print Screen key on your keyboard enables you to capture the entire screen and save it to the clipboard. Press the “Print Screen” or “PrtScn” key, then open an image editing program (such as Paint), and press “Ctrl + V” to paste the screenshot. You can then save the image in a desired format.
If you want to capture only the active window, use the combination of the “Alt” key and the “Print Screen” key. After pressing these keys, open an image editing program and paste the screenshot (Ctrl + V) to save it.
By pressing the Windows key and the Print Screen key simultaneously, your computer will automatically save the screenshot as an image file in the “Screenshots” folder within the “Pictures” folder of your user account.
If you prefer more flexibility in capturing screenshots, you can use the built-in Snipping Tool. Simply search for “Snipping Tool” in the Windows Start menu, open the application, and select the type of snip you want (e.g., full-screen, rectangular, freeform). After capturing the screenshot, you can save it or annotate it as desired.
With these simple methods, you can easily capture screenshots on your Windows computer. Whether you’re a professional needing to document an issue or a casual user wanting to share something interesting, taking screenshots can greatly enhance your productivity and communication.
How to Take a Screenshot on Mac
Mac computers provide various methods for capturing screenshots, making it effortless to capture and share what’s on your screen. Whether you want to save a funny meme, document an error message, or capture an important image, here’s how to take a screenshot on Mac:
- Method 1: Command + Shift + 3
- Method 2: Command + Shift + 4
- Method 3: Command + Shift + 4, then Spacebar
- Method 4: Using the Screenshot Toolbar
To capture the entire screen, press the Command (⌘), Shift (⇧), and 3 keys simultaneously. The screenshot will be saved as a PNG file on your desktop.
If you only need to capture a portion of the screen, press the Command (⌘), Shift (⇧), and 4 keys together. Your cursor will turn into a crosshair, allowing you to select the area you want to capture. Once you release the mouse button, the screenshot will be saved as a PNG file on your desktop.
If you want to capture a specific window, press the Command (⌘), Shift (⇧), and 4 keys together, then press the Spacebar. Your cursor will turn into a camera, and you can click on the window you want to capture. The screenshot will be saved as a PNG file on your desktop.
Starting from macOS Mojave (10.14) and later, Mac computers have a built-in screenshot toolbar. Press Shift (⇧), Command (⌘), and 5 to activate the toolbar. From here, you can choose to capture the entire screen, a selected portion, or a specific window. You can also record the screen or capture a still image or video of the Touch Bar if you have a MacBook Pro with a Touch Bar.
With these simple methods, capturing screenshots on your Mac is a breeze. These options provide flexibility and convenience, making it easy to capture and share anything on your screen.
How to Take a Screenshot on Android
Android devices offer various ways to capture screenshots, allowing you to easily capture and share what’s on your screen. Whether you want to save a memorable conversation, share an interesting article, or troubleshoot an issue, here’s how to take a screenshot on Android:
- Method 1: Physical Button Combination
- Method 2: Gesture Navigation
- Method 3: Palm Swipe
- Method 4: Assistant Integration
The most common way to capture a screenshot on Android is by using a combination of physical buttons. Press and hold the Power button and the Volume Down button simultaneously for a few seconds. You’ll see a brief animation and hear a sound indicating that the screenshot has been taken. The screenshot will be saved in your device’s Gallery or Photos app.
If your Android device uses gesture navigation, you can take a screenshot by swiping down from the top of the screen to access the notification panel. Then, swipe down again to reveal the Quick Settings panel. Look for the “Screenshot” icon and tap on it to capture a screenshot. The screenshot will be saved in your device’s Gallery or Photos app.
Some Android devices offer a palm swipe gesture for taking screenshots. Ensure this feature is enabled in the settings by going to “Settings > Advanced features > Motions and gestures” (or a similar path). Once enabled, place the side of your hand on the left or right edge of the screen and swipe horizontally to capture a screenshot.
If you have Google Assistant enabled on your Android device, you can take a screenshot by saying “Hey Google” or long-pressing the Home button to activate Google Assistant. Then, simply say “Take a screenshot” or use the assistant’s on-screen screenshot button to capture the screen.
With these simple methods, capturing screenshots on Android is quick and easy. Whether you need to save important information or share interesting content, these options provide you with the flexibility to capture and share anything on your device’s screen.
How to Take a Screenshot on iOS
Taking a screenshot on an iOS device, such as an iPhone or iPad, is a straightforward process. Whether you want to capture a funny text message, save an important document, or share an interesting photo, here’s how to take a screenshot on iOS:
- Method 1: Physical Button Combination
- Method 2: AssistiveTouch
- Method 3: AssistiveTouch Gesture
The most common way to capture a screenshot on iOS is by using a combination of physical buttons. Press and hold the Sleep/Wake button on the side or top of your device (depending on the model) simultaneously with the Home button. You’ll see a brief flash on the screen and hear a camera shutter sound indicating that the screenshot has been taken. The screenshot will be saved in the Photos app.
If your iOS device has AssistiveTouch enabled, you can take a screenshot using a virtual button. Go to “Settings > Accessibility > Touch > AssistiveTouch” and toggle it on. A small floating button will appear on your screen. Tap on it, go to “Device > More > Screenshot” to capture a screenshot. The screenshot will be saved in the Photos app.
If you prefer a gesture-based method with AssistiveTouch enabled, you can customize a gesture to capture a screenshot. In the AssistiveTouch settings, go to “Customize Top Level Menu” and tap on an empty icon to assign it a gesture. Choose “Screenshot” from the list of actions, then perform the assigned gesture to capture a screenshot.
Taking a screenshot on iOS devices is quick and convenient. Whether you need to save important information, capture a funny moment, or share interesting content, these methods provide you with the flexibility to capture and share anything on your iOS screen.