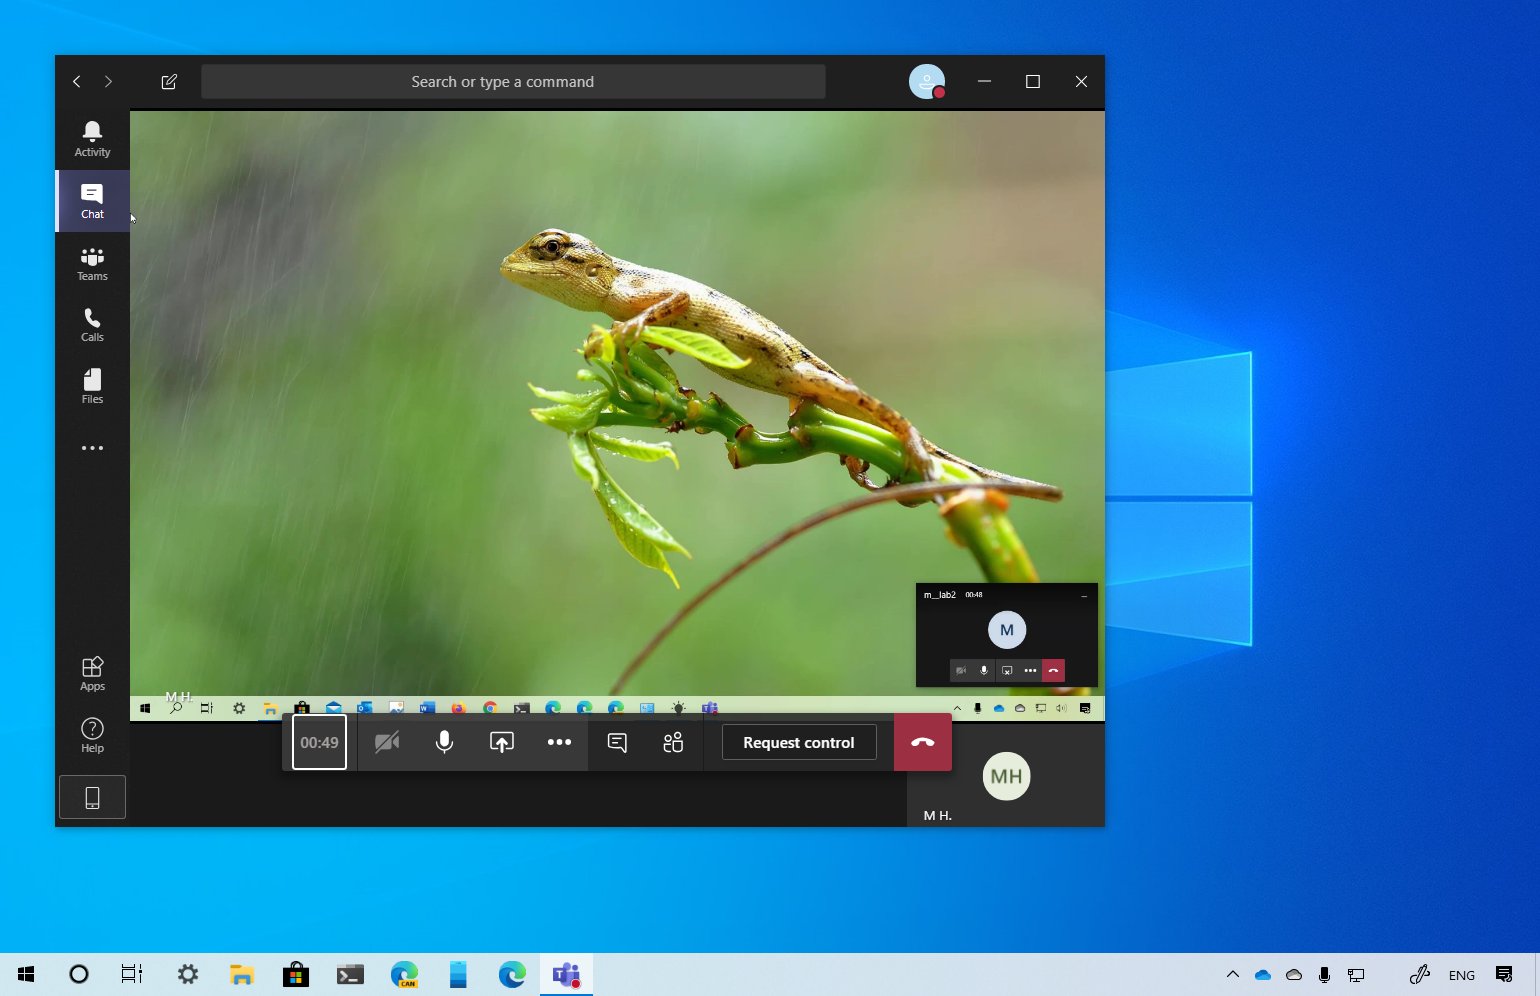
Why Share Your Screen on Microsoft Teams?
Screen sharing on Microsoft Teams is a powerful and essential feature for enhancing productivity and collaboration during virtual meetings or presentations. Whether you need to showcase a document, demonstrate a process, or provide visual support, sharing your screen allows you to share your work or information with clarity and efficiency. Here are some key reasons why you should utilize the screen sharing feature on Microsoft Teams:
- Effective Communication: Screen sharing enables you to better convey your message and ideas to your team members. Instead of describing something verbally, you can show it directly on your screen, reducing misunderstandings and facilitating clearer communication.
- Real-Time Collaboration: By sharing your screen, you can actively collaborate with others in real-time. This is particularly useful during brainstorming sessions or when reviewing and editing documents together. Team members can provide immediate feedback and make necessary changes, leading to more efficient and collaborative workflows.
- Increased Engagement: Sharing a visual representation of your work captures your audience’s attention and keeps them engaged. Whether you’re delivering a presentation, conducting a training session, or sharing data insights, screen sharing allows you to visually reinforce your points and maintain a higher level of audience involvement.
- Enhanced Problem-Solving: Screen sharing can be invaluable when troubleshooting or addressing technical issues. Rather than attempting to explain problems over chat or email, you can actively show your screen to IT support or team members, allowing them to visually diagnose and resolve issues more quickly and effectively.
- Document Collaboration: Sharing your screen is ideal for collaborating on documents or spreadsheets. Team members can view the document in real-time, provide feedback, and make changes together, eliminating the need for multiple versions of the same document and streamlining the review process.
Overall, screen sharing on Microsoft Teams facilitates seamless communication, collaboration, and engagement among team members, whether they are in the same office or working remotely. It bridges the physical gap and enables effective sharing of information and ideas, leading to improved productivity and better outcomes for your team.
How to Prepare to Share Your Screen on Microsoft Teams
Before you start sharing your screen on Microsoft Teams, it’s important to make a few preparations to ensure a smooth and uninterrupted screen sharing experience. Follow these steps to prepare yourself and your device:
- Check your internet connection: Ensure that you have a stable internet connection to avoid any lag or disruptions during screen sharing. A wired connection is often more reliable than Wi-Fi, so consider connecting your device directly to the router if possible.
- Close unnecessary applications: Close any unnecessary applications or processes running in the background to reduce distractions and minimize potential system resource usage. This will help ensure that your device performs optimally during the screen sharing session.
- Clean up your desktop: Organize your desktop and remove any unnecessary icons or files that may clutter your screen. This will make it easier for participants to focus on the content you’re sharing without any visual distractions.
- Prepare the content to be shared: If you’re planning to share specific documents, slides, or a whiteboard, have them readily available before starting the screen sharing session. This will save you time and make the process smoother.
- Double-check your screen: Before sharing your screen, double-check its content to ensure that there is no sensitive or confidential information visible. This is especially crucial if you have multiple screens connected to your device.
- Consider using a second monitor: If available, using a second monitor can be extremely beneficial when sharing your screen. You can use one screen for your main work or presentation while using the second screen for monitoring chat messages, participant reactions, and other relevant information.
- Test your audio and video: Since screen sharing often involves speaking or discussing the content, test your audio and video settings beforehand. Make sure your microphone and camera are working correctly to avoid any technical difficulties during the session.
- Inform participants in advance: If you’re planning to share your screen during a meeting, let the participants know in advance. This will give them time to prepare and ensure they’re attentive and ready to engage during the screen sharing session.
By following these preparation steps, you can ensure a seamless and effective screen sharing experience on Microsoft Teams, enabling you to convey your ideas, collaborate with others, and share information effortlessly.
Option 1: Share Your Entire Screen on Microsoft Teams
Sharing your entire screen on Microsoft Teams allows you to showcase everything that is currently displayed on your desktop, including open applications, files, and web browsers. This is a versatile option and is particularly useful when you want to share multiple items or work on different applications simultaneously. Follow these steps to share your entire screen:
- Start a meeting or join a call on Microsoft Teams.
- Once the meeting has started, locate the toolbar at the bottom of the screen and click on the “Share Screen” button.
- A new window will appear, displaying various sharing options. Select “Desktop” or “Screen” from the available options.
- Click on the “Share Screen” button to start sharing your entire screen.
- During the screen sharing session, you can navigate through different applications or documents, open new files, and perform any actions just as you would when not sharing your screen.
- To stop sharing your screen, locate the toolbar and click on the “Stop Sharing” button.
It’s important to note that when you share your entire screen, all activities on your desktop are visible to other participants, including notifications and pop-ups. Take care to close or minimize any irrelevant or sensitive content to maintain a professional and distraction-free sharing experience.
Sharing your entire screen on Microsoft Teams provides a comprehensive view of your work, allowing participants to see everything you have open and actively working on. This option is ideal for collaborative projects, team presentations, or when you want to demonstrate a complex process.
Option 2: Share a Specific Window on Microsoft Teams
If you want to share a specific window or application on Microsoft Teams, rather than your entire screen, you can easily do so with the “Share Window” feature. This option allows you to focus participants’ attention on a specific document, application, or browser tab, without revealing other desktop activities. Follow these steps to share a specific window on Microsoft Teams:
- Start a meeting or join a call on Microsoft Teams.
- Once the meeting has started, locate the toolbar at the bottom of the screen and click on the “Share Screen” button.
- In the sharing options window, instead of selecting “Desktop” or “Screen“, choose the specific window or application that you want to share.
- Click on the “Share” button.
- The selected window or application will now be shared with the meeting participants.
- You can continue working or interacting with the shared window while others view it.
- To stop sharing the specific window, click on the “Stop Sharing” button in the toolbar.
Sharing a specific window on Microsoft Teams allows you to focus participants’ attention on a particular document, application, or web content. It is particularly useful when you only want to show one specific item without revealing any other elements on your screen.
Remember to be mindful of any potentially sensitive or confidential information that may be visible in the shared window. Double-check the content before sharing, and ensure that any irrelevant or private content is closed or minimized to maintain professionalism and security.
Option 3: Share PowerPoint Slides on Microsoft Teams
If you need to deliver a presentation or share PowerPoint slides during a meeting on Microsoft Teams, you have the option to directly share your slides. This feature allows for a seamless and professional presentation experience. Follow these steps to share PowerPoint slides on Microsoft Teams:
- Start a meeting or join a call on Microsoft Teams.
- Once the meeting has started, locate the toolbar at the bottom of the screen and click on the “Share Screen” button.
- In the sharing options window, select the PowerPoint application or the specific PowerPoint presentation you want to share.
- Click on the “Share” button.
- The PowerPoint presentation will now be shared with the meeting participants.
- Use the PowerPoint presentation controls to navigate through the slides and deliver your presentation.
- During the presentation, participants can see the slides and follow along with your narration.
- To stop sharing the PowerPoint slides, click on the “Stop Sharing” button in the toolbar.
Sharing PowerPoint slides on Microsoft Teams allows for a professional and engaging presentation experience. This option is ideal for team meetings, webinars, or any situation where visual aid is necessary to convey information effectively.
Ensure that your PowerPoint presentation is ready beforehand and that you are familiar with the controls, such as advancing slides and using presentation notes. Practice your presentation to ensure a smooth and confident delivery.
Option 4: Share a Whiteboard on Microsoft Teams
When you need to collaborate, brainstorm, or illustrate ideas visually during a meeting on Microsoft Teams, sharing a whiteboard can be an effective option. The whiteboard feature allows participants to contribute, draw, and write in real-time, enabling dynamic and interactive collaboration. Follow these steps to share a whiteboard on Microsoft Teams:
- Start a meeting or join a call on Microsoft Teams.
- Once the meeting has started, locate the toolbar at the bottom of the screen and click on the “Share Screen” button.
- In the sharing options window, select “Whiteboard” from the available options.
- Click on the “Share” button.
- A whiteboard canvas will appear, allowing you to draw, write, add shapes, and annotations.
- Participants can also contribute and collaborate on the whiteboard in real-time.
- Use the provided tools, such as the pen, eraser, and text box options, to create and format the content.
- To stop sharing the whiteboard, click on the “Stop Sharing” button in the toolbar.
Sharing a whiteboard on Microsoft Teams offers a flexible and interactive way to collaborate and visualize ideas. This option is particularly useful when brainstorming, mapping out plans, or illustrating concepts during team discussions or presentations.
Ensure that you communicate with participants about how you want them to contribute on the whiteboard. You may choose to designate specific roles or allow everyone to freely contribute, depending on the nature of the meeting or collaboration.
Option 5: Share a File on Microsoft Teams
If you have a specific file, such as a document, spreadsheet, or presentation, that you want to share with meeting participants on Microsoft Teams, you can easily do so using the file sharing feature. This option allows for seamless collaboration and allows everyone to access and review the file simultaneously. Follow these steps to share a file on Microsoft Teams:
- Start a meeting or join a call on Microsoft Teams.
- Once the meeting has started, locate the toolbar at the bottom of the screen and click on the “Share” button.
- In the file sharing options, navigate to the location where your file is stored.
- Select the specific file you want to share.
- Click on the “Share” button.
- The file will now be shared with the meeting participants.
- Participants can view, review, and provide feedback on the shared file in real-time.
- To stop sharing the file, click on the “Stop Sharing” button in the toolbar.
Sharing a file on Microsoft Teams streamlines collaboration and allows for easy access and real-time collaboration on the shared content. This option is perfect for team discussions, document review, or when you need to present specific information from a file.
When sharing files on Microsoft Teams, make sure that the appropriate permissions are set, allowing participants to edit or view the file as required. It’s also essential to communicate the purpose and expectations of reviewing the file to ensure a productive collaboration process.
Tips for a Successful Screen Sharing Experience on Microsoft Teams
To ensure a smooth and effective screen sharing experience on Microsoft Teams, follow these tips and best practices:
- Prepare in advance: Familiarize yourself with the content you plan to share and have it readily available. This will save time during the meeting and minimize any disruptions.
- Close unnecessary applications: Close any applications or browser tabs that are not relevant to the screen sharing session. This will help minimize distractions and keep the focus on the content being shared.
- Check your audio and video settings: Before starting the screen sharing, ensure that your microphone and camera are working properly. Test your audio output to avoid any sound-related issues during the presentation.
- Share only what’s necessary: Make sure to share only the relevant content, whether it’s a specific window, a PowerPoint presentation, a whiteboard, or a file. Sharing unnecessary information can cause confusion and distract participants.
- Keep your screen organized: Arrange your desktop and files in a clean and organized manner. This will make it easier for participants to follow along and understand the content being shared.
- Provide clear instructions: When sharing your screen, it’s important to communicate effectively with participants. Clearly explain what they should focus on and provide any necessary instructions or guidance to ensure understanding.
- Be mindful of your internet connection: A stable and reliable internet connection is crucial for a smooth screen sharing experience. Ensure that you have a strong connection to avoid lags or disruptions.
- Engage and interact with participants: While sharing your screen, encourage participants to ask questions or provide feedback. Engage in interactive discussions to make the session more productive and inclusive.
- Practice beforehand: If you’re presenting or demonstrating a process, practice beforehand to familiarize yourself with the flow and ensure a seamless delivery. This will help boost your confidence and reduce any potential hiccups during the screen sharing session.
- Remain attentive: Throughout the screen sharing session, stay attentive to participant reactions and questions. Pay attention to the chat messages or raised hands to address any concerns or provide clarification promptly.
By following these tips, you can optimize your screen sharing experience on Microsoft Teams and create a productive and engaging environment for collaboration and knowledge sharing.


