
Prerequisites for Installing Microsoft Teams on Mac
Before you dive into the process of installing Microsoft Teams on your Mac, it is essential to ensure that your device meets the necessary requirements. Having the right prerequisites in place will guarantee a smooth installation and optimal usage of Microsoft Teams. Here are a few key things to keep in mind:
1. Operating System Compatibility: Microsoft Teams is compatible with macOS 10.10 or higher versions. Before proceeding, ensure that your Mac meets this requirement by navigating to the Apple menu, selecting ‘About This Mac,’ and checking the version information.
2. Internet Connection: Microsoft Teams requires a stable and reliable internet connection for seamless communication and collaboration. Make sure you have a high-speed internet connection to prevent any connectivity issues during usage.
3. Microsoft Account: To fully access the features and functionalities of Microsoft Teams, you will need a Microsoft account. If you don’t have one, you can create a free account by visiting the official Microsoft website and following the registration process.
4. Sufficient Storage Space: Microsoft Teams requires a certain amount of storage space on your Mac to install and run smoothly. Ensure that you have enough available space on your hard drive. If needed, consider freeing up space by deleting unnecessary files or applications.
5. System Requirements: Along with the aforementioned prerequisites, it’s vital to ensure that your Mac meets the minimum system requirements specified by Microsoft for running Teams. These include having a capable processor, adequate RAM, and compatible graphics capabilities.
By ensuring that your Mac meets these prerequisites, you can proceed with confidence to download and install Microsoft Teams on your device.
Step 1: Downloading and Installing Microsoft Teams
In this step, we will guide you through downloading and installing Microsoft Teams on your Mac. Follow these simple instructions:
1. Visit the Microsoft Teams website: Open your preferred web browser and navigate to the official Microsoft Teams website: https://www.microsoft.com/en-us/microsoft-teams/download-app.
2. Download Microsoft Teams: On the Microsoft Teams website, click on the “Download for desktop” button. The website will automatically detect your device as Mac and initiate the download process.
3. Locate the downloaded file: Once the download is complete, you can find the file in your default Downloads folder or the location you specified for downloaded files.
4. Install Microsoft Teams: Double-click on the downloaded file (usually named “Teams_osx.dmg”) to mount the disk image. A new window will open containing the Microsoft Teams application. Drag the Teams app icon and drop it into the Applications folder icon to start the installation process.
5. Wait for the installation to complete: The installation process may take a few moments. Once it’s finished, you can eject the mounted disk image by dragging it to the Trash or right-clicking on it and selecting “Eject.”
6. Launch Microsoft Teams: Open Spotlight (press Command + Space) and type “Microsoft Teams.” Click on the application when it appears in the search results or locate it in your Applications folder. Alternatively, you can also access Microsoft Teams from the Launchpad or by adding it to your Dock.
7. Keep Microsoft Teams updated: To ensure you have the latest features and security updates, Microsoft Teams will automatically check for updates and prompt you to install them as they become available. It’s recommended to keep the application updated for the best experience.
Congratulations! You have successfully downloaded and installed Microsoft Teams on your Mac. In the next step, we will guide you through signing in to your Microsoft Teams account.
Step 2: Launching Microsoft Teams
After successfully installing Microsoft Teams on your Mac, it’s time to launch the application and get started with your collaboration journey. Follow these simple steps to launch Microsoft Teams:
1. Locate the Microsoft Teams app: Go to your Applications folder and find the Microsoft Teams app icon. You can also use Spotlight (Command + Space) to search for “Microsoft Teams” and launch it from there.
2. Double-click to open: Once you have located the Microsoft Teams app, double-click on it to launch the application.
3. Wait for the app to load: Microsoft Teams may take a few seconds to launch, depending on your Mac’s processing speed and internet connection. Be patient while the application loads.
4. Sign-in screen: Once the app has launched, you will be presented with the sign-in screen.
5. Sign in to your account: Enter your Microsoft account email address associated with your Teams account in the “Email or phone” field. Then, click the “Next” button.
6. Enter your password: On the next screen, enter your password in the “Password” field and click the “Sign in” button.
7. Choose your sign-in method (if prompted): Depending on your organization’s settings, you may be prompted to choose a sign-in method, such as using a verification code or a secondary authentication method. Follow the on-screen steps to complete the sign-in process.
8. Launching Microsoft Teams: After signing in, Microsoft Teams will load your personalized dashboard, and you will be ready to start using the application.
Once you have successfully launched Microsoft Teams and signed in to your account, you can explore its features and functionalities. In the next step, we will guide you through customizing your Microsoft Teams settings to tailor the application according to your preferences.
Step 3: Signing in to Microsoft Teams
Signing in to Microsoft Teams is an essential step to access all the collaboration features and functionalities that the platform offers. Follow these simple steps to sign in to Microsoft Teams on your Mac:
1. Launch Microsoft Teams: Open the Microsoft Teams application on your Mac by locating it in your Applications folder or using the Spotlight search feature (Command + Space) and typing “Microsoft Teams” to open it.
2. Sign-in screen: Once the application has launched, you will be presented with the sign-in screen.
3. Enter your credentials: In the “Email or phone” field, enter the email address associated with your Microsoft Teams account. This is typically your organization’s email address. Then, click the “Next” button.
4. Password entry: On the next screen, enter your password in the “Password” field and click the “Sign in” button.
5. Two-factor authentication (if enabled): Depending on your organization’s policies, you may be prompted to complete a two-factor authentication process. This could involve entering a verification code sent to your registered email or phone number, using a security key, or other verification methods. Follow the on-screen instructions to complete the two-factor authentication process.
6. Stay signed in (optional): If you want Microsoft Teams to remember your sign-in information and keep you signed in, check the “Stay signed in” box before clicking the “Sign in” button. This will save you from signing in every time you launch the application.
7. Organization selection: If you belong to multiple organizations, you may be prompted to select the organization you want to sign in to. Choose your organization from the given options.
Once you have successfully signed in to Microsoft Teams, you will be directed to the application’s home screen. From here, you can explore and utilize the various features, join or create Teams, and start collaborating with your colleagues.
In the next step, we will guide you through customizing your Microsoft Teams settings to personalize and optimize your experience with the platform.
Step 4: Customizing Your Microsoft Teams Settings
Customizing your Microsoft Teams settings allows you to personalize the app according to your preferences and optimize it for your specific needs. Follow these steps to customize your settings in Microsoft Teams:
1. Launch Microsoft Teams: Open the Microsoft Teams application on your Mac by locating it in your Applications folder or using the Spotlight search feature (Command + Space) and typing “Microsoft Teams” to open it.
2. Accessing settings: Click on your profile picture or initials in the top right corner of the application window to open the menu. From the dropdown, select “Settings” to access the settings options.
3. General settings: In the “Settings” window, you can configure various general settings, such as changing your display name, choosing your preferred language, setting up notifications, and toggling different app behaviors.
4. Appearance settings: Customize the appearance of Microsoft Teams by selecting your preferred theme from the options provided. You can choose between the default theme, dark mode, or high contrast mode to enhance visual comfort.
5. Privacy settings: Manage your privacy settings in Microsoft Teams by selecting the “Privacy” tab in the settings window. Here, you can control how your presence is displayed, manage read receipts, and define who can contact you.
6. Devices settings: In the “Devices” tab, you can set up and configure your audio and video devices, such as the microphone, speakers, and camera, to ensure optimal audio and video quality during meetings and calls.
7. Notifications settings: Fine-tune your notifications to stay informed without being overwhelmed. Choose the types of notifications you want to receive, customize the sounds and vibration settings, and manage your preferences for mentions, messages, and other activities.
8. Apps settings: Microsoft Teams integrates with various third-party apps and services. In the “Apps” tab, you can explore available apps, manage installed apps, and customize the settings for each app.
9. Keyboard shortcuts: If you prefer using keyboard shortcuts instead of navigating through menus, you can access the “Keyboard shortcuts” section in the settings to see a list of available shortcuts for different actions in Microsoft Teams.
10. Save changes and apply settings: After customizing your settings, click the “Save” button to apply your changes and update your preferences in Microsoft Teams.
By customizing your Microsoft Teams settings, you can create a tailored experience that suits your workflow and enhances your productivity. In the next step, we will guide you through joining or creating a team in Microsoft Teams.
Step 5: Joining or Creating a Team
Microsoft Teams is built around the concept of teams, which are groups of individuals who collaborate on specific projects or initiatives. In this step, we will guide you through joining an existing team or creating a new team in Microsoft Teams:
1. Launch Microsoft Teams: Open the Microsoft Teams application on your Mac by locating it in your Applications folder or using the Spotlight search feature (Command + Space) and typing “Microsoft Teams” to open it.
2. Explore available teams: Once you are in Microsoft Teams, you can see a list of available teams on the left side panel. These teams are created by your organization or colleagues for specific purposes.
3. Joining an existing team: To join a team, click on the “Teams” tab on the left side panel, and you will see a list of teams. Browse through the available teams and click on the “Join” button next to the team you wish to join. You may need to request access or get an invitation from the team owner.
4. Creating a new team: If you need to create a new team, click on the “Teams” tab on the left side panel, then click on the “+ Create a team” button at the bottom of the teams list. Follow the prompts to set up your new team, including providing a team name, description, and adding team members.
5. Managing teams: After joining or creating a team, you can manage it by clicking on the team name in the teams list. This will open the team’s dedicated space where you can have conversations, share files, schedule meetings, and collaborate with your team members.
6. Accessing teams and channels: Within each team, you can have different channels for organizing discussions and collaboration. To access a specific channel, click on the team name and then select the desired channel from the list on the left side panel.
7. Participating in team activities: Once you have joined or created a team, you can start participating in team activities. You can send messages, share files, collaborate on documents, schedule meetings, and use various features available within Microsoft Teams to collaborate effectively with your team.
Remember to follow any guidelines or rules set by the team owner or organization to ensure smooth and efficient collaboration within the team.
In the next step, we will guide you through navigating the Microsoft Teams interface to help you familiarize yourself with the different sections and features of the application.
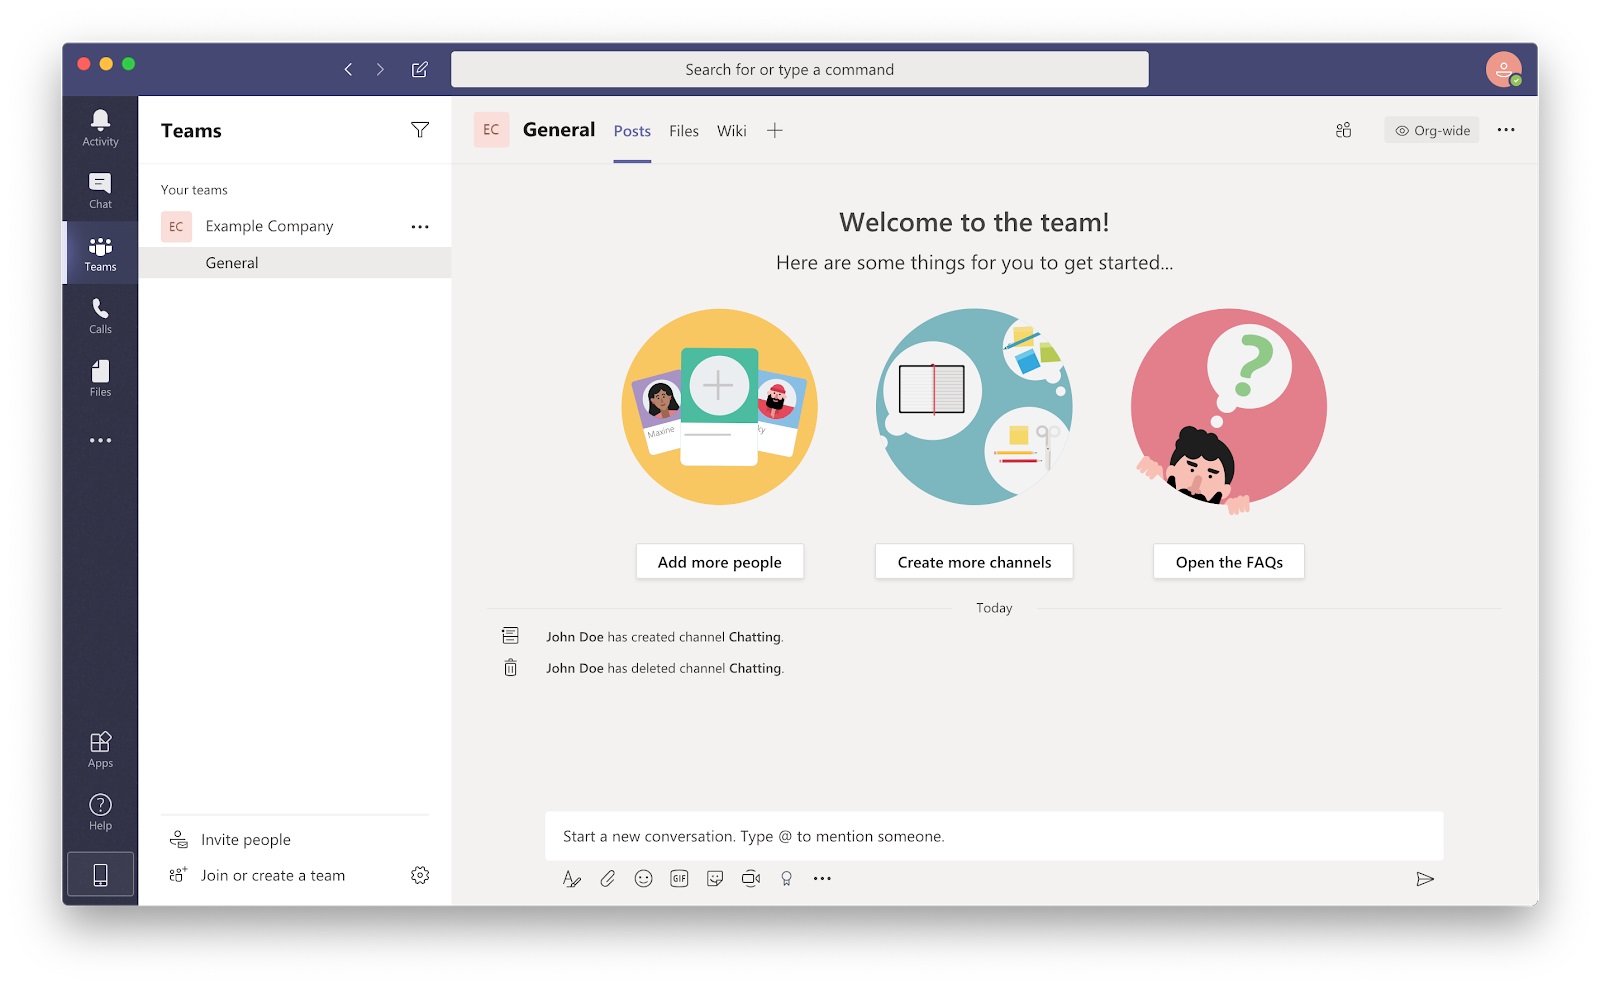
Step 6: Navigating the Microsoft Teams Interface
Navigating the Microsoft Teams interface is crucial to efficiently navigate through the various features and functionalities of the application. By understanding the different sections and options available, you can collaborate seamlessly with your team. Follow these steps to navigate the Microsoft Teams interface:
1. Side panel: On the left side of the application, you will find the side panel. This panel provides quick access to key sections of Teams, including Activity, Chat, Teams, and Calendar.
2. Activity: The Activity tab displays a summary of recent interactions and updates within your teams, such as mentions, replies, and likes. It helps you stay updated on important activities happening across your teams.
3. Chat: The Chat tab allows you to have one-on-one or group conversations with your colleagues. You can search for specific contacts, start a new conversation, or access your previous chats from this section.
4. Teams: The Teams tab provides an overview of the teams you have joined or created. It includes channels, conversations, and files associated with each team. Clicking on a team name displays the team’s content and activities.
5. Calendar: The Calendar tab allows you to view and manage your upcoming meetings and appointments. You can create new meetings, join scheduled meetings, and manage your availability from this section.
6. Top navigation bar: At the top of the application window, you will find the top navigation bar. It displays options such as Home, Chat, Teams, Calendar, Calls, and Files. These options provide quick access to different areas of Teams.
7. Home: Clicking on the Home icon in the top navigation bar takes you to the Microsoft Teams home screen, where you can find an overview of your activity feed, recent files, and suggested content.
8. Search bar: Located at the top of the application, the search bar allows you to quickly search for teams, channels, chats, files, and other content within Microsoft Teams. Simply enter a keyword or phrase and press Enter to get relevant search results.
9. Command bar: The command bar is situated at the top of each team or channel. It offers a range of options to create new conversations, reply to messages, add attachments, start meetings, and perform various actions specific to the team or channel you are in.
10. Notifications and alerts: Microsoft Teams provides notifications and alerts to keep you informed about new messages, mentions, shared files, and upcoming meetings. You can access and manage these notifications from the notification center, which is accessible by clicking on your profile picture or initials in the top right corner and selecting “Notifications.”
By familiarizing yourself with the different sections and features of the Microsoft Teams interface, you can easily navigate through the application and access the tools you need to collaborate effectively with your team members.
In the next step, we will guide you through participating in chats and conversations in Microsoft Teams.
Step 7: Participating in Chats and Conversations
Microsoft Teams provides a powerful platform for engaging in chats and collaborating through conversations with your team members. By actively participating in chats, you can share ideas, ask questions, and stay connected. Follow these steps to participate in chats and conversations in Microsoft Teams:
1. Access the Chat tab: Click on the Chat tab in the left side panel to open the chat section.
2. Start a new chat: To start a new chat, click on the “New chat” button. Enter the name or email address of the person or group you want to chat with in the search bar. Select the desired recipient(s) from the suggestions and start typing your message.
3. Reply to a message: To reply to a specific message in a chat, hover over it and click on the “Reply” button that appears on the right side of the message. This keeps the conversation organized and helps in context preservation.
4. Mentioning someone in a chat: To directly address someone in a chat, type the “@” symbol followed by their name or email address. This will trigger a notification for the person and ensure they see your message.
5. Sending attachments in a chat: To send files or attachments in a chat, click on the “Attach” icon (paperclip) below the text input field. Select the files you want to share from your computer or cloud storage, and they will be uploaded and shared with the chat participants.
6. Emojis, gifs, and stickers: Enhance your conversations by using emojis, gifs, and stickers. Click on the smiley face icon located below the text input field to access a library of expressive options to add to your messages.
7. Formatting your messages: You can apply basic formatting to your messages to make them visually appealing and easier to read. For example, use asterisks (*) to make text bold or underscores (_) to make it italic.
8. Managing notifications: Customize your notification settings for chats to stay informed without being overwhelmed. You can choose to be notified for all messages, only @mentions, or tailor it to your preference. Access notification settings by clicking on your profile picture or initials, selecting “Settings,” and then “Notifications.”
9. Organizing chats: You can organize your chats by creating specific chat groups, pinning important chats to the top, or using filters to sort and find chats quickly. Right-click on a chat to access options such as pinning, muting, or adding it to a favorite list.
10. Chat history and search: Microsoft Teams keeps a record of your chat history, allowing you to refer back to previous conversations. Use the search bar located at the top of the Chat tab to search for specific keywords or phrases within your chat history.
By actively participating in chats and conversations, you can foster effective communication and collaboration within your team in Microsoft Teams. In the next step, we will guide you through scheduling and joining meetings in Microsoft Teams.
Step 8: Scheduling and Joining Meetings in Microsoft Teams
Microsoft Teams provides a seamless platform for scheduling and joining meetings, making it easy to collaborate and communicate with your team members. Follow these steps to schedule and join meetings in Microsoft Teams:
1. Scheduling a meeting:
– Click on the Calendar tab in the left side panel to access the calendar section.
– Click on the “+ New meeting” button in the top-right corner to create a new meeting.
– Fill in the meeting details, including the meeting title, date, time, and duration.
– Add participants to the meeting by entering their names or email addresses in the “Add required attendees” field.
– If necessary, select the channel where you want to hold the meeting under the “Channel” dropdown menu.
– Customize additional meeting options, such as enabling video or audio conferencing, screen sharing, and meeting permissions.
– Click on the “Send” button to invite participants and schedule the meeting.
2. Joining a meeting:
– On the day and time of the scheduled meeting, go to the Calendar tab in Microsoft Teams.
– Scroll to find the meeting you want to join or use the search bar to locate it.
– Click on the meeting to open the meeting details, and then click on the “Join” button to enter the meeting.
– If the meeting has not yet started, you will be placed in a lobby until the meeting organizer admits you.
– Once you are in the meeting, you can participate in audio and video discussions, share your screen, and collaborate in real-time with other meeting attendees.
– Before leaving the meeting, be sure to click on the “Leave” button to exit the meeting space.
3. Meeting notifications and reminders:
– Microsoft Teams sends meeting notifications and reminders to help you stay on track. You will receive notifications for upcoming meetings, reminders before the scheduled time, and join alerts when someone starts a meeting.
– You can manage your meeting notification settings by clicking on your profile picture or initials, selecting “Settings,” and then “Notifications.”
Scheduling and joining meetings in Microsoft Teams allows for efficient collaboration and communication with your team members, whether you are working remotely or in the same physical location. In the next step, we will guide you through sharing files and documents in Microsoft Teams.
Step 9: Sharing Files and Documents in Microsoft Teams
Sharing files and documents plays a vital role in collaboration, and Microsoft Teams provides a convenient platform for seamless file sharing and document collaboration. Follow these steps to share files and documents in Microsoft Teams:
1. Sending files in chats:
– Open the chat where you want to share a file.
– Click on the “Attach” icon (paperclip) below the text input field.
– Choose the file you want to share from your computer or from cloud storage solutions such as OneDrive or SharePoint.
– The file will be uploaded, and a link to the file will be sent in the chat. The recipient(s) can click on the link to access and download the file.
2. Sharing files in channels:
– Go to the channel where you want to share the file.
– Click on the “Files” tab at the top of the channel.
– Select the location where you want to upload the file, such as the General channel or a specific folder.
– Drag and drop the file from your computer into the file location or click on the “+ New” button to upload a file from your computer.
– The file will be uploaded and visible to all members of the channel. They can access and collaborate on the file.
3. Collaborating on shared files:
– Once a file is shared, team members can view and collaborate on it within Microsoft Teams.
– Clicking on a shared file within a chat or channel will open it in the Teams environment, allowing users to leave comments, make edits, and track changes.
– Multiple team members can work on the same file simultaneously, enhancing collaboration and increasing productivity.
4. Version history and file management:
– Microsoft Teams provides version history for shared files, allowing you to track changes and revert to a previous version if needed.
– You can access the version history of a file by opening the file, clicking on the ellipse (three dots), and selecting “Version history.”
– Teams also allows you to manage files by organizing them into specific folders, renaming files, and deleting files that are no longer needed.
By leveraging the file sharing and document collaboration capabilities in Microsoft Teams, you can streamline your workflow, keep everyone on the same page, and foster efficient collaboration within your team.
In the next step, we will guide you through using Microsoft Teams on your mobile devices, ensuring that you stay connected even when you’re on the go.
Step 10: Using Microsoft Teams on Your Mobile Devices
Microsoft Teams offers a mobile app that allows you to stay connected and collaborate with your team even when you’re on the move. Follow these steps to use Microsoft Teams on your mobile devices:
1. Download the Microsoft Teams app:
– Open the App Store (iOS) or Google Play Store (Android) on your mobile device.
– Search for “Microsoft Teams” in the store’s search bar.
– Tap on the “Download” or “Get” button to download and install the app.
2. Launch the Microsoft Teams app:
– Locate the Microsoft Teams app icon on your device’s home screen or app drawer.
– Tap on the app icon to launch Microsoft Teams.
3. Sign in to your Microsoft Teams account:
– Enter your Microsoft account email and password in the sign-in screen.
– Tap the “Sign in” button to access your Microsoft Teams account.
4. Navigate the mobile app:
– Once signed in, you will see the mobile app interface. The interface is similar to the desktop version, with a simplified layout optimized for mobile devices.
– Use the tabs at the bottom of the screen to access different sections, such as Chat, Teams, Calls, and Calendar.
5. Participate in chats and conversations:
– Tap on the “Chat” tab to access your chats and conversations.
– Click on a specific chat to open it and participate in the conversation.
– Reply to messages, send attachments, and use emojis, just like on the desktop version.
6. Access teams and channels:
– Switch to the “Teams” tab to view and access your teams and channels.
– Tap on a team to see its associated channels and content.
– Click on a channel to participate in discussions and collaborate with team members.
7. Schedule and join meetings:
– Use the “Calendar” tab to view your upcoming meetings and schedule new ones.
– Tap on a scheduled meeting to join it or start a new meeting with the “Meet” button.
8. Customize notifications and settings:
– Access the “Settings” section to customize your notification preferences, privacy settings, and other app options.
– Adjust your notification settings to receive alerts and stay updated whenever necessary.
By using the Microsoft Teams mobile app, you can stay connected and collaborate with your team from anywhere, whether you’re on the go or working remotely. This allows for seamless communication and productivity, no matter your location or the device you’re using.
Congratulations! You have successfully learned how to utilize Microsoft Teams on your Mac and mobile devices. Now you’re ready to maximize your collaboration and productivity within your team.
Troubleshooting Common Issues with Microsoft Teams on Mac
While Microsoft Teams provides a seamless collaboration experience, you may encounter occasional issues when using the application on your Mac. Here are a few common issues and troubleshooting tips to help you resolve them:
1. Connectivity problems:
– Check your internet connection to ensure it’s stable and functioning properly.
– Restart your router or modem to refresh the connection.
– If you’re experiencing Wi-Fi connectivity issues, try using a wired connection.
2. Application not launching:
– Quit the Microsoft Teams application and relaunch it.
– Restart your Mac to clear any temporary glitches.
– Ensure that you have installed the latest updates for Microsoft Teams.
3. Sign-in issues:
– Verify that you are using the correct email and password for your Microsoft account.
– Check your internet connection and try signing in again.
– If you have two-factor authentication enabled, ensure that you are entering the correct verification code.
4. Audio and video problems:
– Confirm that your microphone and camera are properly connected and configured.
– Check the audio and video settings in Microsoft Teams to ensure the correct devices are selected.
– Test your audio and video setup using the device’s system preferences or other applications.
5. Application freezing or crashing:
– Close any unnecessary applications or processes running in the background that may be causing conflicts.
– Clear the cache and temporary files of the Microsoft Teams application.
– Update your Mac’s operating system and Microsoft Teams to the latest versions.
6. Screen sharing issues:
– Check if you have the necessary permissions to share your screen in Microsoft Teams.
– Verify that you have selected the correct screen or application to share.
– If screen sharing is still not working, try restarting the application or sharing a different screen or application.
7. Missing features or options:
– Ensure that you have the latest version of Microsoft Teams installed on your Mac.
– Check if the missing feature or option is available on the web-based version of Microsoft Teams.
– Clear the cache and refresh the application to see if the features or options reappear.
If you continue to experience issues with Microsoft Teams on your Mac, it’s recommended to reach out to your organization’s IT support or consult the Microsoft Teams support resources for further assistance. Additionally, you can search online forums and communities for potential solutions shared by other users who may have encountered similar issues.
Remember to stay patient and explore different troubleshooting steps to resolve the issue. With perseverance, you can overcome common problems and make the most of your Microsoft Teams experience on your Mac.