
What is GDAX?
GDAX (Global Digital Asset Exchange) is a cryptocurrency trading platform that allows users to buy and sell digital currencies. It was launched by Coinbase in 2015 as a more advanced and professional trading platform. GDAX provides a wide range of features and tools for experienced traders who are looking for a robust and secure platform to trade cryptocurrencies.
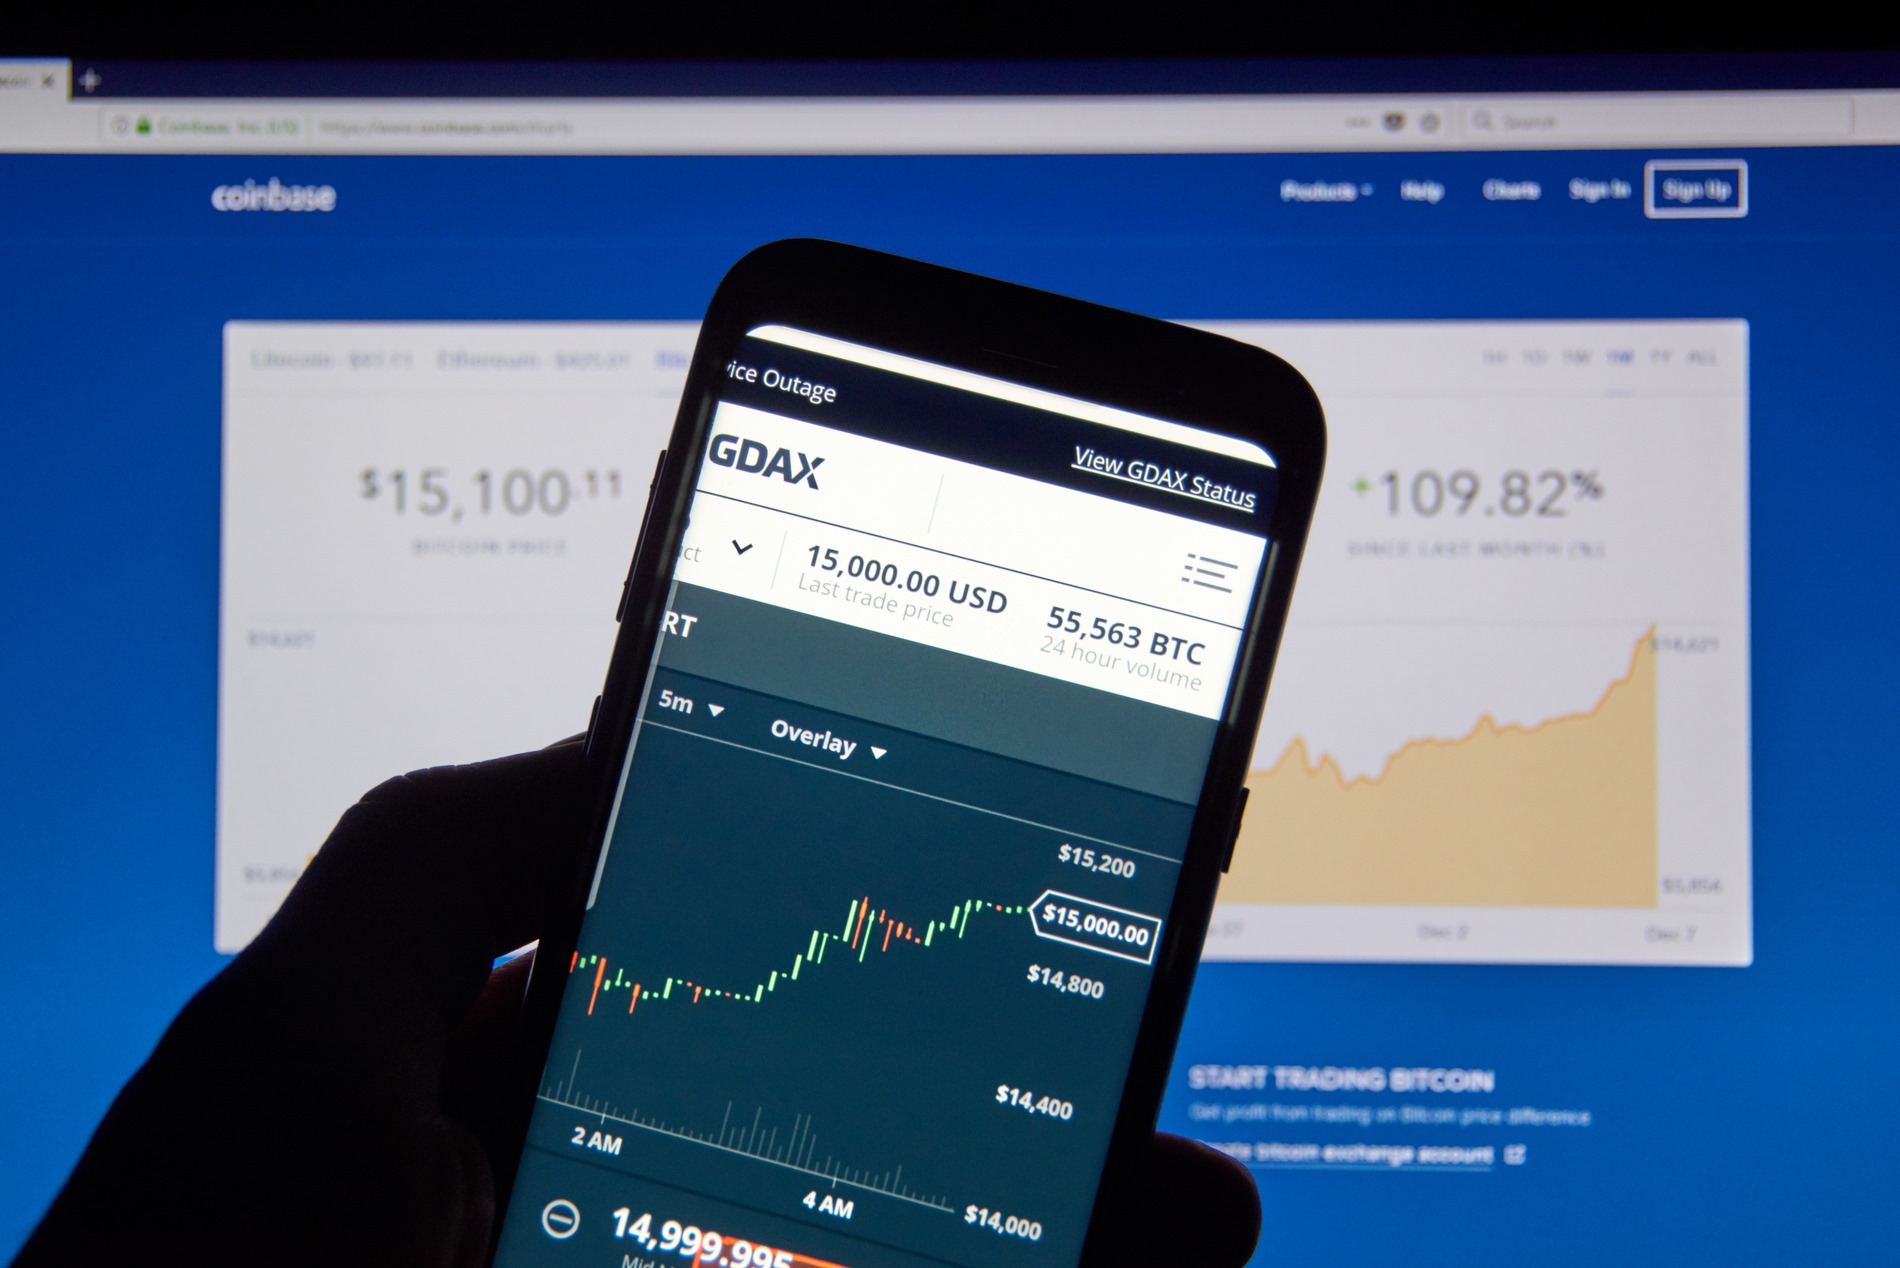
GDAX offers the ability to trade Bitcoin, Ethereum, Litecoin, and Bitcoin Cash against fiat currencies such as USD, EUR, and GBP. The platform supports both market orders, where you buy or sell at the current market price, and limit orders, where you set the price at which you want to buy or sell.
One of the main advantages of GDAX is its deep liquidity, which means that there is a high volume of trades happening on the platform. This ensures that you can buy or sell your cryptocurrencies quickly and at competitive prices. GDAX also offers low fees compared to other trading platforms, making it an attractive choice for frequent traders.
GDAX provides a user-friendly interface that is easy to navigate, even for beginners who are new to cryptocurrency trading. The platform also offers advanced features such as real-time market data, customizable charts, and trading indicators. These tools can help you analyze market trends and make informed trading decisions.
Furthermore, GDAX is backed by Coinbase, one of the most trusted and well-established cryptocurrency exchanges in the industry. This provides an added layer of security and reliability for users. GDAX ensures the safety of your funds by storing the majority of them in secure offline cold storage. It also implements two-factor authentication and other security measures to protect your account.
Creating an Account with GDAX
To start trading on GDAX, you’ll first need to create an account. Follow these steps to set up an account with GDAX:
- Visit the GDAX website at www.gdax.com.
- Click on the “Sign Up” button located on the top right corner of the homepage.
- Fill in your personal information, including your name, email address, and a secure password. Make sure to choose a strong password to protect your account.
- Accept the Terms of Service and Privacy Policy by checking the corresponding boxes.
- Complete the reCAPTCHA verification to prove that you’re not a robot.
- Click on the “Create an Account” button to proceed.
- You will receive a verification email from GDAX. Open the email and click on the verification link to activate your account.
Once you’ve created an account, you will need to provide additional information to complete the verification process. This includes verifying your identity by submitting a valid government-issued ID and proof of address.
After your account is verified, you can enable additional security features, such as two-factor authentication, to further protect your account from unauthorized access. Two-factor authentication requires you to enter a unique code generated by an authenticator app on your mobile device in addition to your password when logging in.
It’s important to note that GDAX may have certain restrictions based on your geographic location. Make sure to check whether GDAX supports trading in your region before creating an account.
By creating an account with GDAX, you’ll gain access to the platform’s advanced trading features and be able to participate in the dynamic world of cryptocurrency trading. It’s an important step to take if you’re serious about buying, selling, and trading cryptocurrencies securely and efficiently.
Linking Your Coinbase Account to GDAX
If you have an existing Coinbase account, you can easily link it to GDAX to enjoy seamless transfers and trading between the two platforms. Here’s how you can link your Coinbase account to GDAX:
- Log in to your GDAX account using your GDAX username and password.
- Once logged in, click on the “Menu” button on the top left corner of the GDAX homepage and select “Deposit” from the dropdown menu.
- From the deposit page, you will see a list of available cryptocurrencies. Select the cryptocurrency you want to transfer from Coinbase to GDAX.
- Click on the “Coinbase Account” tab to link your Coinbase account.
- In the pop-up window, you will be prompted to select the Coinbase account you want to link to GDAX. Choose the appropriate account and click “Link Account”.
- Authorize the transaction by entering your GDAX password or using two-factor authentication if enabled.
Once your Coinbase account is successfully linked to GDAX, you can now enjoy instant, fee-free transfers between the two platforms. You can easily move your funds from Coinbase to GDAX and vice versa by simply selecting the “Deposit” or “Withdraw” option on the platform.
Linking your Coinbase account to GDAX offers several advantages. First, it allows you to avoid the fees associated with transferring funds from Coinbase to GDAX. Additionally, GDAX offers more advanced trading features and lower fees compared to Coinbase, making it a preferred platform for experienced traders.
It’s important to note that the linking process may vary slightly depending on updates and changes implemented by GDAX and Coinbase. Make sure to follow the instructions provided by the platforms at the time of your account integration.
Overall, linking your Coinbase account to GDAX provides a streamlined and convenient way to transfer funds and trade cryptocurrencies across both platforms. It enables you to take advantage of the unique features and benefits offered by each platform, ultimately enhancing your trading experience.
Transferring Bitcoin from Coinbase to GDAX
Once you have linked your Coinbase account to GDAX, you can easily transfer Bitcoin from Coinbase to GDAX in just a few simple steps. Follow the instructions below:
- Log in to your GDAX account using your GDAX credentials.
- In the top left corner of the GDAX homepage, click on the “Deposit” button.
- On the deposit page, select the “Coinbase Account” tab.
- Choose the Bitcoin wallet from which you want to transfer funds.
- Specify the amount of Bitcoin you wish to transfer to GDAX. You can enter the amount either in Bitcoin or in your desired fiat currency equivalent.
- Click on the “Deposit” button to initiate the transfer from your Coinbase wallet to GDAX.
Once the transfer is complete, you will see the Bitcoin funds reflected in your GDAX account balance. You can now use these funds to trade other cryptocurrencies or perform other actions on the GDAX platform.
Transferring Bitcoin from Coinbase to GDAX offers several advantages. First, by moving your Bitcoin to GDAX, you can take advantage of lower transaction fees compared to transferring directly from Coinbase. Second, GDAX provides advanced trading features and tools that are not available on Coinbase, allowing you to execute more detailed trading strategies.
It’s important to note that when transferring Bitcoin from Coinbase to GDAX, the transaction is instantaneous and does not require additional confirmations on the blockchain. This means that as soon as the funds are deducted from your Coinbase account, they will be available in your GDAX account for trading.
This transfer process works specifically for Bitcoin. If you want to transfer other cryptocurrencies supported on GDAX, such as Ethereum or Litecoin, you can follow similar steps, but selecting the respective wallet and cryptocurrency on both Coinbase and GDAX.
By transferring your Bitcoin from Coinbase to GDAX, you can take advantage of the advanced trading capabilities and lower transaction fees offered by GDAX. This process enables you to have better control over your cryptocurrency assets and opens up more opportunities for trading and investment strategies.
Setting Up Your Ledger Nano S Wallet
The Ledger Nano S is a hardware wallet that provides a secure way to store and manage your cryptocurrencies, including Bitcoin. Here’s a step-by-step guide on how to set up your Ledger Nano S wallet:
- Unbox your Ledger Nano S and connect it to your computer using the provided USB cable.
- Follow the instructions on the Ledger Live website to download and install the Ledger Live application on your computer.
- Launch the Ledger Live application and select “Initialize as a new device.”
- Create a new PIN code for your Ledger Nano S. Make sure to choose a unique and secure PIN that you can remember.
- Write down the 24-word recovery phrase provided by the Ledger Nano S. This is a critical backup that can be used to recover your funds if the device is lost or damaged. NEVER share this recovery phrase with anyone and keep it in a safe and private place.
- Confirm the 24-word recovery phrase by entering the words in the correct order on the Ledger Nano S.
- Install the Bitcoin app on your Ledger Nano S by following the instructions on the Ledger Live application.
- Once the Bitcoin app is installed, your Ledger Nano S is ready to be used to store and manage your Bitcoin.
The Ledger Nano S provides a secure offline storage solution for your Bitcoin. It uses a combination of secure hardware and software to protect your private keys from unauthorized access. By storing your Bitcoin on a hardware wallet like the Ledger Nano S, you can significantly reduce the risk of your funds being compromised by hackers or malware.
It’s crucial to always verify the legitimacy of your Ledger Nano S device and the firmware it runs on. To ensure you’re using genuine software, only download from the official Ledger website.
Remember that the Ledger Nano S is not just a storage device; it can also be used to manage and interact with your Bitcoin. You can use the Ledger Live application to view your Bitcoin balance, send and receive Bitcoin transactions, and even connect to compatible third-party applications.
Setting up your Ledger Nano S wallet is an essential step in securing and managing your Bitcoin. By following these instructions, you’ll have a reliable and user-friendly hardware wallet that provides peace of mind knowing that your Bitcoin is safe and easily accessible.
Adding the Bitcoin Wallet to Ledger Live
Once you have set up your Ledger Nano S wallet, the next step is to add the Bitcoin wallet to the Ledger Live application. Here’s how to do it:
- Connect your Ledger Nano S to your computer using the provided USB cable.
- Open the Ledger Live application on your computer.
- Enter your PIN code on the Ledger Nano S when prompted.
- In the Ledger Live application, click on the “Manager” tab.
- Search for the Bitcoin app in the app catalog and click on “Install”.
- Follow the on-screen instructions to confirm the installation on your Ledger Nano S device.
- Once the Bitcoin app is installed, go back to the Ledger Live application and click on the “Portfolio” tab.
- In the Portfolio tab, click on the “Add Accounts” button.
- Select the Bitcoin account option from the list of available cryptocurrencies.
- Choose the account type you prefer (legacy or SegWit) and click on “Continue”.
- Verify the account details on your Ledger Nano S device and confirm the account creation.
Once the Bitcoin wallet is added to Ledger Live, you can easily manage your Bitcoin holdings and perform various transactions directly from the application. You can view your Bitcoin balance, track your transaction history, send Bitcoin to others, and receive Bitcoin to your Ledger Nano S wallet.
It’s important to note that when you want to perform Bitcoin transactions, you need to have your Ledger Nano S device connected to your computer and enter your PIN code to authorize the transaction. This adds an extra layer of security by requiring physical access to the device.
Additionally, Ledger Live allows you to explore and connect with various Bitcoin-related services and applications. You can access decentralized exchanges, sign in to partner wallets, and explore different dApps, all from within the Ledger Live ecosystem.
Adding the Bitcoin wallet to Ledger Live provides a convenient way to manage and interact with your Bitcoin holdings. With the integration of your Ledger Nano S device and the Ledger Live application, you can have secure control over your Bitcoin transactions and enjoy a user-friendly interface for monitoring and managing your cryptocurrency portfolio.
Transferring Bitcoin from GDAX to Ledger Nano S
Once you have set up your Ledger Nano S wallet and added the Bitcoin app to Ledger Live, you can easily transfer Bitcoin from your GDAX account to your Ledger Nano S. Here’s how to do it:
- Ensure that your Ledger Nano S is properly connected to your computer and launch the Ledger Live application.
- Enter your PIN code on the Ledger Nano S device when prompted.
- In the Ledger Live application, navigate to the “Accounts” tab.
- Click on the “Receive” button next to your Bitcoin account.
- A Bitcoin address will be displayed on the Ledger Live application.
- Copy the Bitcoin address or use the QR code provided.
- Log in to your GDAX account and navigate to the “Withdraw” section.
- Select Bitcoin as the cryptocurrency you want to withdraw.
- Paste the Bitcoin address from Ledger Live into the recipient address field on GDAX.
- Enter the amount of Bitcoin you wish to transfer and review the withdrawal details.
- Confirm the withdrawal from GDAX and complete any additional verification steps if required.
Once the withdrawal is processed by GDAX, your Bitcoin will be sent to the Bitcoin address associated with your Ledger Nano S wallet. The transaction will be visible on the Bitcoin blockchain, and you can monitor its progress using blockchain explorers.
It’s important to ensure the accuracy of the Bitcoin address when initiating the withdrawal from GDAX. Double-check that the address you enter on GDAX matches the address displayed on Ledger Live to prevent any accidental loss of funds.
By transferring your Bitcoin from GDAX to your Ledger Nano S, you gain control over your private keys and enhance the security of your cryptocurrency holdings. Storing your Bitcoin on a hardware wallet like the Ledger Nano S provides an additional layer of protection against online threats and unauthorized access.
After the transfer, you can easily manage and monitor your Bitcoin holdings using the Ledger Live application. Transactions made with your Ledger Nano S will require physical confirmation on the device, ensuring that only you have control over your Bitcoin transactions.
Transferring Bitcoin from GDAX to your Ledger Nano S allows you to have full ownership and control of your Bitcoin holdings while keeping them safe and secure. It’s a crucial step to take in safeguarding your digital assets and ensuring peace of mind in the cryptocurrency space.
Verifying the Bitcoin Transfer on Your Ledger Nano S
Once you have successfully transferred Bitcoin from GDAX to your Ledger Nano S, it’s important to verify the transaction to ensure that the funds have been received and securely stored on your hardware wallet. Here’s how you can verify the Bitcoin transfer:
- Ensure that your Ledger Nano S is properly connected to your computer and launch the Ledger Live application.
- Enter your PIN code on the Ledger Nano S device when prompted.
- In the Ledger Live application, navigate to the “Accounts” tab.
- Find your Bitcoin account and verify that the balance reflects the transferred amount.
- Click on the account to view the transaction history.
- Locate the transaction corresponding to the Bitcoin transfer from GDAX.
- Verify the transaction details, including the amount transferred, the date, and the transaction ID.
- You can also use a blockchain explorer to independently verify the transaction on the Bitcoin blockchain. Copy the transaction ID and search for it on a reputable blockchain explorer website.
- Compare the details on the blockchain explorer with the information displayed on Ledger Live to ensure they match.
- If the transaction details are correct and the balance is reflecting the transferred amount, you can be confident that the Bitcoin transfer was successful and securely stored on your Ledger Nano S.
The verification process is important to confirm the accuracy of the Bitcoin transfer and to ensure that your funds are safely secured on your Ledger Nano S. By cross-referencing the transaction details on both Ledger Live and a blockchain explorer, you can have confidence in the integrity of your Bitcoin holdings.
It’s worth noting that the transaction confirmation process on the Bitcoin blockchain may vary in terms of time. Depending on network congestion and other factors, it may take some time for the transaction to be confirmed and appear on the blockchain. However, once the transaction is confirmed, the funds are securely stored on your Ledger Nano S.
By verifying the Bitcoin transfer on your Ledger Nano S, you can have peace of mind knowing that your funds have been securely stored on your hardware wallet. This provides you with complete control and ownership over your Bitcoin, reducing the risks associated with keeping your funds on an exchange or software wallet.
Regularly checking and verifying your Bitcoin transactions on your Ledger Nano S is an essential practice to ensure the integrity and security of your digital assets. It’s an important step towards maintaining full control and taking responsibility for your cryptocurrency holdings.
Important Considerations and Security Precautions
When dealing with cryptocurrencies, including Bitcoin, it’s crucial to understand and implement important considerations and security precautions to safeguard your assets. Here are some key points to keep in mind:
- Secure Your Private Keys: Your private keys provide access to your Bitcoin. Keep them confidential and secure. Storing your Bitcoin on a hardware wallet like the Ledger Nano S ensures that your private keys are kept offline and protected from potential hacks or malware.
- Backup Your Recovery Phrase: The recovery phrase generated during the setup of your Ledger Nano S is critical. Write it down on paper and store it in a safe place. Losing this recovery phrase could result in permanent loss of access to your funds.
- Be Mindful of Phishing Attempts: Be cautious of phishing attempts that may try to trick you into revealing your private keys or recovery phrase. Double-check the URL, email sender, and never share your sensitive information with unauthorized parties.
- Regularly Update Your Wallet Software: Ensure that both your Ledger Nano S firmware and Ledger Live application are up to date. Regular updates often include important security patches that keep your wallet and funds secure.
- Validate the Device and Software: Only use the official Ledger website and trusted sources when downloading software for your Ledger Nano S. Be cautious of counterfeit devices or malicious software that may compromise the security of your Bitcoin.
- Double-Check Transaction Details: Before confirming any Bitcoin transactions, review the recipient address and the amount being sent. It’s recommended to copy and paste the address rather than manually typing it to avoid potential errors.
- Keep Security Measures and Best Practices: Enable two-factor authentication on your GDAX and Coinbase accounts and ensure your computer and devices have up-to-date antivirus and malware protection. Exercise caution when accessing cryptocurrency-related websites or sharing sensitive information online.
- Stay Informed: Stay updated with the latest news and developments in the cryptocurrency space. Follow reputable sources to educate yourself about best practices, security threats, and any regulatory changes that may impact your Bitcoin holdings.
By following these important considerations and implementing security precautions, you can significantly enhance the safety of your Bitcoin holdings. Remember, taking proactive measures to protect your assets is essential in the dynamic and evolving world of cryptocurrencies.