
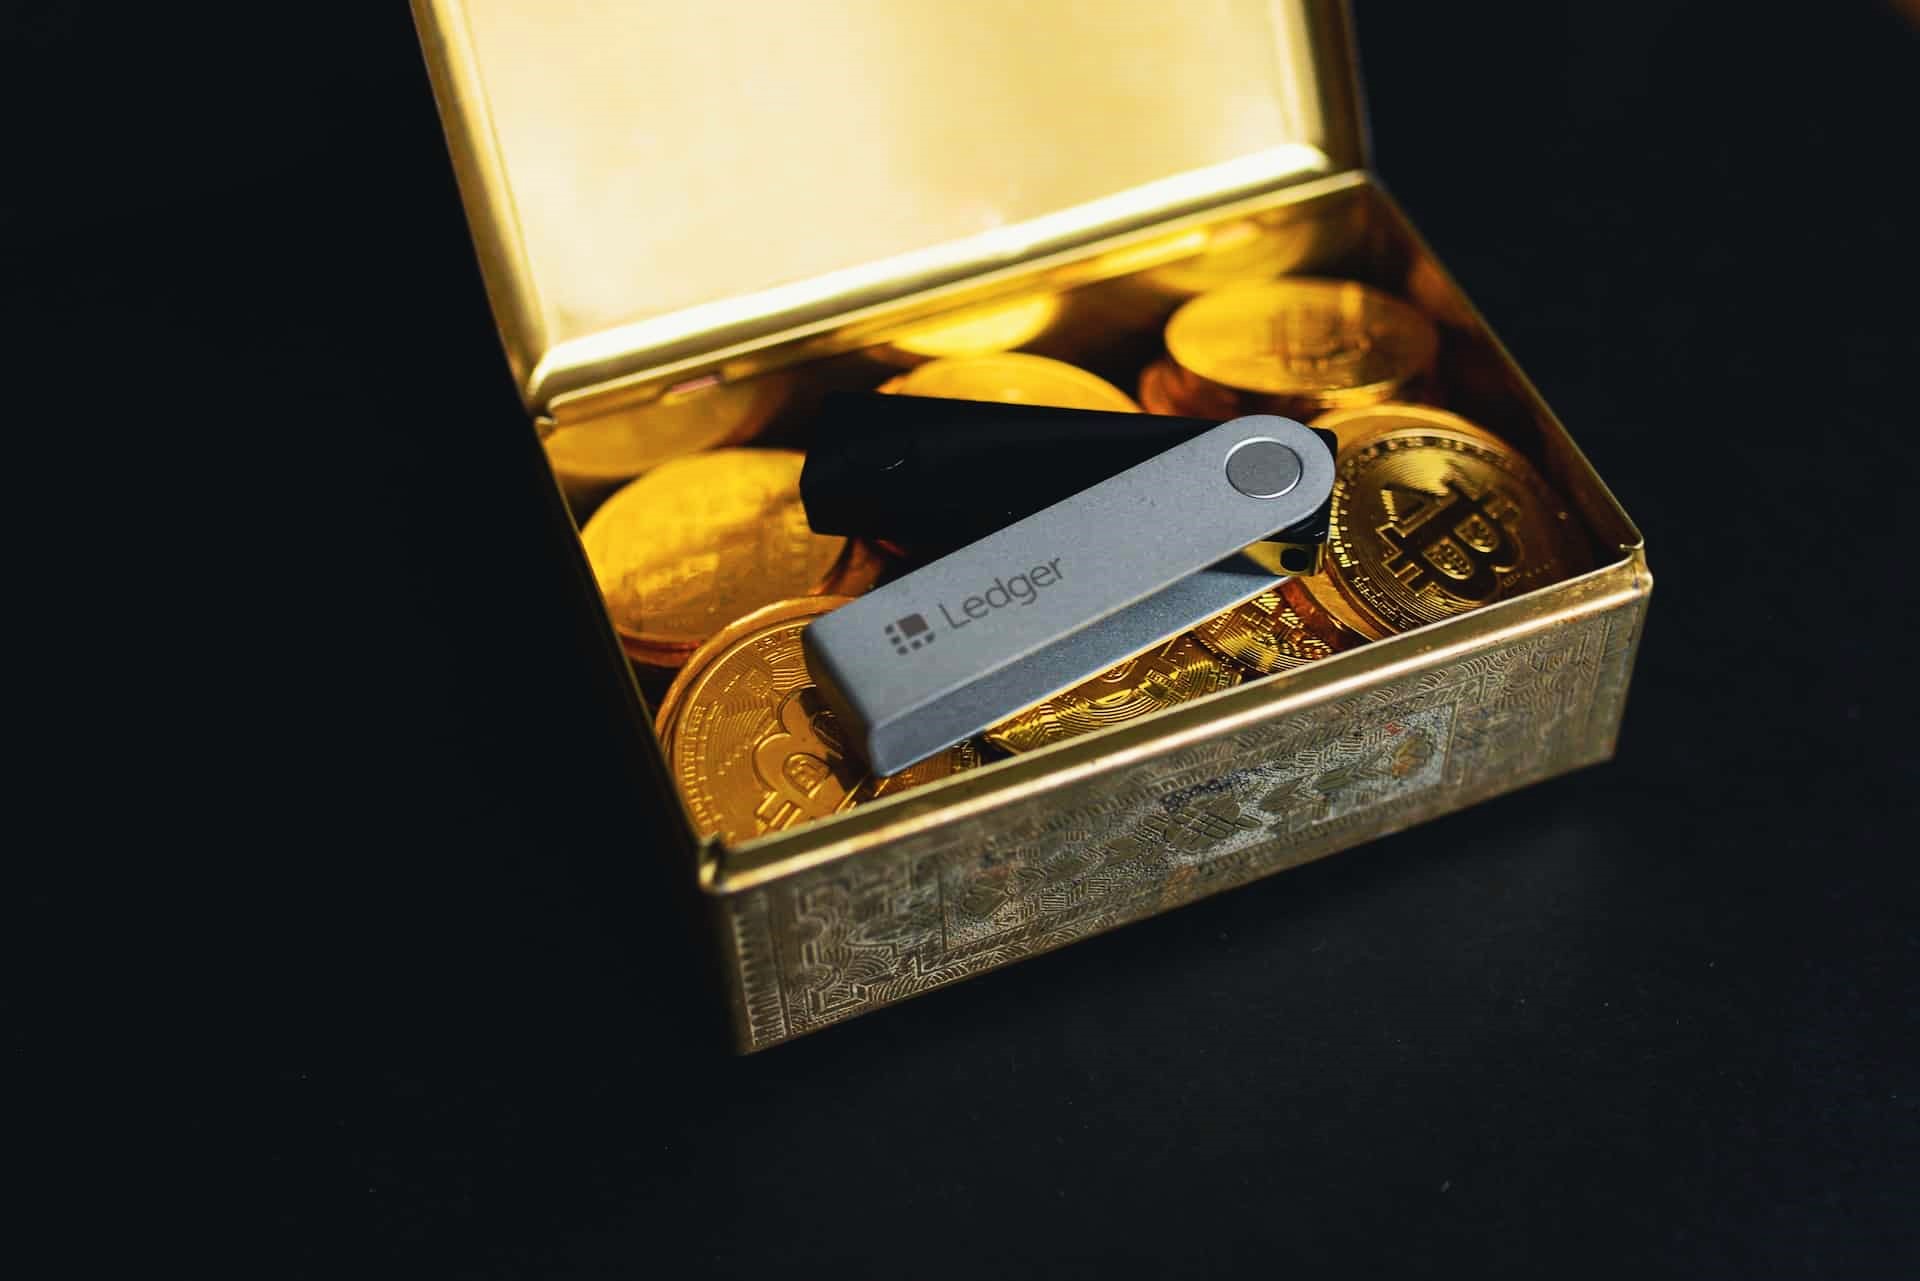
What is a Ledger Nano S
The Ledger Nano S is a hardware wallet that provides a secure and convenient way to store and manage cryptocurrencies. It is a compact and portable device that allows users to securely store their private keys offline, protecting them from potential security threats such as hacking or malware attacks.
Unlike traditional software wallets, which are vulnerable to online security risks, the Ledger Nano S keeps your private keys offline, making it virtually impossible for hackers to access your funds. It achieves this by generating and storing your private keys within the device itself, ensuring that they never leave the secure chip.
The Ledger Nano S supports a wide range of cryptocurrencies, including Bitcoin, Ethereum, Ripple, Litecoin, and many others. This means that you can securely manage all your digital assets in one place, without the need for multiple wallets.
Setting up the Ledger Nano S is quick and easy. You simply need to connect the device to your computer via a USB cable and follow the step-by-step instructions provided by the Ledger Live software. Once the initialization process is complete, you can start adding accounts and transferring your cryptocurrencies to the device.
With its built-in OLED display and physical buttons, the Ledger Nano S provides an intuitive and user-friendly interface. It allows you to confirm transactions directly on the device, ensuring that you have full control over your funds.
Furthermore, the Ledger Nano S is designed to withstand physical damage and tampering. Its durable metal casing and secure chip offer robust protection against physical attacks, making it an ideal choice for long-term storage of your cryptocurrencies.
In summary, the Ledger Nano S is a hardware wallet that offers a high level of security and convenience for managing your cryptocurrencies. With its offline storage, support for multiple cryptocurrencies, and user-friendly interface, it provides a reliable solution for safeguarding your digital assets. Whether you are a beginner or an experienced cryptocurrency user, the Ledger Nano S is an essential tool for securely managing and transacting with your cryptocurrencies.
How to Set Up Ledger Nano S
Setting up your Ledger Nano S is a straightforward process that can be completed in just a few simple steps. Here is a step-by-step guide to help you get started:
1. Unboxing: Start by unboxing your Ledger Nano S and carefully removing it from the packaging. Make sure to keep the recovery phrase card and USB cable handy.
2. Connect to your computer: Use the provided USB cable to connect your Ledger Nano S to your computer. The device will power on automatically once connected.
3. Initialize the device: To begin the setup process, you will need to choose a PIN code. Follow the instructions on the device’s screen to set a secure PIN code. Make sure to choose a PIN code that is unique and easy to remember.
4. Write down the recovery phrase: After setting your PIN code, the device will generate a recovery phrase consisting of 24 words. It is crucial to write down this recovery phrase and keep it in a safe place. The recovery phrase is your backup in case your Ledger Nano S is lost or damaged.
5. Confirm the recovery phrase: Once you have written down the recovery phrase, the device will ask you to confirm it. This step ensures that you have recorded the recovery phrase accurately. Pay close attention and verify that each word matches the sequence provided.
6. Install Ledger Live: Ledger Live is the official software provided by Ledger to manage your cryptocurrency assets. Visit the Ledger website and download the appropriate version of Ledger Live software for your operating system. Install the software on your computer and follow the on-screen instructions to set it up.
7. Add accounts: After installing Ledger Live, connect your Ledger Nano S to your computer again and launch the software. Follow the prompts to add accounts for the cryptocurrencies you wish to manage. Ledger Live supports a wide range of cryptocurrencies, and you can add multiple accounts for each supported cryptocurrency.
8. Update firmware (if applicable): During the setup process, Ledger Live may prompt you to update the firmware on your Ledger Nano S. It is crucial to keep the firmware updated to ensure the highest level of security. Follow the instructions provided by the software to update the firmware.
By following these steps, you can easily set up your Ledger Nano S and start securely managing your cryptocurrencies. Remember, it is essential to keep your device, PIN code, and recovery phrase in a safe place. With proper precautions, your Ledger Nano S can provide you with peace of mind knowing that your digital assets are protected.
Installing Ledger Live
Ledger Live is the official software provided by Ledger that allows you to manage your cryptocurrencies and interact with your Ledger Nano S device. Installing Ledger Live is a simple process that can be done in a few easy steps. Here’s how to install Ledger Live on your computer:
1. Visit the Ledger website: Start by visiting the official Ledger website at www.ledger.com. Navigate to the downloads section or look for a “Get Started” button.
2. Choose your operating system: Ledger Live is compatible with Windows, macOS, and Linux. Select the version that corresponds to your operating system.
3. Download the software: Once you have selected the correct version for your operating system, click on the download button. The Ledger Live installation file will be saved to your computer.
4. Install the software: Locate the downloaded installation file on your computer and double-click on it to start the installation process. Follow the on-screen instructions to complete the installation. Make sure to read and accept the terms and conditions if prompted.
5. Launch Ledger Live: After the installation is complete, you can launch Ledger Live from your computer’s application menu or desktop shortcut. The software will guide you through the initial setup process.
6. Connect your Ledger Nano S: Connect your Ledger Nano S to your computer using the provided USB cable. Ensure that the device is powered on. Ledger Live will automatically detect your connected device.
7. Set up Ledger Live: Follow the on-screen instructions to set up Ledger Live. You may be required to create an account and choose a password. Make sure to select a strong and unique password to protect your account.
8. Complete the setup: Once you have completed the initial setup process, Ledger Live will display a dashboard where you can view your cryptocurrency accounts and perform various actions such as sending and receiving funds.
Remember to keep your Ledger Live software updated to ensure compatibility with the latest features and security enhancements. Ledger provides regular updates to address any potential vulnerabilities and improve the user experience.
With Ledger Live installed on your computer, you gain a powerful tool to manage and interact with your Ledger Nano S device. From viewing your account balances and transaction history to securely sending and receiving cryptocurrencies, Ledger Live provides a user-friendly and intuitive interface to streamline your cryptocurrency management experience.
Connecting Ledger Nano S to a Computer
Connecting your Ledger Nano S to a computer is an essential step in managing your cryptocurrency assets securely. By establishing a connection, you can access your Ledger Nano S through compatible software such as Ledger Live and perform actions like checking balances, sending and receiving funds, and updating firmware. Follow these steps to connect your Ledger Nano S to a computer:
1. Ensure USB connectivity: Start by ensuring that your computer has a functioning USB port and a reliable USB cable. The USB cable provided with your Ledger Nano S is specifically designed to establish a secure connection.
2. Power on the Ledger Nano S: Press the button on the Ledger Nano S to power it on. The device will display the Ledger logo or a prompt to enter your PIN code.
3. Connect the USB cable: Connect the smaller end of the USB cable to the Ledger Nano S device. Take the larger end of the cable and plug it into an available USB port on your computer. Depending on your computer’s settings, the Ledger Nano S may begin to charge automatically when connected.
4. Trust the computer (if prompted): In some cases, when connecting your Ledger Nano S to a computer for the first time, you may be prompted to trust the computer on the device’s screen. Confirm the connection by pressing the right button on the Ledger Nano S.
5. Launch Ledger Live: Once your Ledger Nano S is connected to the computer, you can launch the Ledger Live software. If it is your first time using Ledger Live, follow the installation and setup instructions provided in the previous section.
6. Detecting the device: Ledger Live will automatically detect your connected Ledger Nano S device. This may take a few moments. Ensure that the device is unlocked and powered on during this process.
7. Confirm the connection: Once detected, Ledger Live will display the connected Ledger Nano S device along with its firmware version and available cryptocurrency accounts.
With your Ledger Nano S successfully connected to your computer, you can now manage your cryptocurrencies securely. Always ensure that you disconnect your Ledger Nano S properly when you’re done using it. This prevents accidental damage and ensures the security of your funds.
It’s worth noting that you can connect your Ledger Nano S to multiple computers or laptops without any issues. This allows you to manage your cryptocurrencies on different devices depending on your needs.
By establishing a secure connection between your Ledger Nano S and your computer, you can confidently manage your cryptocurrencies, knowing that your private keys are securely stored and your transactions are safeguarded from potential threats.
Adding Accounts to Ledger Live
Once you have set up Ledger Live and connected your Ledger Nano S to your computer, the next step is to add accounts for the cryptocurrencies you want to manage. Ledger Live supports a wide range of cryptocurrencies, including Bitcoin, Ethereum, Ripple, Litecoin, and many others. Here’s a step-by-step guide on how to add accounts to Ledger Live:
1. Launch Ledger Live: Start by launching the Ledger Live software on your computer. Ensure that your Ledger Nano S is connected and unlocked.
2. Navigate to the account section: On the Ledger Live interface, locate the menu on the left-hand side of the screen and click on the “Accounts” tab. This will take you to the account management section.
3. Click on “Add Account”: In the account management section, click on the “Add Account” button. A list of supported cryptocurrencies will appear.
4. Select the cryptocurrency: Scroll through the list and select the cryptocurrency that you want to add. Click on it to proceed.
5. Choose an account name: Ledger Live will prompt you to choose a name for the account. It’s recommended to give each account a unique and descriptive name, especially if you plan to manage multiple accounts for the same cryptocurrency.
6. Confirm the account creation: Review the account details and click on the confirmation button to create the account. Ledger Live will detect the account on your Ledger Nano S and synchronize the transaction history.
7. Repeat for additional accounts: If you want to add accounts for other cryptocurrencies, repeat the steps above for each one.
8. View and manage your accounts: Once the accounts are added, you can view them in the account section of Ledger Live. Each account will display the balance, transaction history, and other relevant details. You can also perform various actions for each account, such as sending and receiving funds.
Adding accounts to Ledger Live allows you to conveniently manage multiple cryptocurrencies within a single interface. The software keeps track of your account balances and transaction history, providing you with a comprehensive overview of your cryptocurrency portfolio.
Additionally, Ledger Live offers the option to hide or show specific accounts, depending on your preference. This feature allows you to customize the view and focus on the accounts that are most important to you.
By adding accounts to Ledger Live, you can effortlessly manage and monitor your cryptocurrency holdings, ensuring that you stay informed and in control of your digital assets.
Transferring Cryptocurrency to Ledger Nano S
Transferring cryptocurrency to your Ledger Nano S is a critical step in securing your digital assets. By moving your funds to the hardware wallet, you eliminate the risk of online attacks and keep your private keys offline. Follow these steps to transfer cryptocurrency to your Ledger Nano S:
1. Launch Ledger Live: Start by launching the Ledger Live software on your computer. Ensure that your Ledger Nano S is connected and unlocked.
2. Select the account: In Ledger Live, navigate to the account section and choose the specific cryptocurrency account you want to receive funds into. Ensure that the account is selected and displayed on the screen.
3. Copy the receiving address: On the Ledger Live interface, locate the receiving address for your chosen cryptocurrency account. It usually appears as a combination of letters and numbers. Click on the copy button next to the address to copy it to your clipboard.
4. Access your current wallet/exchange: Open the wallet or exchange where your cryptocurrency is currently stored. Locate the option to send or withdraw funds from your account.
5. Enter the receiving address: In the sending section of your current wallet or exchange, paste the receiving address from your Ledger Live account that you copied earlier. Double-check the address to ensure that it is accurate and matches the one displayed in Ledger Live.
6. Specify the amount: Enter the amount of cryptocurrency you wish to transfer. Take note of any transaction fees that may be incurred during the transfer.
7. Confirm the transaction: Review all the details, including the receiving address and the transaction amount, to ensure their accuracy. Once you are certain, confirm the transaction and initiate the transfer. The funds will be sent to your Ledger Nano S address.
8. Wait for confirmation: Depending on the cryptocurrency and blockchain network, it may take some time for the transaction to be confirmed. Ledger Live will display the transaction status, and you can track the progress on the blockchain explorer.
Once the transaction is confirmed, you will see the transferred cryptocurrency in your Ledger Live account for the specific cryptocurrency. Ledger Live provides you with an overview of your transaction history, including the date, amount, and status of each transaction.
It’s important to note that each cryptocurrency has its own network requirements and transaction fees. Be sure to research and understand the specific details for the cryptocurrency you are transferring to avoid any potential issues.
Transferring cryptocurrency to your Ledger Nano S ensures that your funds are stored securely offline, providing peace of mind and protection against online threats. By taking this proactive step, you retain full control over your digital assets and can confidently manage your cryptocurrency portfolio.
Using Ledger Nano S on Exchanges
The Ledger Nano S can be used on various cryptocurrency exchanges to securely manage and transact with your digital assets. By leveraging the hardware wallet’s robust security features, you can have greater control over your funds and protect them from potential security risks. Here’s how to use your Ledger Nano S on exchanges:
1. Choose a supported exchange: Start by selecting a cryptocurrency exchange that supports the use of hardware wallets such as Ledger Nano S. Many popular exchanges, including Binance, Coinbase, and Kraken, offer hardware wallet integration.
2. Create an account: If you don’t have an account on the exchange, you’ll need to create one. Follow the signup process, provide the required information, and complete any verification steps necessary to gain access to your account.
3. Locate the hardware wallet option: Once you have logged into your exchange account, navigate to the settings or security section to find the option for hardware wallet integration. The location and name of this option may vary depending on the exchange.
4. Connect your Ledger Nano S: Connect your Ledger Nano S to your computer using the provided USB cable. Unlock the device, enter your PIN code, and make sure it is ready to be used.
5. Enable Ledger Nano S integration: In the exchange settings, select the option to enable hardware wallet integration. Follow the prompts and instructions provided by the exchange to connect your Ledger Nano S to your account.
6. Confirm the connection: After following the integration steps, the exchange will prompt you to confirm the connection between your Ledger Nano S and your exchange account. Check the information on your Ledger Nano S display and verify that it matches what is shown on the exchange interface. Confirm the connection on your Ledger Nano S device.
7. Access and manage your funds: Once the connection is confirmed, you can access and manage your funds directly through your Ledger Nano S. You will typically see options to view your account balances, make deposits, place trades, and withdraw funds. Follow the exchange’s interface and instructions to perform the desired actions.
8. Confirm transactions on the Ledger Nano S: When initiating a transaction, such as a cryptocurrency withdrawal or trade, the exchange will send a verification request to your Ledger Nano S. Review the transaction details on the device’s screen and use the physical buttons to approve or reject the transaction. Confirming the transaction on your Ledger Nano S ensures that no unauthorized transactions can be executed.
By using your Ledger Nano S on exchanges, you can enjoy the enhanced security and peace of mind that comes with managing your funds offline. With the device handling the private key management, your funds remain secure even if the exchange is compromised.
Make sure to keep your Ledger Nano S firmware up to date and follow best security practices, such as double-checking transaction details and avoiding suspicious URLs or phishing attempts. Regularly monitor your exchange accounts and balances to ensure the accurate management of your digital assets.
Using a Ledger Nano S on exchanges allows you to combine the convenience of trading on exchanges with the superior security of a hardware wallet, empowering you to take full control of your cryptocurrency portfolio.