
Option 1: Rotating an Image using the Rotate Handle
If you’re looking for a quick and easy way to rotate an image in Google Docs, the Rotate Handle is your best friend. This simple feature allows you to rotate an image directly within your document without the need for any additional tools or extensions.
To use the Rotate Handle, follow these simple steps:
- Select the image that you want to rotate by clicking on it.
- An orange rotate handle will appear above the image; click and hold it with your mouse.
- Drag the handle in the desired direction to rotate the image. As you drag the handle, the image will rotate accordingly, giving you real-time feedback on the rotation angle.
- Release the mouse button when you’re satisfied with the new orientation of the image.
The best part about using the Rotate Handle is that it allows you to rotate the image freely, giving you the flexibility to achieve the exact rotation angle you desire. Whether you need to rotate the image clockwise or counterclockwise, a small adjustment or a complete 180-degree flip, the Rotate Handle makes it effortless to achieve the desired effect.
This method is especially useful when you only need to make minor adjustments to the image rotation. It is a convenient and intuitive way to quickly get the image aligned in the right orientation without the need for any complicated procedures or settings.
Keep in mind that the Rotate Handle only changes the visual orientation of the image within the document. It does not affect the actual file or the original image that you have uploaded. So, you can freely experiment with different rotations until you achieve the perfect look for your document without any worries.
Overall, the Rotate Handle is a handy tool for rotating images in Google Docs. Its simplicity and ease of use make it a popular choice among users who want a quick solution for adjusting image rotation within their documents.
Option 2: Rotating an Image using the Rotate Tool
If you’re looking for more advanced options to rotate an image in Google Docs, the Rotate Tool is the way to go. This tool provides a wider range of customization options, allowing you to precisely adjust the rotation angle and achieve the desired orientation for your image.
To use the Rotate Tool, follow these steps:
- Select the image you want to rotate by clicking on it.
- Click on the “Format” tab in the top menu.
- In the dropdown menu, click on “Rotate” and select “Rotate Image.” Alternatively, you can right-click on the image and choose “Rotate Image” from the context menu.
- A dialog box will appear, displaying a slider and angle indicator. You can use the slider to adjust the rotation angle freely or enter a specific degree value in the text box.
- As you adjust the rotation angle, the image will dynamically show the changes in real-time.
- Once you’re satisfied with the new rotation angle, click the “Apply” button to apply the changes.
The Rotate Tool offers more precision in adjusting the rotation angle compared to the Rotate Handle. It’s perfect for those scenarios where you need to rotate the image at a specific angle to align it with other elements in your document.
Additionally, the Rotate Tool allows you to perform more advanced transformations, such as flipping the image horizontally or vertically. Simply use the “Flip horizontally” or “Flip vertically” options in the Rotate tool dialog box to achieve these effects.
It’s important to note that the rotation changes made using the Rotate Tool are non-destructive, meaning that the original image file remains unaltered. You can always revert to the original orientation by using the same tool or by resetting the rotation angle to zero.
Overall, the Rotate Tool provides more control and customization options when it comes to rotating images in Google Docs. It’s ideal for users who require precise rotation adjustments or need to perform more complex transformations on their images.
Option 3: Rotating an Image using the Format Options Panel
If you’re looking for another method to rotate an image in Google Docs, you can utilize the Format Options panel. This panel offers a range of image editing tools, including the ability to rotate an image to the desired angle.
To use the Format Options panel for rotating an image, follow these steps:
- Select the image you want to rotate by clicking on it.
- Click on the image’s “Format Options” icon at the top right corner of the image or right-click on the image and choose “Format Options” from the context menu.
- The Format Options panel will appear on the right side of the screen. Click on the “Image” tab within the panel.
- Scroll down to find the “Rotate” section. You can either type the desired degree value into the rotation field or use the arrows to adjust the rotation angle.
- You will see the image rotating as you make changes to the rotation angle field.
- Once you’re satisfied with the rotation angle, click outside the Format Options panel to apply the changes.
The Format Options panel provides a convenient way to access various image editing features in Google Docs, including image rotation. It allows you to customize the rotation angle precisely, ensuring that the image aligns perfectly with your desired layout.
Aside from the rotation option, the Format Options panel also provides additional tools for adjusting image brightness, contrast, transparency, and more. This makes it a valuable tool for enhancing and fine-tuning images directly within your document.
Remember that using the Format Options panel to rotate an image is non-destructive, which means the original image file remains intact. You can easily revert back to the original orientation or make further adjustments as needed.
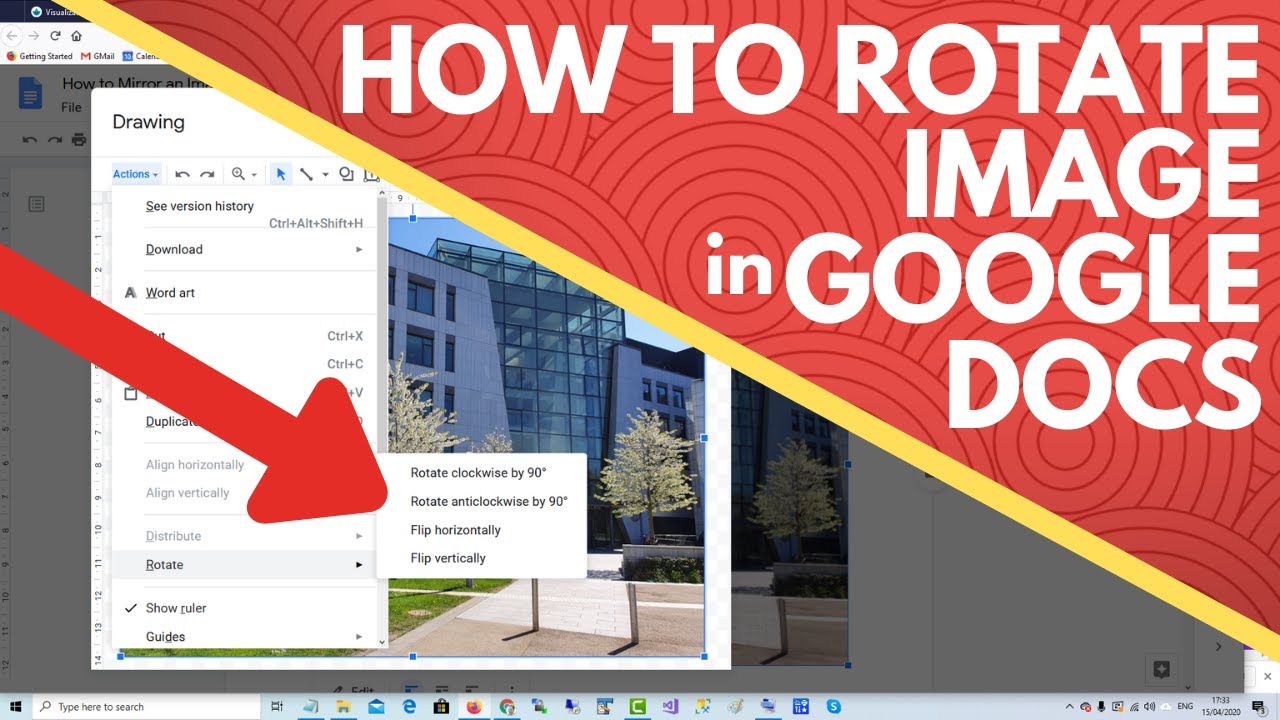
Option 4: Rotating an Image using the Drawing Tool
If you’re looking for a creative way to rotate an image in Google Docs, you can make use of the Drawing tool. This tool allows you to insert images into a drawing canvas, giving you more flexibility in manipulating and rotating your images.
Here’s how you can rotate an image using the Drawing Tool:
- Click on the “Insert” menu at the top of the document.
- Select “Drawing” and click on “New.”
- A drawing canvas will open in a new window or tab.
- Click on the “Image” icon in the toolbar (it looks like a mountain).
- Choose to either upload an image from your computer or insert an image from your Google Drive.
- Once the image is inserted, click on it to select it.
- Rotate the image using the rotation handle at the top of the image. Drag it clockwise or counterclockwise to rotate the image to the desired angle.
- Click on the “Save and Close” button to apply the changes and insert the rotated image into your document.
Using the Drawing tool provides more control over the rotation of the image. It allows you to rotate the image freely, enabling you to create artistic designs or adjust the image to fit specific layouts within your document.
Another advantage of using the Drawing tool is that it enables you to add other shapes, text, or annotations to your image. This can enhance the visual appeal and help convey your message effectively.
It’s important to note that when using the Drawing tool, the rotated image will be inserted as a separate image in your document. This means that any changes made to the original inserted image will not affect the rotated version. You can also resize, reposition, or delete the rotated image as needed without altering the original image on the drawing canvas.
Overall, the Drawing tool is a versatile option for rotating images in Google Docs. It allows for greater creativity and customization, making it ideal for users who want to go beyond simple rotation and explore more artistic possibilities.
Option 5: Rotating an Image using the Image Editor
If you’re looking for a comprehensive image editing experience within Google Docs, the Image Editor is the perfect option. This feature provides various advanced editing tools, including the ability to rotate an image to your desired angle.
Follow these steps to rotate an image using the Image Editor:
- Select the image you want to rotate in your document.
- Click on the “Format” tab in the top menu.
- In the dropdown menu, click on “Image” and select “Image Options.” Alternatively, you can right-click on the image and choose “Image Options” from the context menu.
- A sidebar will appear on the right side of your screen, displaying various editing options.
- Click on the “Rotate” tab in the Image Options sidebar.
- You can adjust the rotation angle by typing in the degree value or using the slider.
- As you adjust the rotation angle, the image will update in real-time, allowing you to preview the changes.
- Once you’re satisfied with the rotation angle, click the “Apply” button to save the changes.
The Image Editor provides a range of advanced editing capabilities that extend beyond simple rotation. You can also adjust image brightness, contrast, saturation, and apply various filters to enhance the image further.
One important thing to note is that the changes made using the Image Editor are non-destructive, meaning that the original image file remains intact. You can always revert back to the original image or modify the rotation angle again if needed.
The Image Editor is a powerful tool for those who require more precise control over image rotation and want to make additional refinements to their images within Google Docs. It allows for creative adjustments to ensure that your images are perfectly aligned and enhanced for your document.
Option 6: Rotating an Image using an Add-on Extension
If you’re looking for additional features and flexibility when it comes to rotating images in Google Docs, you can explore the option of using an add-on extension. These extensions provide enhanced functionality, including more advanced image editing capabilities.
Here’s how you can rotate an image using an add-on extension:
- Open your Google Docs document.
- Click on the “Add-ons” tab in the top menu.
- Select “Get add-ons” from the drop-down menu.
- Search for an image editing add-on that offers rotation functionality.
- Once you find the desired add-on, click on “Install” to add it to your Google Docs account.
- Follow the installation instructions provided by the add-on.
- Once the add-on is installed, you will typically find it under the “Add-ons” tab or in the “Extensions” menu.
- Select the image you want to rotate.
- Access the add-on’s features, which may include rotation options.
- Adjust the rotation angle as needed.
- Apply the changes made by the add-on to rotate the image.
The availability and functionality of add-ons may vary depending on the specific extension you choose to install. Some add-ons may offer additional editing features beyond rotation, such as image cropping, resizing, and applying filters.
Using an add-on extension provides expanded options for rotating images in Google Docs. It is particularly useful for users who require more advanced editing capabilities and want to have access to a broader range of image manipulation tools.
Keep in mind that add-on extensions are created by third-party developers and may come with their own set of terms and conditions. It’s important to choose reputable and trusted add-ons from the Google Workspace Marketplace to ensure the security and reliability of your documents.
Overall, using an add-on extension can significantly enhance your image editing experience within Google Docs, allowing you to rotate images and access numerous other advanced editing features.
Option 7: Rotating an Image using the Google Slides method
An alternative method for rotating an image in a Google Docs document is by utilizing the Google Slides platform. Although it requires switching between Google Docs and Google Slides, this method provides additional flexibility and precision when it comes to image rotation.
Here’s how you can rotate an image using the Google Slides method:
- In your Google Docs document, select the image you want to rotate.
- Click on the “Format” tab in the top menu.
- Choose “Replace image” from the dropdown menu.
- A dialog box will appear. Click on “Google Slides” to open a new Google Slides presentation.
- The selected image will be automatically inserted into the Google Slides presentation.
- Once in Google Slides, select the image by clicking on it.
- Click on the “Rotate” icon in the top menu (it looks like a circular arrow).
- A rotation handle will appear above the image. Click and hold it to rotate the image to the desired angle.
- Release the mouse button when you’re satisfied with the rotation.
- Switch back to your Google Docs document by either using the browser tab or closing the Google Slides tab and returning to the document.
By utilizing the Google Slides method, you can take advantage of the precise rotation options available in the Google Slides platform. It allows for more accurate adjustments and offers finer control over the placement and orientation of the image in your document.
Additionally, using Google Slides enables you to make further edits to the image within the presentation software, such as resizing, cropping, or applying effects. These additional features can help you achieve a more polished and visually appealing result.
While this method involves a brief detour to Google Slides, it provides users with an effective way to rotate images more precisely and make other image refinements before inserting them back into the Google Docs document.
Overall, the Google Slides method gives you more options and flexibility for rotating images in Google Docs, making it a useful technique for users who require fine-tuned control over image manipulation.
Troubleshooting: Common Issues and How to Fix Them
While rotating images in Google Docs is usually a straightforward process, there are a few common issues that users may encounter. Here are some troubleshooting tips to help you fix them:
Issue 1: Inability to select or click on the image
If you’re having trouble selecting or clicking on the image to rotate it, make sure that you’re in the correct editing mode. Click on the image a few times or try zooming in on the document to ensure that you can interact with the image.
Issue 2: Unexpected image behavior after rotation
If the image appears distorted or doesn’t rotate as expected, it may be due to the image’s original dimensions and aspect ratio. Try resizing the image proportionally before rotating to maintain the original quality and prevent distortion.
Issue 3: Limited rotation options or controls
If you find that the rotation options or controls are limited or unavailable, check if you’re using the latest version of Google Docs. Updates may introduce new features or improvements, including enhanced image editing capabilities. Updating your browser can also help resolve any technical limitations.
Issue 4: Image rotation affecting surrounding content
If rotating the image causes the surrounding text or elements to shift or disrupt the document’s layout, consider using text wrapping options or adjusting the position of the image. You can experiment with different alignment settings or place the image in a separate text box to maintain the desired formatting.
Issue 5: Image not rotating as expected in collaboration
If you’re working on a shared document, it’s possible that the rotation changes made by another collaborator may not appear instantly on your screen. Refreshing the document or closing and reopening it can help sync the changes and ensure that everyone sees the updated image rotation.
Issue 6: Unsupported image file formats
If you’re experiencing issues rotating an image, ensure that the image file format is supported by Google Docs. Preferred formats include JPEG, PNG, GIF, and SVG. Converting the image to a supported format or using an online image conversion tool might resolve the problem.
By following these troubleshooting tips, you can overcome common issues and successfully rotate images in Google Docs. If the problem persists, consider reaching out to Google support or the Google Docs Help Center for further assistance.