
What is a Watermark and Why Use it in Google Docs
A watermark is a visible and semi-transparent marker that is placed on top of a document to signify its authenticity, ownership, or confidential status. It can be in the form of text, images, or patterns that are overlaid onto the document content. In the realm of digital documents, watermarks play a crucial role in protection against unauthorized distribution, plagiarism, and content theft.
Google Docs, a popular online word processor, offers the functionality to add watermarks to your documents. The use of watermarks in Google Docs can serve several purposes:
- Branding: Watermarks can incorporate your logo, company name, or slogan, allowing you to brand your documents and reinforce your brand identity.
- Security: By adding a watermark to your document, you can deter unauthorized sharing or printing, as the presence of the watermark serves as a reminder of its confidential nature or restricted access.
- Copyright Protection: If you are a content creator or writer, adding a copyright watermark can help prevent plagiarism and ensure that your work is properly attributed.
- Document Versioning: When collaborating on documents, watermarks can indicate the status or revision version of the document, making it easier to track changes and maintain document integrity.
Using watermarks in Google Docs allows you to add an extra layer of professionalism, security, and personalized branding to your documents without relying on third-party software or offline editing tools. It empowers you to protect your content and maintain control over its distribution and usage.
Now that you understand what watermarks are and why they are useful, let’s explore how to add different types of watermarks in Google Docs.
How to Add a Text Watermark in Google Docs
Text watermarks in Google Docs are a great way to add your own custom messages or labels to your documents. Whether it’s a confidential draft, a final version, or a branded document, text watermarks can provide the desired impact. To add a text watermark in Google Docs, follow these steps:
- Open your Google Docs document.
- Click on “Insert” in the top menu bar.
- Select “Header & Page Number” from the dropdown menu.
- In the header section, click on the area where you want to add the watermark (e.g., left, center, or right).
- Type in your desired text for the watermark, such as “Confidential,” “Draft,” or your company name.
- Customize the appearance of the watermark by selecting the text and applying formatting options like font style, size, color, and transparency.
- Position and adjust the size of the watermark by dragging and resizing it within the header section.
- Click outside of the header area to apply the watermark to your document.
Once added, the text watermark will appear in the background of your document content on each page. It is important to note that text watermarks cannot be directly edited within the document content, but you can modify their appearance by accessing the “Header & Page Number” settings.
You can also experiment with different text watermarks for different purposes. For example, you might want to use a more subtle watermark for branding purposes, such as a light logo or a small company name, or a more prominent one for confidential documents to ensure that it is easily recognizable.
By adding custom text watermarks to your Google Docs, you not only enhance the visual appeal of your documents but also strengthen their identity and protect their integrity.
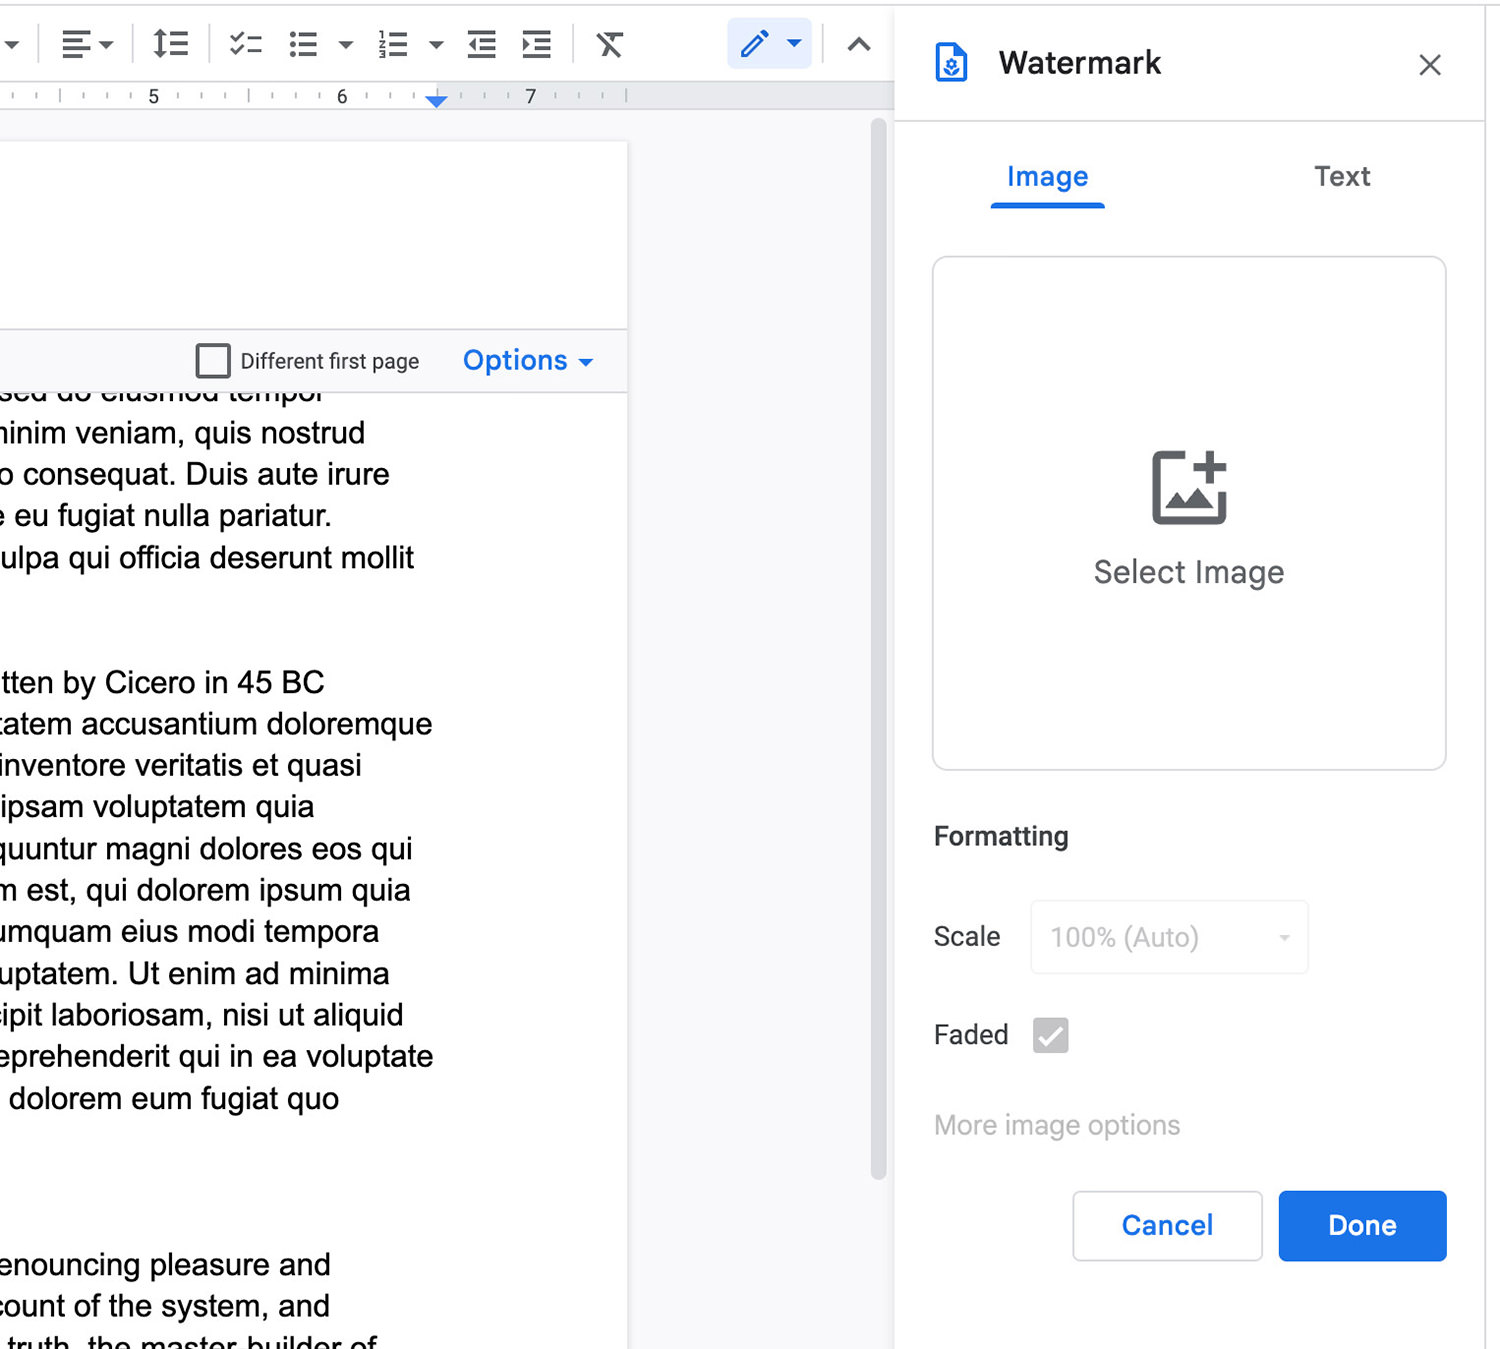
How to Add an Image Watermark in Google Docs
An image watermark can add a professional and visually appealing touch to your Google Docs documents. Whether you want to include your company logo, a signature, or a custom design, image watermarks can help elevate the presentation of your content. Follow these steps to add an image watermark in Google Docs:
- Open your document in Google Docs.
- Click on “Insert” in the top menu bar.
- Select “Drawing” from the dropdown menu. This will open the Google Drawings interface.
- Click on the “Image” icon in the toolbar of the Google Drawings interface.
- Choose to either upload an image from your computer or select an image from your Google Drive.
- Click “Open” to insert the image into the drawing canvas.
- Resize and position the image to your desired watermark size and placement.
- Customize the appearance of the watermark by applying transparency, cropping, or adding additional text or graphic overlays if needed.
- Click on “File” in the top menu bar of the Google Drawings interface and select “Save and Close” to save the image watermark.
- Drag and position the saved image watermark onto your Google Docs document.
Once the image watermark is added to your document, it will be visible on all pages as an overlay on top of the document content. You can adjust the position of the image watermark by clicking and dragging it within the document.
It’s important to choose an image that is clear, high-resolution, and aligned with the purpose of your document. Experiment with different images to find the perfect watermark that enhances the aesthetics, branding, and professionalism of your Google Docs documents.
By incorporating image watermarks, you not only personalize your documents but also leave a lasting impression on your readers or viewers.
Customizing Your Watermark in Google Docs
Customizing your watermark in Google Docs allows you to give it a unique and personalized touch. Whether you’re adding a text watermark or an image watermark, the customization options in Google Docs give you the flexibility to make it align with your branding or document requirements. Here are some ways to customize your watermark in Google Docs:
Text Watermarks:
- Font Style: Choose a font style that reflects the tone and aesthetics of your document. Google Docs offers a wide range of font options to choose from.
- Font Size: Adjust the font size to ensure that the text watermark is legible and proportionate to the document content.
- Font Color: Select a color that contrasts well with the document background and makes the watermark stand out.
- Transparency: Adjust the transparency of the watermark to find the right balance between visibility and subtlety.
Image Watermarks:
- Transparency: Adjust the transparency of the image watermark to make it blend with the document content or stand out as desired.
- Resize: Modify the size of the image watermark to ensure it maintains clarity and does not overshadow the document content.
- Positioning: Position the image watermark in a location that does not interfere with the readability of the document text.
- Overlay Text or Graphics: Add additional text or graphic overlays to enhance the visual impact of the image watermark.
By customizing your watermarks, you can create a consistent and professional look across your documents while maintaining your branding elements or document requirements. It’s important to strike a balance between customization and readability to ensure that the watermark serves its intended purpose without distracting from the document’s content.
Experiment with different customization options to find the perfect combination that aligns with your document’s purpose, enhances its aesthetics, and reinforces your brand identity.
Removing or Editing Watermarks in Google Docs
If you no longer need a watermark in your Google Docs document or if you want to make changes to an existing watermark, Google Docs provides easy options for removing or editing watermarks. Here’s how you can remove or edit watermarks in Google Docs:
Removing a Watermark:
- Open your Google Docs document.
- Click on the “Header & Page Number” option from the top menu.
- Locate the watermark in the header section of the document.
- Select and delete the watermark text or image from the header area.
- Click outside of the header area to save the changes and remove the watermark from your document.
If you have multiple pages in your document, make sure to repeat the above steps for each page to completely remove the watermark from all pages.
Editing a Watermark:
- Open your Google Docs document.
- Click on the “Header & Page Number” option from the top menu.
- Locate the watermark in the header section of the document.
- Make any desired changes to the text or image of the watermark.
- Customize the appearance of the watermark using the formatting options available.
- Click outside of the header area to save the changes and apply the edited watermark to your document.
By removing or editing watermarks in Google Docs, you have the flexibility to update your documents, refine the content, or adjust the design elements as needed. It’s important to periodically review your documents and ensure that the watermarks are aligned with the current requirements and objectives.
Remember, removing or editing a watermark in Google Docs only affects the current document. If you have a template or frequently use watermarked documents, it might be helpful to create and save a new template or document without the watermark for future use.
Take advantage of the simple and user-friendly options provided by Google Docs to remove or make changes to your watermarks effortlessly, allowing for greater flexibility and control over your document presentation.
Tips for Using Watermarks in Google Docs
Using watermarks in Google Docs can significantly enhance the visual appeal and functionality of your documents. To make the most out of this feature, consider the following tips when adding and utilizing watermarks in Google Docs:
- Choose a Relevant Watermark: Select a watermark that aligns with the purpose of your document. Whether it’s a confidential designation, a branding element, or a document version, ensure that the watermark serves its intended purpose.
- Keep Watermarks Legible: Ensure that your watermarks are easily readable and do not interfere with the document’s content. Experiment with different font sizes, colors, and transparency levels to find the optimal balance between visibility and subtlety.
- Use High-Quality Images: If you choose to add an image watermark, make sure to use high-resolution images that are clear and visually appealing. This will help maintain the professional appearance of your document.
- Consider Placement: Position your watermarks strategically to avoid covering critical information or affecting the readability of your document. Experiment with different placements to find the best position that complements the document’s layout.
- Regularly Review and Update: Periodically review your documents and ensure that the watermarks are up-to-date and aligned with the current requirements. This includes removing or editing watermarks as necessary to keep your documents fresh and relevant.
- Save Watermarked Templates: If you frequently use watermarked documents, consider creating templates with pre-added watermarks. This will save you time and ensure consistency across your documents.
- Test Printing and Exporting: Before finalizing your document, test printing or exporting it to different file formats (such as PDF) to ensure that the watermark appears as intended. This helps avoid any surprises when sharing or distributing your documents.
- Share Watermarked Documents Securely: When sharing watermarked documents, consider using the appropriate sharing settings to maintain the confidentiality or restricted access of the document. This helps protect your content from unauthorized distribution.
By following these tips, you can effectively utilize watermarks in Google Docs to enhance the professionalism, security, and branding of your documents. Experiment with different options and find what works best for your specific needs and preferences.
Remember, watermarks are not only functional but also provide an opportunity to showcase your creativity and attention to detail in your document presentation.