
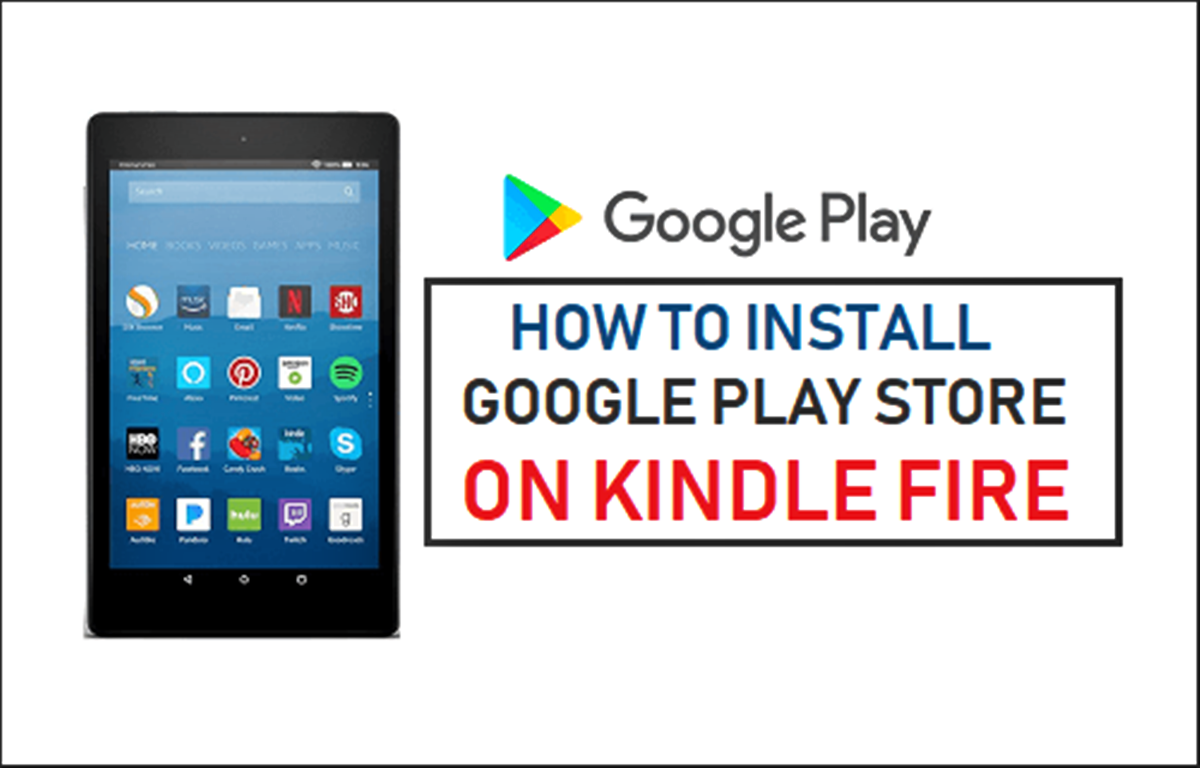
What is Kindle Fire?
Kindle Fire is a line of Android-based tablets developed and marketed by Amazon. These tablets offer a range of features, including e-book reading, web browsing, media streaming, and app-based functionalities. While Kindle Fire devices come pre-loaded with Amazon’s Appstore, which offers a decent selection of apps, some users may find it limiting compared to the vast collection available on Google Play Store. Thankfully, it is possible to install Google Play on Kindle Fire devices to access a wider range of apps and services.
Kindle Fire tablets are popular among users who want a more affordable alternative to mainstream tablets while still enjoying a rich multimedia experience. With their compact sizes, high-resolution displays, and long battery life, Kindle Fire devices are a great choice for reading, streaming videos, playing games, or simply browsing the web.
While Amazon’s own ecosystem offers a comprehensive selection of content, including e-books, music, movies, and TV shows, some users may have specific apps or services that are only available on Google Play. That’s where installing Google Play on Kindle Fire can come in handy, allowing users to access and download a wider range of apps to enhance their tablet experience.
It’s important to note that Kindle Fire tablets run on a modified version of Android, which means the installation process for Google Play is slightly different compared to standard Android devices. However, with a few simple steps, you can easily install Google Play on your Kindle Fire and open up a whole new world of apps and services.
Why Install Google Play on Kindle Fire?
While Kindle Fire tablets come with their own app store, Amazon’s Appstore, many users prefer to have access to the Google Play Store due to its larger app selection and familiarity. Here are a few reasons why installing Google Play on your Kindle Fire can greatly enhance your tablet experience:
- Expanded App Selection: The Google Play Store offers a much wider range of apps compared to the Amazon Appstore. Whether you’re looking for productivity tools, social media apps, or popular games, you’ll find a greater variety of options on Google Play.
- Access to Google Services: Installing Google Play on your Kindle Fire will give you access to various Google services, including Gmail, Google Maps, Google Drive, and Google Calendar. This integration allows you to seamlessly sync your Google accounts and enjoy the many benefits of these services on your tablet.
- Frequent App Updates: Android apps are typically updated more frequently on Google Play, ensuring that you have the latest features, bug fixes, and security patches. By installing Google Play on your Kindle Fire, you’ll be able to keep your apps up to date and enjoy the best possible user experience.
- Seamless App Management: Google Play provides a user-friendly interface for managing your installed apps, including easy updates, organization, and uninstallation. Having access to this familiar interface on your Kindle Fire makes it more convenient to organize and maintain your app collection.
- Compatibility with Third-Party Apps: Some apps and services may require the use of Google Play Services to function properly. By having Google Play installed on your Kindle Fire, you can ensure compatibility with a wider range of third-party apps and services.
Installing Google Play on your Kindle Fire allows you to bridge the gap between the Amazon ecosystem and the larger Android ecosystem. It gives you more flexibility, options, and convenience, making your Kindle Fire tablet even more versatile and useful. With access to the extensive collection of apps on Google Play, you can personalize your tablet experience to suit your specific needs and preferences.
Step 1: Prepare Your Kindle Fire
Before you can install Google Play on your Kindle Fire, you need to ensure that your device is properly prepared. Follow these steps to get your Kindle Fire ready for the installation process:
- Check your Kindle Fire model: Not all Kindle Fire models can support the installation of Google Play. Ensure that you have a compatible model before proceeding.
- Update your Kindle Fire: It’s recommended to have the latest software version installed on your Kindle Fire. Go to Settings > Device Options > System Updates to check for any available updates and install them if necessary.
- Charge your Kindle Fire: Make sure that your Kindle Fire has sufficient battery charge or keep it connected to a power source during the installation process. This will prevent any interruptions due to low battery.
- Back up your data: While the installation process doesn’t typically lead to data loss, it’s always a good practice to back up your important files, photos, and documents. You can use a cloud storage service or connect your Kindle Fire to a computer to transfer your files.
- Clean up storage: Clear up some storage space on your Kindle Fire by removing unwanted apps, files, or media. This will ensure that you have enough space for the Google Play installation and any new apps you decide to download.
- Enable ADB debugging: ADB (Android Debug Bridge) debugging allows your Kindle Fire to communicate with your computer during the installation process. To enable it, go to Settings > Device Options > Developer Options and toggle on ADB debugging.
By completing these steps, you are now ready to move on to the next phase of installing Google Play on your Kindle Fire. Preparation is key to ensure a smooth installation process and minimize any potential issues or complications that may arise along the way.
Step 2: Allow Installation of Apps from Unknown Sources
To install Google Play on your Kindle Fire, you need to enable the option to install apps from unknown sources. Follow these steps to allow installation from unknown sources:
- Go to Settings: Swipe down from the top of your Kindle Fire screen to access the quick settings panel. Tap on the gear icon to open the Settings menu.
- Select Security: In the Settings menu, scroll down and tap on the “Security” or “Device Security” option.
- Enable Unknown Sources: Look for the “Unknown Sources” option and toggle it on. A warning message will appear, explaining the risks of installing apps from unknown sources. Confirm your decision by tapping “OK.”
- Confirm the change: After enabling the “Unknown Sources” option, a pop-up message will appear. Tap on “Allow” to confirm the change.
Enabling installation from unknown sources allows you to install apps from sources other than the Amazon Appstore. This is necessary since you will be installing Google Play from an APK file sourced externally. Keep in mind that installing apps from unknown sources carries some inherent risks, so proceed with caution and ensure that you download APK files from trusted sources.
By completing these steps, you have successfully allowed the installation of apps from unknown sources on your Kindle Fire, making it possible to proceed with the installation of Google Play.
Step 3: Download the Google Play Store APK
In this step, you will need to download the Google Play Store APK (Android Package) file, which is required for the installation of Google Play on your Kindle Fire. Follow these steps to download the APK:
- Launch the web browser: Open the web browser on your Kindle Fire. You can find the browser icon on your device’s home screen or in the app drawer.
- Search for the Google Play Store APK: Enter “Google Play Store APK” in the search bar of your browser and press enter. Several websites will appear in the search results offering the APK file for download. Choose a reliable source to download the APK from, ensuring it is a reputable and trustworthy website.
- Download the APK: Locate the download link for the Google Play Store APK on the website and tap on it to initiate the download. Wait until the download is complete before proceeding to the next step.
When downloading the Google Play Store APK, it’s important to choose a trusted source to ensure the authenticity and integrity of the file. Be cautious of downloading APKs from unknown or suspicious sources, as they may contain malware or other security risks.
Once you have successfully downloaded the Google Play Store APK file, you are now ready to proceed to the next step of installing it on your Kindle Fire.
Step 4: Install the Google Play Store APK
After downloading the Google Play Store APK file, you can now proceed with installing it on your Kindle Fire. Follow these steps to install the APK:
- Locate the APK file: Open the notification panel on your Kindle Fire by swiping down from the top of the screen. Tap on the downloaded APK file to start the installation process.
- Allow installation: A prompt will appear asking if you want to install the APK file. Tap on “Install” to proceed. If a warning appears about potential risks, review the permissions and source of the file to ensure its authenticity, then tap “Install” again.
- Wait for the installation: The installation process may take a few moments. Once it is complete, you will see a notification indicating that the Google Play Store has been successfully installed on your Kindle Fire.
It’s important to note that if you encounter any issues during the installation process, ensure that you have followed the previous steps correctly and that your Kindle Fire meets the necessary requirements. If problems persist, you may need to repeat the steps or seek assistance from technical support or online forums.
With the successful installation of the Google Play Store APK, you are now one step closer to accessing the vast library of apps and services available on Google Play.
Step 5: Set Up Google Play on Kindle Fire
Now that you have installed the Google Play Store APK on your Kindle Fire, it’s time to set it up so you can start exploring and downloading apps. Follow these steps to set up Google Play:
- Open the Google Play Store: Locate the Google Play Store icon on your Kindle Fire’s home screen or app drawer. Tap on it to launch the app.
- Sign in with your Google Account: If you already have a Google Account, sign in with your credentials. If you don’t have one, tap on “Create Account” to set up a new Google Account. This step is necessary to access the full functionality of Google Play.
- Review the Terms of Service: Read and review the Terms of Service and Privacy Policy, then tap on “Accept” to proceed. Keep in mind that these terms may vary depending on your location.
- Set up payment methods (optional): If you plan to make purchases on Google Play, you will need to set up a payment method. You can choose to add a credit card, debit card, or use alternative payment options such as Google Play Gift Cards.
- Complete the setup: Once you have signed in and set up payment methods (if desired), you have successfully completed the setup process for Google Play on your Kindle Fire.
With Google Play set up on your Kindle Fire, you can now explore the vast library of apps, games, movies, books, and more. Enjoy the versatility and convenience that Google Play offers, along with the familiar interface that allows for easy navigation and discovery of new content.
Remember to keep your Google Account credentials secure and ensure that you have appropriate security measures in place to protect your device and personal information.
Step 6: Sign In to Google Play
Once you have successfully set up Google Play on your Kindle Fire, the next step is to sign in to your Google Account within the app. This will enable you to access all the features and benefits that Google Play has to offer. Follow these steps to sign in:
- Open the Google Play Store: Locate the Google Play Store icon on your Kindle Fire’s home screen or app drawer. Tap on it to launch the app.
- Tap the “Sign In” button: On the initial screen of the Google Play Store, you will see a “Sign In” button. Tap on it to proceed.
- Enter your Google Account credentials: On the sign-in screen, enter your email address and password associated with your Google Account. Make sure to double-check for any typos or mistakes.
- Complete the sign-in process: After entering your Google Account credentials, tap “Next” or the right arrow to proceed. If you have enabled two-factor authentication, you may be prompted to enter a verification code sent to your registered device.
- Review and agree to the Terms of Service: Read and review the Terms of Service and Privacy Policy, then tap on “Accept” to proceed. Keep in mind that these terms may vary depending on your location.
- Confirm your payment methods (if necessary): If you have set up payment methods, you may be asked to confirm or update them. Follow the on-screen instructions to complete this step.
- Sign in successful: Once you have completed the sign-in process, you will see your Google Account profile picture or initials at the top right corner of the Google Play Store, indicating that you are signed in.
By signing in to Google Play, you gain access to your personalized app recommendations, saved wishlists, app library, and more. This allows you to seamlessly download and update apps, as well as enjoy a personalized and connected experience across your devices.
Remember to sign out of your Google Account when using shared devices or if you want to ensure the privacy of your account information.
Step 7: Install and Update Apps from Google Play
Now that you are signed in to Google Play on your Kindle Fire, you can start exploring and installing apps from the vast selection available. Follow these steps to install and update apps:
- Search for an app: Use the search bar at the top of the Google Play Store to find the app you want to install. You can also browse through different categories or check the recommended apps on the homepage.
- Select an app: Tap on the app you want to install from the search results or category listings. This will take you to the app’s page, where you can read the description, reviews, screenshots, and other details.
- Install the app: On the app’s page, tap on the “Install” or “Get” button. Review the permissions required by the app and tap “Accept” to proceed. The app will then begin downloading and installing on your Kindle Fire.
- View installed apps: Once the installation is complete, the “Install” or “Get” button will change to an “Open” button. You can also go to the “My Apps” section of the Google Play Store to view all the apps you have installed.
- Update apps: To update apps, open the Google Play Store and go to the “My Apps” section. Here, you will see a list of all your installed apps with available updates. Tap on “Update” next to individual apps, or select “Update All” to update all pending app updates.
- Uninstall apps: If you no longer need an app, you can uninstall it by going to the “My Apps” section of the Google Play Store. Tap and hold on the app you want to remove, then select “Uninstall.”
Installing and updating apps from Google Play ensures that you have the latest versions, bug fixes, and features for your favorite apps. You can also discover new apps, games, and other content to enhance your Kindle Fire experience.
Remember to regularly check for app updates to ensure optimal performance and security, and to manage your app library by uninstalling apps that you no longer use.
Troubleshooting Tips
While the installation process of Google Play on Kindle Fire is generally straightforward, you may encounter some issues along the way. Here are some troubleshooting tips to help you resolve common problems:
- Ensure compatibility: Verify that your Kindle Fire model is compatible with installing Google Play. Consult official documentation or support resources to confirm compatibility.
- Check internet connection: Make sure that your Kindle Fire is connected to a stable internet connection. Unstable or slow connections can affect the download and installation process.
- Clear cache and data: If you encounter issues with the Google Play Store app, try clearing its cache and data. Go to Settings > Apps & Notifications > Google Play Store > Storage > Clear Cache and Clear Data.
- Restart your device: Sometimes a simple restart can resolve minor glitches. Restart your Kindle Fire by pressing and holding the power button, then select “Restart” from the options.
- Check for updates: Ensure that your Kindle Fire has the latest software updates installed. Go to Settings > Device Options > System Updates to check for any available updates.
- Reinstall Google Play Store APK: If you are experiencing persistent issues, try uninstalling the Google Play Store APK and then reinstall it using the installation steps outlined earlier.
- Factory reset (if necessary): As a last resort, you can try performing a factory reset on your Kindle Fire. Keep in mind that this will erase all data and settings on your device, so be sure to back up any important files beforehand.
If you continue to encounter issues or need further assistance, consider reaching out to Amazon customer support or seeking help from Kindle Fire user forums and communities. Other users may have experienced similar problems and can provide valuable insights and solutions.
Remember to exercise caution when troubleshooting and make sure to back up your data to avoid any potential data loss during the troubleshooting process.