
Why Highlighting is Important in Google Docs
When working with documents in Google Docs, highlighting text is a valuable tool that allows you to draw attention to important information, make notes, or create visual organization within your documents. Highlighting can greatly enhance the readability and understanding of your content, whether you are collaborating with others or reviewing your own work. Here are a few reasons why highlighting is important in Google Docs:
- Visual emphasis: By highlighting text, you can visually emphasize key points or passages, making them stand out for both yourself and others who may be viewing or editing your document. This can be particularly useful when presenting information or when you want to draw attention to specific details.
- Note-taking: Highlighting allows you to create virtual sticky notes within your document. You can use different colors to represent different categories, making it easier to organize your thoughts, identify important points, or leave comments for yourself or others. This can significantly improve your productivity when reviewing and revising your document.
- Collaboration: When working with a team on a document, highlighting text provides a clear and efficient way to indicate edits or suggest changes. It helps to create a visual guide for others to follow and easily spot areas that need attention. By using different colors for different contributors, you can easily identify who made which changes, enhancing collaboration and streamlining the editing process.
- Focus and readability: When reading a lengthy document, it can be challenging to stay focused. Highlighting allows you to emphasize crucial information, making it easier to follow along and understand the main points. By using color-coded highlights, you can create visual cues to improve readability and comprehension.
How to Highlight Text in Google Docs
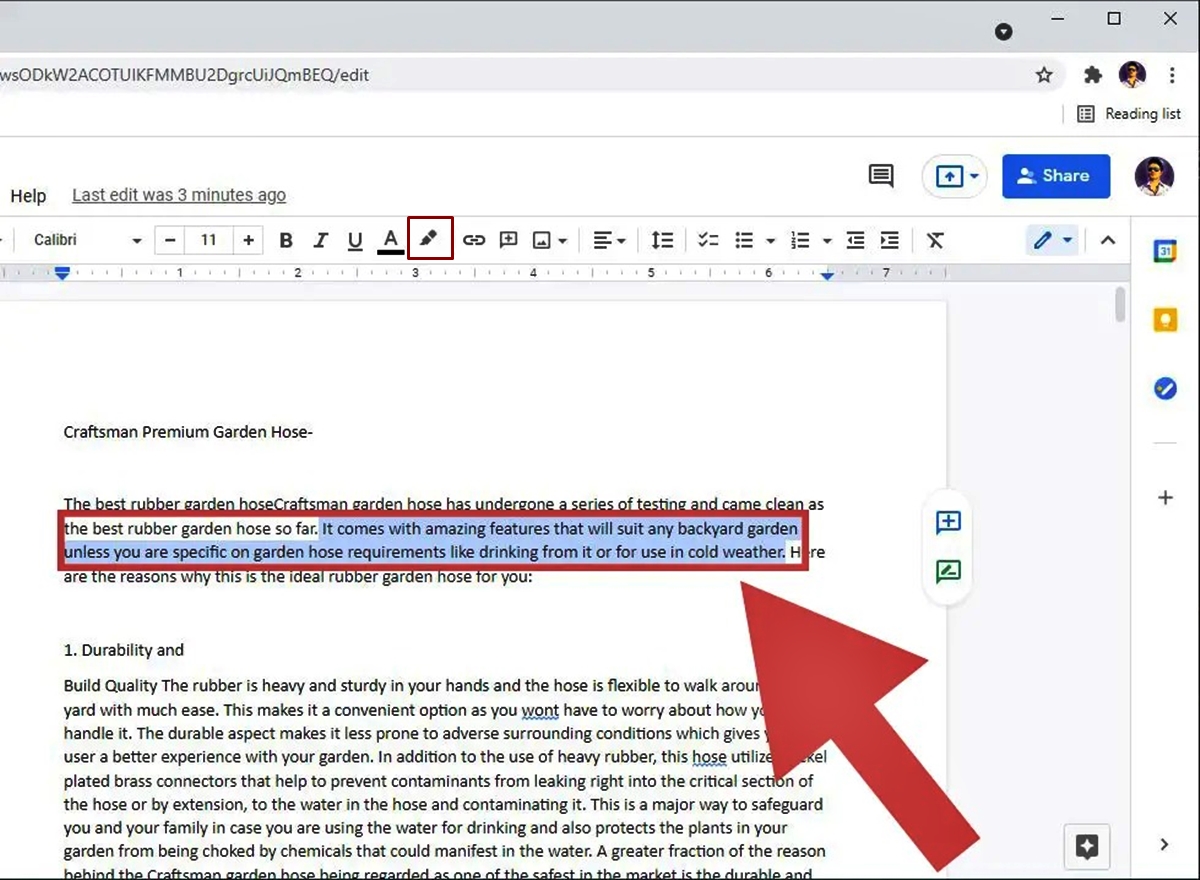
Highlighting text in Google Docs is a straightforward process that can be accomplished in just a few simple steps. Whether you want to emphasize important information or create visual organization within your document, follow these guidelines:
- Open your document in Google Docs and navigate to the section of text you want to highlight.
- Select the text by clicking and dragging your cursor over the desired portion of text. Alternatively, you can use the keyboard shortcuts “Ctrl+Shift+Right Arrow” or “Cmd+Shift+Right Arrow” to select the entire word or line.
- Once the desired text is selected, click on the “Text color” button in the toolbar, which looks like an “A” with a colored underline.
- A drop-down menu will appear where you can choose from a range of colors. Select the color you want to use for highlighting. By default, yellow is the first option, but you can click on “Custom” to choose a different color from the color picker.
- The selected text will now be highlighted with the chosen color. You can repeat the above steps to highlight additional sections of text within your document.
It’s worth noting that highlighting does not affect the actual formatting of the text, such as font or font size. It simply adds a visual emphasis to the selected text. Additionally, if you want to remove a highlight, select the highlighted text and click on the “Text color” button again. Choose the “No color” option to remove the highlight.
Now that you know how to highlight text in Google Docs, you can use this feature to improve readability, draw attention to specific details, and collaborate effectively with others.
Changing the Color of Highlighted Text
In Google Docs, you have the flexibility to change the color of the highlighted text to suit your preferences or to differentiate between different sections. Changing the color of highlighted text is a simple process. Here’s how you can do it:
- Select the text that is already highlighted in your document.
- Click on the “Text color” button in the toolbar, which looks like an “A” with a colored underline.
- In the drop-down menu that appears, you will see the current color of the highlight applied to the selected text. To change the color, click on the color swatch.
- A color picker will pop up, allowing you to select a new color. You can choose from the available default colors or click on “Custom” to create a customized color.
- Select the desired color from the color picker, and the highlight color of the selected text will change accordingly.
It’s important to note that changing the color of highlighted text does not affect any other formatting elements, such as the font, size, or style. It only modifies the color of the highlight itself.
By using different colors for highlighting, you can create a visual hierarchy or categorize information within your document. For instance, you might use yellow for important points, green for quotations, and blue for supporting details. This allows you to quickly identify and organize different types of information at a glance.
Remember, you can always modify the color of the highlight whenever needed. Simply select the already highlighted text and repeat the process outlined above to choose a new color.
Changing the color of highlighted text in Google Docs is a powerful tool that helps you customize the visual presentation of your document and enhance its organization. Experiment with different colors to find the most effective highlighting scheme for your specific needs.
Removing Highlights in Google Docs
Google Docs provides a simple method to remove highlights from text when they are no longer needed. Whether you want to undo a previous highlight or clear all the highlights in your document, here are the steps to remove highlights:
- Select the text that is currently highlighted.
- Click on the “Text color” button in the toolbar, which is represented by an “A” with a colored underline.
- A drop-down menu will appear showing the current color of the highlight applied to the selected text. To remove the highlight, choose the option “No color” or “Default” in the color palette.
- The highlight will be removed from the selected text, leaving it in its original formatting.
If you want to remove highlights from multiple sections within your document, you can follow the same process for each highlighted text. Simply select the desired parts of text and click on the “Text color” button to remove the highlights.
It’s worth noting that removing the highlight from text does not delete the underlying content or change its formatting. It only removes the visual emphasis added by the highlight. The text will remain in its original format, such as font, size, and style.
If you have multiple highlights applied throughout your document and want to remove them all at once, you can utilize the “Find and Replace” feature in Google Docs:
- Click on “Edit” in the toolbar and choose “Find and Replace” from the drop-down menu, or simply use the shortcut “Ctrl+H” (Windows) or “Cmd+Shift+H” (Mac).
- In the “Find” field, leave it blank.
- In the “Replace with” field, leave it blank as well. This step ensures that no replacement text is applied.
- Click on the “More options” button to expand the options menu.
- Check the box next to “Highlight.”
- Click on the “Replace all” button.
- All the highlights in your document will be removed, leaving the text in its original formatting.
Removing highlights in Google Docs is a simple process that allows you to refine the visual presentation of your document when highlighting is no longer necessary. Whether you remove highlights individually or use the “Find and Replace” feature, you can quickly and effectively clear the highlights from your document.
Using the “Find and Replace” Feature to Highlight Text
In Google Docs, the “Find and Replace” feature is not limited to searching for specific words or phrases. It can also be used to highlight text that meets certain criteria, making it a powerful tool for text manipulation and organization. Here’s how you can use the “Find and Replace” feature to highlight text:
- Open your document in Google Docs.
- Click on “Edit” in the toolbar and choose “Find and Replace” from the drop-down menu. Alternatively, you can use the shortcut “Ctrl+H” (Windows) or “Cmd+Shift+H” (Mac).
- A “Find and replace” dialog box will appear. In the “Find” field, enter the word, phrase, or criteria that you want to find and highlight in your document.
- Leave the “Replace with” field blank to ensure that no replacement text is applied.
- Click on the “More options” button to expand the options menu.
- Check the box next to “Highlight.”
- Click on the “Replace all” button.
- All instances of the specified word, phrase, or criteria will be highlighted with a default color, such as yellow, making them easily noticeable within your document.
Using the “Find and Replace” feature to highlight text provides several benefits. It allows you to quickly identify specific content, make revisions, or organize your document based on specific criteria. For example, you can highlight all instances of a specific keyword or term to ensure consistency or highlight sections that need further attention during the editing process.
If you want to change the highlight color applied using the “Find and Replace” feature, you can follow the steps mentioned in the “Changing the Color of Highlighted Text” section earlier in this article.
Take advantage of the “Find and Replace” feature in Google Docs to not only locate specific text but also highlight it based on specific criteria. This feature can save you time and effort when organizing and manipulating text within your document.
Applying Multiple Highlights to Text in Google Docs
When working with documents in Google Docs, you may often find the need to apply multiple highlights to different sections of text. Applying multiple highlights can help you categorize or differentiate information within your document, making it visually organized and easier to navigate. Here’s how you can apply multiple highlights to text in Google Docs:
- Select the section of text that you want to highlight.
- Click on the “Text color” button in the toolbar, which looks like an “A” with a colored underline.
- In the drop-down menu that appears, choose the desired color for the first highlight. By default, yellow is the first option, but you can select a different color from the color palette or customize your own color.
- The selected text will now be highlighted with the chosen color.
- Select another section of text that you want to highlight differently.
- Repeat the process by clicking on the “Text color” button and selecting a different color.
- Continue selecting different sections of text and applying highlights using different colors as per your requirement.
By applying multiple highlights with different colors, you can visually differentiate between various categories, important points, or specific sections within your document. This can be particularly useful when creating study guides, analyzing data, or preparing presentations where you want to draw attention to specific details.
In addition to applying multiple highlights sequentially, you can also overlap highlights by selecting the same section of text and choosing a different color. This allows you to create layered highlights, providing a more complex visual hierarchy.
To remove a specific highlight, select the highlighted text and click on the “Text color” button. Choose the “No color” or “Default” option to remove the corresponding highlight. Repeat the process for any other highlights you wish to remove.
Applying multiple highlights to text in Google Docs allows you to create visual organization, improve readability, and emphasize important information. Experiment with different colors and highlight combinations to enhance the structure and clarity of your documents.
Tips for Effective Use of Highlighting in Google Docs
Highlighting text in Google Docs can greatly enhance the clarity, organization, and visual appeal of your documents. To make the most out of this feature, consider the following tips for an effective use of highlighting:
- Use color strategically: Choose highlight colors that are visually appealing and provide a clear contrast to the text. Use different colors to represent different categories, emphasis levels, or sections within your document.
- Create a color code: Develop a system or color code to give each highlight a specific meaning. For example, use yellow for important information, green for references, and blue for action items. Consistently applying this code throughout your document will make it easier to understand and navigate.
- Be sparing with highlights: Avoid excessive and unnecessary highlighting. Use highlights only when they enhance the clarity of your document or draw attention to important points. Too many highlights can make the text visually overwhelming and reduce their impact.
- Combine highlights with other formatting: Consider combining highlights with other formatting options, such as bold, italics, or underlining, to further emphasize specific parts of your text. However, use these formatting options judiciously to prevent visual clutter.
- Leave notes alongside highlights: Take advantage of the comments feature in Google Docs to leave detailed notes or explanations alongside highlighted text. This allows you to provide additional context or instructions to yourself or collaborators.
- Collaborate effectively: If you’re collaborating on a document, communicate the meaning of your highlights to ensure others understand their significance. This will help maintain a consistent understanding and interpretation of the highlighted information.
- Review and revise: Periodically review your highlights and adjust them as needed. As the content of your document evolves, some highlights may become less relevant or require modifications. Regularly reassessing your highlights will keep your documents up-to-date.
By following these tips, you can effectively utilize highlighting in Google Docs to improve readability, organize information, and enhance collaboration. Remember to strike a balance between using highlights to draw attention to important points and maintaining a visually appealing and cohesive document.
Advantages of Using Highlights in Google Docs
Using highlights in Google Docs offers several advantages that can greatly enhance your document’s readability, organization, and collaboration. Here are some key benefits of using highlights:
- Visual emphasis: Highlights provide a visual way to draw attention to specific text within your document. By applying highlights to important information, key points, or sections, you can make them stand out and immediately catch the reader’s eye.
- Improved readability: By using highlights strategically, you can enhance the readability of your document. Highlights help to break up large blocks of text and guide the reader’s eyes to the most important or relevant information. This makes it easier for readers to navigate and comprehend the content.
- Effective organization: Highlighting allows you to categorize and organize information within your document. By using different colors or highlighting techniques, you can create a visual hierarchy or grouping system. This helps readers quickly identify different sections or categories, making the document more organized and accessible.
- Efficient collaboration: When collaborating with others on a document, highlights serve as visual markers for reviewers or collaborators to easily identify areas that require attention, edits, or further discussion. Highlights streamline the review process and allow for efficient collaboration and feedback exchange.
- Increased productivity: By using highlights as virtual sticky notes, you can leave reminders, mark important details, or jot down ideas as you work on your document. These highlights serve as visual cues to prompt you when reviewing or revising your content, improving your productivity and workflow.
- Clear tracking of changes: When multiple collaborators are editing a document, highlights can help identify who made which changes. By assigning specific highlight colors to individual contributors, you can easily track and differentiate their revisions, ensuring transparency and accountability.
- Enhanced focus: Highlights help readers to quickly identify and focus on important information within a document. By drawing attention to key points or highlighting essential details, readers can easily comprehend the main ideas and extract relevant information.
By taking advantage of highlights in Google Docs, you can significantly improve the readability, organization, collaboration, and overall effectiveness of your documents. Whether you are presenting information, working on a collaborative project, or simply wanting to enhance your own productivity, highlights are a valuable tool at your disposal.
Troubleshooting: Highlighting Issues in Google Docs
While highlighting text in Google Docs is generally a smooth and reliable process, you may occasionally encounter issues or difficulties. Here are some common highlighting issues you may encounter in Google Docs and how to troubleshoot them:
- Unable to select or highlight text: If you’re having trouble selecting or highlighting text, ensure that your cursor is in the editing mode and not in the comment or suggestion mode. Also, make sure that you’re using a compatible browser and that there aren’t any conflicting browser extensions or add-ons.
- Highlight color not applying: If the highlight color is not applying to the selected text, check to see if you have selected the appropriate text before applying the highlight. Additionally, ensure that the highlight color is not set to “No color” or “Default” in the “Text color” dropdown menu.
- Highlight color not changing: If you’re unable to change the color of an existing highlight, make sure you have selected the highlighted text properly. If the issue persists, try refreshing the page or closing and reopening the document.
- Highlight disappears when printing: Sometimes, highlights may not appear when printing a document. To resolve this, go to “File” > “Print” and click on the “Print settings and preview” option. In the preview window, check the “Print with highlighting” option to ensure that the highlights are included in the printed document.
- Highlighting tool not visible: If you cannot see the highlighting tool in the toolbar, click on “View” > “Show tools” and make sure that “Text” is checked. This will display the highlighting tool along with other text formatting options in the toolbar.
- Highlight colors not consistent across devices: If you notice inconsistency in highlight colors when viewing or editing your document on different devices, ensure that you are using the same Google account and that the document is synced properly across devices.
If you continue to experience issues with highlighting in Google Docs despite troubleshooting, you can try logging out and logging back in, clearing your browser cache, or using a different browser. If the problem persists, you can reach out to Google Docs support for further assistance.
By troubleshooting these common highlighting issues, you can ensure a smooth and efficient experience when using this valuable feature in Google Docs.