
Why Show Weather on Your Apple Watch Face?
Adding the weather to your Apple Watch face can be incredibly useful and convenient. By having real-time weather information readily available on your wrist, you can quickly and easily stay updated on the current conditions and forecast without having to reach for your phone or check a separate app. Whether you’re planning your day, preparing for a workout, or simply curious about what to expect outside, having the weather at a glance can be a game-changer.
There are numerous reasons why showing weather on your Apple Watch face is beneficial. First and foremost, it enables you to stay prepared for the weather throughout the day. If it’s going to rain, you can grab an umbrella before heading out. If it’s going to be sunny and hot, you can apply sunscreen or dress accordingly. By having this information easily accessible, you can make informed decisions and adjust your plans accordingly.
Moreover, having the weather on your Apple Watch face can be particularly handy while engaging in outdoor activities, such as running or hiking. Instead of relying on guesses or outdated forecasts, you can get up-to-date weather information instantly. This can help you plan your workout or outdoor adventure and ensure your safety and comfort.
Additionally, keeping an eye on the weather is crucial for travelers. If you’re visiting a new city or going on vacation, having the weather displayed on your Apple Watch face allows you to adapt your plans accordingly. You can decide whether to explore outdoor attractions, pack appropriate clothing, or search for indoor alternatives in case of inclement weather.
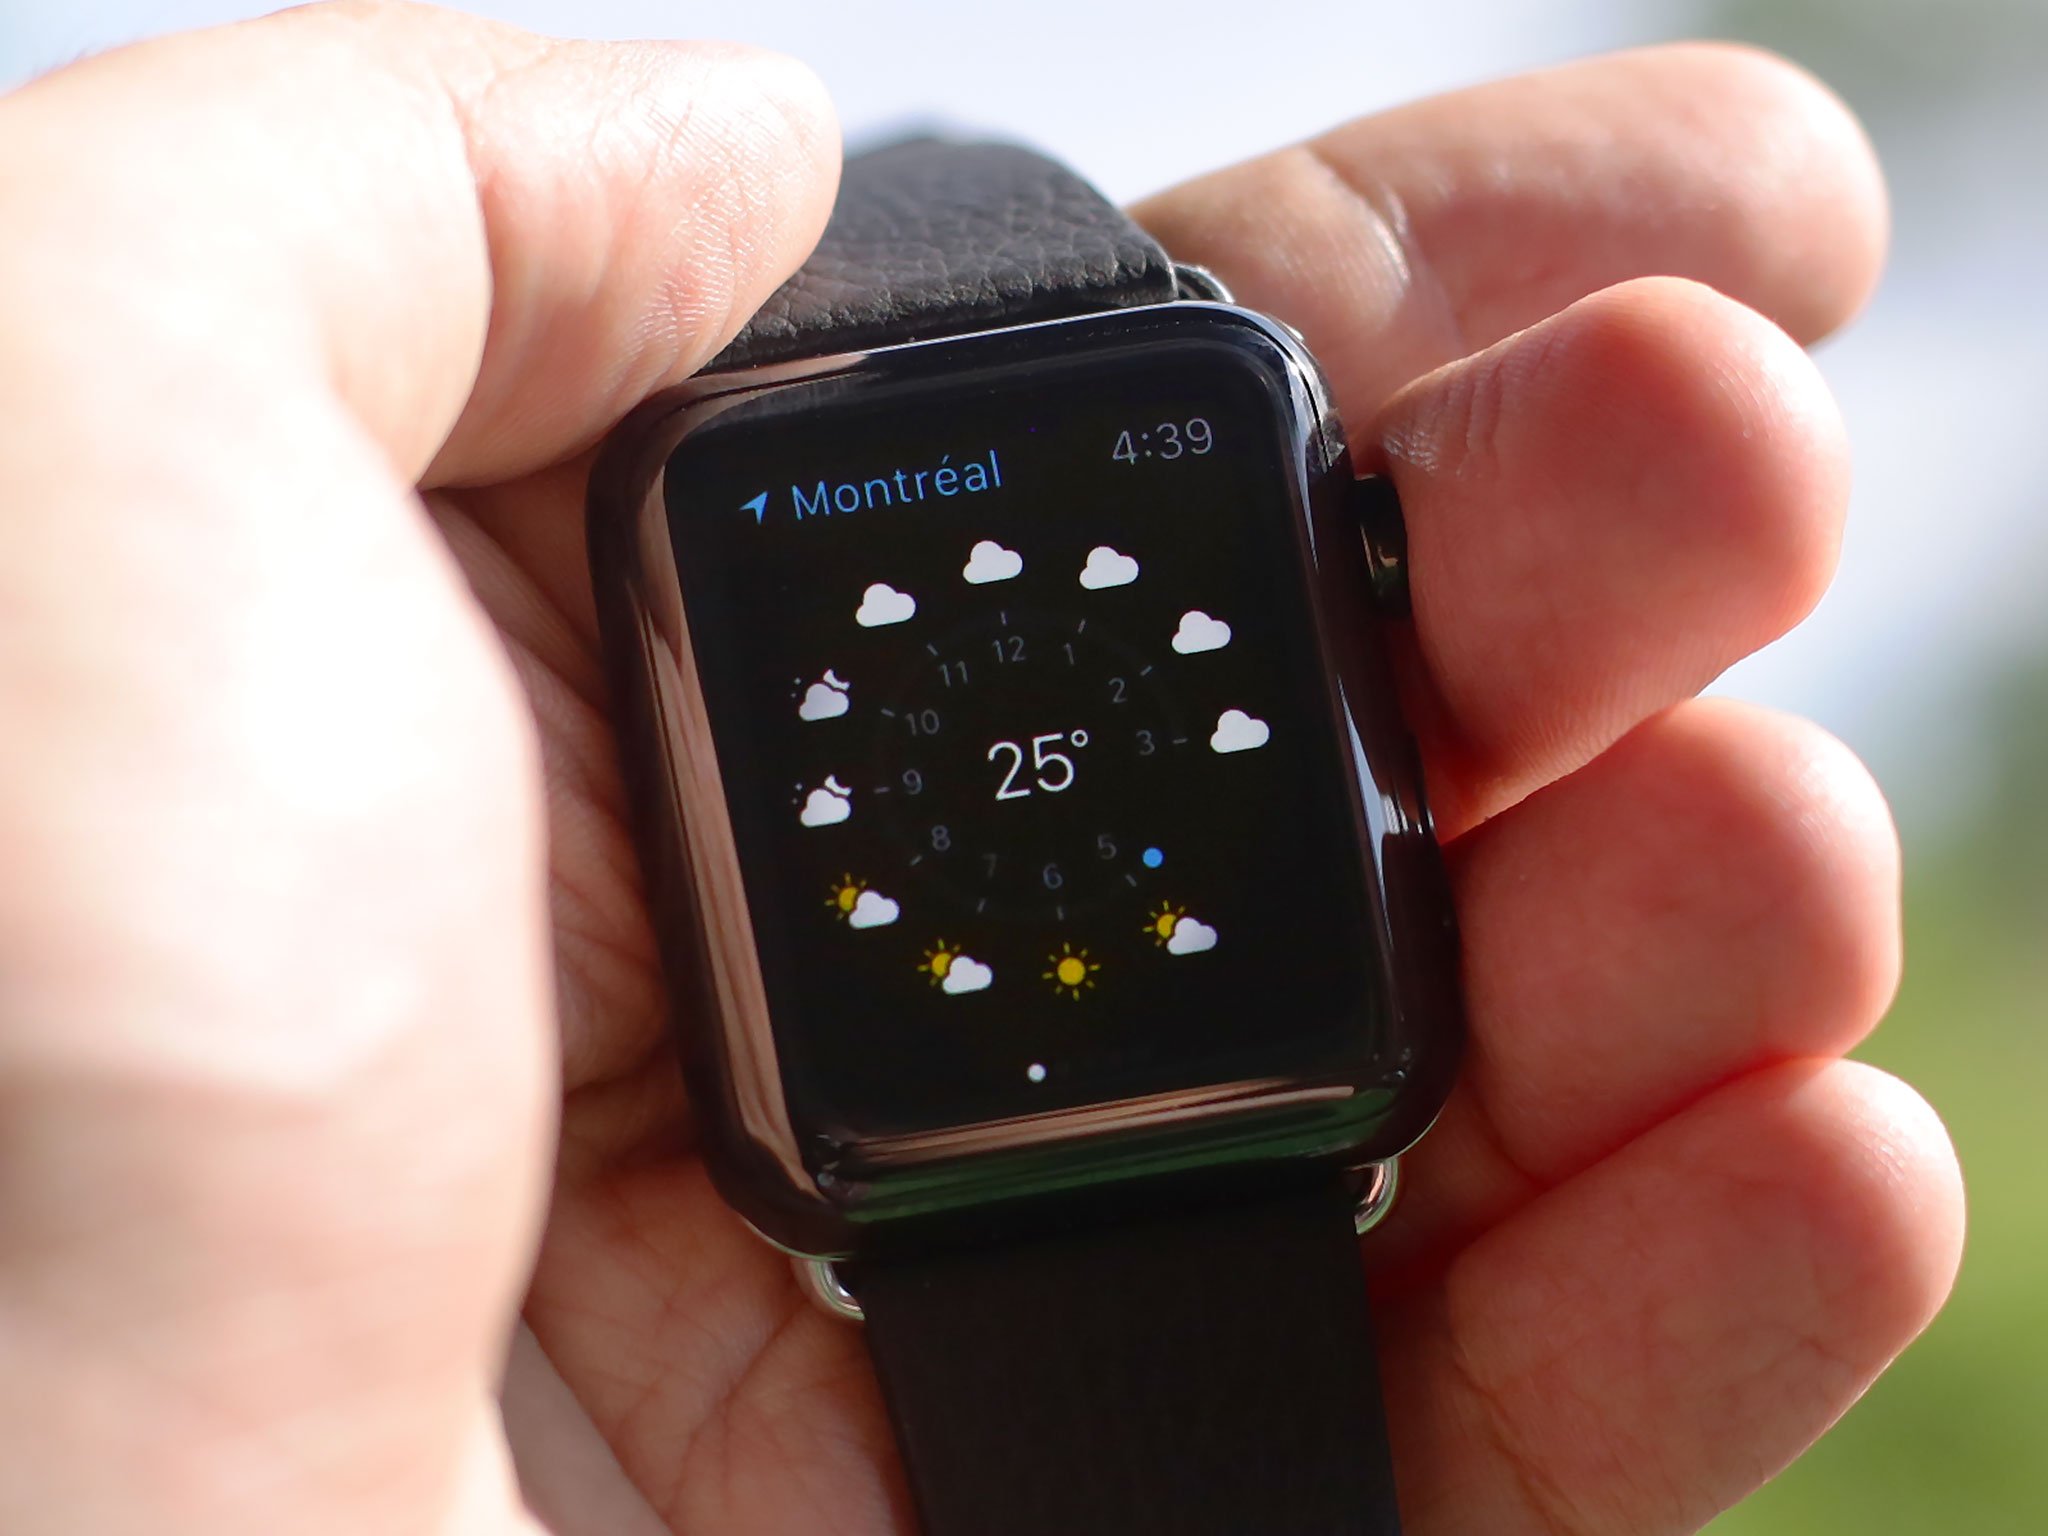
The benefits of showing weather on your Apple Watch face extend beyond practicality. It also adds a dynamic and visually appealing element to your watch face. Most weather complications on Apple Watch display live animations or icons that change based on the current weather conditions, such as clouds, raindrops, or a shining sun. This not only enhances the aesthetics but also makes glancing at your watch more engaging and interactive.
How to Add the Weather App to Your Apple Watch Face
The Weather app on your Apple Watch allows you to keep track of the current and future forecast with just a quick glance at your wrist. To add the Weather app to your Apple Watch face, follow these simple steps:
- Start by unlocking your Apple Watch and navigating to the watch face you wish to customize.
- Once on the watch face, firmly press the screen to enter the customization mode. You will see your watch face icons shrink and an “Edit” button appear on the top right corner of the screen.
- Tap on the “Edit” button to enter the watch face customization menu.
- Scroll through the available complications until you find the Weather app. It is represented by an icon showing a cloud with a sun.
- Select the Weather app by firmly pressing the screen on the desired spot where you want it to appear on your watch face.
- After adding the Weather app, press the digital crown to exit the customization mode and return to your customized watch face.
- You will now see the Weather app displayed on your watch face, typically as a small icon or a complication.
- To view more details about the weather, tap on the Weather app icon, and it will open the full app where you can see additional information such as temperature, humidity, and a seven-day forecast.
Keep in mind that the exact steps to customize your watch face might vary slightly depending on the model and version of your Apple Watch, but the general process remains the same. With the Weather app now added to your watch face, you can effortlessly stay informed about the weather conditions throughout the day right from your wrist.
How to Customize the Weather Complication on Your Apple Watch Face
Customizing the Weather complication on your Apple Watch face allows you to personalize the displayed information and enhance your overall experience. Here’s how you can customize the Weather complication:
- Unlock your Apple Watch and navigate to the watch face that contains the Weather complication.
- Press firmly on the watch face to enter the customization mode, and tap on the “Edit” button on the top right corner of the screen.
- Scroll through the complications until you find the Weather complication, which is represented by an icon showing the current weather conditions.
- Select the Weather complication by firmly pressing on the screen and choose from the available customization options.
- You can choose to display the current temperature, high and low temperatures for the day, or a weather icon.
- Once you’ve selected your preferred customization, press the digital crown to exit the customization mode and return to your customized watch face.
By customizing the Weather complication, you can tailor the information displayed to your needs and preferences. Whether you’re more interested in knowing the current temperature or the forecast for the day, you can easily adjust the settings to suit your requirements.
Keep in mind that the customization options available for the Weather complication may vary based on your Apple Watch model and software version. Additionally, some third-party watch face apps may offer additional customization options specifically for the Weather complication, so explore those settings if applicable.
With the Weather complication customized to your liking, you can effortlessly stay updated on the weather conditions that matter most to you, right from your Apple Watch face.
How to Use Third-Party Weather Apps on Your Apple Watch Face
While the built-in Weather app on your Apple Watch provides valuable information, you may prefer to use a third-party weather app that offers additional features or a more personalized experience. Here’s how you can use third-party weather apps on your Apple Watch face:
- Start by ensuring that the third-party weather app you want to use is installed on your iPhone. Most third-party apps have companion apps for the Apple Watch, which need to be installed on your iPhone first.
- On your iPhone, open the Apple Watch app and navigate to the “My Watch” tab.
- Scroll through the list of installed apps until you find the third-party weather app you want to use.
- Tap on the app’s name, and you will be taken to its settings page.
- Look for an option that says “Show App on Apple Watch” or something similar, and toggle it on to enable the app on your Apple Watch face.
- On your Apple Watch, navigate to the watch face where you want to add the third-party weather app.
- Press firmly on the screen, tap on the “Edit” button, and scroll through the complications until you find the third-party weather app you installed.
- Select the desired complication by firmly pressing the screen and choose the customization options offered by the app.
- Press the digital crown to exit the customization mode and return to your customized watch face.
With the third-party weather app added to your Apple Watch face, you can enjoy the specific features and functionality it offers. Some third-party apps provide more detailed weather information, additional forecast metrics, or customizable complications to suit your preferences.
Keep in mind that not all third-party weather apps may be optimized for the Apple Watch, and their functionalities may vary. It’s worth exploring different options and reading user reviews to find the app that best meets your needs.
By using third-party weather apps, you can elevate your Apple Watch experience and have access to a wider range of weather information and features, right on your wrist.