
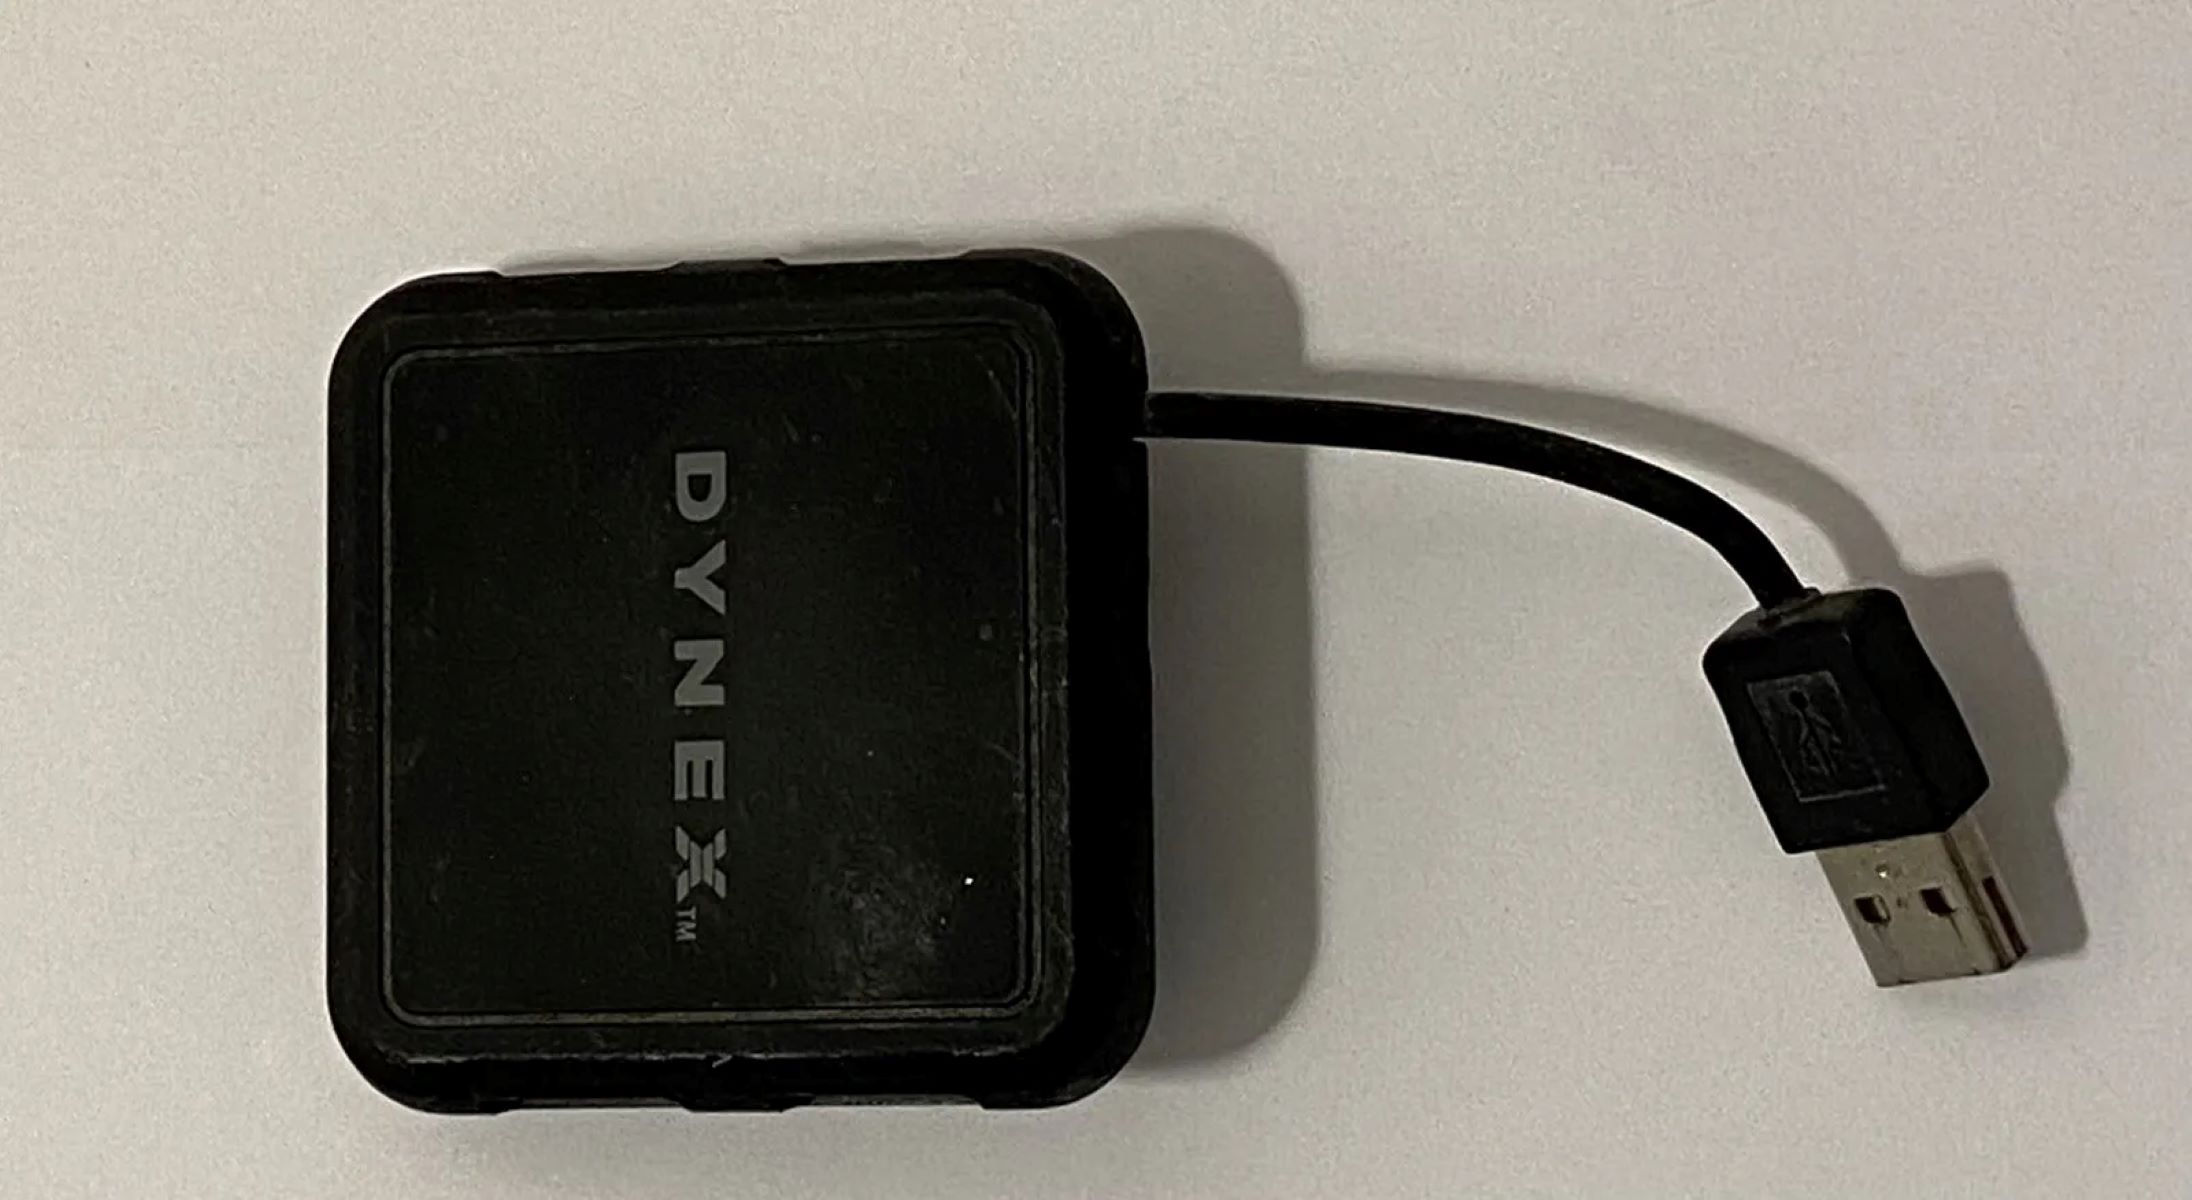
Determine the type and ports of your Dynex USB Hub
Before you can get your Dynex USB Hub to work effectively, it is essential to determine the type and ports of your device. This information will help you understand the compatibility and connectivity options available for your specific Dynex USB Hub model.
Firstly, identify the type of USB Hub you have. There are various models available, such as USB 2.0 or USB 3.0, each offering different data transfer speeds. USB 3.0 is faster and more efficient, but make sure your computer or device supports this technology before choosing a USB 3.0 Hub.
Next, take note of the number and type of ports on your Dynex USB Hub. Common options include USB-A ports and USB-C ports. USB-A ports are the traditional rectangular-shaped ports, while USB-C ports are smaller and reversible, allowing for faster data transfer and power delivery.
Consider the number of ports you require based on your connectivity needs. Determine if you need additional USB ports for connecting external devices like keyboards, mice, printers, or external hard drives. Additionally, if you have devices that require high power output, such as smartphones or tablets, look for a USB Hub with dedicated power delivery ports.
By identifying the type and ports of your Dynex USB Hub, you can ensure that it is compatible with your computer or device and that it fulfills your connectivity requirements. This understanding will facilitate a smooth setup process and efficient usage of your Dynex USB Hub.
Check compatibility with your computer or device
Before proceeding to connect your Dynex USB Hub to your computer or device, it’s important to ensure compatibility. Checking compatibility will help prevent any unexpected issues during the setup process and ensure that the USB Hub works correctly.
First, verify the operating system of your computer or device. Dynex USB Hubs are usually compatible with major operating systems such as Windows, macOS, and Linux. Check the product specifications or the manufacturer’s website to confirm compatibility with your specific operating system version.
Additionally, consider the type of device you will be using the USB Hub with. USB Hubs are generally compatible with various devices, including desktop computers, laptops, gaming consoles, and smart TVs. However, it’s still important to check if any specific requirements or limitations exist for your device type.
Another important factor to consider is the USB version supported by your computer or device. For example, if your computer only has USB 2.0 ports, it is recommended to connect a USB 2.0 Hub for optimal performance and compatibility. Trying to connect a USB 3.0 Hub to a USB 2.0 port may result in reduced data transfer speeds.
Furthermore, if you are using a laptop, check if your device has sufficient power capability to support the USB Hub. Some laptops, especially ultra-thin models, may have limited power output through their USB ports, which can affect the functionality of certain USB devices. In such cases, consider using an external power source for the USB Hub.
By ensuring the compatibility of your Dynex USB Hub with your computer or device, you can avoid unexpected problems and guarantee a smooth and efficient setup process. Take the time to review the compatibility requirements outlined by the manufacturer to ensure a seamless experience with your USB Hub.
Connect the Dynex USB Hub to your computer or device
Once you have determined the compatibility of your Dynex USB Hub with your computer or device, it’s time to connect them together. Follow these simple steps to establish a successful connection:
- Make sure your computer or device is powered on and running.
- Locate an available USB port on your computer or device. If you are using a laptop, ensure it is plugged into a power source or has sufficient battery charge.
- Take the USB cable that came with your Dynex USB Hub and insert one end into the USB port on the hub itself.
- Connect the other end of the USB cable into the USB port on your computer or device.
- You should hear a notification sound or see a message indicating that a new device has been connected.
- If your Dynex USB Hub has a dedicated power source, plug it into a power outlet or use a powered USB port on your computer.
At this point, your Dynex USB Hub is physically connected to your computer or device. It is important to ensure a secure and stable connection to avoid any data transfer issues. Check that the USB cable is properly inserted into both the hub and computer/device ports.
Some Dynex USB Hubs may have LED indicators that illuminate to show power and connection status. Take note of these indicators to confirm that the hub is receiving power and is properly connected to your device.
By following these steps, you have successfully connected your Dynex USB Hub to your computer or device. The next step is to install any necessary drivers or software to ensure proper functionality and unlock all the features of your USB Hub.
Install any drivers or software for the Dynex USB Hub
To ensure that your Dynex USB Hub functions optimally, you may need to install specific drivers or software provided by the manufacturer. These drivers or software packages enable advanced features and provide compatibility with your operating system. Here’s how to install them:
- Check the product packaging or instructions that came with your Dynex USB Hub for any driver or software installation requirements. Alternatively, visit the manufacturer’s website to download the necessary files.
- Ensure that your computer or device is connected to the internet for the most up-to-date driver versions. It’s recommended to have a stable internet connection during the installation process.
- Open a web browser and navigate to the manufacturer’s website for Dynex USB Hubs.
- Locate the support or downloads section of the website and search for the specific model of your USB Hub.
- Download the appropriate driver or software package compatible with your operating system. Make sure to carefully select the version that matches your system requirements.
- Once the download is complete, locate the downloaded file on your computer or device. Double-click on the file to start the installation process.
- Follow the on-screen instructions provided by the installer. These instructions may include accepting license agreements, selecting installation locations, or connecting the USB Hub during the installation process.
- After the installation is complete, restart your computer or device to ensure that the driver or software is fully integrated.
- Once your computer or device has restarted, check if the Dynex USB Hub is recognized and functioning properly. Connect any devices to the USB Hub and verify if they are detected by your computer.
Remember to periodically check for driver or software updates on the manufacturer’s website. Updates may provide bug fixes, performance enhancements, or new features for your Dynex USB Hub.
By installing the necessary drivers or software, you can unlock the full potential of your Dynex USB Hub and ensure seamless compatibility and functionality with your computer or device.
Check the power source of the Dynex USB Hub
Proper power supply is crucial for the optimal functioning of your Dynex USB Hub. Some USB Hubs require external power sources to support multiple connected devices or provide sufficient power for charging. Here’s how to check and manage the power source:
1. Examine the USB Hub for any dedicated power input. Some Dynex USB Hubs come with a power adapter or offer the option to connect an external power source.
- If your USB Hub has a power adapter, ensure it is plugged into a power outlet securely.
- If your USB Hub supports bus power, it draws power directly from your computer or device’s USB port, eliminating the need for external power.
- Devices like smartphones or tablets may require high-power charging ports, so check if your Dynex USB Hub has ports specifically designed for this purpose.
2. If you are using a USB-C Hub, ensure that the USB-C port on your computer or device supports power delivery. Not all USB-C ports provide power, so it’s important to verify compatibility.
3. In case your Dynex USB Hub is connected to a laptop, check the power output capability of the USB ports. Some laptops have limited power output through their USB ports, resulting in insufficient power for certain devices connected through the USB Hub. If this is the case, consider using an external power source for the USB Hub.
4. After connecting the power source, check for LED indicators on the USB Hub. These lights indicate whether the hub is receiving power and functioning correctly.
By ensuring your Dynex USB Hub is properly powered, you ensure its ability to handle multiple devices and perform tasks efficiently. A reliable power source is essential for uninterrupted usage and prevents potential issues caused by insufficient power supply.
Troubleshoot any connection or power issues
If you encounter any connection or power-related issues with your Dynex USB Hub, there are several troubleshooting steps you can take to resolve them. Here are some common problems and their potential solutions:
1. No power or unrecognized USB Hub:
- Check if the USB Hub is properly connected to a power source or your computer/device. Ensure all cables are securely plugged in.
- If using a USB-C Hub, confirm that the USB-C port on your computer or device supports power delivery.
- Try connecting the USB Hub to a different USB port on your computer or device to rule out a faulty port.
- Disconnect and reconnect the USB Hub from your computer or device to refresh the connection.
2. Slow or intermittent connection:
- Ensure that all connected devices are securely plugged into the USB Hub and functioning correctly.
- Check if any USB cables are damaged or frayed. Replace any faulty cables that may be affecting the connection speed.
- Consider using shorter USB cables to minimize signal degradation.
- Reduce the number of devices connected to the USB Hub to alleviate potential bandwidth limitations.
3. Device not recognized:
- Verify that the device you are trying to connect is compatible with the USB Hub. Check if the device requires specific drivers or software for proper recognition.
- Update the drivers for your Dynex USB Hub. Visit the manufacturer’s website and download the latest drivers if available.
- Restart your computer or device to refresh the USB ports and establish proper device recognition.
4. Power delivery issues:
- If your USB Hub has dedicated power ports for charging devices, ensure that the connected devices are compatible and functioning correctly.
- Check if the power adapter or external power source for the USB Hub is functioning properly. Test it with another power outlet or try using a different power source.
If the above troubleshooting steps do not resolve the issues with your Dynex USB Hub, consult the manufacturer’s support documentation or consider contacting their customer support for further assistance. They may be able to provide specific troubleshooting steps based on your device and model.
Test the functionality of the Dynex USB Hub
After connecting and troubleshooting any issues with your Dynex USB Hub, it’s important to test its functionality to ensure that it is working as expected. Here are some ways to test the functionality of your USB Hub:
- Connect devices: Plug in different USB devices such as a keyboard, mouse, printer, or external hard drive into the ports of your Dynex USB Hub. Ensure that all devices are recognized by your computer or device and that they function properly when connected through the USB Hub.
- Data transfer speed: Copy files between devices connected to the USB Hub to test the data transfer speed. Larger files and folders will give you a better idea of the USB Hub’s performance. Monitor the transfer speed and compare it to the expected speed for your USB version (USB 2.0 or USB 3.0).
- Device charging: If your Dynex USB Hub has dedicated charging ports, connect smartphones, tablets, or other devices that require charging. Check if they are charging correctly and ensure that the power output is sufficient for proper device charging.
- Multiple devices: Connect multiple devices simultaneously and test their functionality. Check if all devices are properly recognized and if there is any impact on performance when several devices are connected at the same time.
- Audio and video devices: If your USB Hub has ports for audio or video devices, connect speakers, headphones, or external monitors to test their functionality. Ensure that audio and video quality are not compromised and that all connected devices work as expected.
- Hot-swapping: Test the ability to add or remove devices while the USB Hub is connected to your computer or device. Try plugging and unplugging devices without restarting your computer to ensure that the USB Hub handles hot-swapping properly.
By performing these tests, you can validate the functionality of your Dynex USB Hub and ensure that it meets your requirements. If you encounter any issues during testing, refer to the troubleshooting section or contact the manufacturer’s support for further assistance.
Troubleshoot any compatibility or driver issues
If you experience compatibility or driver-related problems with your Dynex USB Hub, don’t worry. There are several troubleshooting steps you can take to resolve these issues. Here’s how to troubleshoot compatibility and driver problems:
1. Check compatibility:
- Ensure that your Dynex USB Hub is compatible with your computer or device. Verify if the USB Hub supports your operating system (e.g., Windows, macOS, Linux) and any specific requirements for your device type.
- Update your computer or device’s operating system to the latest version if possible. Sometimes, compatibility issues can be resolved by keeping your system up-to-date.
2. Update drivers:
- Visit the manufacturer’s website or use a reliable driver update tool to check for any available driver updates for your Dynex USB Hub.
- Download and install the latest drivers that are compatible with your operating system.
- Restart your computer or device after installing the updated drivers to ensure that the changes take effect.
3. Uninstall and reinstall drivers:
- If you are experiencing persistent compatibility issues or driver conflicts, try uninstalling the existing drivers for your Dynex USB Hub.
- Go to the Device Manager (Windows) or System Information (macOS) to locate the USB Hub under the “USB Controllers” or similar category.
- Right-click on the Dynex USB Hub, select “Uninstall,” and follow the prompts to remove the drivers.
- Restart your computer or device and reinstall the drivers by following the manufacturer’s instructions or using the updated driver files.
4. Contact manufacturer support:
- If you have tried the above troubleshooting steps and are still experiencing compatibility or driver issues, consider reaching out to the manufacturer’s support team for assistance. They may be able to provide specific guidance or additional troubleshooting steps based on your device and model.
- Be prepared to provide detailed information about the issue, including the make and model of the USB Hub, your operating system details, and any error messages you have encountered.
By following these troubleshooting steps, you can address compatibility and driver issues with your Dynex USB Hub and ensure its smooth functionality with your computer or device.
Explore additional features and settings of the Dynex USB Hub
Besides providing extra USB ports, your Dynex USB Hub may offer additional features and settings that can enhance your user experience. Take the time to explore these features to make the most out of your USB Hub. Here are some possibilities to consider:
1. Power management: Some USB Hubs allow you to manage power distribution to connected devices. Check if your USB Hub has power management options, such as individual port power control or the ability to prioritize power for specific devices.
2. Data transfer modes: USB Hubs may support different data transfer modes, such as USB 2.0, USB 3.0, or even USB 3.1 Gen 2. Discover the capabilities of your USB Hub and ensure that you utilize the appropriate data transfer modes for optimal speed and efficiency.
3. LED indicators: Explore the meaning and functionality of any LED indicators on your USB Hub. These lights may indicate power status, data transfer activity, or device connections. Understanding the LED indicators enables you to monitor the status of your USB Hub at a glance.
4. Device organization: Depending on the design of your Dynex USB Hub, it may offer features to help you organize and manage cables. Look for cable management solutions, such as built-in cable clips or Velcro straps, to keep your setup tidy and minimize cable clutter.
5. Port placement: Consider the arrangement and spacing of the USB ports on your USB Hub. Some USB Hubs have ports positioned at different angles or with varied spacing to accommodate bulkier devices or prevent interference. Arrange your devices accordingly to ensure optimal usage and convenience.
6. Compatibility with accessories: Certain USB Hubs are compatible with accessory add-ons or docking stations. Explore if your Dynex USB Hub has options for expanding its functionality with additional modules, such as Ethernet ports, SD card readers, or HDMI outputs.
7. Software customization: Some USB Hubs may come with companion software that allows you to customize settings, configure device-specific profiles, or monitor power usage. Check if your USB Hub offers any software customization options and take advantage of these features for a personalized experience.
By exploring these additional features and settings, you can maximize the functionality and convenience of your Dynex USB Hub. Experiment with different settings and configurations to suit your specific needs and make the most of this valuable accessory.
Maintain and care for your Dynex USB Hub
To prolong the lifespan and ensure optimal performance of your Dynex USB Hub, it’s important to practice proper maintenance and care. By following these maintenance tips, you can keep your USB Hub in excellent condition:
1. Keep it clean: Regularly clean your USB Hub to remove dust, dirt, and debris that can accumulate over time. Use a soft, lint-free cloth or compressed air to gently wipe the surface and ports of the USB Hub. Avoid using harsh cleaning agents or abrasive materials that may scratch or damage the device.
2. Avoid excessive force: When connecting or disconnecting devices, handle them with care and avoid using excessive force. Insert the USB cables into the ports firmly but gently to prevent any damage to the connectors or the USB Hub itself.
3. Protect from power surges: To safeguard your USB Hub from power surges or electrical damage, use a surge protector or an Uninterruptible Power Supply (UPS). These devices help regulate the electrical current and protect your USB Hub and connected devices from potential voltage spikes or fluctuations.
4. Avoid overloading: Be mindful of the number and power requirements of devices connected to your USB Hub. Avoid overloading the USB ports with high-power devices if your USB Hub does not have dedicated power ports or sufficient power delivery capabilities. Distribute the power usage across multiple USB ports to prevent overheating or reduced performance.
5. Disconnect properly: When removing devices from your USB Hub, always follow the proper procedure. Safely eject or disconnect devices from your computer or device before physically unplugging them from the USB Hub. This helps prevent data corruption or damage to the connected devices.
6. Protect during transport: If you need to transport your Dynex USB Hub, protect it by using a padded case or placing it in a secure location to prevent physical damage. Avoid putting heavy objects on top of the USB Hub that could crush or damage it.
7. Regularly update drivers: Keep your Dynex USB Hub updated with the latest drivers to ensure compatibility, stability, and access to any new features or enhancements. Check the manufacturer’s website periodically for any driver updates specific to your USB Hub model.
By following these maintenance and care tips, you can extend the life of your Dynex USB Hub and enjoy uninterrupted performance. Remember that proper handling and regular maintenance go a long way in ensuring the longevity and reliability of your USB Hub.