
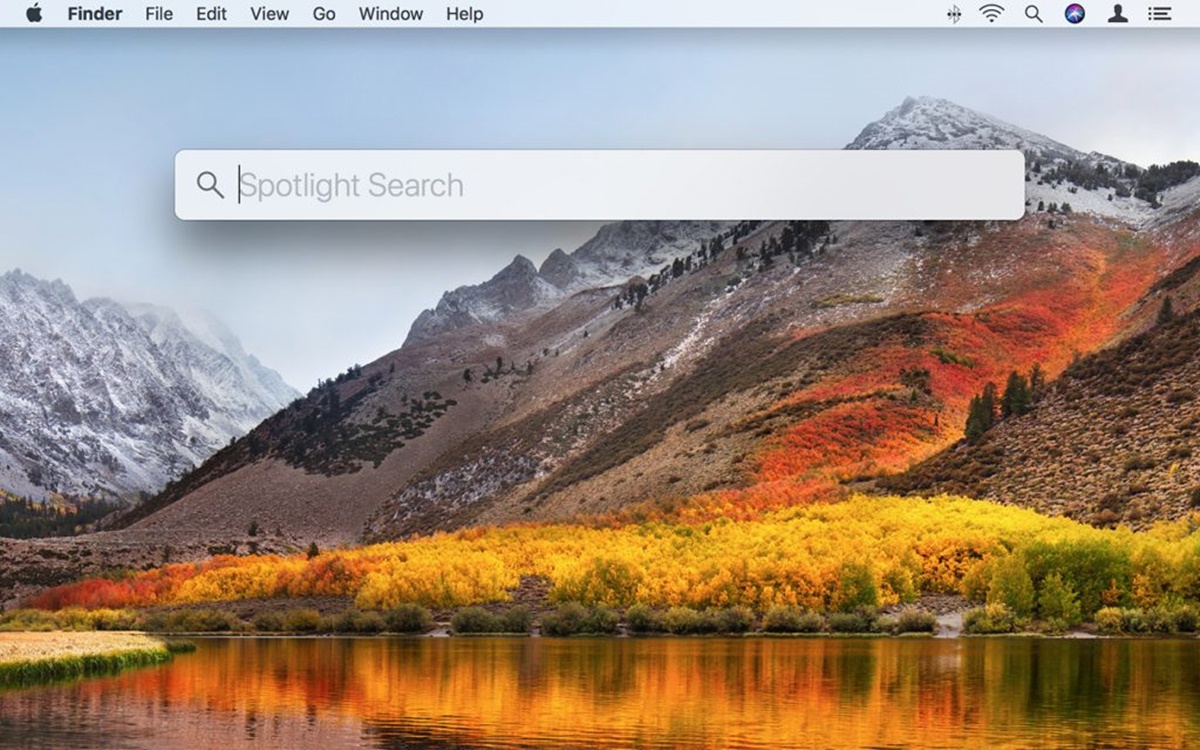
Understanding Spotlight
Spotlight is a powerful search tool built into the macOS that allows users to quickly and efficiently find files, folders, apps, and even perform system-wide searches. By understanding how Spotlight works, you can optimize your searches to find files faster and improve your overall productivity.
Spotlight indexes the content of your Mac’s files, which allows for lightning-fast search results. It not only looks through file names but also scans the contents of documents, emails, and metadata associated with files. This means that even if you only remember a few keywords or phrases from a document, Spotlight can still help you locate it.
When you perform a Spotlight search, it presents you with a list of results that match your query, displaying the most relevant ones first. By default, Spotlight prioritizes recently accessed or modified files, so the files you are actively working on will appear at the top of the list.
When you click on a search result, Spotlight provides a preview pane that shows information about the file, including its location, size, creation date, and a thumbnail if applicable. This preview allows you to quickly glance at the file’s details before opening it.
Spotlight’s versatility extends beyond locating files. It also offers features like quick calculations, unit conversions, weather forecasts, and even dictionary definitions. You can access these features directly from the Spotlight search window, allowing for a quick reference without needing to open additional apps or web pages.
Understanding how Spotlight works is the first step in harnessing its full potential. By familiarizing yourself with its capabilities and features, you can streamline your file searching process and boost your efficiency.
Using Keywords in Spotlight Searches
Keywords play a crucial role in narrowing down your searches and ensuring that Spotlight delivers the most relevant results. By utilizing specific keywords, you can quickly locate files that match your search criteria. Here are some tips on how to effectively use keywords in Spotlight searches:
- Be specific: When entering keywords, try to be as specific as possible. For example, instead of searching for “document,” you can use keywords like “project proposal” or “expense report.” This helps Spotlight filter out unnecessary results and provides more accurate search results.
- Utilize file extensions: If you’re looking for a specific type of file, include its extension in your search query. For example, searching for “budget report.pdf” will narrow down your results to only PDF files with “budget report” in the title.
- Include relevant details: If you can remember specific details about a file, such as its author, date of creation, or a unique phrase within the content, include them in your search query. This helps Spotlight identify the file you’re looking for more efficiently.
- Try alternative keywords: If your initial search doesn’t yield the desired results, consider using synonyms or alternative keywords. For example, if you’re looking for a “presentation,” you can also try searching for “slideshow” or “slide deck.”
By incorporating these techniques into your Spotlight searches, you can better refine your results and find files with greater precision. Remember to experiment with different combinations of keywords and variations to optimize your search experience.
Adding Keywords to Files
Adding keywords to your files can significantly enhance the effectiveness of Spotlight searches. By including relevant and descriptive keywords, you can easily find files based on their content, even if you can’t recall specific details. Here are some methods for adding keywords to your files:
- File Metadata: Many file types, such as documents and images, have fields where you can enter metadata, including keywords. In macOS, you can add keywords by selecting a file, clicking “File” in the menu bar, choosing “Get Info,” and then navigating to the “Keywords” field. Here, you can enter words or phrases that describe the file’s content, making it easier to locate in Spotlight searches.
- Tagging: macOS allows you to assign tags to files, which are color-coded labels that help organize and classify files based on their attributes. You can create custom tags or use the predefined ones such as “Work,” “Personal,” or “Important.” By tagging files with relevant keywords, you can create a more organized file system and improve Spotlight search accuracy.
- Naming Conventions: One simple yet effective way to add keywords to files is by incorporating them into the file names themselves. For example, renaming a file from “IMG_1234.jpg” to “BeachVacation_Sunset.jpg” adds descriptive keywords that can be recognized by Spotlight. This enables easier and faster searching based on the keywords embedded in the file names.
- Custom Attributes: For more advanced users, macOS offers the ability to create custom attributes for files. This feature allows you to define specific properties and assign values to them, such as priority, category, or project name. By utilizing custom attributes and assigning appropriate values, you can add even more detailed keywords to your files.
By adding keywords using these methods, you can significantly improve the organization of your files and make them more discoverable through Spotlight searches. Taking the time to incorporate relevant keywords into your file management system will save you precious time when searching for specific files or documents.
Using Boolean Operators in Spotlight Searches
Spotlight searches can be further refined by using Boolean operators, which allow you to combine keywords and create more complex search queries. By understanding and utilizing these operators, you can tailor your searches to be more specific and accurate. Here are the key Boolean operators you can use in Spotlight:
- AND: By using the AND operator (represented by the symbol “&”), you can search for files that contain multiple keywords. For example, searching for “project report & budget” will only display files that have both “project report” and “budget” in their content or metadata.
- OR: The OR operator (represented by the symbol “|”) allows you to search for files that contain at least one of the specified keywords. For instance, searching for “meeting notes | presentation” will display files that have either “meeting notes” or “presentation” in their content or metadata.
- NOT: To exclude specific keywords from your search results, you can use the NOT operator (represented by the symbol “-“). For example, searching for “design document -draft” will display files that have “design document” but exclude those with “draft” in their content or metadata.
- Grouping: You can use parentheses to group multiple Boolean operators together to create more complex search queries. For example, “(project report | budget) & 2022” will display files that contain either “project report” or “budget,” along with the keyword “2022.”
By combining Boolean operators with keywords, you can create highly targeted search queries that yield more precise results. Experiment with different combinations of operators and keywords to fine-tune your searches according to your specific needs.
Combining Keywords and Boolean Operators
To further refine your Spotlight searches, you can combine keywords with Boolean operators for more precise and targeted results. By understanding how to use these operators effectively, you can create complex search queries that meet your specific search criteria. Here are some strategies for combining keywords and Boolean operators:
- Using AND: When you want to find files that contain multiple keywords, you can use the AND operator. For example, searching for “marketing AND strategy” will display files that have both “marketing” and “strategy” in their content or metadata.
- Using OR: If you want to find files that contain at least one of the specified keywords, you can use the OR operator. For instance, searching for “finance OR accounting” will display files that have either “finance” or “accounting” in their content or metadata.
- Combining AND and OR: By using a combination of AND and OR operators, you can create more complex search queries. For example, searching for “(sales OR marketing) AND strategy” will display files that have either “sales” or “marketing,” along with the keyword “strategy.”
- Negating keywords: If you want to exclude specific keywords from your search results, you can use the NOT operator. For example, searching for “project management NOT budget” will display files that have “project management” but exclude those with “budget” in their content or metadata.
By combining keywords and Boolean operators, you can refine your searches and narrow down the results to the files that precisely match your criteria. Take some time to experiment with different combinations and operators to discover the search queries that work best for your needs.
Utilizing Spotlight Search Tips and Tricks
Spotlight offers a range of tips and tricks that can further enhance your search experience and help you find files faster. By incorporating these techniques into your workflow, you can maximize the efficiency and accuracy of your Spotlight searches. Here are some helpful tips and tricks:
- Search Filters: Spotlight has built-in search filters that allow you to narrow down your search results based on specific criteria. You can filter by file type, date, file size, and more. These filters can be accessed by clicking on the “Show” button next to the search bar or by using specific keywords like “kind:pdf” or “date:yesterday” to refine your search.
- Quick Look: When browsing through your search results, you can use the Quick Look feature to preview files without opening them. Simply select a file and press the space bar to bring up a quick preview window. This is particularly useful when quickly scanning through multiple files to find the one you need.
- Calculator: Spotlight includes a built-in calculator, allowing you to perform quick calculations right from the search bar. Simply enter a mathematical expression, and Spotlight will provide the result. This eliminates the need to open a separate calculator app or use an online calculator.
- System Settings: You can access various system settings directly from Spotlight. Simply type keywords like “Bluetooth settings,” “Display settings,” or “Keyboard settings” to quickly navigate to the desired settings page without having to go through multiple menus.
- Application Launch: Spotlight can be used to launch applications quickly. Simply start typing the name of the application, and Spotlight will suggest matching results. Press Enter to launch the selected application without needing to navigate through your Applications folder.
- Spotlight Suggestions: Spotlight provides additional suggestions based on your search queries. These suggestions can include websites, news articles, Wikipedia entries, and more. By clicking on the suggestions, you can access external information without leaving the Spotlight search interface.
By utilizing these spotlight search tips and tricks, you can customize your searches, streamline your workflow, and access information more efficiently. Take advantage of these features to make the most out of your Spotlight search tool.
Customizing Spotlight Preferences
Did you know that you can customize Spotlight to suit your specific needs? macOS allows you to fine-tune Spotlight preferences, giving you more control over how it searches for and presents results. By customizing these preferences, you can tailor Spotlight to work the way you want. Here are some ways you can customize Spotlight:
- Adjusting Search Categories: You can choose which categories Spotlight searches by default. To do this, go to System Preferences, click on Spotlight, and navigate to the Search Results tab. Here, you can select or deselect the categories based on your preferences. For example, if you don’t frequently use the Documents category, you can uncheck it to exclude it from your search results.
- Setting the Order of Results: Spotlight allows you to determine the order in which search results appear. In the Search Results tab of the Spotlight preferences, you can easily reorder the categories by dragging and dropping them. This way, you can prioritize the categories that are most relevant to your searches.
- Excluding Folders: If there are specific folders or locations on your Mac that you don’t want Spotlight to index, you can exclude them. In the Privacy tab of the Spotlight preferences, you can add folders to the exclusion list. Spotlight will then omit the contents of these folders from search results.
- Customizing Keyboard Shortcut: Spotlight can be opened using a keyboard shortcut. By default, it’s Command+Space, but you can change it to a shortcut of your choice. In the Keyboard preferences, under the Shortcuts tab, click on Spotlight and enter your desired keyboard shortcut.
- Completing Searches with External Websites: Spotlight can include web search results in its suggestions by utilizing external search engines. In the Spotlight preferences, click on the Privacy tab and uncheck “Allow Spotlight Suggestions in Spotlight and Look Up.” This will prevent external search results from appearing in Spotlight’s suggestions.
By customizing Spotlight preferences, you can optimize your searches and declutter the results to only show what’s most relevant to you. Spend some time exploring these customization options and adjust them according to your workflow and personal preferences.