
What is Spotlight?
Spotlight is a powerful search feature on Mac computers and iOS devices that allows users to quickly find files, applications, documents, and other information on their device. It is an essential tool for quickly accessing content and provides a convenient way to locate files without the need to navigate through folders manually.
Spotlight not only searches for filenames but also searches the contents of files, making it a comprehensive search tool that can locate information within documents, emails, contacts, photos, and more. It uses powerful indexing technology to create an index of the files on your device, which enables lightning-fast searches.
One of the key advantages of Spotlight is its integration with other applications and services on your device. This means that you can use Spotlight to search for information not only within your local files but also across other integrated apps and services, such as email, messaging, calendar, and even web search results. With Spotlight, you can access the information you need quickly and efficiently, regardless of its location.
The Spotlight search window provides a user-friendly interface that allows for easy searching and filtering of results. It offers search suggestions and previews, making it easier to find what you’re looking for without having to type out the entire search query.
Overall, Spotlight is an invaluable tool that makes finding information on your Mac or iOS device a breeze. Whether you’re looking for a specific file, need to find an email, or want to quickly access an application, Spotlight has got you covered. It’s a powerful search feature that helps you stay organized and productive.
How to Access Spotlight
Accessing Spotlight on your Mac or iOS device is simple and straightforward. There are a few different methods for accessing Spotlight, depending on your device and preferences:
- Using the keyboard shortcut: Pressing Command + Spacebar on your Mac keyboard or swiping down on the Home screen of your iOS device will bring up the Spotlight search bar.
- Clicking on the magnifying glass: On your Mac, you can find the magnifying glass icon in the top-right corner of the menu bar. Clicking on it will open the Spotlight search field. On iOS, swipe down on the Home screen to reveal the Spotlight search field.
- Using the Dock: On your Mac, you can add the Spotlight icon to your Dock for easy access. Simply right-click on the Dock and select “Show in Finder” to locate the Spotlight icon. Drag it to the desired position in your Dock. Clicking on the Spotlight icon will open the search field.
- Using the Finder: You can also access Spotlight directly from the Finder window. Open a Finder window and click on the search bar located in the top-right corner. This will activate Spotlight search.
Once you have accessed Spotlight using any of these methods, you can start typing your search query in the provided search field. As you type, Spotlight will automatically update the results, providing you with matching files, applications, documents, and other relevant information.
It’s worth noting that on iOS devices, you can access Spotlight from anywhere by swiping down on the Home screen. This allows for quick access to search for apps, contacts, emails, messages, and more, without needing to navigate through different screens.
Spotlight offers a seamless and efficient way to search for content, making it a valuable tool for quickly finding what you need on your Mac or iOS device. Whether you want to search for a file, open an application, or find a specific email, Spotlight simplifies the process and saves you time.
Basic Search in Spotlight
Spotlight provides a straightforward way to perform basic searches and retrieve relevant results on your Mac or iOS device. Here’s how to perform a basic search in Spotlight:
- Accessing Spotlight: Use one of the methods mentioned in the previous section to open the Spotlight search field on your device.
- Entering your search query: Simply type the keyword or phrase you want to search for in the search field. For example, you can type “Documents” to find files with the word “Documents” in their filenames or contents.
- Previewing search results: As you type, Spotlight will start displaying search suggestions and matching results in real-time. You can click on a result to open it directly or use the arrow keys to navigate through the results.
- Opening the result: To open a result, click on it with your mouse or press Enter on your keyboard.
Spotlight will display the search results based on the relevance of the files and content on your device. It searches not only for filenames but also within the contents of files, such as documents, emails, and messages.
By default, Spotlight displays a mix of results, including applications, documents, folders, contacts, and more. You can use the filters and categories on the sidebar to narrow down the search results to specific types of files or content.
Spotlight also supports natural language queries, allowing you to search using common phrases or questions. For example, you can type “Weather in New York” to see the weather forecast for New York City or “What time is it in London” to get the current time in London.
Overall, using Spotlight for basic searches is quick, efficient, and user-friendly. It saves you the hassle of manually navigating through folders and directories to find the information you need. With its real-time results and intuitive interface, Spotlight streamlines the search process and helps you access files, applications, and other content with ease.
Using Filters in Spotlight
Spotlight provides a range of powerful filters that allow you to refine your search results and quickly find specific types of files or information on your Mac or iOS device. These filters help you narrow down the search scope and focus on the results that matter most to you. Here’s how you can use filters in Spotlight:
- Accessing the filter options: After performing a search in Spotlight, you will notice a set of filter options on the sidebar. The available filters may vary depending on the nature of your search and the content on your device.
- Choosing a filter: Click on one of the filter options to apply it to your search results. For example, if you’re searching for a specific file, you can use the “Documents” filter to display only documents in the results.
- Combining multiple filters: You can also combine multiple filters to further narrow down your search results. For instance, you could apply the “Documents” filter along with the “Today” filter to only display documents created on the current day.
- Using the search bar within filters: Certain filters, such as “Contacts” or “Emails,” provide a search bar within the filter itself. This allows you to perform a more specific search within that particular category. For example, within the “Emails” filter, you can search for a specific sender or subject line.
- Resetting filters: If you want to remove the applied filters and revert to the original search results, simply click the “x” button next to each filter or click the “All” option at the top of the filter list.
By using filters in Spotlight, you can quickly narrow down your search results and find precisely what you’re looking for. Whether you’re searching for specific file types, contacts, emails, or other content, the filters help you customize your search and streamline the results.
Spotlight filters are versatile and adapt to the type of search you’re performing, providing relevant and targeted results. They enhance the search experience and save you time by eliminating unnecessary clutter and focusing on the content that meets your criteria.
Experiment with different filters in Spotlight to familiarize yourself with their capabilities and see how they can improve your search efficiency. With a little exploration, you’ll find that the filtering options in Spotlight are a valuable tool for quickly locating the information you need amidst the vast sea of files and content on your device.
Searching for Files in Finder
Finder is the file management application on Mac computers, and it provides a robust search capability that complements Spotlight. While Spotlight focuses on quick and broad searches across your entire device, Finder allows for advanced file searches with more specific criteria. Here’s how you can search for files in Finder:
- Opening Finder: Click on the Finder icon in the Dock, or use the keyboard shortcut Command + Spacebar to open Spotlight, then type “Finder” and press Enter.
- Accessing the search bar: In the Finder window, you will see a search bar at the top-right corner. Click on it to activate the search field.
- Entering your search query: Type the name, extension, or keywords related to the file you’re looking for in the search field. As you type, Finder will start displaying real-time search suggestions and matching results.
- Previewing search results: Finder provides a list of search results below the search bar. You can click on a file to preview it in Quick Look, which allows you to get a quick glance at its content without opening the application associated with it.
- Opening the file: To open a file, double-click on it, or select it and press Command + O on your keyboard.
Finder also supports advanced search queries using operators like AND, OR, and NOT. For example, you can search for files containing both “report” and “2021” by typing “report AND 2021” in the search bar.
Additionally, you can specify the search criteria using the dropdown menu next to the search bar. You can narrow down the search by selecting specific file types, file sizes, modification dates, and more. These options allow you to fine-tune your search and retrieve precise results.
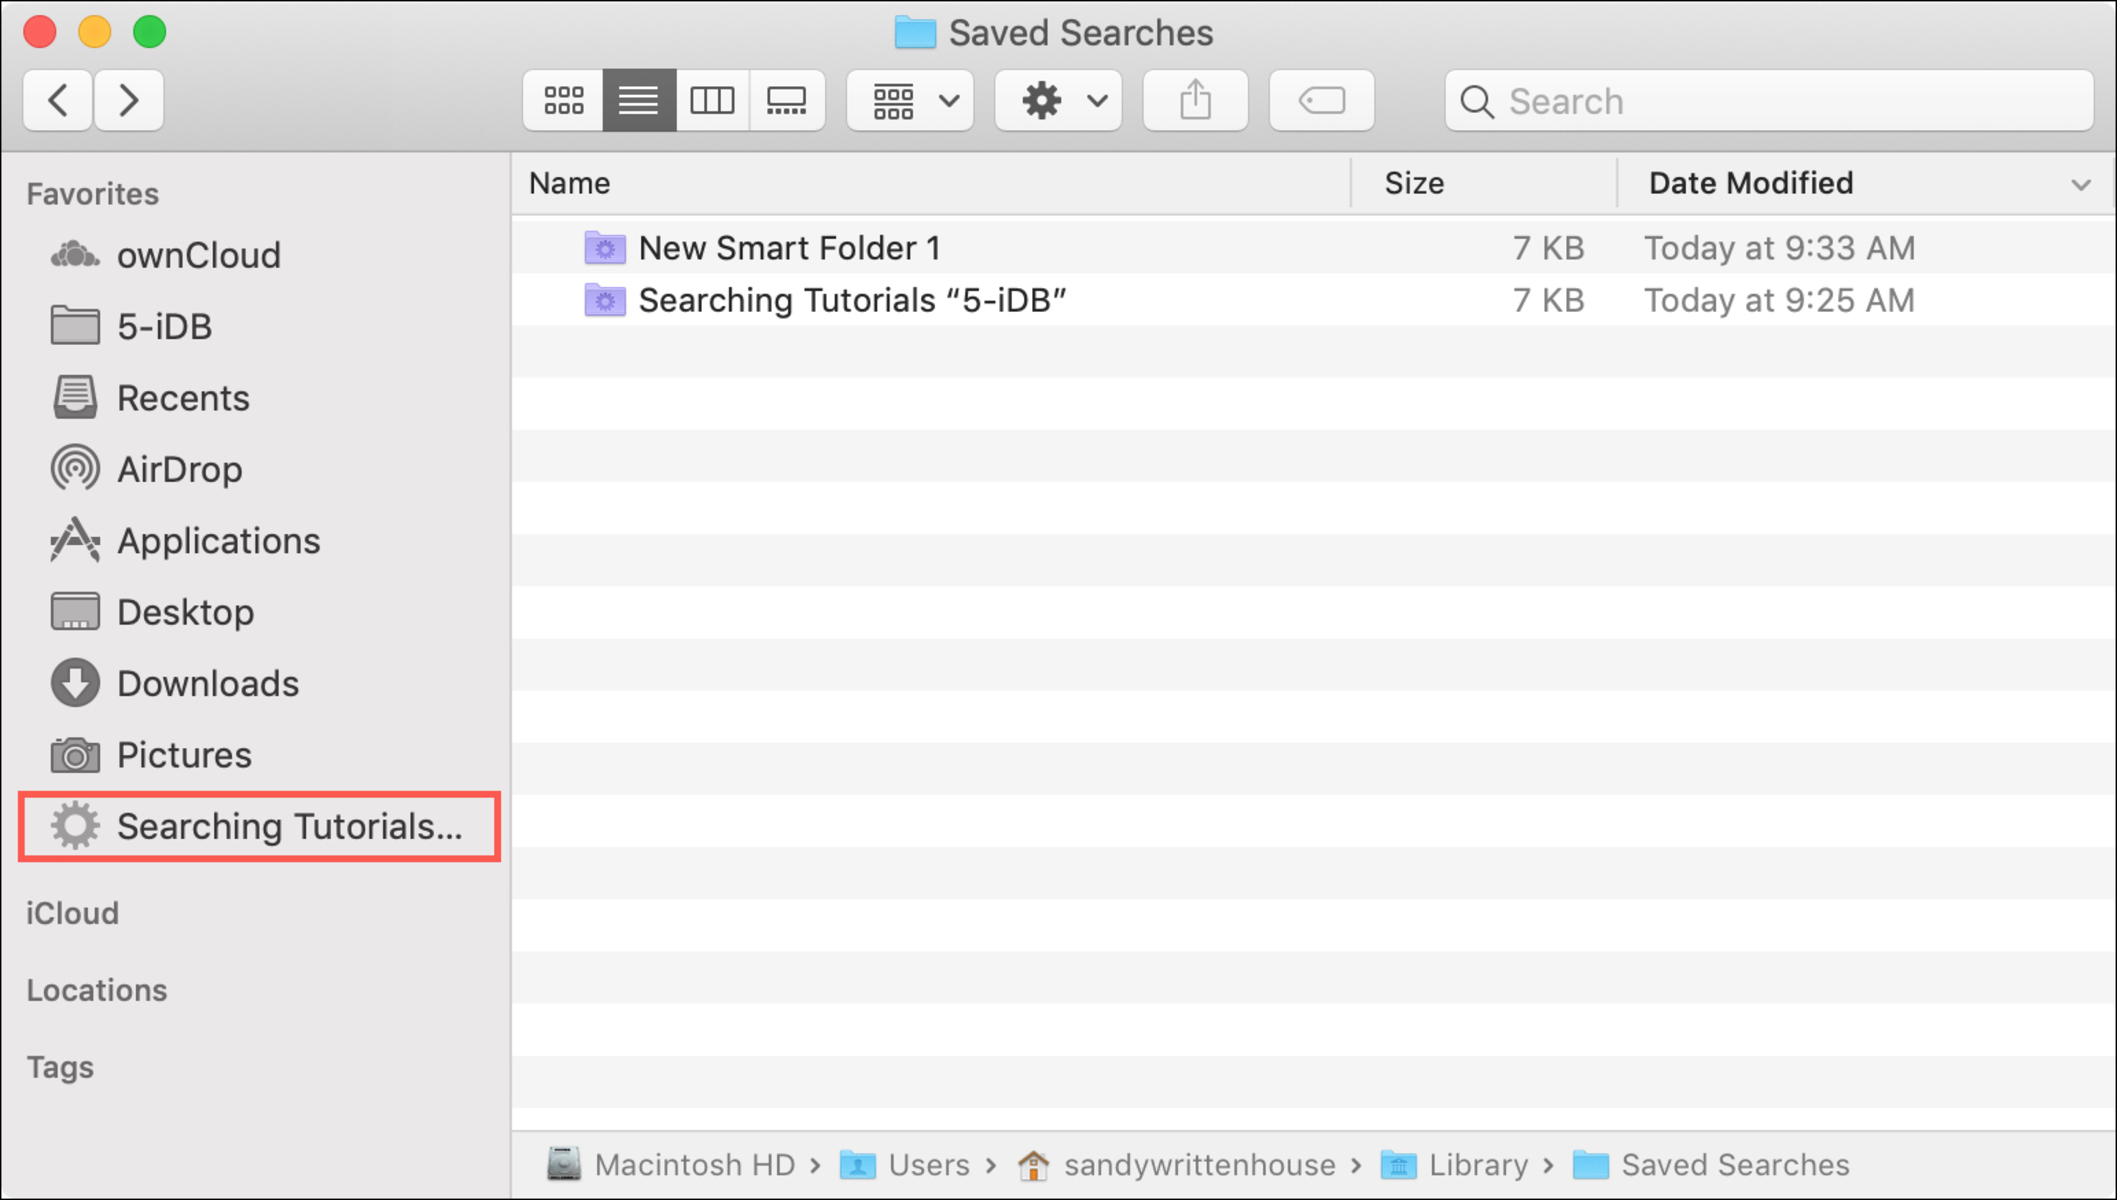
Furthermore, you can save your search queries as Smart Folders, which automatically update their contents according to the specified criteria. This feature is useful for accessing files that match specific criteria without having to perform the search repeatedly.
Utilizing the search functionality in Finder empowers you to locate files efficiently, especially if you have a large number of files on your Mac. Whether you’re looking for a specific document, image, or application, Finder’s search capabilities provide an organized and customizable way to find and manage your files effectively.
Organizing Search Results in Finder
When performing a search in Finder, you may get a list of search results that meets your criteria. To help you manage and organize these search results effectively, Finder offers various options for sorting, grouping, and displaying files. Here’s how you can organize search results in Finder:
- Sorting search results: By default, Finder sorts search results by relevance. However, you can change the sorting order to suit your needs. Right-click within the search results window, choose “Sort By,” and select the desired sorting criteria, such as name, date modified, size, or kind.
- Grouping search results: You can also group search results by specific criteria to make it easier to navigate and manage the files. Right-click within the search results window, choose “Group By,” and select the criteria you wish to group the files by, such as kind, date modified, or application.
- Changing the view mode: Finder provides different view modes to display your search results. You can choose from Icon View, List View, Column View, or Gallery View. Click on the view buttons in the toolbar or use the keyboard shortcuts (Command + 1, 2, 3, or 4) to switch between different view modes and find the one that suits your preferences.
- Customizing the columns: In List View or Column View, you can customize the columns displayed in the search results. Right-click on the column headers and select the columns you want to show, such as file size, date created, or tags. This allows you to have the most relevant information readily available.
- Using tags and labels: Finder allows you to apply tags and labels to files, making it easier to categorize and locate them. You can assign specific tags or labels to files within the search results by right-clicking on a file, selecting “Tags,” and choosing the appropriate tag or label.
Organizing search results in Finder enables you to quickly navigate through the files, focus on specific categories or criteria, and find the desired files with ease. By sorting, grouping, and customizing the view, you can create an organized system that suits your workflow and enhances productivity.
Additionally, the use of tags and labels helps in classifying and differentiating files, providing a visual way to identify them based on their purpose, importance, or project. This makes it convenient to locate files related to a specific tag or label in future searches.
With these organizing options available in Finder, you can efficiently manage your search results and maintain a well-organized file system that aligns with your workflow and preferences.
Advanced Search Options in Finder
Finder provides advanced search options that allow you to perform more specific and targeted searches based on various criteria. These options help you refine your search and locate files with greater precision. Here are some of the advanced search options available in Finder:
- Using multiple search criteria: To specify multiple search criteria, click on the “+” button in the search bar. This allows you to add additional search parameters, such as file name, kind, modification date, file size, and more, to fine-tune your search.
- Using search operators: Finder supports the use of search operators, such as AND, OR, and NOT, to create more complex search queries. For example, you can search for files that have both “report” and “2021” in their names by typing “report AND 2021” in the search bar.
- Specific file attributes: You can search for files based on specific attributes, such as tags, comments, or file extensions. To do this, select the desired attribute from the dropdown menu in the search bar and enter the corresponding values.
- Searching within specific folders or locations: If you want to narrow down your search to a specific folder or location, you can specify the location within the search parameters. This restricts the search to only that particular folder or location.
- Searching by file size: Finder allows you to search for files based on their size. You can specify a specific size range or use comparative operators to search for files that are larger than, smaller than or between certain file sizes.
- Searching by date: You can search for files based on their creation date, modification date, or last accessed date. This provides a convenient way to locate files that were recently created, modified, or accessed.
These advanced search options in Finder give you greater control and flexibility in finding specific files or narrowing down your search results. By utilizing these features, you can save time and effort by retrieving precisely the files you need.
Experimenting with different combinations of search criteria and operators can help you create powerful and targeted searches tailored to your specific requirements. It’s worth exploring the advanced search options in Finder to unlock its full potential in file search and organization.
Searching for Specific File Types in Finder
When searching for files in Finder, you might often have the need to narrow down your search to a specific file type or format. Finder provides the functionality to search for specific file types, making it easier to locate files based on their formats. Here’s how you can search for specific file types in Finder:
- Open Finder: Click on the Finder icon in the Dock or use the keyboard shortcut Command + Spacebar to open Spotlight, then type “Finder” and press Enter.
- Access the search bar: In the Finder window, locate the search bar at the top-right corner and click on it to activate the search field.
- Type the file extension: To search for a specific file type, enter the file extension in the search field. For example, if you’re looking for PDF files, type “.pdf” in the search bar.
- Refine the search: If you want to narrow down the search further, you can combine the file extension with other search criteria. For instance, you can search for PDF files created within the last month by typing “.pdf” in the search bar and selecting the desired timeframe in the dropdown menu.
- View the search results: Finder will display the search results based on the specified file type. You can browse through the results to find the files you’re looking for.
By searching for specific file types, you can quickly locate files of a particular format without having to manually sift through a large number of files. This functionality is particularly useful when you’re looking for files with a specific purpose or need to work with files of a specific format.
Keep in mind that Finder recognizes a wide range of file extensions, so you can search for various file types, such as documents, images, videos, audio files, and more. This provides a convenient way to find files based on their formats, regardless of their locations on your Mac.
Searching for specific file types in Finder improves your workflow and helps you manage your files more efficiently, especially when dealing with projects that involve different types of files. It saves time and allows you to quickly access the files you need, enhancing your productivity and organization.
Using Boolean Operators in Finder
Finder offers the ability to use Boolean operators, such as AND, OR, and NOT, in your search queries. These operators allow you to create more complex and specific search conditions, helping you find files that meet multiple criteria or exclude certain elements. Here’s how you can use Boolean operators in Finder:
- Open Finder: Click on the Finder icon in the Dock or use the keyboard shortcut Command + Spacebar to open Spotlight, then type “Finder” and press Enter.
- Access the search bar: In the Finder window, locate the search bar at the top-right corner and click on it to activate the search field.
- Enter your search query: Type your search query using the Boolean operators – AND, OR, and NOT – in uppercase letters. For example, you can search for files that contain both “report” and “2021” by typing “report AND 2021”.
- Refine the search: To further refine your search, you can combine Boolean operators with other search criteria. For instance, you can search for files that have the word “invoice” but exclude any files that have the word “draft” by typing “invoice NOT draft”.
- Review the search results: Finder will display the search results based on your query with the Boolean operators. You can browse through the results to find the files that meet your specified conditions.
Using Boolean operators in Finder provides greater flexibility and precision in your file searches. By combining multiple criteria and operators, you can construct complex search queries that narrow down your results to the files that meet your exact requirements.
The AND operator allows you to find files that match multiple conditions, the OR operator allows you to find files that match any of the specified conditions, and the NOT operator allows you to exclude files that meet a particular condition from your search results.
These Boolean operators can significantly enhance your search capabilities, especially when searching for files that have specific characteristics or when you need to filter out certain files from your search results. It allows you to customize your searches and retrieve files that align with your specific needs.
By mastering the use of Boolean operators in Finder, you can save time and effort by pinpointing the exact files you’re looking for and fine-tuning your search results to your desired specifications.
Understanding Spotlight Preferences
Spotlight offers a range of customizable preferences that allow you to tailor its functionality to suit your specific needs and preferences. These preferences enable you to control what Spotlight indexes, limit search results, and adjust the display settings. Here’s an overview of the Spotlight preferences:
- Accessing Spotlight preferences: To access Spotlight preferences, click on the Apple menu in the top-left corner of the screen, select “System Preferences,” and then choose “Spotlight.”
- Customizing search categories: In the “Search Results” tab of Spotlight preferences, you can choose which categories to include or exclude from your search results. You can deselect categories such as Applications, Dictionary definitions, or System Preferences if you don’t want them to appear in your search results.
- Adding/removing search locations: In the “Search Results” tab, you can also specify which locations Spotlight should search. By default, Spotlight searches your entire Mac, but you can add or remove specific folders or external drives to limit the search scope.
- Adjusting indexing preferences: In the “Privacy” tab of Spotlight preferences, you can add specific folders or volumes to the privacy list. Spotlight will not index the content within these locations, ensuring their contents are not included in search results.
- Defining keyboard shortcuts: In the “Keyboard Shortcuts” tab, you can customize the keyboard shortcuts used to activate Spotlight, show Finder search window, or search for highlighted text. This allows you to set up shortcuts that are convenient for your workflow.
- Enabling/disable web search: In the “Spotlight Suggestions” tab, you can choose whether to include suggestions from Spotlight for Safari (web search) in your search results. You can enable or disable this option based on your preferences.
Understanding and modifying the Spotlight preferences allows you to optimize your search experience and make it more tailored to your workflow. By selecting the appropriate search categories, adding or removing search locations, and adjusting indexing preferences, you can refine and focus your search results to better suit your needs.
Customizing keyboard shortcuts can also streamline your workflow, making it quicker and more convenient to access Spotlight or perform specific search actions.
By enabling or disabling web search, you have control over whether you want Spotlight to provide suggestions from the web as part of your search results.
Overall, understanding and utilizing Spotlight preferences empowers you to shape the search experience to match your preferences and workflow, ensuring that you get the most out of Spotlight’s powerful search capabilities.