
What You Will Need
Creating a bootable flash installer of OS X or macOS is a handy way to install or upgrade the operating system on your Mac. To get started, you will need the following:
- A Mac computer with an Intel processor
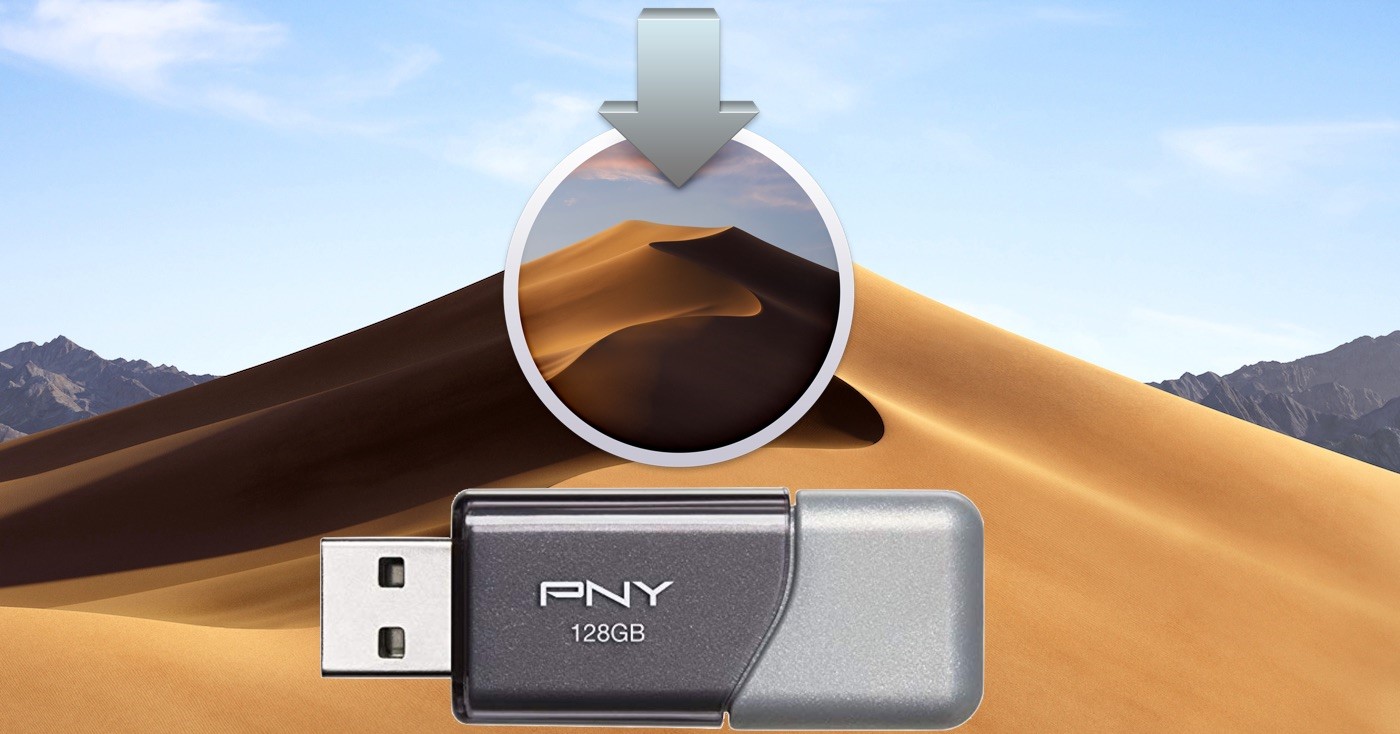
- A USB flash drive with a minimum capacity of 8GB
- An Internet connection to download the OS X or macOS installer
Make sure your Mac meets the minimum system requirements for the version of OS X or macOS you plan to install. You can find these requirements on the Apple website or within the software update utility on your Mac.
When choosing a flash drive, it’s recommended to use a reliable and fast USB 3.0 drive to ensure smoother installation and faster data transfer rates. However, if you only have a USB 2.0 drive, it will still work, but the installation process may take longer.
Before proceeding, it’s essential to back up any important data on the flash drive, as the process will erase all existing files.
Additionally, make sure your Mac is connected to a stable power source throughout the installation process. Running out of battery power during the installation could result in data loss or an incomplete installation.
Once you have gathered the necessary tools and resources, you’re ready to move on to the next step: downloading the OS X or macOS installer.
Downloading the OS X or macOS Installer
Before you can create a bootable flash installer, you need to download the OS X or macOS installer from the Mac App Store or Apple’s website. Follow these steps:
- Open the Mac App Store on your Mac.
- Search for the specific version of OS X or macOS you want to install.
- Click on the “Download” button to start downloading the installer.
- Alternatively, if you prefer to download the installer from Apple’s website, visit their support page and search for the appropriate installer. Once you find it, click on the “Download” button.
Downloading the installer may take some time, depending on your internet connection speed. Make sure you have a stable and reliable internet connection to avoid any interruptions during the download process.
Once the download is complete, the installer will open automatically. However, to create a bootable flash installer, you need to close the installer without starting the installation process.
Remember to locate the downloaded installer file on your Mac, as you will need it in the next steps. By default, the installer should be in your “Applications” folder, but you can also perform a quick search by the name of the installer to find it easily.
Now that you have the OS X or macOS installer downloaded on your Mac, it’s time to prepare the flash drive for creating a bootable installer.
Preparing the Flash Drive
Before you can create a bootable installer, you need to properly prepare your USB flash drive. Here’s how:
- Connect your USB flash drive to your Mac.
- If the flash drive contains any important data, make sure to back it up onto a separate storage device as the process will erase all existing files on the flash drive.
- Open Disk Utility, which you can find in the Utilities folder within your Applications folder or by searching for it in Spotlight.
- Locate your flash drive in the list of disks and volumes on the left side of the Disk Utility window. Click on it to select it.
- Next, click on the “Erase” button at the top of the Disk Utility window.
- In the Erase window, choose a name for your flash drive. This can be any name you prefer, but avoid using spaces or special characters. Instead, stick to alphanumeric characters and hyphens.
- Select the appropriate format for your flash drive. For compatibility purposes, it is recommended to choose “Mac OS Extended (Journaled)”.
- Lastly, click on the “Erase” button to format the flash drive. This process will erase all data on the drive and create a clean, empty space for the bootable installer.
After the formatting process is complete, you now have a prepared flash drive ready for creating the bootable installer. Keep in mind that the formatting process may take a few minutes, depending on the size and speed of your flash drive.
It’s important to ensure that the flash drive has enough space for the installer. The installer itself typically requires around 6-8GB of space, so make sure your flash drive has a capacity of at least 8GB to accommodate the installer successfully.
With the flash drive prepared and formatted, you are now ready to proceed with creating the bootable installer using either Terminal or Disk Utility. The following sections will guide you through the step-by-step instructions for each method.
Formatting the Flash Drive
Before you can create a bootable installer for OS X or macOS, it is crucial to format the USB flash drive correctly. Follow these steps to ensure your flash drive is properly formatted:
- Connect the USB flash drive to your Mac.
- Open the Disk Utility application, which you can find in the Utilities folder within the Applications folder or by searching for it in Spotlight.
- In the Disk Utility window, locate your flash drive in the left sidebar. Click on it to select it.
- Now, click on the “Erase” button at the top of the Disk Utility window.
- In the Erase window, provide a name for your flash drive. Choose a name that is easy to remember and does not contain any spaces or special characters. It is best to use alphanumeric characters and hyphens.
- Choose the appropriate format for your flash drive. For compatibility purposes, it is recommended to select “Mac OS Extended (Journaled)”.
- Next, click on the “Erase” button to start the formatting process. Note that formatting the flash drive will erase all existing data, so ensure you have backed up any important files beforehand.
- Wait for the formatting process to complete. The time it takes will depend on the size and speed of your flash drive.
- Once the formatting is finished, you will have a clean and empty flash drive, ready to be used for creating the bootable installer.
It is essential to ensure that your flash drive has enough capacity to accommodate the installer. Typically, the installer requires around 6-8GB of space. Ensure that your flash drive has a capacity of at least 8GB to avoid any issues during the creation process.
With your flash drive properly formatted, you are now ready to proceed with creating the bootable installer. In the following sections, we will explain how to create the installer using Terminal or Disk Utility.
Creating the Installer
Once you have a formatted and empty flash drive, you can proceed with creating the bootable installer for OS X or macOS using one of the following methods—either through Terminal or Disk Utility.
Using Terminal to Create the Bootable Installer:
- Open Terminal on your Mac. You can find it in the Utilities folder within the Applications folder or by searching for it in Spotlight.
- Copy and paste the following command into the Terminal window:
sudo /Applications/Install\ macOS\ [Version].app/Contents/Resources/createinstallmedia --volume /Volumes/[FlashDriveName]Replace “[Version]” with the name of the OS X or macOS version you want to install (e.g., Sierra, High Sierra). Also, replace “[FlashDriveName]” with the name you provided for your flash drive during the formatting process.
- Press Enter and enter your administrator password when prompted. Note that your password will not be visible as you type it.
- Terminal will now begin creating the bootable installer. This process may take some time, so be patient. Terminal will display a progress indicator to keep you informed.
- Once the process is complete, Terminal will display the message: “Install media now available at /Volumes/[FlashDriveName]”. Your bootable installer is now ready to use.
Using Disk Utility to Create the Bootable Installer:
- Open Disk Utility on your Mac.
- Select the flash drive from the left sidebar in Disk Utility.
- Click on the “Restore” tab at the top of the Disk Utility window.
- Drag and drop the OS X or macOS installer from your Applications folder onto the “Source” field in Disk Utility.
- Drag and drop your flash drive onto the “Destination” field.
- Ensure that your flash drive is selected as the destination, as restoring will erase all data on the selected drive.
- Click on the “Restore” button, and Disk Utility will start creating the bootable installer. The process may take a while, so be patient.
- When the process is complete, Disk Utility will display a message indicating that the restore process was successful. Your bootable installer is now ready to use.
Once you have created the bootable installer, you can proceed to the next step: testing the bootable installer to ensure it works as expected.
Using Terminal to Create the Bootable Installer
Creating a bootable installer for OS X or macOS using Terminal provides a more advanced method that gives you more control over the process. Follow these steps to create the bootable installer using Terminal:
- Open Terminal on your Mac. You can find it in the Utilities folder within the Applications folder or by searching for it in Spotlight.
- Copy and paste the following command into the Terminal window:
sudo /Applications/Install\ macOS\ [Version].app/Contents/Resources/createinstallmedia --volume /Volumes/[FlashDriveName]Replace “[Version]” with the name of the OS X or macOS version you want to install (e.g., Sierra, High Sierra). Also, replace “[FlashDriveName]” with the name you provided for your flash drive during the formatting process.
- Press Enter and enter your administrator password when prompted. Note that your password will not be visible as you type it.
- Terminal will prompt you to confirm that you want to erase the contents of the specified volume. Type “Y” and press Enter to proceed.
- The Terminal command will start creating the bootable installer. This process may take some time, depending on the size of the installer and the speed of your flash drive.
- Terminal will display a progress bar indicating the creation progress. You can monitor the progress and estimated time remaining.
- Once the process is complete, Terminal will display the message: “Install media now available at /Volumes/[FlashDriveName]”. Your bootable installer has been successfully created.
It’s important to note that the Terminal method requires administrative privileges, which is why you are prompted to enter your administrator password. This method gives you more control and flexibility, allowing you to customize the creation process according to your preferences.
With the bootable installer created using Terminal, you can proceed to the next step: testing the bootable installer to ensure its functionality.
Using Disk Utility to Create the Bootable Installer
If you prefer a simpler method, you can create a bootable installer for OS X or macOS using Disk Utility. Follow these steps to create the bootable installer using Disk Utility:
- Open Disk Utility on your Mac. You can find it in the Utilities folder within the Applications folder or by searching for it in Spotlight.
- Connect your formatted flash drive to your Mac.
- In Disk Utility, select the flash drive from the left sidebar. Make sure you choose the correct one to avoid accidentally erasing the wrong drive.
- Go to the “Restore” tab located at the top of the Disk Utility window.
- Drag and drop the OS X or macOS installer application from your Applications folder into the “Source” field in Disk Utility.
- Drag and drop the icon of your flash drive from the left sidebar into the “Destination” field.
- Double-check that your flash drive is correctly selected as the destination. This step is crucial to prevent overwriting important data on another drive.
- Click on the “Restore” button, and Disk Utility will commence the process of creating the bootable installer.
- Allow Disk Utility some time to complete the restoration process. The duration may vary depending on the size of the installer and the speed of your flash drive.
- Once the process finishes, Disk Utility will display a message indicating the successful creation of the bootable installer. Your flash drive is now ready to be used as a bootable installer.
Using Disk Utility for creating a bootable installer offers a more user-friendly approach, and it is suitable for those who prefer a straightforward method. Remember to double-check all the steps to prevent accidental erasure or damage to other drives.
With the bootable installer successfully created using Disk Utility, move on to the next step: testing the bootable installer to ensure its functionality.
Testing the Bootable Installer
After creating a bootable installer for OS X or macOS, it is essential to test its functionality before using it for installation or upgrades. Here’s how you can test your bootable installer:
- Connect the bootable flash drive to your Mac.
- Restart your Mac while holding down the Option (⌥) key on your keyboard.
- The Mac Startup Manager will appear, displaying all available bootable devices.
- Using the arrow keys, select the bootable flash drive from the list of devices.
- Press Enter or Return to start the booting process from the flash drive.
- Your Mac will now boot from the flash drive, and the macOS installer will launch.
- Follow the on-screen instructions to navigate through the installer and explore its features.
- At this stage, you do not need to proceed with the actual installation. The purpose is to ensure that the bootable installer successfully runs and allows you to access the installation environment.
While testing, pay attention to any error messages or unusual behavior. These can indicate issues with the bootable installer. If you encounter any problems, refer to the troubleshooting section for common issues and their potential solutions.
By testing the bootable installer, you can have confidence that it is ready for use when you need to install or upgrade your OS X or macOS. This step ensures a smooth installation process and reduces the chances of encountering errors or complications.
If the bootable installer works correctly during testing, you can proceed with using it for installation or upgrades on your Mac confidently.
Troubleshooting Common Issues
While creating and using a bootable installer for OS X or macOS is generally a straightforward process, there can be occasional issues that may arise. Here are some common issues you may encounter and their potential solutions:
1. Unable to Find the macOS Installer:
If you are unable to locate the macOS installer in the Mac App Store or on Apple’s website, ensure that your Mac meets the system requirements for the specific version you’re searching for. Additionally, check for any software updates or try searching for the installer using different keywords or alternative sources.
2. Flash Drive not Recognized or Unable to Format:
If your Mac does not recognize the flash drive or you encounter errors while formatting, there are a few steps you can take. First, ensure that your flash drive is connected properly. If the issue persists, try using a different USB port or a different flash drive altogether. You can also reboot your Mac and try again, or use Disk Utility to format the flash drive in a different format (e.g., MS-DOS FAT).
3. Slow Creation of Bootable Installer:
If the creation process of the bootable installer is taking an excessively long time, it could be due to several factors. Firstly, check the speed of your flash drive. USB 2.0 drives will generally be slower than USB 3.0 drives. Additionally, check for any background processes or applications that may be utilizing system resources, causing the process to slow down. If possible, avoid using your Mac for other resource-intensive tasks during the creation process.
4. Errors During Installation:
If you encounter errors during the installation process using the bootable installer, try restarting your Mac and attempting the installation again. Make sure your Mac is connected to a stable power source throughout the installation, as interrupted power supply can lead to installation errors. Additionally, ensure that the flash drive is properly connected and not experiencing any issues. If the problem persists, consult Apple’s support resources or seek assistance from an Apple authorized service provider.
If you experience any other issues that are not mentioned here, it’s advisable to consult official Apple support documentation, community forums, or contact Apple customer service for assistance. They can provide specific guidance based on the nature of the problem you are encountering.
By addressing these common issues and finding appropriate solutions, you can overcome any hurdles that may arise when creating or using a bootable installer for OS X or macOS.