
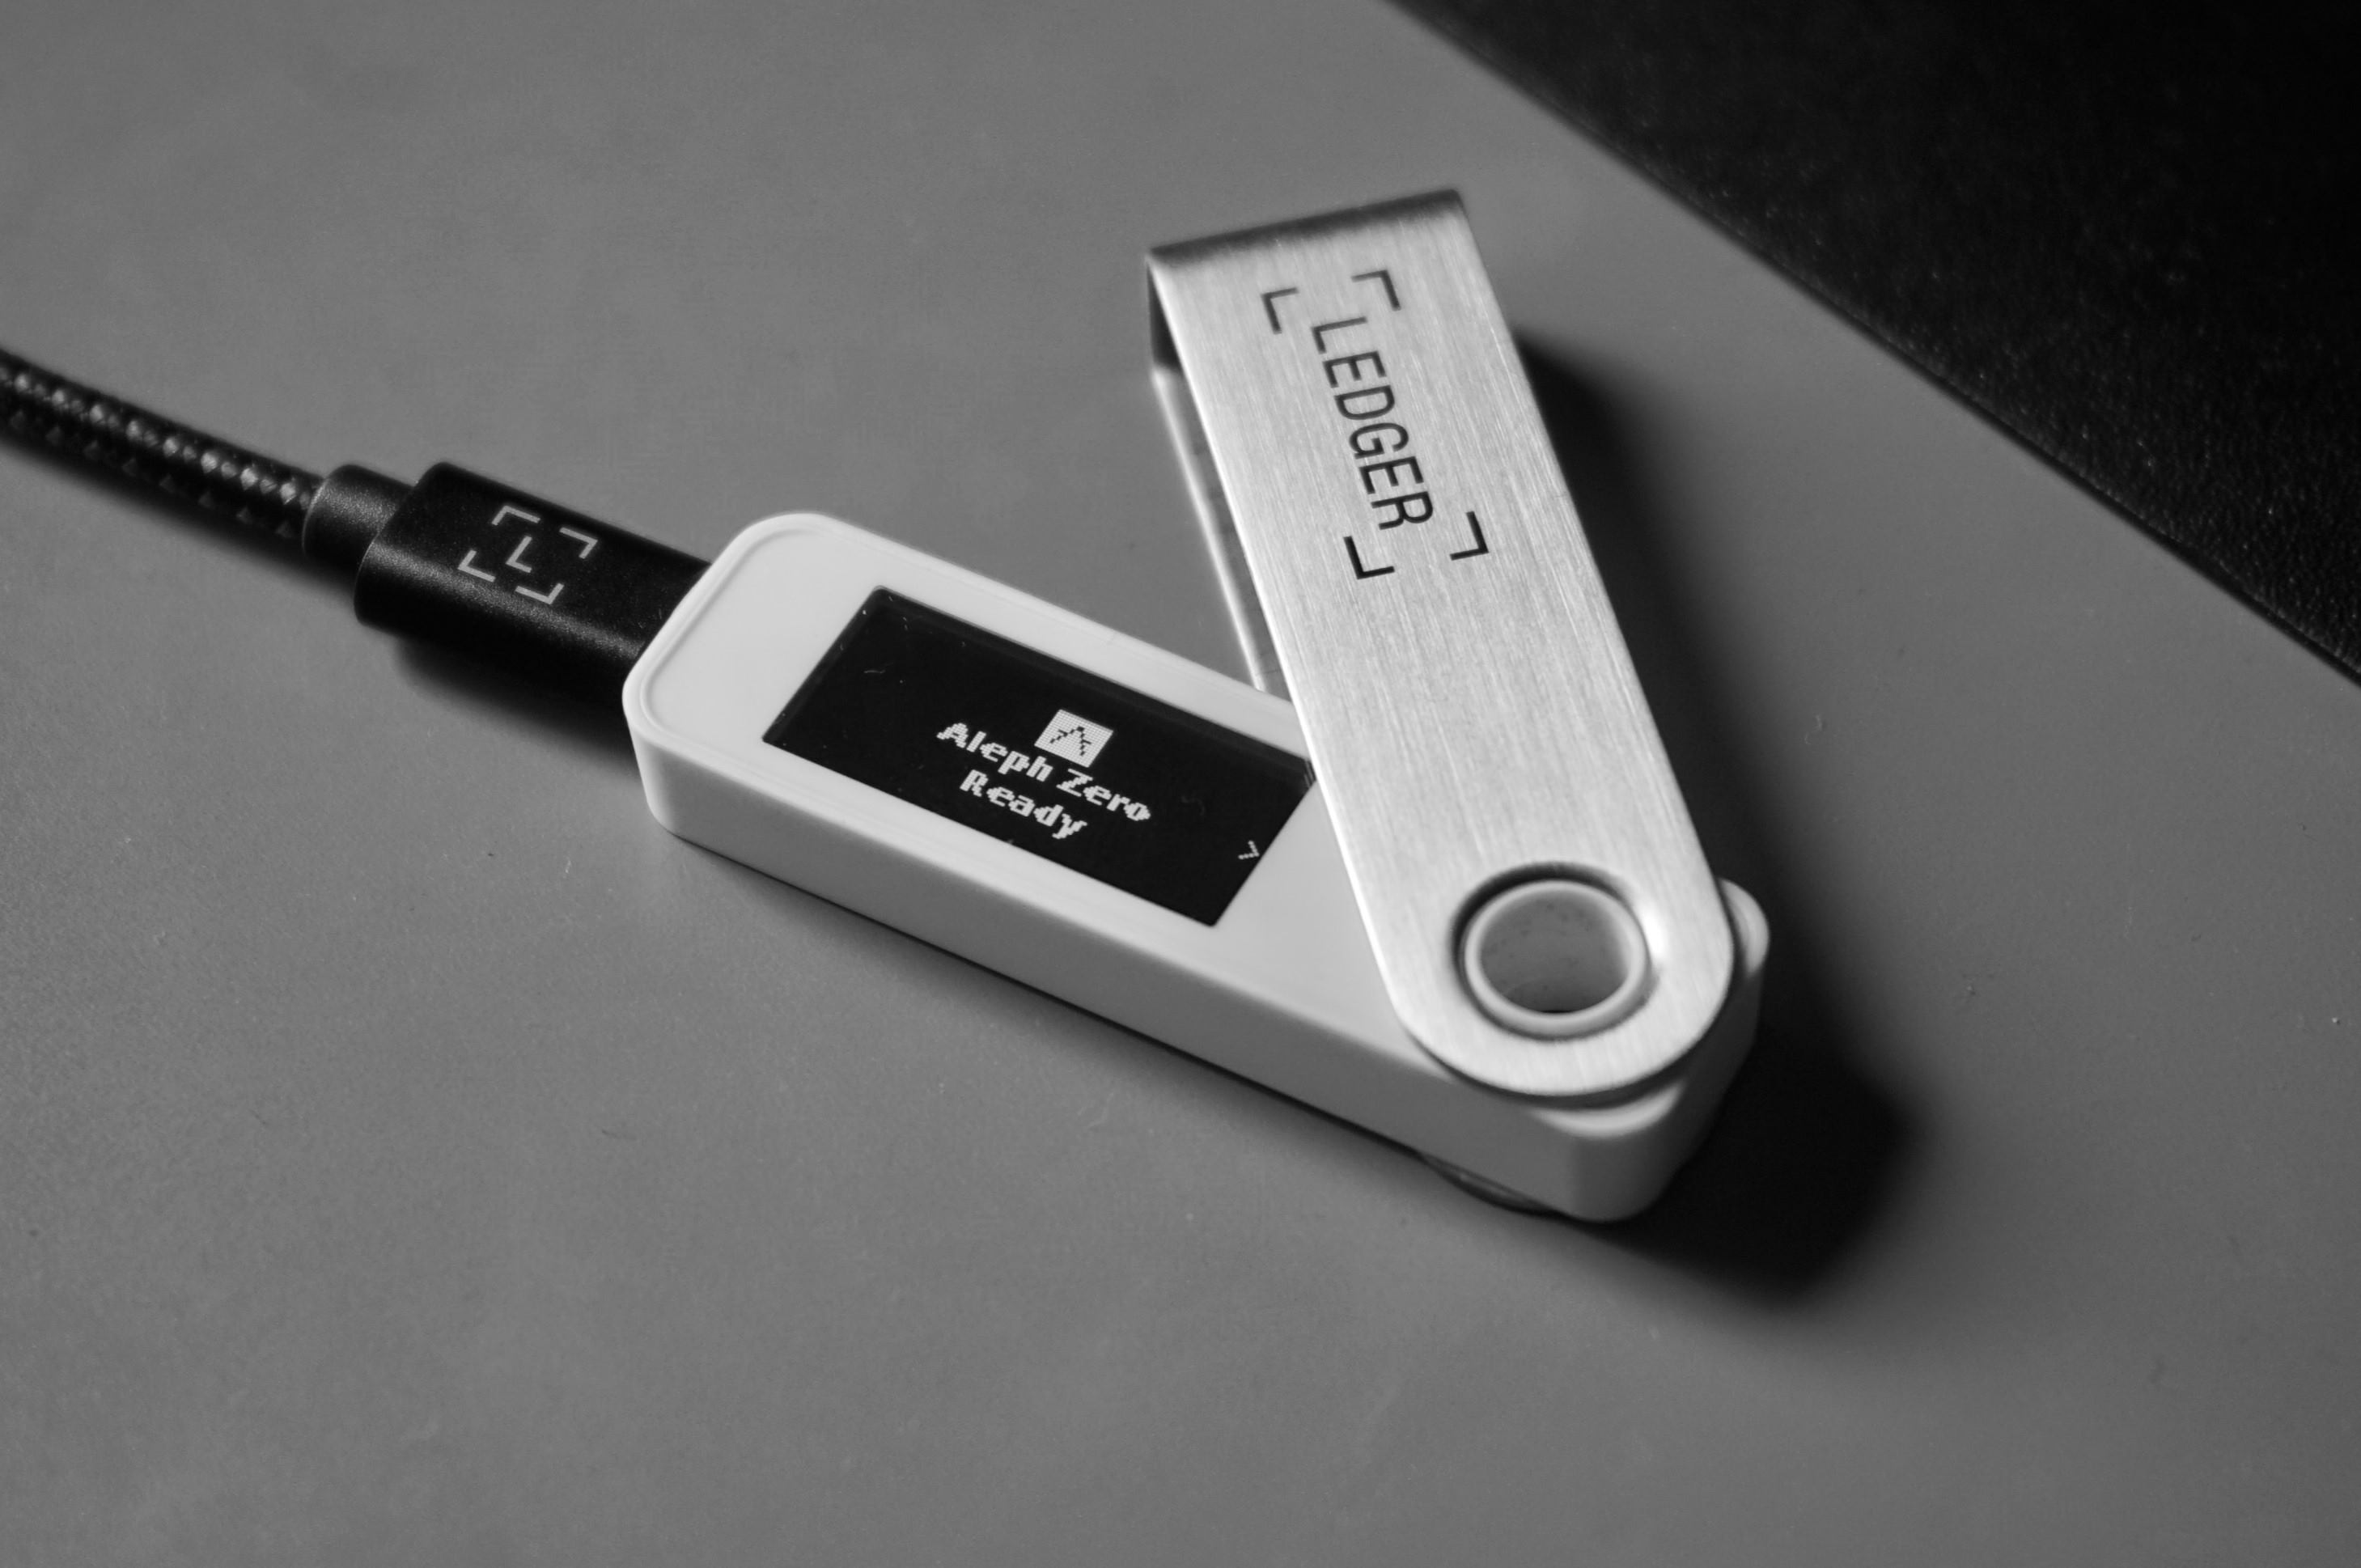
What is a Ledger Nano S?
A Ledger Nano S is a hardware cryptocurrency wallet that provides a secure way to store and manage your digital assets. It is designed to keep your private keys offline, away from potential threats such as hackers and malware.
This compact device offers a range of features and benefits to ensure the safety of your cryptocurrencies. It operates on a secure chip that is resistant to physical and digital attacks, keeping your funds safe even if your computer or smartphone is compromised.
The Ledger Nano S supports a wide range of cryptocurrencies, including Bitcoin, Ethereum, Ripple, and many more. With its large capacity, you can manage multiple accounts and store a variety of digital assets in one device.
One of the key advantages of the Ledger Nano S is its user-friendly interface. It comes with two buttons and a small screen, making it easy to navigate and confirm transactions. The device can be connected to your computer or smartphone via USB or Bluetooth, providing flexibility and convenience.
Another important feature of the Ledger Nano S is its support for multiple wallets. You can create different accounts within the device, allowing you to separate and manage your various cryptocurrencies effectively. This feature is particularly useful if you hold different types of digital assets.
Security is at the core of the Ledger Nano S. It utilizes a secure element combined with a PIN code, providing an added layer of protection against unauthorized access. Additionally, when you make a transaction, you are required to physically confirm it on the device, ensuring that only legitimate transactions are executed.
Overall, the Ledger Nano S is a trusted and reliable hardware wallet that offers a secure way to store and manage your cryptocurrencies. Its features, ease of use, and strong security measures make it a popular choice for both beginners and experienced cryptocurrency users.
Preparing your Ledger Nano S
Before you start using your Ledger Nano S, there are a few steps you need to follow to ensure that it is properly prepared for use.
The first step is to carefully unbox your Ledger Nano S and ensure that all the contents are included. Inside the box, you will find the Ledger Nano S device, a USB cable, a keychain, and a recovery sheet. Make sure nothing is missing or damaged before proceeding.
Next, it’s important to set a strong and unique PIN code for your Ledger Nano S. When you first power on the device, you will be prompted to create a PIN code. Choose a PIN code that is at least 4 digits long and avoid using easily guessable combinations. This PIN code will be required every time you access your device, providing an additional layer of security.
After setting up your PIN code, you will need to write down your recovery phrase. The recovery phrase is a series of randomly generated words that will be used to restore access to your funds in case your Ledger Nano S is lost, damaged, or stolen. It is crucial to write down these words on the provided recovery sheet and keep it in a safe place. Never share your recovery phrase with anyone and make sure to have a backup in case of emergencies.
Once you have set your PIN code and recorded your recovery phrase, it’s time to connect your Ledger Nano S to a computer or smartphone. Use the provided USB cable to establish the connection. Make sure to use a trusted and secure computer or smartphone with up-to-date antivirus software to avoid any potential risks.
Finally, you will need to download and install the Ledger Live application. Ledger Live is the official companion app for managing your cryptocurrencies on the Ledger Nano S. It provides a user-friendly interface where you can view your balances, send and receive funds, and install additional cryptocurrency apps.
With these steps completed, your Ledger Nano S is now properly prepared for use. In the next section, we will guide you through the process of installing Ledger Live and setting up your device.
Installing Ledger Live
Installing Ledger Live is the next step in setting up your Ledger Nano S. Ledger Live is the official software provided by Ledger to manage your cryptocurrencies on your device.
To install Ledger Live, you need to visit the official Ledger website. Navigate to the “Downloads” section and choose the appropriate version for your operating system—Windows, macOS, or Linux. Click the download button and wait for the installation file to finish downloading.
Once the download is complete, locate the installation file and double-click on it to begin the installation process. Follow the on-screen instructions to complete the installation. The installation process may take a few minutes, so be patient.
After the installation is finished, launch the Ledger Live application. You will be prompted to set up a new device or restore a device from a recovery phrase. Since you are setting up a new device, select the “Set up as a new device” option and click “Continue.”
Next, you will be asked to connect your Ledger Nano S to your computer using the provided USB cable. Plug one end of the USB cable into your computer’s USB port and the other end into your Ledger Nano S device.
Your Ledger Nano S should now display the message “Use wallet to view accounts” on its screen. Press the right button on the device to confirm and proceed.
Back on your computer, Ledger Live will detect your Ledger Nano S and display a message asking you to choose a PIN code for your device. Make sure to choose a PIN code that is at least 4 digits long and one that you can remember but is not easily guessable.
Follow the on-screen instructions in Ledger Live to set up your PIN code. Once you have successfully set up your PIN code, the Ledger Live application will be fully installed and synchronized with your Ledger Nano S.
Now you are ready to start managing your cryptocurrencies using Ledger Live. In the next section, we will guide you through the process of connecting your Ledger Nano S to your computer.
Connecting your Ledger Nano S to your computer
Connecting your Ledger Nano S to your computer is a simple process that allows you to interact with your device and manage your cryptocurrencies using the Ledger Live application.
To start, make sure your Ledger Live application is already installed on your computer. Connect one end of the provided USB cable to your computer’s USB port and the other end to your Ledger Nano S device.
Once the device is connected, your Ledger Nano S will display the message “Use wallet to view accounts” on its screen. Press the right button on the device to confirm and proceed.
On your computer, open the Ledger Live application. It will automatically detect that your Ledger Nano S is connected. If prompted, enter your device’s PIN code using the Ledger Live interface.
After entering the correct PIN code, Ledger Live will establish a secure connection with your Ledger Nano S. You will then be taken to the main dashboard of Ledger Live, where you can view your account balances and manage your cryptocurrencies.
At this point, you have successfully connected your Ledger Nano S to your computer. You can now explore the various features and functionalities offered by Ledger Live, such as sending and receiving cryptocurrencies, installing apps, and updating the firmware of your device.
It is important to note that every time you want to access your Ledger Nano S and manage your cryptocurrencies using Ledger Live, you will need to connect your device to your computer and enter your PIN code. This ensures that only authorized users can access and control the device.
Remember to always use a trusted and secure computer when connecting your Ledger Nano S. Avoid using publicly accessible computers or computers that you suspect may be compromised with malware or keyloggers.
In the next section, we will guide you through the process of setting up a new device on Ledger Live.
Setting up a new device on Ledger Live
Setting up a new device on Ledger Live is a straightforward process that allows you to start managing your cryptocurrencies on your Ledger Nano S. Here’s how you can do it:
1. Launch the Ledger Live application on your computer and make sure your Ledger Nano S is connected via USB.
2. In Ledger Live, click on the “Add Account” button in the top-left corner of the screen.
3. You will be presented with a list of supported cryptocurrencies. Select the cryptocurrency you wish to set up and click “Continue.”
4. On your Ledger Nano S device, navigate to the app catalog by using the buttons on the device. Once you find the corresponding cryptocurrency app, select and install it on your device.
5. After the app is installed, return to Ledger Live on your computer. It will automatically detect the newly installed app on your Ledger Nano S and guide you through the setup process.
6. Follow the on-screen instructions in Ledger Live to complete the setup of your new device. This may include confirming the app installation on your Ledger Nano S and verifying the device setup details.
7. Once the setup process is complete, you will see the newly added account in the Ledger Live interface. You can now view your account balance, transaction history, and perform various actions specific to the selected cryptocurrency.
Repeat these steps to add more accounts for different cryptocurrencies to your Ledger Nano S using Ledger Live. Each account will have its own unique address and balance, allowing you to manage multiple cryptocurrencies in one convenient location.
It’s important to note that Ledger Live supports a wide range of cryptocurrencies, so you can add accounts for different digital assets based on your needs and preferences.
By setting up a new device on Ledger Live, you can easily organize and manage your cryptocurrencies on your Ledger Nano S with ease and security.
In the next section, we will discuss how to restore your device using a recovery phrase.
Restoring your device using a recovery phrase
If you ever lose your Ledger Nano S or need to replace it, you can restore your device and regain access to your funds using the recovery phrase.
The recovery phrase, also known as the seed phrase or backup phrase, is a list of 24 words that is generated when you first set up your Ledger Nano S. It is important to write down and store this recovery phrase in a safe and secure place, as it is the key to restoring your device.
To restore your device using the recovery phrase, follow these steps:
1. Ensure that you have a new or factory reset Ledger Nano S device.
2. Connect the device to your computer using the provided USB cable.
3. Open the Ledger Live application on your computer and click on the “Add Account” button.
4. Select the cryptocurrency account you want to restore.
5. Instead of setting up as a new device, choose the “Restore device” option.
6. Enter your recovery phrase in the correct order, using the buttons on the device to navigate and select the words. Make sure to carefully input each word to ensure accuracy.
7. Ledger Live will verify your recovery phrase and confirm the restoration process.
8. Once the restoration is complete, you will see the restored account in Ledger Live, and you can access your funds as before.
It’s important to note that during the restoration process, you may be prompted to set a new PIN code for your device. Choose a PIN code that is secure and easy for you to remember.
Restoring your device using the recovery phrase ensures that you can regain control of your cryptocurrencies even if your Ledger Nano S is lost, stolen, or damaged. It is crucial to keep your recovery phrase secure and never share it with anyone.
If you are unsure about the steps or encounter any issues during the restoration process, consult the official Ledger support documentation or reach out to their customer support for assistance.
In the next section, we will discuss the process of installing apps on your Ledger Nano S.
Installing apps on your Ledger Nano S
Installing apps on your Ledger Nano S allows you to manage different cryptocurrencies and utilize various blockchain-based applications. Here’s how you can install apps on your device:
1. Connect your Ledger Nano S to your computer using the provided USB cable.
2. Open the Ledger Live application on your computer.
3. In Ledger Live, click on the “Manager” tab at the top of the screen.
4. Ledger Live will detect your connected device. If prompted, enter your device’s PIN code using the Ledger Live interface.
5. In the Ledger Live “Manager” tab, you will see a list of available apps. These apps represent different cryptocurrencies and blockchain-based services.
6. Browse the list of apps and select the app(s) you want to install on your Ledger Nano S. If the app is not already installed, click on the “Install” button next to it.
7. Ledger Live will guide you through the installation process. Follow the on-screen instructions and confirm any prompts on your Ledger Nano S device to install the selected app(s).
8. Wait for the installation to complete. Ledger Live will indicate when the app has been successfully installed on your Ledger Nano S.
9. Repeat the process to install additional apps for the cryptocurrencies you want to manage on your device.
Installing apps on your Ledger Nano S is essential for accessing and managing specific cryptocurrencies. Each installed app represents a unique digital asset, allowing you to securely store, send, receive, and manage those assets using your device.
It’s important to note that due to hardware constraints, the Ledger Nano S can only accommodate a limited number of apps at a time. If you want to install more apps than the device can hold, you may need to uninstall existing apps to make space for new ones. However, the uninstallation process will not affect your stored funds, as the private keys remain secure on the device.
Keep in mind that Ledger regularly updates its app catalog, adding support for new cryptocurrencies and services. Therefore, it’s recommended to regularly check for app updates and install them to stay up to date with the latest features and security enhancements.
In the next section, we will explore how to manage your crypto assets on Ledger Live.
Managing your crypto assets on Ledger Live
Managing your crypto assets on Ledger Live provides you with a convenient and user-friendly interface to monitor and control your digital currencies. Here’s how you can effectively manage your crypto assets on Ledger Live:
1. Open the Ledger Live application on your computer and ensure that your Ledger Nano S is connected via USB.
2. After entering your PIN code, Ledger Live will display the main dashboard. Here, you can view an overview of your cryptocurrency holdings and their respective values. Any supported cryptocurrencies that you have added to your Ledger Nano S will be listed on this screen.
3. To get more detailed information about a specific cryptocurrency, click on its corresponding account. This will allow you to view the transaction history, current balance, and other relevant details.
4. Ledger Live also provides functionality to manage multiple accounts within the same cryptocurrency. You can create additional accounts within the app, enabling you to organize your crypto holdings and track them separately, such as segregating different investment portfolios or personal and business-related funds.
5. To perform transactions, such as sending or receiving cryptocurrencies, click on the “Send” or “Receive” button within the specific account you wish to transact with. Follow the on-screen instructions in Ledger Live to complete the transaction. For added security, you may need to confirm the transaction details on your Ledger Nano S device.
6. Ledger Live also supports portfolio tracking, where you can add external accounts from other wallets or exchanges. This allows you to have a consolidated view of your entire cryptocurrency portfolio in one place, providing a comprehensive overview of your holdings across multiple platforms.
7. Additionally, Ledger Live offers a built-in feature to purchase cryptocurrencies directly from within the app. Depending on your geographical location and the supported cryptocurrencies, you can initiate the purchase using partnered exchanges or brokers seamlessly.
8. It is critical to regularly update the Ledger Live app to benefit from the latest bug fixes, security patches, and new features. Ledger Live will notify you when an update is available, and you can easily install it within the application.
With Ledger Live, managing your crypto assets becomes a streamlined process. The user-friendly interface, combined with the security provided by your Ledger Nano S, ensures a seamless and secure experience while managing your digital currencies.
In the next section, we will discuss how to send and receive cryptocurrencies with your Ledger Nano S.
Sending and receiving cryptocurrencies with your Ledger Nano S
Your Ledger Nano S provides a secure and reliable way to send and receive cryptocurrencies. By following these steps, you can easily transact with your digital assets:
Sending cryptocurrencies:
1. Open the Ledger Live application on your computer and ensure that your Ledger Nano S is connected via USB.
2. After entering your PIN code on the device, navigate to the specific cryptocurrency account from which you want to send funds.
3. In Ledger Live, click on the “Send” button within the selected account.
4. Enter the recipient’s wallet address or scan the QR code using the provided option. Be cautious and ensure the accuracy of the recipient’s address.
5. Specify the amount of cryptocurrency you wish to send and review the transaction details.
6. Confirm the transaction on your Ledger Nano S device by verifying the transaction details displayed on the device’s screen. Use the device’s buttons to accept or reject the transaction.
7. Ledger Live will process the transaction and broadcast it to the respective blockchain network. Once confirmed by the network, the funds will be successfully sent.
Receiving cryptocurrencies:
1. Open the Ledger Live application on your computer and ensure that your Ledger Nano S is connected via USB.
2. After entering your PIN code on the device, navigate to the specific cryptocurrency account that you want to receive funds into.
3. In Ledger Live, click on the “Receive” button within the selected account.
4. Ledger Live will display a unique receive address for the selected cryptocurrency. This address can be copied or scanned as a QR code for easy sharing.
5. Provide this receive address to the sender of the cryptocurrency. Double-check that the address is correct to ensure the funds are sent to the intended destination.
6. Once the sender initiates the transaction and it is confirmed on the blockchain network, Ledger Live will update the balance in the respective cryptocurrency account.
Remember to always validate the recipient’s address and double-check the transaction details before confirming any cryptocurrency transaction. Utilizing the Ledger Nano S ensures that your private keys remain secure and protected, reducing the risk of unauthorized access and potential loss of funds.
In the next section, we will discuss how to secure your Ledger Nano S using a PIN code.
Securing your Ledger Nano S with a PIN code
Securing your Ledger Nano S with a PIN code adds an extra layer of protection to prevent unauthorized access to your device and cryptocurrencies. Follow these steps to set up and manage your PIN code:
1. When you first set up your Ledger Nano S, you will be prompted to create a PIN code. Use the buttons on the device to navigate and select the desired digits for your PIN code. Choose a unique combination that is not easily guessable.
2. Press both buttons simultaneously to confirm each digit of your PIN code. Make sure to remember or safely store your PIN code, as you will need it every time you want to access your Ledger Nano S.
3. If you enter an incorrect PIN code three times in a row, the device will temporarily lock you out as a security measure. You can retry after a short period of time or perform a power cycle by disconnecting and reconnecting the device to try again.
4. To change your PIN code, navigate to the “Settings” section on your Ledger Nano S. Follow the on-screen instructions to enter your current PIN code and then set a new PIN code following the same steps as the initial setup. Remember to choose a strong and unique new PIN code.
5. If you ever forget your PIN code, it cannot be recovered from the Ledger Nano S. You will have to restore your device using the recovery phrase to regain access to your cryptocurrencies. This emphasizes the importance of keeping your recovery phrase secure and accessible.
The PIN code is an essential security measure to safeguard your Ledger Nano S from unauthorized access. Even if someone gains physical access to your device, they cannot access your cryptocurrencies without the correct PIN code.
It is crucial to follow best practices in creating and managing your PIN code. Avoid using common patterns or easily guessable numbers, and be careful not to share your PIN code with anyone.
By securing your Ledger Nano S with a PIN code, you can confidently manage your cryptocurrencies, knowing that your private keys and digital assets are protected.
In the next section, we will discuss how to update the firmware of your Ledger Nano S.
Updating the firmware of your Ledger Nano S
Updating the firmware of your Ledger Nano S is an essential step to ensure that your device has the latest features, security enhancements, and bug fixes. Follow these steps to update the firmware of your Ledger Nano S:
1. Connect your Ledger Nano S to your computer using the provided USB cable.
2. Ensure that your Ledger Live application is open and your device is connected and unlocked with your PIN code.
3. In Ledger Live, click on the “Manager” tab at the top of the screen.
4. Ledger Live will automatically detect your connected Ledger Nano S and display any available firmware updates.
5. If there is a firmware update available, click on the “Update” button next to the firmware version.
6. Follow the on-screen instructions in Ledger Live to start the firmware update process.
7. During the update, your Ledger Nano S will display a progress bar on its screen. Do not disconnect or interrupt the update process until it is completed.
8. After the firmware update is finished, Ledger Live will notify you of the successful update.
9. It is recommended to launch the newly updated firmware on your Ledger Nano S to verify that the update was successful.
It is crucial to regularly update the firmware of your Ledger Nano S to benefit from the latest security patches, bug fixes, and new features. These updates help protect your cryptocurrencies and ensure the optimal performance of your device.
During the firmware update process, it is important to keep your Ledger Nano S connected to a stable power source and refrain from using or disconnecting the device until the update is complete. Interrupting the update process could potentially damage your device or cause issues with your cryptocurrencies.
If you encounter any issues during the update process or your Ledger Nano S becomes unresponsive, consult the official Ledger support documentation or contact their customer support for assistance.
In the next section, we will discuss common troubleshooting techniques for addressing issues with your Ledger Nano S.
Troubleshooting common issues
While the Ledger Nano S is designed to be a reliable and secure hardware wallet, you may occasionally encounter some common issues. Here are a few troubleshooting steps to address these issues:
1. Connection Issues:
– Make sure your Ledger Nano S is properly connected to your computer or smartphone using the provided USB cable.
– Try using a different USB port or cable to rule out any hardware-related problems.
– Ensure that your Ledger Nano S is unlocked and the PIN code is entered correctly when prompted.
2. App Installation Issues:
– Ensure that you are using the latest version of the Ledger Live application.
– Check if your Ledger Nano S has enough storage space to install the desired app. If not, uninstall any unnecessary apps to free up space.
– Make sure your Ledger Nano S is properly connected and recognized by Ledger Live during the app installation process.
3. Firmware Update Issues:
– Verify that you have a stable and uninterrupted internet connection during the firmware update process.
– Ensure that your Ledger Nano S has sufficient battery power or is connected to a power source while updating the firmware.
– If the firmware update fails, try disconnecting and reconnecting your Ledger Nano S and restarting the update process.
4. Recovery Phrase Issues:
– Ensure that you have accurately and securely written down your recovery phrase when setting up your Ledger Nano S.
– If you have lost or forgotten your recovery phrase, there is no way to retrieve it. In such cases, refer to your previously created backups or consider restoring your device using the recovery phrase.
5. Application Compatibility Issues:
– Check if the specific cryptocurrency app you need is available for your Ledger Nano S.
– Make sure you are using the correct app for the cryptocurrency you want to manage on your device.
– Ensure that the app is up to date by checking for updates in the Ledger Live “Manager” tab.
If these troubleshooting steps do not resolve your issue, consider consulting the official Ledger support documentation or contacting their customer support for further assistance. They have comprehensive resources and knowledgeable support staff who can guide you through more specific and complex issues.
Regularly checking for updates, maintaining good device hygiene, and following best practices for securing your recovery phrase will help minimize potential issues with your Ledger Nano S and ensure a reliable and secure storage solution for your cryptocurrencies.