
Choosing the Right HDMI Port
When connecting a laptop to a TV via HDMI, it’s important to choose the correct HDMI port on both devices. This ensures that the audio and video signals are transmitted properly, providing a seamless connection and optimal viewing experience. Here are some steps to help you identify and choose the right HDMI port:
1. Check the HDMI Ports on Your Laptop: Most laptops have an HDMI port, usually located on the side or back of the device. It’s typically labeled with the word “HDMI” or has an HDMI icon next to it. Take note of the HDMI port number or location so you can easily find it later.
2. Examine the HDMI Ports on Your TV: TVs generally have multiple HDMI ports, which are also labeled with numbers or names. Look for the HDMI input ports on your TV and take note of their numbers or names.
3. Match the HDMI Port Numbers: Compare the HDMI port number on your laptop with the HDMI port numbers on your TV. The port numbers should match exactly to ensure the connection is established between the correct devices.
4. Consider HDMI Version Compatibility: HDMI ports and cables come in different versions, such as HDMI 1.4, HDMI 2.0, or HDMI 2.1. It’s ideal to use the latest HDMI version supported by both your laptop and TV for optimal performance. However, older HDMI versions are usually backward compatible, so you can still connect them to newer devices.
5. Check for Additional Features: HDMI ports may also support additional features like audio return channel (ARC) or enhanced audio return channel (eARC) for transmitting audio from the TV to the laptop speakers. If you require these features, make sure your laptop and TV support them and connect to the respective HDMI port that enables those functionalities.
By following these steps, you can ensure that you choose the right HDMI port on both your laptop and TV. This will help establish a proper connection and allow you to enjoy your laptop’s content on a larger screen with enhanced audio and video quality.
Connecting the HDMI Cable to the Laptop
Now that you’ve identified the correct HDMI port on your laptop, it’s time to connect the HDMI cable. Follow these steps to ensure a secure and reliable connection:
1. Power Off Your Laptop: Before connecting the HDMI cable, it’s a good practice to power off your laptop. This helps prevent any potential electrical damage and ensures a safe connection.
2. Locate the HDMI Port: Find the HDMI port on your laptop. It is typically located on the side or back of the device and labeled with “HDMI” or has an HDMI icon next to it.
3. Insert the HDMI Cable: Take one end of the HDMI cable and gently insert it into the HDMI port on your laptop. Make sure the HDMI connector is properly aligned with the port and insert it until it is fully seated.
4. Secure the Connection: Once the HDMI cable is inserted, gently push it in slightly to ensure a secure connection. However, avoid applying excessive force, as this can damage the port or the cable.
5. Power On Your Laptop: After securely connecting the HDMI cable to your laptop, power on your device. This allows the laptop to detect the connection and establish the necessary settings for the display output.
6. Set the Display Mode: Depending on your laptop’s operating system, you may need to adjust the display settings to mirror or extend the screen to the TV. This can usually be done through the Display settings in the Control Panel or System Preferences.
By following these steps, you can successfully connect the HDMI cable to your laptop. Now, you’re ready to move on to the next step: connecting the HDMI cable to the TV and adjusting the display settings for a seamless viewing experience.
Connecting the HDMI Cable to the TV
After connecting the HDMI cable to your laptop, it’s time to connect the other end to the TV. Follow these steps to establish a reliable connection:
1. Locate the HDMI Port on Your TV: Look for the HDMI input ports on your TV. These ports are usually located on the back or side of the TV and labeled with numbers or names such as HDMI 1, HDMI 2, etc.
2. Choose the Correct HDMI Port: Determine which HDMI port on your TV you want to connect your laptop to. Remember the HDMI port number or name that corresponds to the port you’ve chosen.
3. Insert the HDMI Cable: Take the other end of the HDMI cable, align the HDMI connector with the chosen HDMI port on your TV, and gently insert it. Make sure the connector is fully inserted into the port.
4. Secure the Connection: Once the HDMI cable is connected to the TV, ensure a secure connection by gently pushing it in slightly. Avoid using excessive force to prevent damage to the port or cable.
5. Switch on the TV: Power up the TV and set it to the correct HDMI input. Use your TV’s remote control or the on-panel buttons to select the HDMI input that corresponds to the HDMI port you connected the cable to.
6. Laptop Display on TV: Once the TV recognizes the HDMI connection, it should display the content from your laptop. If it doesn’t, you may need to switch the display mode on your laptop to mirror or extend the screen to the TV.
With the HDMI cable successfully connected to both your laptop and TV, you can now enjoy your laptop’s content on a larger screen. Whether you’re watching movies, giving presentations, or playing games, the HDMI connection allows for a seamless and immersive viewing experience.
Adjusting Display Settings on Windows
After connecting your laptop to the TV via HDMI, you may need to adjust the display settings on your Windows operating system to ensure the content is properly displayed. Follow these steps to make the necessary adjustments:
1. Right-click on the Desktop: Start by right-clicking on an empty area of your desktop. A context menu will appear.
2. Select Display Settings: From the context menu, choose “Display settings.” This will open the Display settings window.
3. Identify the External Display: In the Display settings window, under the “Select and rearrange displays” section, you will see two screens labeled as “1” and “2.” The screen labeled as “1” represents your laptop’s display, while the screen labeled as “2” represents the connected TV.
4. Adjust the Display Mode: To determine how you want to use the TV, select the screen labeled as “2” and scroll down to the “Multiple displays” section. From the drop-down menu, choose one of the following options:
- Extend desktop: This option allows you to extend your laptop’s screen to the TV, essentially creating a dual-screen setup.
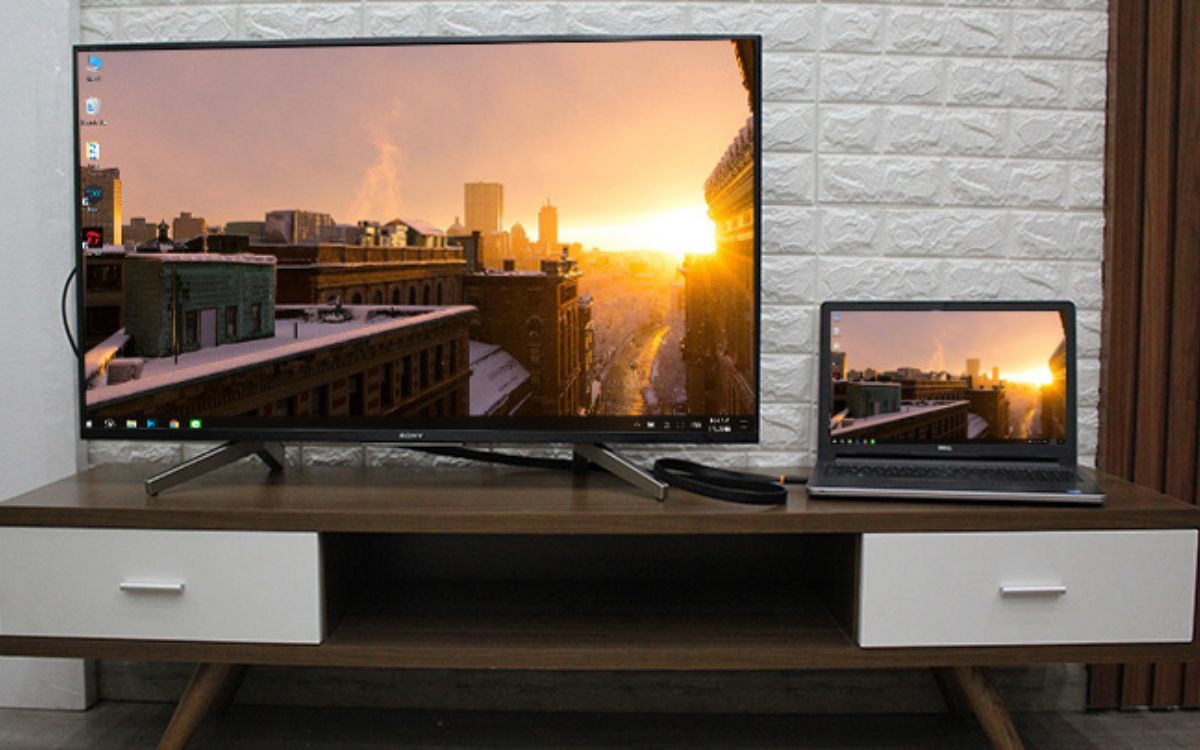
- Duplicate these displays: Selecting this option will mirror your laptop’s screen on the TV, displaying the same content on both screens.
- Show only on 2: This option will show the content exclusively on the TV, disabling the laptop’s display.
5. Adjust Resolution and Orientation: In the “Resolution” drop-down menu, choose the appropriate resolution for the TV. It’s recommended to select the native resolution of your TV for the best display quality. You can also adjust the screen orientation if needed.
6. Apply the Changes: Once you’ve made the desired adjustments, click the “Apply” button to save the changes. If the display looks distorted or incorrectly scaled, you can try different resolution settings until you find the optimal one.
By following these steps, you can adjust the display settings on your Windows laptop to ensure that the content is properly displayed on the connected TV. Enjoy your favorite movies, presentations, or games on the big screen with enhanced clarity and visual quality.
Adjusting Display Settings on macOS
If you’re using a macOS device and have connected your laptop to a TV via HDMI, you may need to adjust the display settings to optimize the viewing experience. Follow these steps to adjust the display settings on macOS:
1. Open System Preferences: Click on the Apple menu icon in the top-left corner of your screen and select “System Preferences” from the drop-down menu. This will open the System Preferences window.
2. Select Displays: In the System Preferences window, locate and click on the “Displays” icon. This will open the Displays settings.
3. Identify the External Display: In the Displays settings, you will see two screens, represented by rectangles labeled “Built-in Retina Display” and “TV” respectively. The “Built-in Retina Display” represents your laptop’s screen, while the “TV” represents the connected TV.
4. Adjust the Display Mode: To determine how you want to use the TV, click on the “Arrangement” tab. Here you will see a checkbox labeled “Mirror Displays.” If you want to mirror your laptop screen on the TV, check this box. If you want to extend the display, leave the box unchecked.
5. Adjust Resolution and Scaling: To adjust the resolution and scaling, go back to the “Display” tab. You will see a list of available resolutions. Select the appropriate resolution for the TV. It’s recommended to choose the native resolution of your TV for the best display quality.
6. Additional Display Options: If needed, you can also adjust other display preferences, such as brightness, contrast, and color settings, using the relevant tabs in the Displays settings.
7. Apply the Changes: Once you’ve made the desired adjustments, close the System Preferences window. The changes will be applied automatically, and your laptop’s screen will be extended or mirrored on the connected TV according to your settings.
By following these steps, you can easily adjust the display settings on your macOS device when connected to a TV via HDMI. Whether you’re watching movies, giving presentations, or playing games, these settings will help you enjoy a seamless and optimized viewing experience on the larger TV screen.
Troubleshooting Common Issues
While connecting your laptop to a TV via HDMI is a relatively straightforward process, you may encounter some common issues along the way. Here are some troubleshooting tips to help you overcome these challenges:
1. No Signal on the TV: If you’re not getting a signal on the TV, ensure that the HDMI cable is securely connected to both your laptop and TV. Try unplugging and then reinserting the cable. Additionally, make sure you’ve selected the correct HDMI input on your TV.
2. No Audio: If the audio is not working on the TV, check the sound settings on your laptop and TV. On your laptop, make sure the correct audio output is selected in the sound settings. On your TV, ensure that the volume is not muted and the speakers are enabled.
3. Display Issues: If the display on the TV is not clear, check the resolution settings on your laptop and TV. Make sure they are set to the appropriate resolution for the TV’s capabilities. Additionally, try adjusting the refresh rate settings if possible.
4. Multiple Displays: If you’ve set your laptop to extend the display or use multiple displays, but the content is not appearing as expected, go to the display settings on your laptop. Ensure that the TV is detected properly, and adjust the arrangement settings if necessary.
5. Updated Drivers: If you’re experiencing issues with the HDMI connection, consider checking for updated graphics drivers for your laptop. Visit the laptop manufacturer’s website or the graphics card manufacturer’s website to download and install the latest drivers for your specific model.
6. HDMI Cable and Port: Sometimes, the issue may lie with a faulty HDMI cable or port. Try using a different HDMI cable or connecting to a different HDMI port on your laptop or TV to see if that resolves the problem.
7. Rebooting Devices: If all else fails, try rebooting both your laptop and TV. This can help refresh the connection and resolve any temporary issues.
Remember that each laptop and TV setup may have specific requirements and settings, so it’s important to consult the user manuals for your laptop and TV if you encounter any difficulties. Additionally, online forums and support communities can be valuable resources for troubleshooting specific issues.
By following these troubleshooting tips, you can overcome common issues and ensure a successful HDMI connection between your laptop and TV, allowing you to enjoy your favorite content on a larger screen with superior audio and visual quality.