
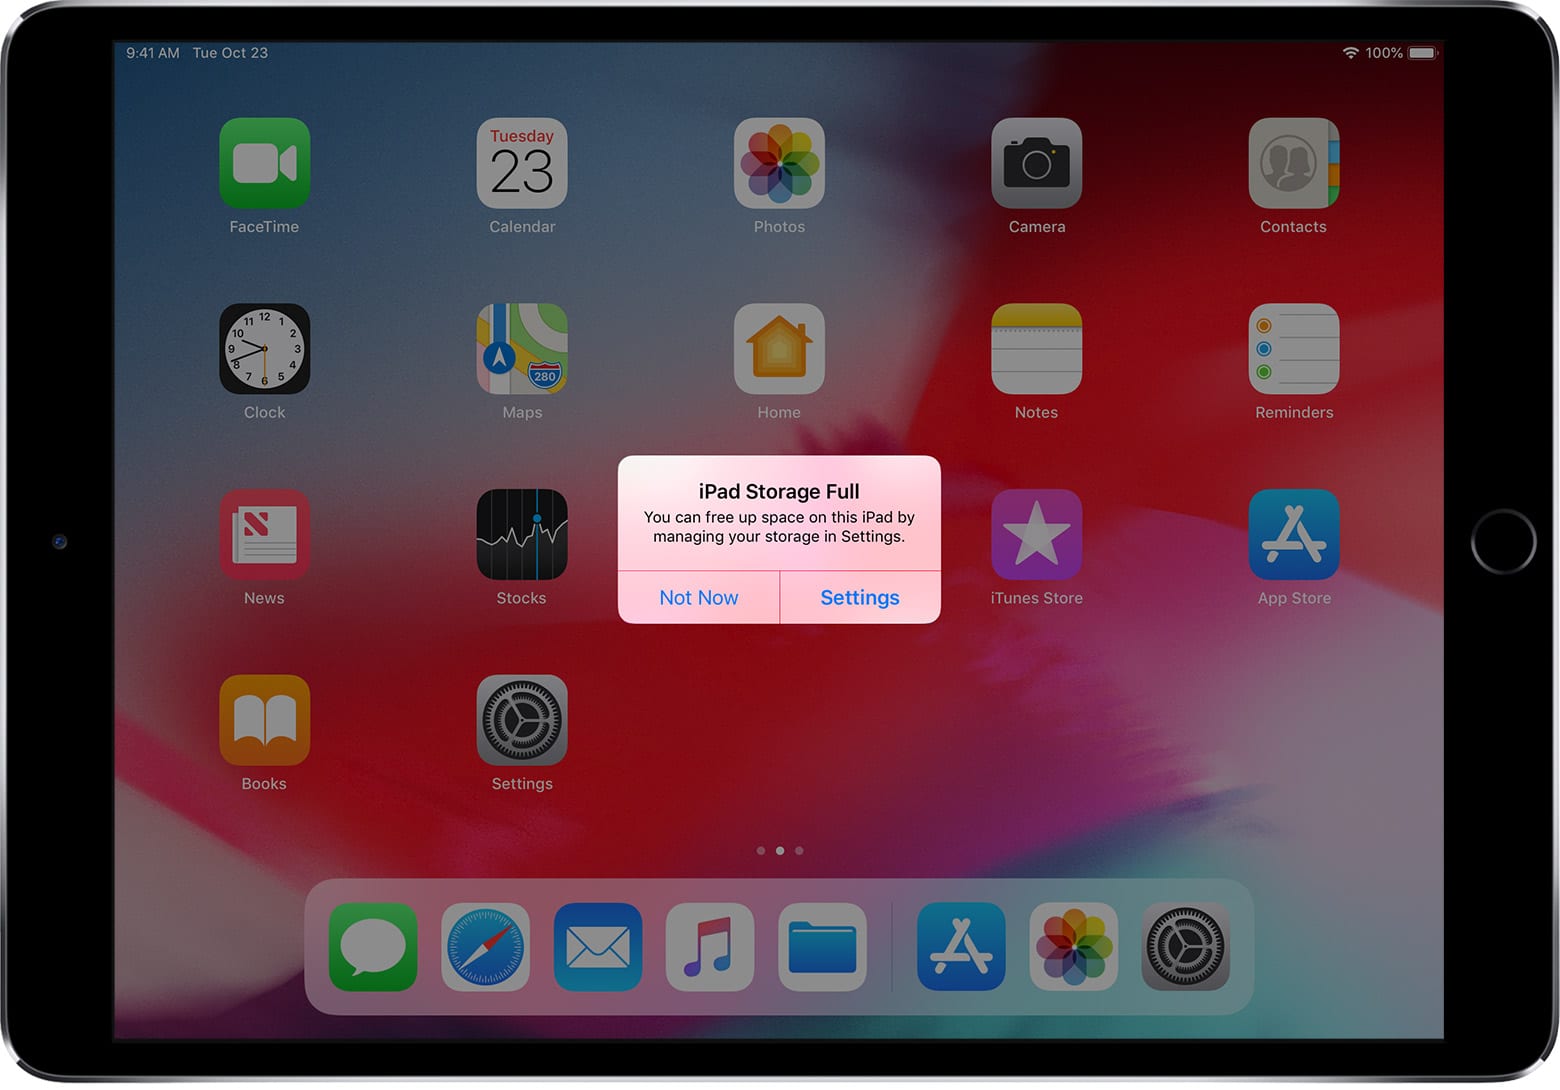
Why You Need to Clear Media Storage on iPad
As the capabilities of iPads continue to expand, so does the demand for media storage. We use our iPads to capture photos and videos, download apps and games, store music and movies, and engage in various forms of digital media consumption. However, over time, our devices accumulate a significant amount of media files that can take up valuable storage space. This can lead to a sluggish performance, decreased storage capacity, and a frustrating user experience.
Clearing media storage on your iPad is essential for several reasons:
- Free up storage space: The more media files you have stored on your iPad, the less space you have for new apps, games, documents, and other important files. By removing unnecessary media, you can make room for new content and ensure that your device operates smoothly.
- Improve device performance: When your iPad’s storage is running low, it can impact the device’s overall performance. Apps may take longer to load, and there may be delays when switching between tasks. Clearing media storage helps optimize the device’s performance by reducing the strain on its resources.
- Enhance battery life: Media files, particularly videos and high-resolution images, can consume a significant amount of battery power. By removing excess media, you can extend your iPad’s battery life and enjoy longer usage times between charges.
- Organize your files: Over time, it’s easy for media files to become disorganized, making it difficult to find specific photos, videos, or documents when you need them. By taking the time to clear media storage, you can organize your files more effectively, making them easier to locate and manage.
By understanding the importance of clearing media storage on your iPad, you can ensure that your device remains efficient, functional, and ready to accommodate your evolving digital needs. In the following sections, we will explore step-by-step processes to help you clear media storage on your iPad effectively.
Step 1: Check Your iPad’s Storage Usage
Before you begin clearing media storage on your iPad, it’s crucial to understand how your device’s storage is being utilized. By checking your iPad’s storage usage, you can identify the apps and files that occupy the most space and determine where to focus your efforts.
To check your iPad’s storage usage:
- Go to the “Settings” app on your iPad’s home screen.
- Tap on “General” and then select “iPad Storage” or “Storage & iCloud Usage” depending on your device’s iOS version.
- Wait for your iPad to calculate your storage usage. This may take a few moments.
- You will see a breakdown of your storage usage in a color-coded chart. The chart will show the amount of space occupied by different categories such as Apps, Photos, Media, Messages, and Others.
Once you have a clear understanding of your iPad’s storage usage, you can start making informed decisions about which steps to take to clear media storage effectively. If you notice that certain apps or types of media are taking up excessive space, you can prioritize them for deletion.
It’s important to note that clearing media storage may require you to delete files or apps that you no longer need or use. Ensure that you have backed up any important files or media before proceeding. This way, you can safely remove unwanted content without the risk of losing valuable data.
Now that you know how to check your iPad’s storage usage, let’s move on to the next step, which is deleting unused apps.
Step 2: Delete Unused Apps
Over time, we tend to accumulate a multitude of apps on our iPads, many of which we no longer use. These unused apps can take up a significant amount of storage space, impacting the performance and storage capacity of your device. Deleting unused apps is a simple yet effective way to clear media storage on your iPad.
To delete unused apps from your iPad:
- Go to the home screen of your iPad.
- Select and hold any app icon until the apps start to wiggle.
- Look for the apps that you no longer use or need. These are typically the ones that you haven’t opened in a while or have duplicates for similar functionality.
- Tap on the “X” symbol that appears on the top left corner of the app icon.
- A confirmation message will pop up. Select “Delete” to confirm the deletion of the app and its associated data.
- Repeat this process for each unused app that you wish to remove.
By deleting unused apps, you can not only free up storage space but also declutter your iPad’s home screen and make it easier to find and access the apps you actually use. If you ever need these apps in the future, you can always reinstall them from the App Store.
It’s worth noting that some apps may have associated documents or data that also occupy storage space. When you delete an app, the associated data is typically removed as well. However, for certain apps, you may need to manually delete the data if it still remains on your device after uninstalling the app.
Now that you have cleared some space by deleting unused apps, let’s move on to the next step, which is clearing cache and temporary files.
Step 3: Clear Cache and Temporary Files
Cache and temporary files accumulate over time as you use various apps and browse the internet on your iPad. While these files can improve loading times and enhance user experience, they can also take up a significant amount of storage space. Clearing cache and temporary files is an effective way to reclaim valuable storage space on your iPad.
To clear cache and temporary files on your iPad:
- Open the “Settings” app on your iPad.
- Navigate to “Safari” or the relevant browser app you are using.
- Scroll down and tap on “Clear History and Website Data”.
- You will be prompted with a warning that clearing history and data will remove browsing history, cookies, and other website data. Tap “Clear History and Data” to proceed.
- For other apps, go back to the main “Settings” screen and select “General”.
- Scroll down and tap on “iPad Storage” or “Storage & iCloud Usage”.
- Under the “Storage” section, you will see a list of installed apps. Select the app for which you want to clear cache and temporary files.
- In the app details screen, look for an option to “Offload App” or “Delete App”. This will delete the app itself but retain its data and documents. Alternatively, you can choose to “Delete App” to remove the app and its associated data completely.
By clearing cache and temporary files, you can free up storage space that would otherwise be occupied by unnecessary data. This can lead to improved app performance and faster loading times, especially for web browsers and media-intensive apps.
It’s important to note that clearing cache and temporary files may sign you out of websites or apps for which you had previously saved login credentials. Make sure you have the necessary usernames and passwords to reaccess any accounts.
Now that you have cleared cache and temporary files, let’s move on to the next step: removing downloaded media files.
Step 4: Remove Downloaded Media Files
Downloaded media files, such as videos, music, and podcasts, can quickly accumulate on your iPad and consume a significant amount of storage space. Deleting unnecessary downloaded media files is an effective way to clear media storage and free up valuable space on your device.
To remove downloaded media files from your iPad:
- Open the app where the media files are stored. This could be the Music app, Videos app, Podcasts app, or any other app that you use to download and store media files.
- Browse through your media library to identify the files that you wish to remove. You can sort files by date, size, or name to help you identify older or larger files that you no longer need.
- Once you have identified the files to delete, swipe left on the file or tap on the “Edit” button to select multiple files.
- Tap on the delete button (usually represented by a trash can icon) to permanently remove the selected media files from your iPad.
- Repeat this process for each downloaded media file that you want to delete.
Removing downloaded media files not only helps clear storage space but also allows you to better organize your media library and focus on the files that are most important to you. It’s recommended to regularly review your downloaded media files and delete any that are no longer relevant or needed.
If you have backed up your media files to a cloud storage service or external hard drive, you can confidently remove them from your iPad, knowing that you can access them again when needed.
Now that you have cleared downloaded media files, let’s move on to the next step: deleting old messages and attachments.
Step 5: Delete Old Messages and Attachments
Messages and attachments can accumulate on your iPad, particularly if you frequently communicate with others using messaging apps like iMessage. These messages and attachments can take up a significant amount of storage space over time. Deleting old messages and attachments is a simple and effective way to clear media storage on your iPad.
To delete old messages and attachments on your iPad:
- Open the “Messages” app on your iPad.
- Select the conversation that contains the messages and attachments you want to delete.
- Tap and hold on a message bubble or attachment until options appear.
- Tap on “More” to select multiple messages or attachments.
- Tick the messages or attachments you want to delete.
- Tap on the trash can icon to delete the selected messages or attachments.
- Confirm the deletion by tapping on “Delete Message” or “Delete Attachment”.
- Repeat this process for each conversation and its associated messages and attachments that you wish to delete.
Deleting old messages and attachments not only helps free up storage space on your iPad but also helps organize your conversations and makes it easier to find relevant information. It’s important to note that deleting messages and attachments is irreversible, so make sure to review them carefully before taking this step.
Additionally, if you use other messaging apps like WhatsApp or Facebook Messenger, you can apply a similar process to delete unnecessary conversations and free up storage space.
Now that you have deleted old messages and attachments, let’s move on to the next step: managing photos and videos.
Step 6: Manage Photos and Videos
Photos and videos are often the largest contributors to storage usage on iPads. As we capture more moments and record videos, our photo library can quickly fill up, leaving limited storage space for other media. Managing your photos and videos is essential to efficiently clear media storage on your iPad.
To manage photos and videos on your iPad:
- Open the “Photos” app on your iPad.
- Navigate to the “Albums” tab or the relevant folder where your photos and videos are stored.
- You can browse through your albums and tap on an album to view its contents.
- Review your photos and videos and identify those that are no longer needed or can be backed up to an external storage device or cloud service.
- To delete a single photo or video, tap on it to open it in full screen and then tap on the trash can icon at the bottom of the screen. Confirm the deletion by tapping “Delete Photo” or “Delete Video”.
- To delete multiple photos or videos, tap on the “Select” button at the top right corner of the screen. Tap on each photo or video to select it, and then tap on the trash can icon to delete them.
Deleting unwanted photos and videos not only helps clear storage space on your iPad but also allows you to manage and organize your media library more effectively. It’s important to regularly review and delete unnecessary photos and videos to prevent your photo library from becoming overwhelmed.
If you have photos and videos that you want to keep but don’t need immediate access to, consider transferring them to an external hard drive or cloud storage service. This way, you can free up storage space on your iPad without permanently deleting your cherished memories.
Now that you have managed your photos and videos, let’s move on to the next step: offloading unused apps.
Step 7: Offload Unused Apps
While deleting unused apps can help clear up storage space, there may be certain apps that you want to keep but don’t frequently use. Offloading these unused apps allows you to free up storage space while retaining their associated data. This way, you can reinstall the app later without losing your settings or progress.
To offload unused apps on your iPad:
- Go to the “Settings” app on your iPad.
- Select “General” and then tap on “iPad Storage” or “Storage & iCloud Usage”.
- Under the “Storage” section, you will see a list of installed apps.
- Tap on the app that you want to offload.
- In the app details screen, tap on “Offload App”.
- You will see a confirmation message explaining that offloading the app will remove the app but keep its documents and data.
- Tap “Offload App” to proceed with the offloading process.
Offloading unused apps can be particularly useful for apps that have large file sizes or store a significant amount of data. By offloading these apps, you can reclaim storage space without fully deleting them.
If you later decide that you need to use an offloaded app, you can simply reinstall it from the App Store. Your app data and settings will be restored, allowing you to pick up where you left off.
Managing your installed apps and offloading unused ones can help keep your iPad storage organized and optimized for current needs.
Now that you have offloaded unused apps, let’s move on to the next step: clearing browser history and data.
Step 8: Clear Browser History and Data
When we browse the internet on our iPads, our web browsers store data such as history, cookies, and cached files. Over time, this data can accumulate and take up valuable storage space on your device. Clearing browser history and data is an essential step to free up storage and maintain the privacy of your browsing activities.
To clear browser history and data on your iPad:
- Open the “Settings” app on your iPad.
- Scroll down and tap on the browser app you are using, such as Safari or Chrome.
- In the browser settings, look for options like “Clear History”, “Clear Cookies and Data”, or “Clear Browsing Data”.
- Tap on the appropriate option and confirm the deletion of your browser history and data.
- You may also have the option to specify the time period for which you want to clear the history and data.
Clearing your browser history and data not only helps free up storage space but also removes any saved passwords, form data, and other stored information. This is particularly important if you are using a shared device or want to maintain your privacy.
It’s worth noting that clearing your browser history and data will log you out of any websites or services for which you had previously saved login credentials. Make sure you have the necessary usernames and passwords to reaccess your accounts.
Regularly clearing your browser history and data helps keep your browsing experience fresh and optimized while also preserving the privacy of your online activities.
Now that you have cleared browser history and data, let’s move on to the next step: using cloud storage or external storage devices.
Step 9: Use Cloud Storage or External Storage Devices
If you find that your iPad’s storage is still limited after following the previous steps, utilizing cloud storage or external storage devices can significantly expand your storage capacity without sacrificing access to your files and media.
Cloud storage services, such as iCloud, Google Drive, or Dropbox, allow you to store your files and media on remote servers, accessible from any device with an internet connection. By uploading your files to the cloud, you can free up space on your iPad while still being able to access and download them whenever needed.
To use cloud storage on your iPad:
- Sign up for a cloud storage service of your choice and install the app on your iPad.
- Follow the instructions to set up and link your cloud storage account to your iPad.
- Select the files and media you want to upload to the cloud and initiate the upload process.
- Once uploaded, you can safely delete those files from your iPad to free up storage space.
Alternatively, you can also use external storage devices, such as USB flash drives or external hard drives, with your iPad. These devices can be connected to your iPad using compatible adapters or wireless connections. Once connected, you can transfer files and media to the external storage device, freeing up space on your iPad.
It’s important to consider your storage needs when using cloud storage or external storage devices. Assess the amount of storage space required and select a service or device that meets your requirements.
Using cloud storage or external storage devices not only expands your storage capacity but also provides an additional layer of backup and security for your files and media. This way, you can confidently clear media storage on your iPad while still having easy access to your content.
Now that you have explored cloud storage and external storage options, let’s move on to the final step: resetting your iPad’s settings.
Step 10: Reset Your iPad’s Settings
If you have followed the previous steps and find that your iPad’s storage is still insufficient or experiencing performance issues, resetting your iPad’s settings can help resolve any underlying software issues and potentially free up additional storage space.
Before proceeding with a reset, it’s essential to note that this step will restore your iPad to its original factory settings. This means all your personalized settings, preferences, and data will be erased. Therefore, it’s crucial to back up any important files or data before performing a reset.
To reset your iPad’s settings:
- Open the “Settings” app on your iPad.
- Tap on “General” and then select “Reset”.
- Choose the option “Reset All Settings”.
- You will be asked to enter your passcode to confirm the reset.
- Confirm the reset by tapping “Reset All Settings” again.
- Your iPad will now restart, and all settings will be restored to their default values.
Resetting your iPad’s settings can help eliminate any software glitches or conflicts that may be impacting its storage or performance. However, it’s important to note that this step will not delete your apps, photos, or other media files. To remove those, you will need to follow the previous steps outlined in this guide.
After resetting your iPad, you can then customize and reconfigure your settings according to your preferences, ensuring a clean and optimized device for maximum performance and storage efficiency.
Now that you have completed the final step of resetting your iPad’s settings, you can enjoy a refreshed device with improved storage capacity and optimal performance.