
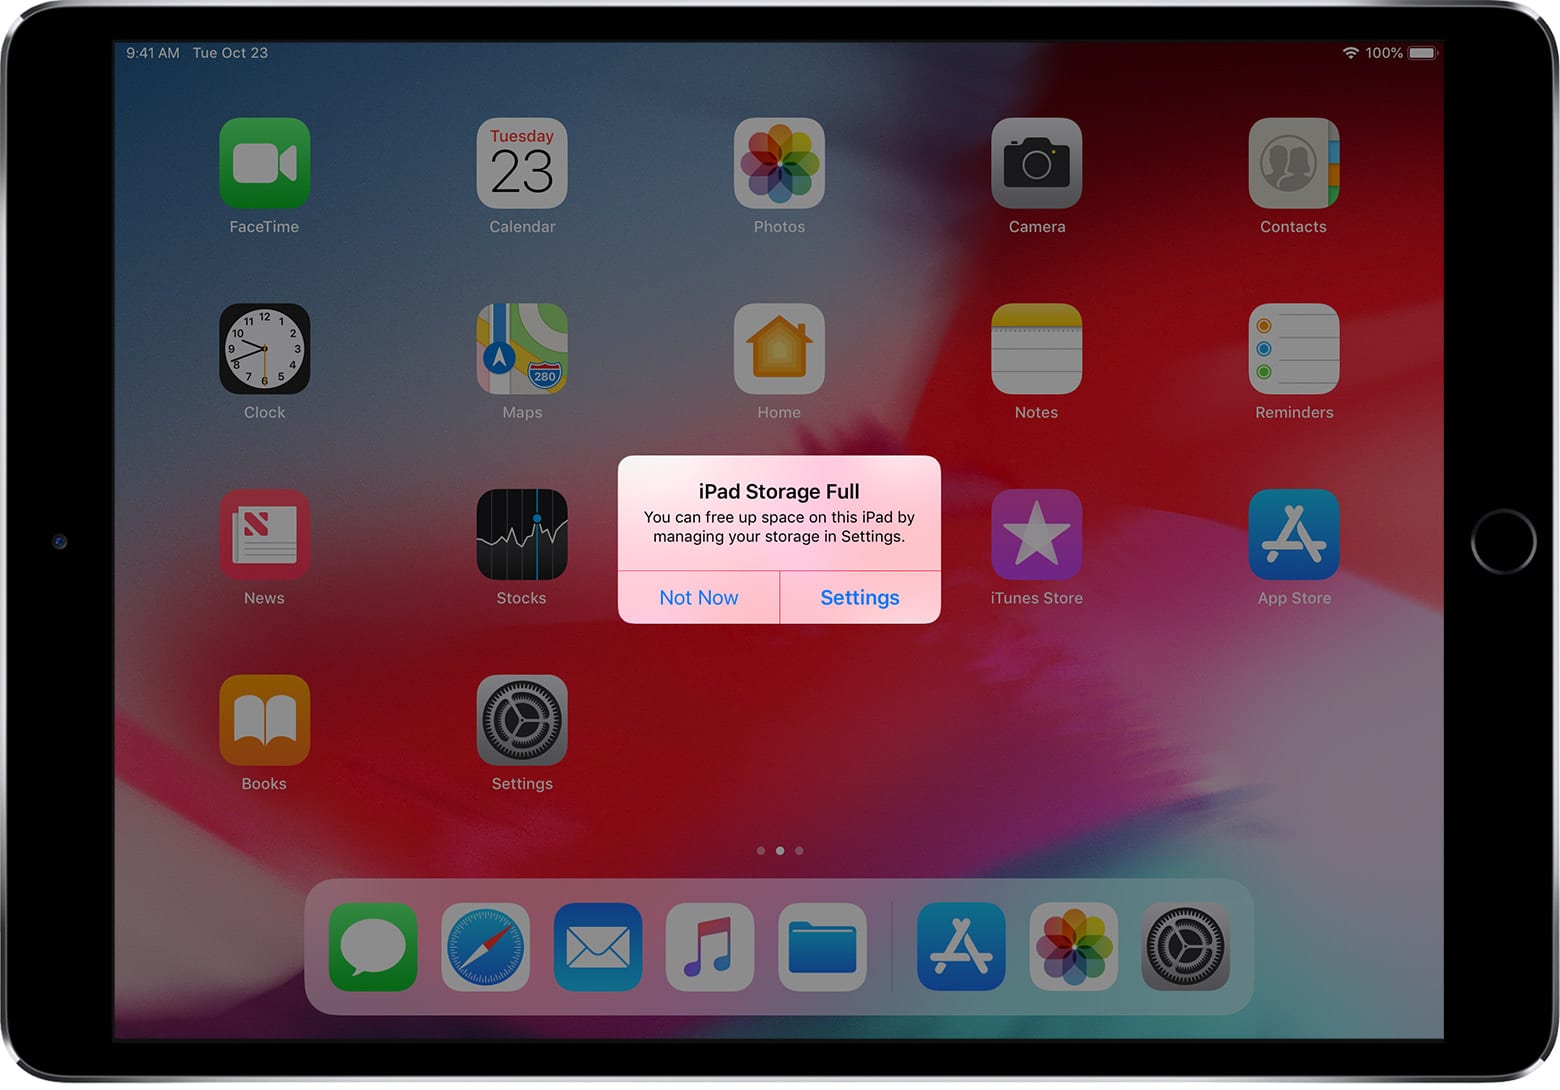
Organize and Delete Unnecessary Apps
One of the simplest and most effective ways to save storage space on your iPad is to organize and delete unnecessary apps. Over time, we tend to accumulate a multitude of apps that we no longer use or need. These apps take up valuable storage space, which could be utilized for other important files and data. By taking the time to declutter your device and get rid of unused apps, you can free up a significant amount of storage space.
Start by assessing the apps on your iPad and determining which ones you truly need and use on a regular basis. Delete any apps that you haven’t used in months or that have become obsolete. Remember that you can always reinstall apps in the future if you find the need for them again.
Additionally, organizing your apps can help optimize your iPad’s storage. Group similar apps into folders to reduce clutter and make it easier to find what you need. You can create folders based on categories such as social media, productivity, entertainment, and more.
When deleting apps, keep in mind that some apps may contain important data or documents that you may want to keep. Make sure to back up any necessary files before deleting the corresponding app.
Regularly reviewing and organizing your apps can not only save storage space but also improve the overall performance and usability of your iPad. So, take some time to declutter and streamline your app collection.
Delete Unused Photos and Videos
Photos and videos can quickly consume a significant amount of storage space on your iPad. Deleting unused or unnecessary media files is an effective way to free up storage and optimize your device’s performance.
Start by going through your Photos app and carefully selecting which photos and videos you want to keep. Delete duplicates, blurry shots, screenshots, and any other files that are no longer meaningful or useful to you. Additionally, consider deleting photos and videos that are backed up elsewhere, such as in cloud storage or on your computer.
If you find it difficult to part with certain memories, consider using cloud-based solutions like iCloud Photo Library. This service allows you to store your photos and videos in the cloud while keeping smaller versions or thumbnails on your device. This way, you can access your media files whenever you want but save storage space on your iPad.
An alternative option is to transfer your photos and videos to an external storage device or a computer. You can use apps or software to easily transfer files and store them in a location separate from your iPad.
Remember to empty the “Recently Deleted” folder in your Photos app after deleting unwanted files. This folder temporarily stores deleted photos and videos for a specific period, taking up additional storage space. To completely remove them from your device, open the “Recently Deleted” folder and tap on “Delete All.”
By regularly reviewing and deleting unused photos and videos, you can not only save storage space but also organize your media collection, making it easier to find and enjoy the memories that truly matter to you.
Utilize iCloud Photo Library
iCloud Photo Library is an excellent cloud-based solution offered by Apple that can help you save storage space on your iPad. By utilizing this service, you can store your photos and videos in the cloud, freeing up valuable space on your device.
Enabling iCloud Photo Library on your iPad allows you to access your entire photo and video library from any device with your Apple ID. It automatically uploads your media files to iCloud and syncs them across all your devices, ensuring that you have access to them whenever and wherever you need it.
With iCloud Photo Library, you have the option to keep your full-resolution photos and videos on the cloud while storing smaller versions or thumbnails on your iPad. This optimized storage feature saves space on your device, ideal for those with limited storage capacity.
Another benefit of using iCloud Photo Library is the ability to access your media files without taking up storage space on your iPad. Instead of storing your entire library locally, you can download specific photos or videos to your device only when you need them. This can be done directly from the Photos app on your iPad.
It’s worth noting that iCloud Photo Library offers various storage plans, allowing you to choose the option that best suits your needs. If you find that you need more storage capacity in the future, you can easily upgrade your plan to accommodate your growing collection of photos and videos.
By utilizing iCloud Photo Library, you can take full advantage of cloud storage and significantly reduce the storage burden on your iPad. This allows for better organization, easy access, and seamless syncing of your media files across all your Apple devices.
Use an External Storage Device
If you find that you frequently run out of storage space on your iPad, using an external storage device can be a game changer. External storage devices, such as portable hard drives or flash drives, offer a convenient and practical solution to expand the storage capacity of your iPad.
There are a few options available when it comes to using an external storage device with your iPad. One option is to use a Lightning-to-USB adapter that allows you to connect a USB storage device directly to your iPad. With this setup, you can transfer files back and forth between your iPad and the external storage device, freeing up space on your device while still having access to your files whenever you need them.
Another option is to use wireless storage devices that are specifically designed for use with iPads and other mobile devices. These devices create a Wi-Fi hotspot that you can connect to, and they provide additional storage space wirelessly. You can transfer files to and from the wireless storage device using compatible apps, eliminating the need for cables or adapters.
Using an external storage device is beneficial not only for expanding storage capacity but also for keeping backups of your important files. You can use the external device to store backups of your photos, videos, documents, and other files, ensuring that you have a copy of your data in case anything happens to your iPad.
When using an external storage device, it’s important to choose a reputable and reliable brand. Make sure the device is compatible with your iPad model and operating system. Additionally, consider the storage capacity you will need and choose a device that offers sufficient space to accommodate your files.
Using an external storage device provides a practical solution to the limited storage available on your iPad. It allows you to expand your storage capacity, keep important backups, and have easy access to your files whenever you need them without occupying valuable space on your device.
Clear Cookies and Data from Safari
Over time, browsing the internet on your iPad can result in the accumulation of cookies and cached data in the Safari browser. These files can take up valuable storage space and potentially slow down your device. Clearing cookies and data from Safari is a simple yet effective way to free up storage and improve the overall performance of your iPad.
To clear cookies and data from Safari, follow these steps:
- Open the Settings app on your iPad.
- Scroll down and tap on “Safari.”
- Under the “Privacy & Security” section, tap on “Clear History and Website Data.”
- A confirmation prompt will appear. Tap on “Clear” to proceed.
By clearing the history and website data in Safari, you will remove cookies, browsing history, and other website data from your iPad. This action will not only free up storage space but also enhance your privacy and security as it removes traces of your online activities.
Keep in mind that clearing cookies and data will log you out of websites you’re currently signed into, so you may need to re-enter your login credentials afterward. Additionally, it’s a good idea to periodically clear your browsing history and data to maintain optimal performance and protect your privacy.
If you prefer to retain certain website login information or browsing data, you can choose to selectively clear cookies and data from specific websites. To do this:
- Go to the Settings app and tap on “Safari.”
- Tap on “Advanced.”
- Under the “Website Data” section, tap on “Remove All Website Data” or swipe left on individual websites and tap on “Delete” to remove data from specific sites.
This allows you to remove website data selectively, keeping important login information while clearing unnecessary data from other sites.
Clearing cookies and data from Safari can significantly improve the performance and free up storage space on your iPad. Make it a regular practice to keep your browsing experience smooth and efficient.
Delete Old Messages and Attachments
Messages and their attachments can occupy a considerable amount of storage space on your iPad if left unchecked. Deleting old messages and attachments is a simple yet effective way to reclaim storage and optimize the performance of your device.
To delete old messages and attachments on your iPad, follow these steps:
- Open the Messages app on your iPad.
- Select the conversation or thread that contains the messages and attachments you want to delete.
- Tap and hold on a message bubble or attachment to bring up the contextual menu.
- Select the “More” option.
- Tap on the circular checkbox next to each message or attachment you want to delete.
- Once you have selected all the messages and attachments you want to remove, tap on the trash bin icon located at the bottom left corner of the screen.
- A confirmation prompt will appear. Tap on “Delete Messages” to proceed.
By regularly deleting old messages and attachments, you can free up valuable space on your iPad and improve its overall performance. Consider deleting conversations that contain large files, such as photos, videos, or audio messages, to reclaim significant amounts of storage.
It’s important to note that deleting messages and attachments will permanently remove them from your device. If you have important information or media in your messages, make sure to back them up before deleting them.
Additionally, consider adjusting your message settings to automatically remove older messages after a certain period. This can help prevent your message history from accumulating and taking up unnecessary storage space in the future.
Regularly managing and deleting old messages and attachments is a simple yet effective way to optimize storage and improve the performance of your iPad. Take a few moments to clear out cluttered conversations and reclaim valuable space on your device.
Turn Off Automatic App Updates
iOS devices, including iPads, are designed to automatically update apps in the background. While this feature ensures that you have the latest versions of your installed apps, it can also consume a significant amount of storage space over time. Turning off automatic app updates can help save storage space on your iPad and give you more control over the apps you choose to update.
To disable automatic app updates on your iPad, follow these steps:
- Open the Settings app on your iPad.
- Scroll down and tap on “App Store.”
- Under the “App Updates” section, toggle off the “App Updates” switch to disable automatic updates.
By turning off automatic app updates, you have the opportunity to manually update your apps and choose which ones are essential to update. This allows you to be more selective and considerate of your device’s storage capacity.
However, it’s crucial to regularly check for app updates and manually update your apps to benefit from bug fixes, security patches, and new features. To manually update your apps, open the App Store and tap on the “Updates” tab. From there, you can view available updates and choose which apps to update.
Keep in mind that disabling automatic app updates can require more effort on your part to stay on top of app updates. However, it gives you greater control over your device’s storage space and ensures that you only update the apps that are most important to you.
Consider reviewing your installed apps periodically and determining which ones are necessary for your daily use. Uninstalling unused or unnecessary apps can further free up storage space and streamline your app collection.
By disabling automatic app updates, you can strike a balance between keeping your apps up to date and saving storage space on your iPad. Take control of your app updates and optimize your device’s storage to better meet your needs.
Stream Music and Videos Instead of Downloading
Streaming music and videos instead of downloading them can significantly reduce the amount of storage space used on your iPad. With the vast selection of streaming services available today, you can enjoy your favorite music and videos without the need to store large files on your device.
Streaming services like Spotify, Apple Music, YouTube, Netflix, and Hulu provide access to a vast library of songs and videos that you can enjoy in real-time without the need to download them. By streaming content directly from these platforms, you can save precious storage space on your iPad.
When you stream music, the songs are stored temporarily in the cache memory of the app, but they don’t take up permanent space on your device. Similarly, when you stream videos, you can watch them instantly without needing to download or save them to your iPad.
Additionally, many streaming services allow you to create playlists, save albums, or mark content for offline listening or viewing. This way, you can enjoy your favorite music and videos even without an internet connection, without taking up permanent storage space on your device.
Streaming content instead of downloading it not only saves storage space but also keeps your media library up to date with the latest songs and videos. You can discover new music, explore different genres, and watch trending videos without worrying about the available storage on your iPad.
Keep in mind that streaming content requires a stable internet connection, whether it’s Wi-Fi or cellular data. If you’re using cellular data, be mindful of your data plan to avoid exceeding your monthly allocation.
By embracing streaming services for music and videos, you can enjoy a vast collection of content without worrying about filling up your iPad’s storage. Take advantage of these services to access a world of entertainment without the burden of downloading and storing files.
Use Optimization Settings for Apps
Many apps on your iPad offer optimization settings that can help conserve storage space and improve performance. These settings allow you to customize certain app behaviors to prioritize storage efficiency while still enjoying the app’s functionality.
To access and adjust optimization settings for apps on your iPad, follow these general steps:
- Open the Settings app on your iPad.
- Scroll down and find the app you want to optimize under the list of installed apps.
- Tap on the app to access its specific settings.
- Look for any options related to storage, caching, or downloading files.
- Adjust the settings according to your preferences to optimize storage usage.
Some common optimization settings you may encounter in various apps include:
- Clearing cache: Many apps store temporary data, such as images or downloaded files, in a cache. Clearing the cache can help free up storage space without affecting the app’s functionality.
- Limiting offline storage: Some apps allow you to specify how much storage space they can allocate for offline use. By setting a limit, you can prevent apps from taking up excessive space on your iPad.
- Disabling automatic downloads: Apps like podcasts, ebook readers, or news aggregators may have options to automatically download new episodes, books, or articles. Turning off this feature can save storage space by only downloading content when you specifically request it.
- Adjusting quality settings: Media apps like music or video streaming services often have adjustable quality settings. Choosing lower quality levels can reduce the file sizes of streamed content, thereby conserving storage space.
Keep in mind that the available optimization settings and their specific names may vary depending on the apps you have installed on your iPad. Take the time to explore each app’s settings to identify and utilize any optimization features they offer.
By utilizing optimization settings for your apps, you can strike a balance between storage efficiency and functionality. Customizing how apps handle and store data can help free up valuable space on your iPad without compromising your overall app experience.
Offload Unused Apps
Offloading unused apps is an effective method to save storage space on your iPad. The Offload App feature in iOS allows you to remove apps from your device while retaining their associated data and settings. This way, you can reclaim valuable storage space without completely deleting the app.
To offload unused apps on your iPad, follow these steps:
- Open the Settings app on your iPad.
- Scroll down and tap on “General.”
- Select “iPad Storage.”
- Wait for the list of installed apps to load.
- Find the app you want to offload and tap on it.
- Tap on “Offload App.”
- A confirmation prompt will appear. Tap on “Offload App” to proceed.
Once an app is offloaded, its icon will still appear on your home screen, but it will be grayed out. Tapping on the grayed-out icon will reinstall the app, restoring all its data and settings. This way, you can easily access and use the app again when needed, without taking up storage space in the meantime.
The Offload App feature is especially useful for apps that you rarely use or that have large file sizes. This includes games, productivity tools, or specialized apps that you only need for specific tasks. By offloading these unused apps, you can free up a significant amount of storage space while keeping them readily available when you do need them.
To further optimize your offloading settings, you can enable the “Offload Unused Apps” option on your iPad. This feature automatically offloads apps that you haven’t used for a while when storage space is running low. It is a convenient way to maintain a manageable amount of storage on your iPad without the need for manual intervention.
Keep in mind that offloading an app will remove its data from your device, which can include documents, settings, and user-generated content within the app. If you have important data in the app that you don’t want to lose, make sure to back it up before offloading.
By offloading unused apps, you can declutter and optimize your iPad’s storage. Take advantage of this feature to free up space without permanently deleting apps, ensuring a smoother and more efficient user experience on your device.
Delete Offline Maps
If you’ve downloaded maps for offline use on your iPad, it’s important to periodically delete them to free up storage space. Offline maps can take up a significant amount of storage, especially if you have multiple regions or cities downloaded. By removing these offline maps when you no longer need them, you can reclaim valuable storage on your device.
To delete offline maps on your iPad, follow these steps:
- Open the Settings app on your iPad.
- Scroll down and tap on “Maps.”
- Under the “Offline Maps” section, select the downloaded map you want to delete.
- Tap on “Delete Offline Map” or “Remove.”
- Confirm the deletion when prompted.
By removing offline maps that you no longer need, you can free up storage space for other important files and applications. However, keep in mind that deleting offline maps will require an internet connection to access those areas again in the future.
It’s a good idea to periodically check your offline maps and delete any regions that you no longer need or plan to visit. This is especially useful if you downloaded maps for temporary trips or specific occasions.
Additionally, consider adjusting the storage settings for offline maps to limit the size and number of maps downloaded. This can help prevent excessive storage usage and allow you to optimize the space allocated for offline maps on your device.
If you’re a frequent traveler or rely heavily on offline maps, consider using a dedicated navigation app that offers the ability to stream map data instead of downloading full maps. Streaming map data allows you to conserve storage space as the app only downloads the necessary information for your current location or route.
Remember that offline maps are convenient, but they can quickly accumulate and occupy a substantial portion of your iPad’s storage. Regularly reviewing and deleting offline maps that you no longer need can help keep your storage space in check and ensure you have room for other essential content on your device.
Clear Safari Reading List
If you use the Safari browser on your iPad to save articles for later reading, it’s essential to periodically clear your reading list. The Safari Reading List can accumulate a significant number of articles over time, taking up storage space and potentially slowing down your browsing experience. Clearing your reading list not only frees up storage but also helps keep your list organized and up to date.
To clear your Safari Reading List on your iPad, follow these steps:
- Open the Safari app on your iPad.
- Tap on the book icon at the bottom of the screen to access your Reading List.
- Swipe left on each article in the list to reveal the “Delete” button.
- Tap on “Delete” to remove the article from your Reading List.
- Repeat this process for each article you want to remove.
By clearing your Safari Reading List, you can eliminate stored web pages that you’ve already read or are no longer interested in. This helps optimize storage and declutter your browser, making it easier to find new articles and pages that you actually want to access later.
If you want to prevent articles from automatically adding to your Reading List in the future, you can adjust your Safari settings. To do this, follow these steps:
- Open the Settings app on your iPad.
- Scroll down and tap on “Safari.”
- Under the “General” section, toggle off the “Automatically Save Offline” switch.
With this setting disabled, Safari will no longer automatically save web pages to your Reading List when you come across them during browsing sessions. Instead, you can manually add articles or web pages to your Reading List by tapping on the share icon and selecting the option to add to the Reading List.
Regularly clearing your Safari Reading List is a simple maintenance task that can help keep your browsing experience smooth and your storage space optimized. Take a few moments every now and then to remove unnecessary articles and ensure that your Reading List remains organized and relevant to your interests.
Delete eBooks and Audiobooks
If you’re an avid reader or audiobook listener on your iPad, it’s common to accumulate a large library of eBooks and audiobooks over time. However, these digital books can take up a significant amount of storage space on your device. Deleting eBooks and audiobooks that you have already read or no longer need is a practical way to free up storage and keep your digital library organized.
To delete eBooks and audiobooks on your iPad, follow these steps:
- Open the Books app or the Audiobooks app on your iPad.
- Navigate to the library or collection where the eBook or audiobook is stored.
- Tap on “Edit” or select the book you want to delete.
- Tap on the “Delete” button or the trash bin icon, usually located in the top-right corner of the screen.
- Confirm the deletion if prompted.
By deleting eBooks and audiobooks that you have finished reading or have no intention to revisit, you can create space for new books and optimize the storage on your iPad.
If you are concerned about permanently removing your eBooks or audiobooks, you can leverage cloud storage or online accounts associated with book services (such as Apple Books or Kindle) to keep your library accessible and synced across devices. You can always re-download the books later when you want to read or listen to them again.
Remember to regularly assess your digital library and delete books that you no longer need or want to save storage space. Consider removing duplicate copies or outdated versions to keep your library streamlined and organized.
If you prefer to keep your eBooks or audiobooks stored locally, but are running low on storage, you can transfer these files to external storage devices or upload them to cloud storage platforms like iCloud or Google Drive. By leveraging external storage solutions, you can save space on your iPad without permanently losing access to your favorite books.
Deleting eBooks and audiobooks does not diminish your love for reading or listening; instead, it allows you to make room for new literary adventures. Keep your digital library organized, and optimize storage on your iPad by removing books that you no longer need or want to keep.
Remove Unnecessary Podcasts
If you enjoy listening to podcasts on your iPad, it’s common to accumulate a collection of episodes over time. However, storing numerous podcasts can occupy a considerable amount of storage space. To optimize storage and keep your podcast library organized, it’s essential to regularly remove unnecessary episodes.
To remove unnecessary podcasts on your iPad, follow these steps:
- Open the Podcasts app on your iPad.
- Navigate to the podcast series that contains the episodes you want to delete.
- Swipe left on the episode to reveal the “Delete” button and tap on it. Alternatively, you can tap on “Edit” and select multiple episodes to delete at once.
- Confirm the deletion if prompted.
Deleting episodes that you have already listened to or no longer wish to keep is an effective way to free up storage space on your iPad. By removing unnecessary podcasts, you can create room for new episodes without compromising the overall performance and storage capacity of your device.
Furthermore, if you have subscribed to a podcast series that automatically downloads new episodes, consider adjusting the download settings to retain only the most recent episodes. By limiting the number of episodes stored locally, you can prevent storage from being overwhelmed while still enjoying your favorite podcasts.
Alternatively, if you prefer to keep certain episodes for future listening, you can take advantage of streaming options available in many podcast apps. Streaming episodes rather than downloading them allows you to conserve storage space while still enjoying the content you’re interested in.
Remember to periodically review and delete episodes from podcasts you no longer wish to keep. This can include old episodes, shows you’ve lost interest in, or episodes that you have already listened to and no longer need for reference.
If you still want to keep access to specific podcast episodes without occupying local storage, consider utilizing cloud storage services or subscription-based podcast apps that allow you to stream episodes directly from the cloud. This way, you can enjoy a vast library of podcasts without worrying about limited device storage.
By removing unnecessary podcasts and managing episode downloads, you can optimize storage space on your iPad and maintain an organized and enjoyable listening experience.
Disable Photo Stream
Photo Stream is a feature in iOS that automatically syncs and stores your photos across all your Apple devices. While it can be a convenient way to access your photos across multiple platforms, it can also consume a significant amount of storage space on your iPad. If you find yourself running low on storage or prefer to have more control over which photos are stored on your device, disabling Photo Stream can help free up storage and optimize your iPad’s performance.
To disable Photo Stream on your iPad, follow these steps:
- Open the Settings app on your iPad.
- Scroll down and tap on “Photos.”
- Toggle off the “Upload to My Photo Stream” switch.
By disabling Photo Stream, your iPad will no longer automatically upload new photos to your Photo Stream album. However, keep in mind that this will not delete any existing photos in your Photo Stream. Those photos will remain on your device until you manually remove them.
If you want to remove existing photos from your Photo Stream, you can do so by following these steps:
- Go to the Photos app on your iPad.
- Tap on the “Albums” tab at the bottom of the screen.
- Scroll down and select the “My Photo Stream” album.
- Tap “Select” in the top-right corner of the screen.
- Select the photos you want to delete from your Photo Stream.
- Tap the trash bin icon to delete the selected photos.
Disabling Photo Stream can be particularly useful if you already utilize other cloud storage options, such as iCloud Photo Library or third-party apps like Google Photos or Dropbox. These alternatives provide more control over photo syncing and storage, making it easier to manage and optimize your storage space.
Keep in mind that disabling Photo Stream will prevent your photos from automatically syncing across devices. If you rely on Photo Stream to access your photos on other Apple devices, make sure to enable alternative syncing options like iCloud Photos or manually transfer photos using services like AirDrop or iCloud Drive.
By disabling Photo Stream, you can take control of your photo storage on your iPad and free up storage space for other important files and applications. Evaluate your photo syncing needs and weigh the advantages of Photo Stream against alternative methods to determine the best approach for your storage optimization and photo management.