
Benefits of Changing Your Xbox Gamertag
Changing your Xbox Gamertag can offer a range of benefits and enhance your gaming experience. Whether you’re looking to rebrand yourself, express your personality, or simply want a fresh start, here are some compelling reasons why you might consider changing your Xbox Gamertag:
- Show Your Identity: Your Gamertag is your online identity in the gaming world. Changing it allows you to align it with your personality, interests, or gaming style. It’s a chance to let your creativity shine and stand out among the millions of other players.
- Privacy and Security: If your current Gamertag contains personal information or reveals too much about you, changing it can help protect your privacy. With a new Gamertag, you have the opportunity to create a more secure online presence.
- Reflect Your Growth: Over time, your interests and preferences may change. Changing your Gamertag gives you the chance to reflect your current gaming passions and showcase your growth as a player. It’s an excellent way to keep your online identity in line with your evolving tastes.
- Leave the Past Behind: If you’ve had unpleasant experiences with other players or simply want to distance yourself from a negative gaming history, changing your Gamertag can provide a fresh start. You can leave any negative associations behind and start anew with a clean slate.
- Connect with Communities: Many gaming communities have their own unique naming conventions or themes. By changing your Gamertag to align with a specific community or game, you can connect more deeply with like-minded players and potentially make new friends.
- Stay Relevant: If you’ve been using the same Gamertag for a while, it might be outdated or no longer representative of who you are as a gamer. Changing it allows you to keep up with current gaming trends and remain relevant in the gaming community.
By taking advantage of the ability to change your Xbox Gamertag, you can enhance your online gaming experience, express yourself, and connect with others who share your gaming interests. It’s an opportunity to curate your online presence and create a Gamertag that truly represents who you are as a gamer.
How to Change Your Xbox Gamertag on Xbox Consoles
If you’re looking to change your Xbox Gamertag directly on your Xbox console, follow these steps:
- Power on your Xbox console and sign in to the account for which you want to change the Gamertag.
- Press the Xbox button on your controller to open the guide.
- Navigate to the “Profile & system” tab and select “Settings”.
- In the settings menu, choose the “Account” option.
- Select the “Gamertag” tab and click on the “Change Gamertag” option.
- Follow the on-screen instructions to enter a new Gamertag. You may be prompted to check the availability of your desired Gamertag or suggested alternative options.
- Once you’ve entered your new Gamertag, review the terms of service, privacy statement, and code of conduct, then select “Accept” to finalize the change.
- Wait for the confirmation message stating that your Gamertag has been successfully changed.
Note that changing your Gamertag on Xbox consoles may require payment, depending on your account type and any previous Gamertag changes made. Ensure you have a valid payment method linked to your account if a fee is applicable.
After changing your Gamertag, it may take some time for the new name to propagate across all systems and be visible to other players. Don’t worry if it doesn’t update instantly.
Remember that Xbox enforces certain requirements and restrictions for Gamertags, such as character limits and prohibited content. Make sure to choose a name that complies with these guidelines.
By following these steps, you can easily change your Xbox Gamertag directly on your Xbox console and enjoy a fresh and personalized gaming identity.
How to Change Your Xbox Gamertag on the Xbox Mobile App
If you prefer to change your Xbox Gamertag using the Xbox mobile app, follow these simple steps:
- Open the Xbox app on your mobile device and sign in to the account for which you want to change the Gamertag.
- Tap on the profile icon at the top left corner of the screen to access your profile.
- In your profile, tap on the “Edit Profile” option.
- Scroll down to the “Customize” section and select “Change Gamertag”.
- Enter your desired Gamertag in the available field. You can also tap the refresh icon to generate random suggestions.
- Tap on “Check Availability” to verify if the Gamertag is available.
- If the Gamertag is available, review the terms of service, privacy statement, and code of conduct. Tap on “Accept” to confirm the change.
- Wait for the confirmation message indicating that your Gamertag has been successfully changed. The new Gamertag may take some time to propagate across all platforms.
Changing your Gamertag via the Xbox mobile app may incur a fee, depending on your account type and any previous changes made. Ensure you have a valid payment method associated with your account if necessary.
Keep in mind that Xbox enforces certain requirements and restrictions for Gamertags, such as character limits and banned content. Make sure the new name you choose complies with these guidelines.
With the convenience of the Xbox mobile app, you can easily change your Gamertag and personalize your gaming identity while on the go.
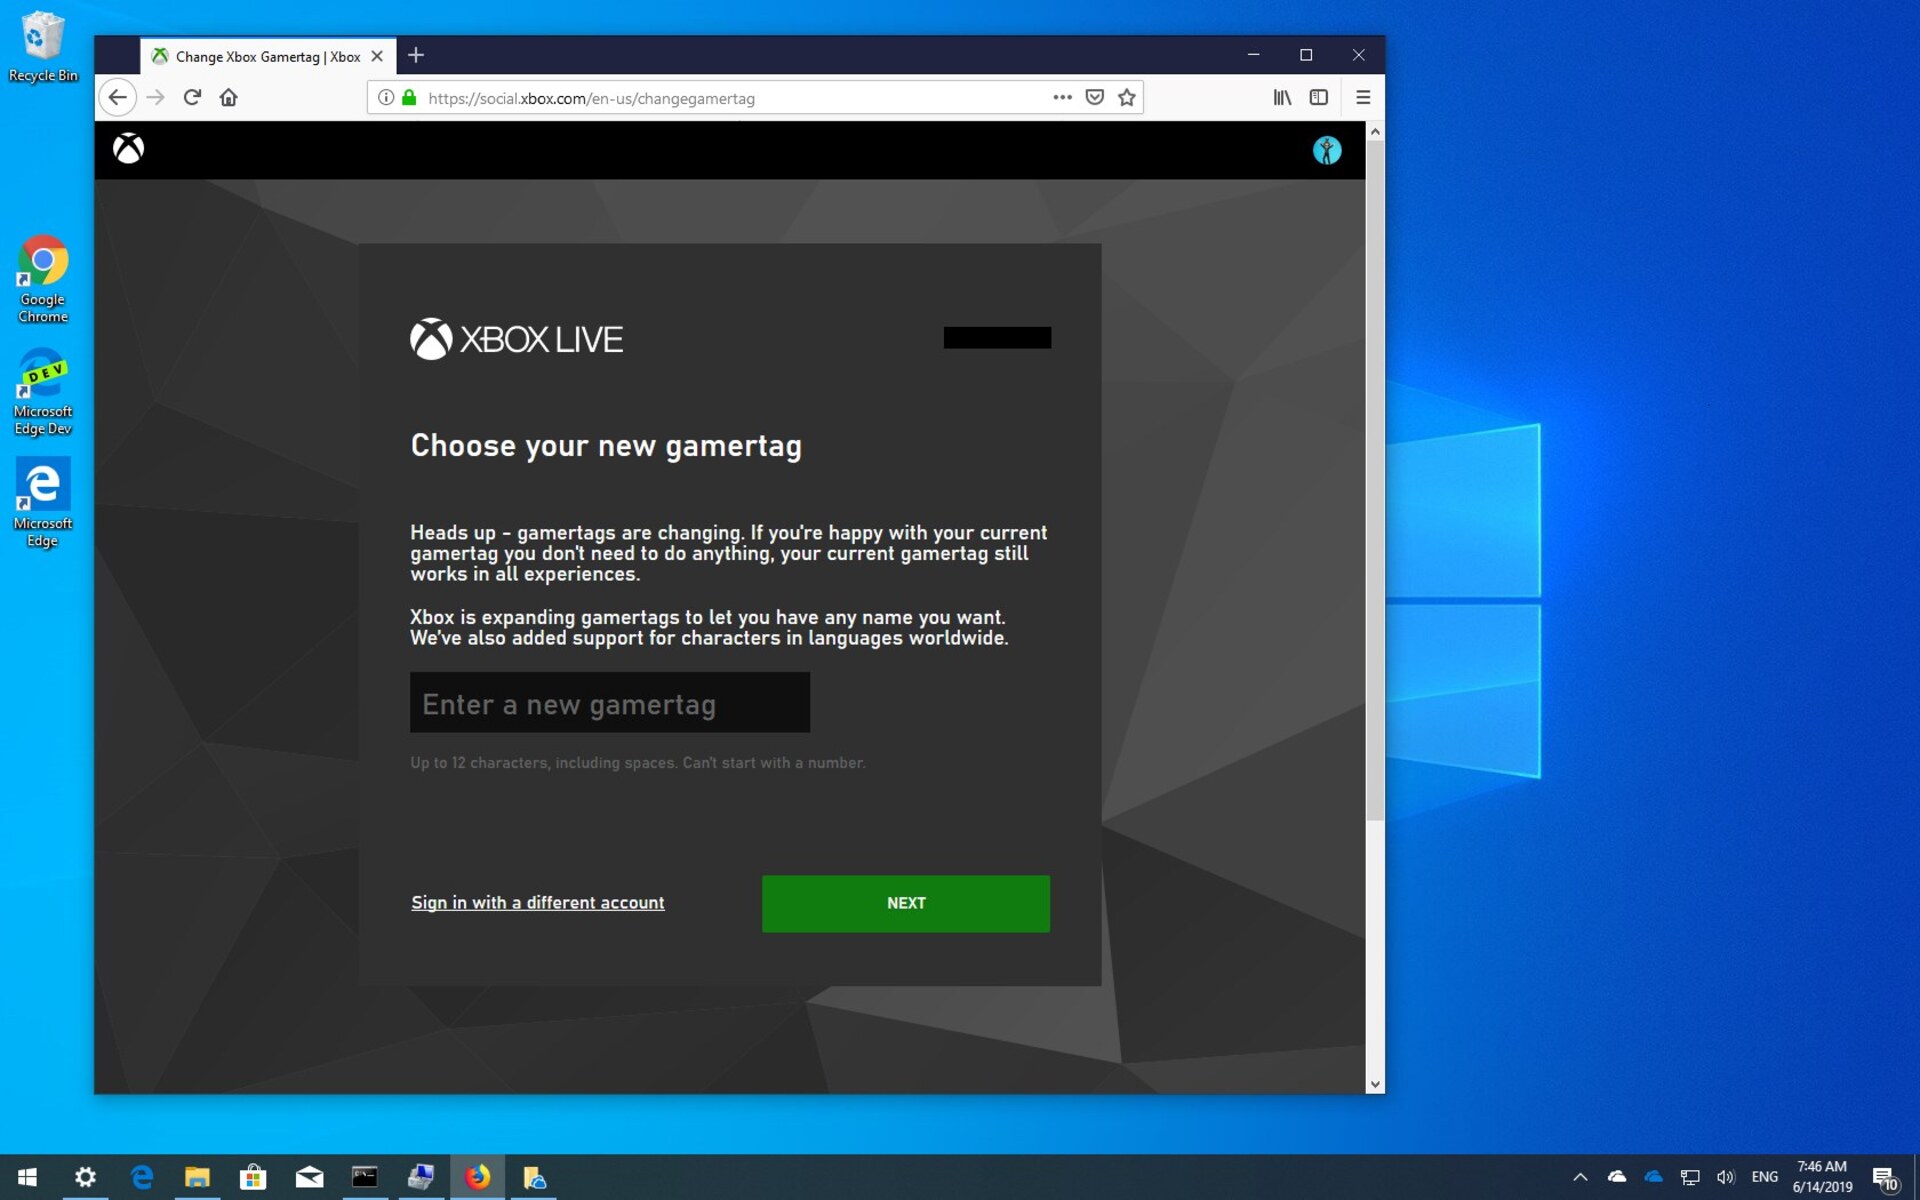
How to Change Your Xbox Gamertag on the Xbox Website
If you prefer to change your Xbox Gamertag using the Xbox website, follow these steps:
- Open a web browser on your computer and visit the official Xbox website (www.xbox.com).
- Sign in to your Xbox account using your credentials.
- Hover over your profile picture at the top right corner of the screen and click on “My profile”.
- In your profile, click on the “Customize” tab.
- Look for the “Gamertag” section and click on “Change Gamertag”.
- Enter your desired Gamertag in the available field. You can also click on “Randomize” for suggested options.
- Click on “Check Availability” to verify if your desired Gamertag is available for use.
- If the Gamertag is available, review the terms of service, privacy statement, and code of conduct. Click on “Accept” to confirm the change.
- Wait for the confirmation message indicating that your Gamertag has been successfully changed. Keep in mind that it may take some time to fully update across all platforms.
Changing your Gamertag on the Xbox website may require payment, depending on your account type and any previous Gamertag changes made. Ensure you have a valid payment method associated with your account if applicable.
Remember that Xbox enforces certain requirements and restrictions for Gamertags, such as character limits and prohibited content. Make sure to choose a name that complies with these guidelines.
With the convenience of the Xbox website, you can easily change your Gamertag and customize your gaming identity to suit your preferences.
Requirements and Restrictions for Changing Your Xbox Gamertag
When changing your Xbox Gamertag, it is essential to be aware of the requirements and restrictions set by Xbox. Here’s what you need to know:
- Character Limit: Your Gamertag must be between 1 and 15 characters long. It can include letters, numbers, and specific symbols, such as hyphens (-) or underscores (_). However, special characters, spaces, and consecutive symbols are not allowed.
- Prohibited Content: Xbox enforces strict guidelines to maintain a safe and inclusive gaming environment. Your Gamertag should not contain any offensive, profane, discriminatory, or inappropriate language. Avoid using any terms that may violate Xbox’s code of conduct.
- Availability: When choosing a new Gamertag, it’s important to check its availability. Xbox will notify you if your desired Gamertag is already taken or violates the naming policies. In such cases, you may have to select an alternative name or make modifications to meet the requirements.
- Account Type: The ability to change your Gamertag may vary depending on your account type. Some accounts may have limited or restricted options for changing the Gamertag. Free accounts, for instance, may have certain limitations or require a fee for Gamertag changes.
- Payment: Changing your Gamertag may come with a cost. Microsoft often charges a fee for Gamertag changes, with the first change typically being available for free. Make sure you have a valid payment method linked to your account if required.
- Propagation Time: Once you change your Gamertag, it may take some time for the new name to update and become visible to other players. This process usually completes within a few hours, but there might be instances where it takes longer.
By understanding and adhering to these requirements and restrictions, you can ensure that your new Gamertag complies with Xbox’s policies and creates a positive gaming experience for yourself and other players.
Tips for Choosing a New Xbox Gamertag
Choosing a new Xbox Gamertag is an exciting opportunity to express your personality and create a unique online identity. Here are some tips to help you select the perfect Gamertag:
- Show Your Personality: Pick a Gamertag that reflects your interests, hobbies, or personality traits. Consider incorporating elements from your favorite games, movies, or books to create a name that represents who you are as a gamer.
- Keep it Simple: Choose a Gamertag that is easy to remember and pronounce. Avoid using complex or obscure words that may confuse other players when interacting with you in-game.
- Be Creative: Experiment with different combinations of words, numbers, and symbols to create a standout Gamertag. Incorporate wordplay, puns, or clever references to add a touch of creativity to your name.
- Avoid Trendy Terms: While it might be tempting to use trendy or popular terms, keep in mind that gaming trends can change quickly. Opt for a timeless Gamertag that won’t become outdated or irrelevant in a short period.
- Consider Your Gaming Style: If you have a specific gaming style or genre preference, try to incorporate that into your Gamertag. For example, if you enjoy first-person shooters, you could use terms like “sniper” or “marksman” in your name.
- Check for Availability: Before finalizing your Gamertag, make sure to check its availability. Xbox provides a feature to check if your desired name is already taken or violates any naming policies. This ensures that you can claim a unique and available Gamertag.
- Think Long-term: Consider choosing a Gamertag that you can see yourself using for the long haul. While you can change your Gamertag in the future, maintaining a consistent online identity can help you build a reputation and connections within the gaming community.
Remember, your Gamertag is not just a name but a representation of your gaming persona. Take your time, have fun with the process, and select a Gamertag that truly resonates with you and reflects your gaming identity.
How to Check the Availability of Xbox Gamertags
Before you settle on a new Xbox Gamertag, it’s important to check its availability to ensure that you can claim it as your own. Xbox provides a straightforward method to check the availability of Gamertags. Here’s how you can do it:
- Visit the Xbox website (www.xbox.com) or open the Xbox mobile app on your device.
- Sign in to your Xbox account using your credentials.
- Once you’re logged in, navigate to the “Profile” or “My profile” section.
- Look for the option to “Change Gamertag” or “Customize Gamertag”. Click on it.
- In the provided field, enter the desired Gamertag you wish to check for availability.
- Click on the “Check Availability” or “Verify” button.
- Within seconds, Xbox will display a message indicating whether the Gamertag is available or not.
- If the Gamertag is taken or violates Xbox’s naming policies, the system will suggest alternative options or prompt you to modify your chosen name.
It’s essential to note that Xbox’s Gamertag availability can change momentarily, as other players might claim a name you checked as available. Therefore, it’s advisable to finalize the Gamertag change promptly after confirming its availability.
By using the built-in Gamertag verification feature provided by Xbox, you can ensure that your chosen name is unique, available, and compliant with Xbox’s guidelines before making the change.
How to Transfer Your Gamertag to a New Xbox Console
If you’re getting a new Xbox console and want to transfer your Gamertag along with your game progress and achievements, follow these steps:
- Power on your new Xbox console and sign in using the Xbox account associated with the Gamertag you want to transfer.
- Connect your new console to the internet either through Wi-Fi or an Ethernet cable.
- On the home screen, select the “Profile & system” tab and go to “Settings”.
- In the settings menu, choose the “System” option, then select “Backup & transfer”.
- Select the “Network transfer” option.
- On your old Xbox console, sign in using the same Xbox account as the one on your new console.
- On the old console, go to “Settings”, then “System” and select “Network transfer”.
- Choose the option to “Copy to another console”.
- Follow the on-screen instructions to initiate the transfer process.
- Once the transfer is started, your Gamertag, along with your game progress and achievements, will be copied from the old console to the new one.
- Be patient and allow the transfer to complete. The time it takes can vary depending on the amount of data being transferred and the speed of your network connection.
- After the transfer is finished, sign out and sign back in on your new Xbox console to access your Gamertag and continue gaming where you left off.
It’s important to note that transferring your Gamertag to a new Xbox console moves your profile, game data, and achievements. However, it does not transfer game licenses or digital content. You will need to download games and content again on your new console, but you will retain access to previously purchased items.
By following these steps, you can seamlessly transfer your Gamertag to a new Xbox console and pick up right where you left off in your gaming journey.
How to Change Your Xbox Gamertag for Free (First-Time Change)
If you’ve never changed your Xbox Gamertag before, you may be eligible for a free name change. Follow these steps to change your Gamertag for free:
- Power on your Xbox console and sign in to the account for which you want to change the Gamertag.
- Press the Xbox button on your controller to open the guide.
- Navigate to the “Profile & system” tab and select “Settings”.
- In the settings menu, choose the “Account” option.
- Select the “Gamertag” tab and click on the “Change Gamertag” option.
- Follow the on-screen instructions to enter a new Gamertag. Xbox will automatically check if the name is available.
- Review the terms of service, privacy statement, and code of conduct, then select “Accept” to confirm the change.
- Wait for the confirmation message stating that your Gamertag has been successfully changed.
By taking advantage of the first-time free Gamertag change, you can personalize your gaming identity without any additional cost. However, it’s important to note that subsequent Gamertag changes may require payment, so choose your new name wisely.
When choosing a new Gamertag, make sure it meets Xbox’s requirements and restrictions regarding character limits, prohibited content, and availability. Take the opportunity to select a name that truly represents you and enhances your gaming experience.
After changing your Gamertag, give it some time to propagate across all systems and be visible to other players. It may take a few hours for the new name to fully update.
By following these steps, you can easily change your Xbox Gamertag for free if it’s your first-time change, allowing you to personalize your online identity and stand out in the gaming community.