
Why Booting From a CD, DVD, or BD Disc is Important
Booting from a CD, DVD, or BD (Blu-ray Disc) is an essential process that allows you to start your computer system using these optical discs instead of the traditional booting method from the hard drive. While it may seem like a legacy practice in today’s digital age, there are several important reasons why booting from these discs is still relevant.
Firstly, booting from a CD, DVD, or BD disc provides you with a powerful troubleshooting tool. These discs often contain diagnostic and recovery software that can help you diagnose and fix issues that may be preventing your computer from starting up properly. By booting from a disc, you can access these tools and perform necessary repairs, even if your operating system is not functioning correctly.
Secondly, booting from an optical disc allows you to install or reinstall an operating system. Whether you are upgrading to a newer version of your current OS or switching to an entirely different one, booting from a disc enables you to initiate the installation process. This is especially useful when your computer’s hard drive has been corrupted or you need to perform a clean installation.
Furthermore, booting from a CD, DVD, or BD disc provides an added layer of security. For example, you can use a bootable disc to scan your system for malware or perform a virus removal process without the risk of potential infections interfering with the scanning process. By bypassing the normal boot process, you ensure a secure environment for troubleshooting and protection.
Additionally, booting from an optical disc can be crucial for data recovery. In situations where your computer’s hard drive becomes inaccessible or fails, booting from a disc allows you to access the files and data stored on the drive. You can then back up or transfer the important data to another storage device, preventing potential data loss.
Lastly, booting from a CD, DVD, or BD disc can be beneficial for system customization and optimization. Some discs offer tools and utilities that allow you to adjust system settings, update firmware, or perform other optimizations to enhance your computer’s performance. These customization options can help you personalize your system according to your specific needs.
Overall, booting from a CD, DVD, or BD disc is still an important process in the realm of computer technology. Whether you need to troubleshoot issues, install or reinstall an operating system, enhance security, recover data, or customize your system, having the ability to boot from these discs provides you with valuable options and solutions.
What You Will Need
Before you can successfully boot from a CD, DVD, or BD disc, there are a few essentials that you will need to have in place:
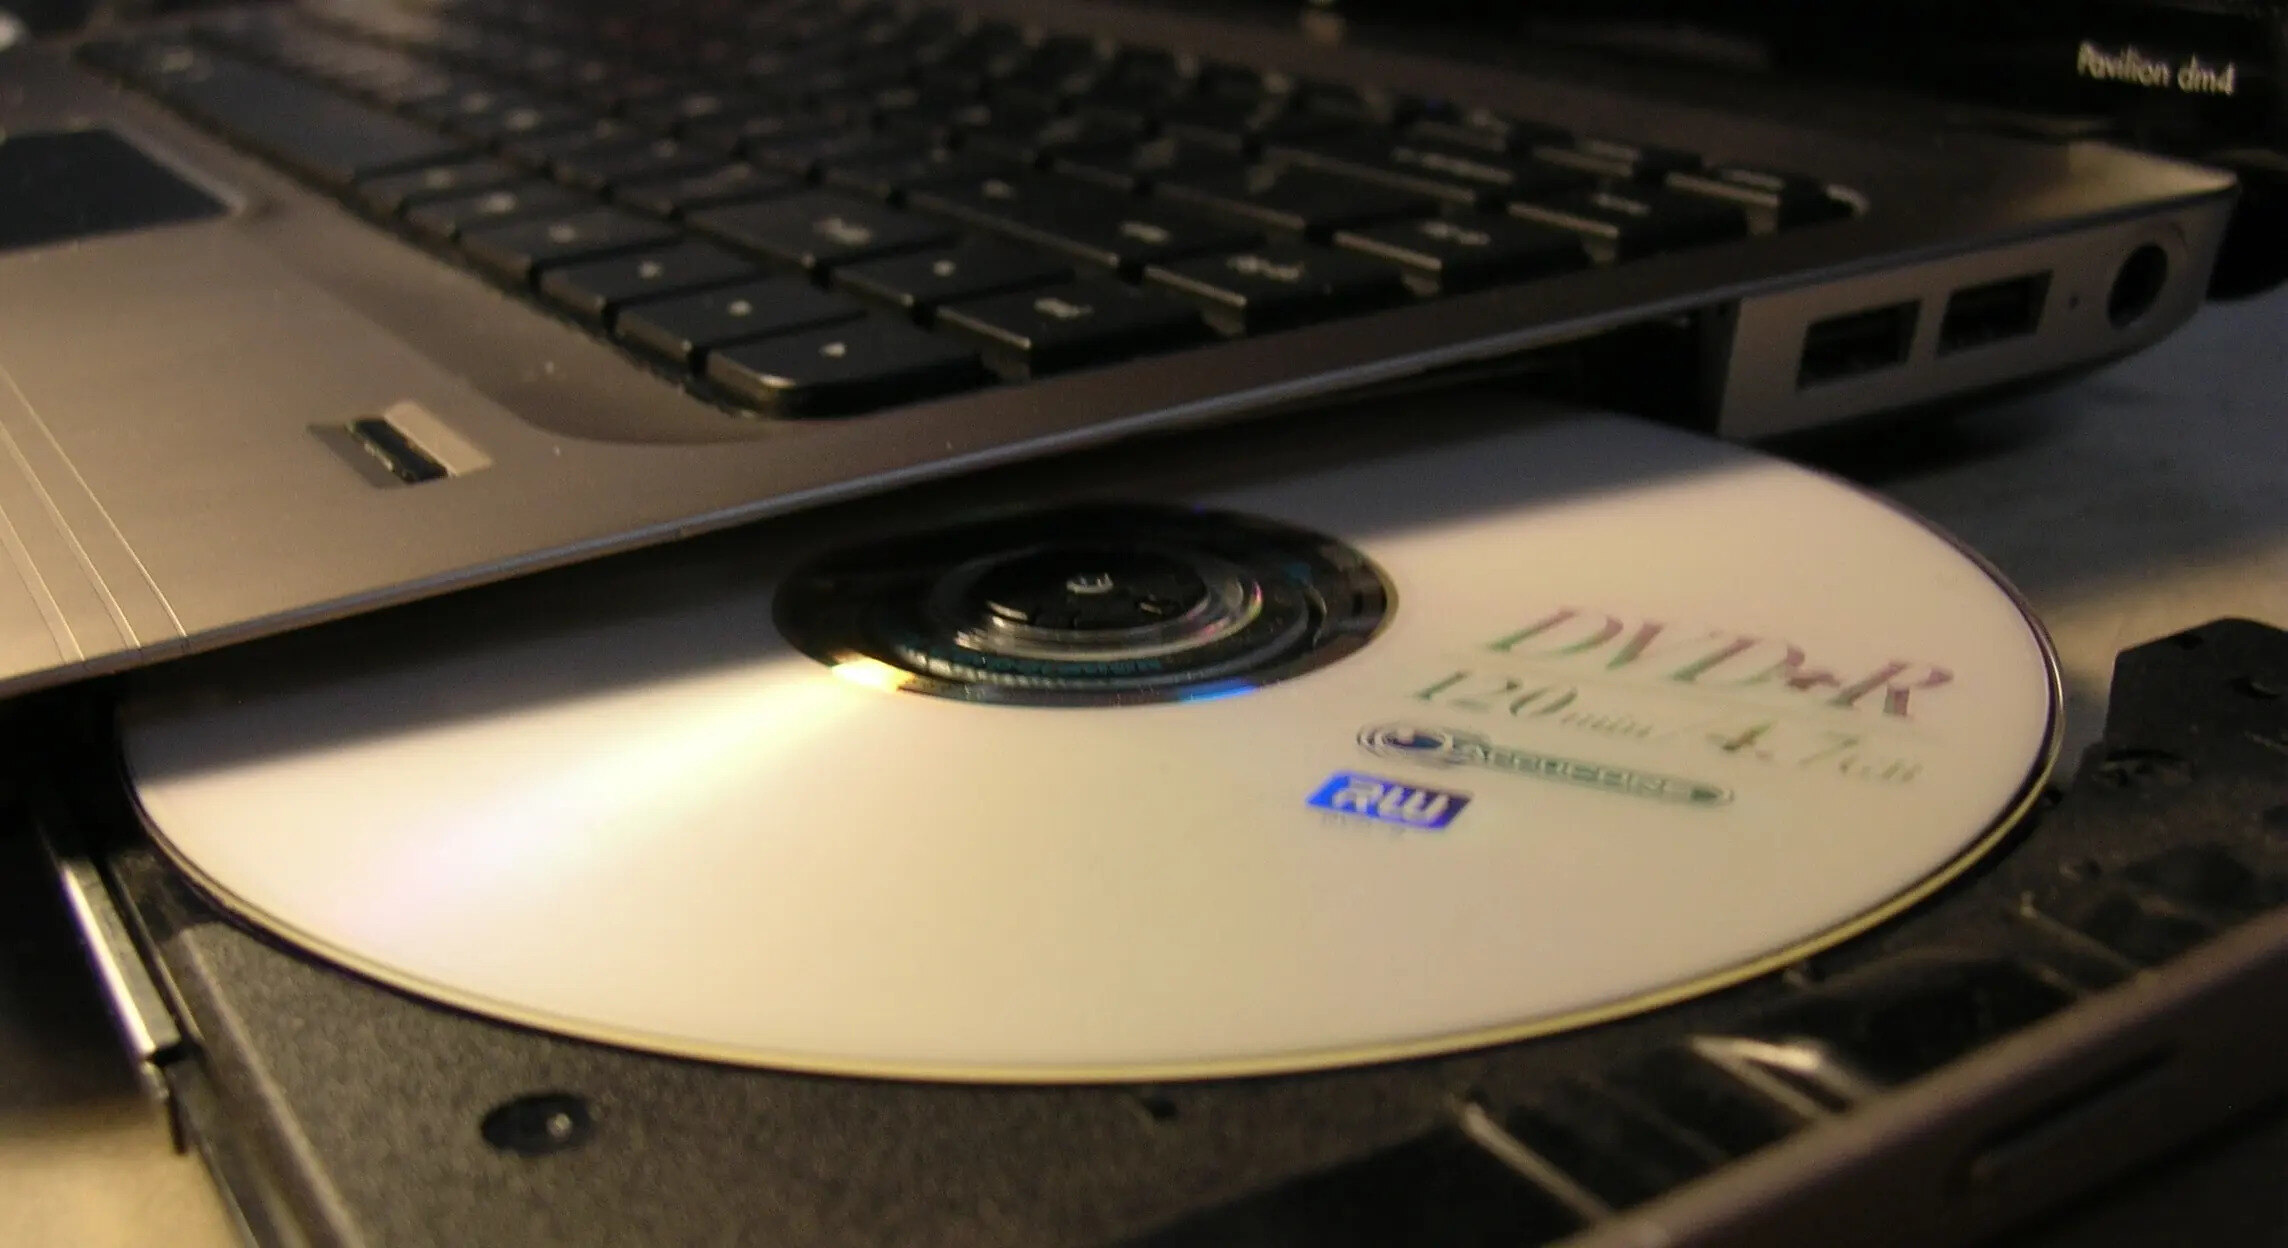
1. Bootable Disc: The first requirement is, of course, a bootable disc. This could be a CD, DVD, or BD disc that contains the necessary system files, diagnostic tools, or operating system installation files. Ensure that the disc is compatible with your computer’s optical drive.
2. Optical Drive: You will need a functional optical drive on your computer to read the bootable disc. Most desktop computers come equipped with built-in CD/DVD drives, but if you are using a laptop or a newer desktop without an optical drive, you may need an external USB DVD drive.
3. BIOS or UEFI Access: To boot from a disc, you will need to access your computer’s BIOS (Basic Input/Output System) or UEFI (Unified Extensible Firmware Interface) settings. These settings allow you to modify the boot order and select the optical drive as the primary boot device. The key to access these settings may vary depending on your computer’s manufacturer, so consult your user manual or search online for the specific key combination.
4. Bootable USB (optional): In some cases, you may need a bootable USB drive to create a bootable disc. This could be necessary if you don’t have access to a physical disc or if your computer doesn’t have an optical drive. You will need software to create a bootable USB drive, and the specific steps may vary depending on the operating system or software you are using.
5. Patience and Perseverance: Booting from a disc can sometimes be a finicky process, especially if you are encountering issues or errors. It’s important to be patient and persistent in troubleshooting any problems that may arise. Don’t give up easily and be open to trying different methods or seeking assistance from online forums or tech support.
By ensuring that you have these key elements in place, you will be well-prepared to proceed with booting from a CD, DVD, or BD disc. Take the time to gather all the requirements and familiarize yourself with your computer’s BIOS or UEFI settings before proceeding to the next steps.
Step-by-Step Guide
Follow these step-by-step instructions to boot your computer from a CD, DVD, or BD disc:
- Insert the bootable disc into your computer’s optical drive. Make sure the disc is properly inserted and securely seated.
- Restart your computer. As it starts up, pay attention to the screen and look for a message that prompts you to press a specific key to enter the BIOS or UEFI settings. The key to access these settings may be displayed as “Setup,” “BIOS,” “Boot Options,” or something similar.
- Press the designated key to enter the BIOS or UEFI settings. Common keys include F2, F12, Del, or Esc. If you are unsure, refer to your computer’s user manual or search online for the specific key combination.
- Once you’re inside the BIOS or UEFI settings, navigate to the “Boot” or “Boot Order” section. This section allows you to modify the boot order of your devices.
- Look for the option that lists the boot devices and prioritize the optical drive. Typically, you can use the arrow keys to select the optical drive and move it to the top of the boot order. This ensures that the computer will attempt to boot from the disc before other devices.
- Save the changes and exit the BIOS or UEFI settings. This option is usually located at the bottom of the screen and can be labeled as “Save and Exit,” “Exit and Save Changes,” or something similar. Confirm the changes, and your computer will restart.
- As your computer restarts, it should recognize the bootable disc and initiate the boot process from the disc. Follow the on-screen instructions to proceed with the desired operation, whether it’s troubleshooting, operating system installation, or data recovery.
- After you’ve completed the necessary tasks with the bootable disc, you can remove it from the optical drive. Remember to restore your computer’s boot order settings to their original configuration if you want to boot from the hard drive for regular use.
By following these step-by-step instructions, you can successfully boot your computer from a CD, DVD, or BD disc. However, keep in mind that the exact steps and options may vary depending on your computer’s manufacturer and BIOS or UEFI version. If you encounter any difficulties or error messages, refer to your computer’s documentation or seek assistance from the manufacturer’s support resources.
Option 1: Booting From the BIOS Menu
One common method to boot from a CD, DVD, or BD disc is by accessing the BIOS (Basic Input/Output System) menu. Follow these steps to boot from the BIOS menu:
- Insert the bootable disc into your computer’s optical drive.
- Restart your computer. As it starts up, look for a message on the screen indicating the key to enter the BIOS settings. Depending on your computer’s manufacturer, the key could be F2, F12, Del, or another function key.
- Press the designated key to enter the BIOS settings. This action may need to be done quickly before the operating system loads.
- Navigate through the BIOS menu using the arrow keys. Look for the “Boot” or “Boot Order” section. The specific location of this section may vary depending on the BIOS version and manufacturer.
- Select the option to change the boot order or boot device priority.
- Ensure that the optical drive is listed as the first or highest priority device for booting. If not, use the arrow keys to move the optical drive to the top of the boot order.
- Save the changes and exit the BIOS settings. This option is typically found at the bottom of the screen and may be labeled “Save and Exit” or something similar. Select the appropriate option and confirm the changes.
- Your computer will now restart and attempt to boot from the inserted disc. Follow the on-screen instructions to proceed with the desired operation.
- After you have finished using the bootable disc, remove it from the optical drive and restart your computer. Confirm that your boot order settings are restored to their original configuration if you plan to boot from the hard drive for regular use.
Remember that the steps to access the BIOS menu and modify the boot order may vary depending on your computer’s manufacturer and BIOS version. If you encounter any difficulties or need further guidance, refer to your computer’s documentation or seek assistance from the manufacturer’s support resources.
Option 2: Booting From the One-Time Boot Menu
An alternative way to boot from a CD, DVD, or BD disc is by using the one-time boot menu. This method allows you to temporarily override the boot order and select the desired boot device. Follow these steps to boot from the one-time boot menu:
- Insert the bootable disc into your computer’s optical drive.
- Restart your computer and pay attention to the screen for a message indicating the key or keys to access the one-time boot menu. The key may vary depending on your computer’s manufacturer but is commonly F10, F11, F12, or Esc.
- Press the designated key to access the one-time boot menu. This action must be taken quickly before the operating system loads.
- A menu will appear displaying the available boot devices. Select the optical drive from the menu using the arrow keys on your keyboard.
- Press Enter to confirm your selection and proceed with booting from the inserted disc.
- Your computer will initialize the boot process from the selected boot device, in this case, the optical drive. Follow the on-screen instructions to continue with your desired operation.
- After completing the necessary tasks using the bootable disc, remove the disc from the optical drive and restart your computer.
- Your computer will now boot from the regular boot device, typically the hard drive, as the changes made in the one-time boot menu are temporary only.
Note that the steps to access the one-time boot menu and select the boot device may vary depending on your computer’s manufacturer. If you encounter any difficulties or need further guidance, consult your computer’s user manual or visit the manufacturer’s support website for specific instructions.
Option 3: Modifying the Boot Order in BIOS Setup
A third method to boot from a CD, DVD, or BD disc is by modifying the boot order in the BIOS (Basic Input/Output System) setup. This allows you to permanently change the priority of boot devices. Follow these steps to modify the boot order in BIOS setup:
- Insert the bootable disc into your computer’s optical drive.
- Restart your computer and look for a message on the screen indicating the key to enter the BIOS settings. The key may vary depending on the manufacturer of your computer and could be F2, F12, Del, or another function key.
- Press the designated key to access the BIOS settings. Make sure to do this before the operating system loads.
- Navigate through the BIOS setup using the arrow keys. Locate the “Boot” or “Boot Order” section.
- Within the boot order section, you will find a list of devices. Use the designated key (usually + or -) to modify the boot order. Move the optical drive to the top of the list to prioritize it as the first boot device.
- Save the changes you made to the boot order and exit the BIOS setup. Look for the appropriate option at the bottom of the screen, typically labeled “Save and Exit” or something similar. Confirm the changes when prompted.
- Your computer will now restart and automatically boot from the inserted disc. Follow the on-screen instructions to proceed with your desired operation.
- After you have finished using the bootable disc, remove it from the optical drive and restart your computer.
- Confirm that your computer now boots from the regular boot device, usually the hard drive. The changes made in the BIOS setup are permanent and will be used for future booting unless modified again.
Keep in mind that the steps to access the BIOS setup and modify the boot order may differ based on your computer’s manufacturer. If you encounter any issues or require additional guidance, consult your computer’s documentation or contact the manufacturer’s support resources for specific instructions.
Troubleshooting Tips
While booting from a CD, DVD, or BD disc is generally a straightforward process, you may encounter some issues or errors along the way. Here are some troubleshooting tips to help you overcome common problems:
- Ensure the disc is bootable: Double-check that the disc you are using is indeed a bootable disc. Some discs may only contain data or media files and are not intended for booting purposes.
- Verify compatibility: Make sure the bootable disc is compatible with your computer’s optical drive. Some older drives may have limitations on the types of discs they can read or boot from.
- Clean the disc and drive: If the disc appears dirty or scratched, clean it gently with a soft, lint-free cloth. Additionally, ensure that the optical drive is clean and free from dust or debris.
- Check the boot order: Verify that the optical drive is set as the primary boot device in the BIOS or UEFI settings. If it’s not, modify the boot order accordingly.
- Reset BIOS settings: Sometimes, incorrect BIOS settings can prevent the computer from successfully booting from a disc. Resetting the BIOS to default settings can resolve this issue. Refer to your computer’s documentation for instructions on how to reset the BIOS.
- Try different boot keys: If you’re having trouble accessing the BIOS or one-time boot menu, try using a different key. The correct key may vary depending on your computer’s manufacturer.
- Update firmware and drivers: Updating the firmware of your optical drive and the system drivers can improve compatibility and resolve any issues related to booting from a disc. Check the manufacturer’s website for any available updates.
- Test with a different disc or drive: If possible, try booting from a different bootable disc or use an external optical drive for testing purposes. This can help determine if the issue lies with the disc or the optical drive itself.
- Seek professional assistance: If you have tried all troubleshooting steps and are still unable to successfully boot from a disc, it may be necessary to seek help from a professional technician or the manufacturer’s support team.
Remember to exercise caution when making changes to BIOS settings or updating firmware. If you’re not confident in your technical abilities, it’s best to seek professional guidance to avoid any potential risks or complications.
By following these troubleshooting tips, you can overcome common obstacles and ensure a smooth booting process from your CD, DVD, or BD disc.