
Why Add a Border in Google Slides?
When creating presentations in Google Slides, adding a border to your objects or elements can help enhance the visual appeal and draw attention to important information. Borders can provide a professional and polished look to your slides, making them more engaging and impactful for your audience. Whether you want to highlight a specific image, text box, or shape, adding a border is a simple yet effective way to make it stand out.
One of the main reasons to add a border in Google Slides is to create clear visual distinctions between different elements on the slide. By adding a border, you can create separation and hierarchy, allowing viewers to easily identify and focus on the most important content. Borders can also add structure and organization to your slide, making it easier for the audience to follow along and comprehend the information being presented.
Additionally, borders can be used to create emphasis and add a decorative element to your presentation. By choosing the right border style, thickness, and color, you can create a cohesive design that aligns with your branding or overall theme. Whether you want a simple and clean border or something more elaborate with patterns or gradients, the possibilities are endless.
Another advantage of adding a border in Google Slides is that it can help with accessibility. By using contrasting colors for the border and the content within it, you can improve readability for individuals with visual impairments or color blindness. Borders can provide a clear visual boundary, making it easier for everyone to differentiate between different elements on the slide.
Adding a Border to an Individual Object
If you want to add a border to an individual object in Google Slides, such as an image, text box, or shape, you can do so with just a few simple steps. Here’s how:
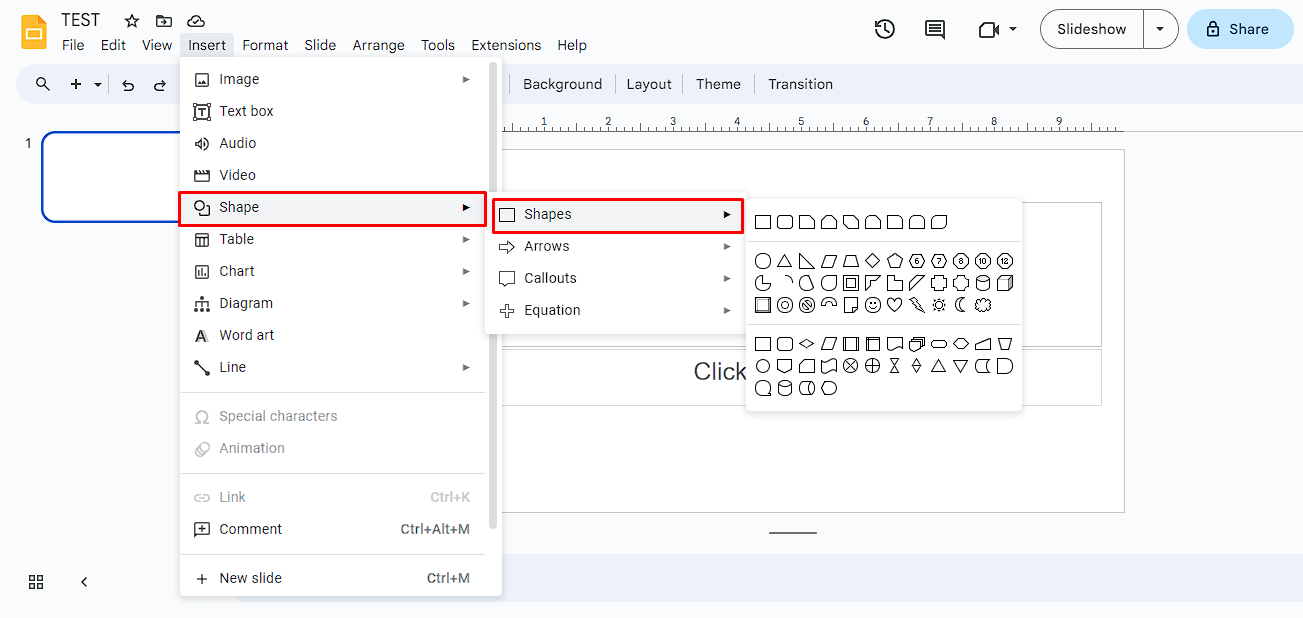
- Select the object to which you want to add a border by clicking on it.
- In the toolbar at the top, click on the “Border” icon, which looks like a square outline with a dotted line.
- A drop-down menu will appear with various border options. You can choose between a solid line, dashed line, or a custom line style.
- Select the desired border style by clicking on it.
- Once you’ve selected a border style, you can also adjust the thickness of the border by clicking on the “Border thickness” option in the drop-down menu. This will allow you to make the border thicker or thinner according to your preference.
- If you want to change the color of the border, click on the “Border color” option in the drop-down menu. You can choose from a range of colors or select a custom color.
- After customizing the border to your liking, the selected object will now have a border around it.
Adding a border to an individual object can help create focus and draw attention to that specific element. It can make the object stand out from the rest of the content on the slide, making it more visually appealing and easier for the audience to grasp the intended message.
Remember, you can always remove or modify the border if needed. Simply select the object, access the border options in the toolbar, and make the necessary changes. Experiment with different border styles, thicknesses, and colors to find the perfect design that complements your overall presentation.
Adding a Border to Multiple Objects
If you want to add a border to multiple objects in Google Slides, you can easily do so using the grouping feature. Grouping objects allows you to apply the same border settings to multiple elements simultaneously. Here’s how:
- Select the first object by clicking on it, then hold down the Shift key on your keyboard.
- While holding down the Shift key, click on the other objects you want to add the border to. This will select all the desired objects at once.
- In the toolbar at the top, click on the “Arrange” option, which looks like a stack of squares.
- In the drop-down menu that appears, select the “Group” option.
- Once the objects are grouped, click on the “Border” icon in the toolbar, just like in the previous section.
- Choose your desired border style, thickness, and color from the options provided.
- The border settings you choose will be applied to all the objects in the group.
Adding a border to multiple objects at once can save you time and ensure consistency throughout your presentation. It can be especially useful when you have multiple elements that need to be visually linked or emphasized.
If you want to modify the border settings for individual objects within the group, you can ungroup them by selecting the group, clicking on the “Arrange” option in the toolbar, and choosing “Ungroup”. This will allow you to make specific adjustments to each object’s border to fit your design requirements.
Remember to assess the overall visual impact of the grouped objects with the added border. Ensure that the borders complement each other and do not overcrowd the slide. By adding borders to multiple objects strategically, you can create a visually cohesive and appealing presentation.
Modifying the Border Thickness
Google Slides allows you to customize the thickness of borders on objects to create different visual effects. Modifying the border thickness can help you achieve the desired emphasis and style for your presentation. Here’s how you can do it:
- Select the object that has the border you want to modify by clicking on it.
- In the toolbar at the top, click on the “Border” icon, which looks like a square outline with a dotted line.
- A drop-down menu with border options will appear. Click on the “Border thickness” option at the bottom of the menu.
- A slider will appear where you can adjust the thickness of the border. Slide it to the left to make the border thinner or to the right to make it thicker.
- As you adjust the slider, you will see the border thickness change in real-time on the selected object.
- Once you are satisfied with the new border thickness, release the slider. The border will be updated accordingly.
Modifying the border thickness gives you control over the prominence of the border and can help you achieve different visual effects. Thicker borders can create a bold and eye-catching look, while thinner borders can provide a more subtle and refined appearance. Choose the thickness that best fits your overall design aesthetic and the content you want to highlight.
Experiment with different border thicknesses to find the right balance for your slides. Remember, you can always adjust the thickness again if needed. It’s a great way to fine-tune the visual impact of your presentation and create a polished and professional look.
Changing the Border Color
Changing the border color in Google Slides allows you to add a touch of customization and style to your objects. With a few simple steps, you can modify the border color to match your branding, create visual contrast, or simply add a pop of color to your presentation. Here’s how you can do it:
- Select the object for which you want to change the border color by clicking on it.
- In the toolbar at the top, click on the “Border” icon, which resembles a square outline with a dotted line.
- A drop-down menu will appear with various border options. Click on the “Border color” option.
- A color palette will appear, giving you the choice of predefined colors or the ability to select a custom color.
- If you want to select a predefined color, click on the desired color from the palette. The border color will update accordingly.
- If you want to use a custom color, click on the “Custom” option at the bottom of the color palette.
- For a custom color, you can either enter the color’s hex code or use the color picker tool to select a specific shade.
- Once you have chosen the desired border color, it will be applied to the selected object.
Changing the border color allows you to create visual contrast and draw attention to specific elements on your slides. You can use a color that complements the content or reinforces your brand identity. For example, you could use a bold color for important headings, a subtle color for supporting text, or a contrasting color for call-to-action buttons.
Keep in mind that the border color should harmonize with the overall color scheme of your presentation. Consider the readability and visual appeal when selecting a border color, ensuring that it enhances the content rather than overpowering it.
By experimenting with different border colors, you can add visual interest and make your objects stand out in a vibrant and engaging way.
Removing the Border from an Object
If you have added a border to an object in Google Slides and later decide that you no longer want it, you can easily remove the border. Here’s how:
- Select the object from which you want to remove the border by clicking on it.
- In the toolbar at the top, click on the “Border” icon, which resembles a square outline with a dotted line.
- A drop-down menu will appear with various border options. At the top of the menu, you will see an option labeled “No border”. Click on it.
- The border will be instantly removed from the selected object.
Removing the border from an object can help create a cleaner and more streamlined look, eliminating any distractions that the border might have caused. This is especially useful when you want to focus the audience’s attention solely on the content of the object without any visual embellishments.
If you have multiple objects with borders and want to remove the borders from all of them at once, you can use the grouping feature. Select all the objects with borders, group them together, and then follow the same steps to remove the borders for the entire group.
Removing the border can also be a temporary measure if you later decide to add a different border style or color to the object. By having the flexibility to remove and reapply borders as needed, you can easily customize and adjust the visual elements of your presentation to suit your preferences and design requirements.
Tips for Using Borders Effectively in Google Slides
When using borders in Google Slides, there are a few tips and considerations to keep in mind to ensure that they enhance your presentation and effectively convey your message. Here are some tips for using borders effectively:
- Be consistent: Choose a set of border styles, thicknesses, and colors that align with your overall design theme and remain consistent throughout your presentation. Consistency in border usage helps maintain a cohesive and professional look.
- Use borders sparingly: While borders can be visually appealing, it’s important not to overuse them. Adding borders to every object on a slide can create a cluttered appearance and distract from the content. Instead, use borders selectively to highlight or separate specific elements.
- Contrast with background: Consider the background color or image on your slide when selecting border colors. Choose border colors that provide sufficient contrast to ensure readability and visibility. A border that blends too closely with the background may not effectively highlight the content.
- Consider thickness and style: The thickness and style of the border can impact the overall aesthetics of your slide. Thicker borders may draw more attention, while thinner borders can create a more subtle separation. Additionally, different border styles, such as solid or dashed lines, can add variety and visual interest.
- Ensure readability: If you’re adding text within a bordered object, make sure the text remains readable against the border color and thickness. Choose a border color that contrasts well with the text color and adjust the thickness accordingly to avoid any visual conflicts or difficulties in reading.
- Combine with other formatting elements: Borders can be effective when used in conjunction with other formatting elements like shadows, gradients, or transparency. Experiment with different combinations to create unique visual effects that enhance the overall aesthetics of your slides.
- Consider accessibility: Ensure that the chosen border colors meet accessibility standards, especially for viewers with visual impairments or color blindness. Aim for sufficient contrast between the border color and the content within it to improve readability for all audiences.
By following these tips, you can use borders effectively in Google Slides to create visually appealing and impactful presentations. Remember to strike a balance between using borders as a design element and ensuring they serve the purpose of highlighting or separating content, ultimately enhancing the overall clarity and visual appeal of your slides.