
Checking Compatibility
Before connecting your iPhone to the Fangor projector, it's crucial to ensure that both devices are compatible. This involves checking the compatibility of your iPhone model with the projector and verifying the necessary iOS version.
-
iPhone Model Compatibility: Not all iPhone models are compatible with external projectors. Ensure that your iPhone model supports video output. Generally, iPhones from the iPhone 4 and later are compatible with most projectors. However, it's advisable to refer to the user manual or official website of your iPhone model to confirm its compatibility with external displays.
-
iOS Version: The iOS version on your iPhone also plays a significant role in its compatibility with external devices. Ensure that your iPhone is running a compatible iOS version. It's recommended to have the latest iOS version installed on your device to ensure seamless connectivity with the Fangor projector.
-
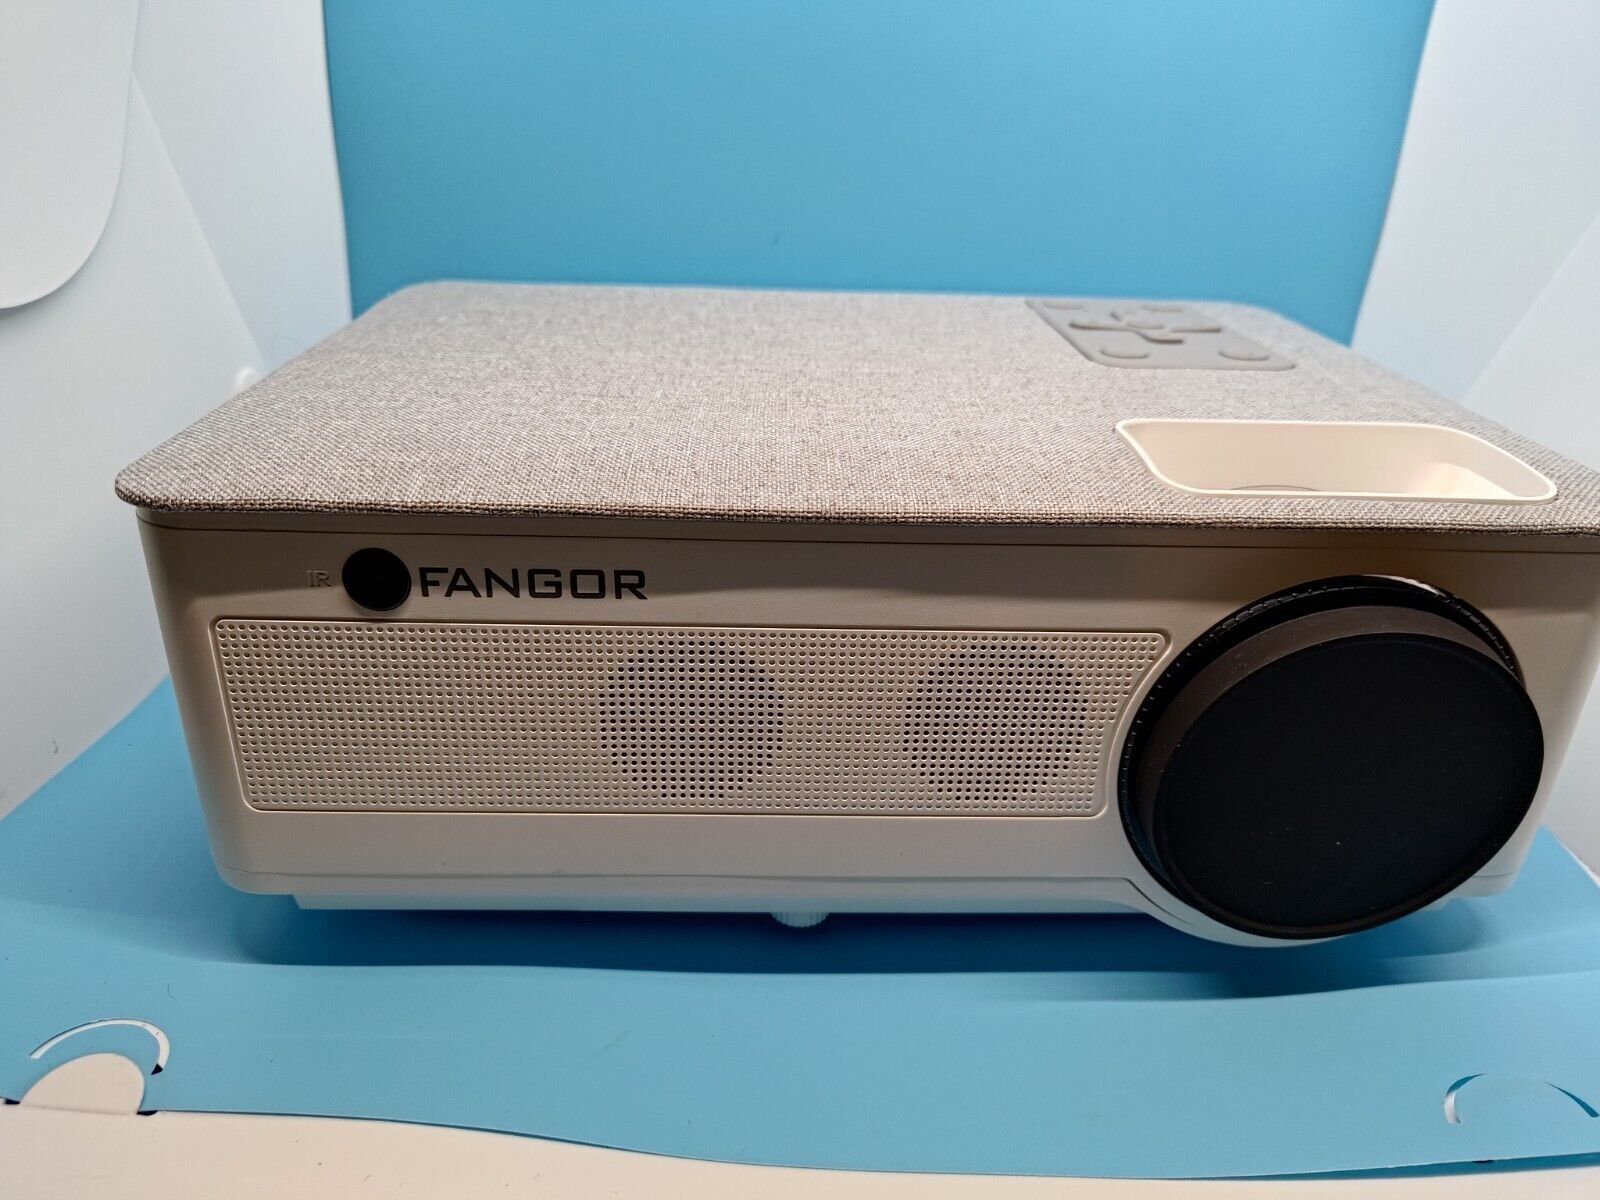
Fangor Projector Compatibility: Additionally, verify that the Fangor projector is compatible with external devices such as iPhones. Check the projector's specifications and user manual to confirm its compatibility with iOS devices.
Ensuring compatibility between your iPhone and the Fangor projector is the first step towards a successful connection. By confirming these compatibility factors, you can proceed with confidence, knowing that both devices are equipped to work together seamlessly.
Gathering Necessary Cables and Adapters
Once you’ve confirmed the compatibility of your iPhone and the Fangor projector, the next step is to gather the essential cables and adapters required for the connection. This ensures that you have all the necessary components to establish a seamless link between your iPhone and the projector.
-
Lightning to HDMI Adapter: To connect your iPhone to the projector, you’ll need a Lightning to HDMI adapter. This adapter allows you to mirror your iPhone’s screen onto the projector, enabling you to display content from your device onto a larger screen.
-
HDMI Cable: A high-quality HDMI cable is essential for transmitting the audio and video signals from your iPhone to the Fangor projector. Ensure that the HDMI cable is long enough to provide flexibility in projector placement while maintaining a secure connection to your iPhone.
-
Power Adapter: Depending on the length of your presentation or content playback, it’s advisable to have a power adapter on hand to keep your iPhone charged throughout the connection to the projector. This ensures uninterrupted usage and prevents the iPhone from running out of battery during the projection.
Gathering these cables and adapters ensures that you have all the necessary components to establish a reliable connection between your iPhone and the Fangor projector. By being prepared with the right equipment, you can proceed with confidence and set up the connection without any interruptions or delays.
Setting Up the Projector
Before connecting your iPhone to the Fangor projector, it’s essential to set up the projector itself to ensure optimal performance and seamless connectivity. Properly configuring the projector creates a conducive environment for the successful connection and projection of content from your iPhone.
-
Placement: Choose an ideal location to position the Fangor projector. Ensure that it is placed on a stable surface and positioned at an appropriate distance from the projection screen or surface to achieve the desired image size and clarity.
-
Power Connection: Connect the projector to a power source using the provided power adapter. Ensure that the power source is easily accessible and can accommodate the power requirements of the projector for uninterrupted operation.
-
Adjusting Focus and Keystone: Before connecting your iPhone, adjust the focus and keystone settings on the projector to ensure a clear and properly aligned image. This step is crucial for optimizing the visual output and ensuring that the projected content appears sharp and distortion-free.
By setting up the Fangor projector correctly, you create an environment that is conducive to a successful connection with your iPhone. This preparation ensures that the projector is ready to receive and display content from your iPhone seamlessly, allowing for an enhanced viewing experience.
Connecting the iPhone to the Projector
With the Fangor projector set up and ready, it’s time to establish the connection between your iPhone and the projector. This process involves using the necessary cables and adapters to link the two devices, enabling you to share and display content from your iPhone onto a larger screen.
-
Connect the Lightning to HDMI Adapter: Begin by plugging the Lightning end of the Lightning to HDMI adapter into the charging port of your iPhone. This adapter allows you to transmit both audio and video signals from your iPhone to the projector via an HDMI cable.
-
Attach the HDMI Cable: Connect one end of the HDMI cable to the HDMI port on the Lightning to HDMI adapter. The other end of the HDMI cable should be plugged into the HDMI input port on the Fangor projector, ensuring a secure connection.
-
Power Up the Projector: Power on the Fangor projector and select the HDMI input source that corresponds to the port used for connecting your iPhone. This allows the projector to receive the signals from your iPhone and prepare for the display of content.
By following these steps, you establish a direct connection between your iPhone and the Fangor projector, enabling the seamless transmission and display of content from your device onto a larger viewing surface.
Adjusting Settings on the iPhone
After connecting your iPhone to the Fangor projector, it’s important to adjust certain settings on your iPhone to optimize the display and ensure a smooth viewing experience. By making these adjustments, you can customize the output to suit your preferences and the specific requirements of the content being projected.
-
Display Orientation: Ensure that the display orientation on your iPhone is set to landscape mode. This aligns the content with the orientation of the projector screen, maximizing the viewing area and maintaining the correct aspect ratio.
-
Screen Mirroring: Access the Control Center on your iPhone and select “Screen Mirroring.” Choose the option that corresponds to the name of the projector or the HDMI input to which your iPhone is connected. This initiates the screen mirroring process, enabling the content from your iPhone to be displayed on the projector screen.
-
Volume and Notifications: Adjust the volume settings on your iPhone to ensure that the audio output is routed to the projector. Additionally, consider enabling “Do Not Disturb” mode or silencing notifications to prevent interruptions during the projection of content.
By customizing these settings on your iPhone, you can tailor the display output to align with the requirements of the projector and the specific content being presented. These adjustments contribute to an enhanced viewing experience and ensure that the projected content is optimized for clarity and impact.
Playing Content from the iPhone
Once the iPhone is successfully connected to the Fangor projector and the settings are adjusted, you are ready to play and project content from your device onto the larger screen. Whether it’s a presentation, a movie, or a slideshow, the process of playing content from your iPhone is straightforward and allows for a seamless transfer of visual and audio media.
-
Launching the Content: Open the app or media file on your iPhone that contains the content you wish to project. Whether it’s a PowerPoint presentation, a video, or a series of images, accessing the desired content on your iPhone is the initial step in the projection process.
-
Initiating Playback: Start playing the content on your iPhone. Whether it’s tapping through a presentation, playing a video, or swiping through images, ensure that the content is in motion on your device to initiate the projection onto the larger screen via the Fangor projector.
-
Controlling Playback: Use the controls on your iPhone to manage the playback of the content. This may involve pausing, rewinding, or advancing through the media as needed, all of which will be reflected on the projector screen in real-time.
By following these steps, you can seamlessly play and project content from your iPhone onto the larger display facilitated by the Fangor projector. This process allows for the effective sharing and presentation of media, enhancing the visual experience and enabling a broader audience to engage with the content from your iPhone.