
Understanding the Call Recording Feature on iPhone 10
The iPhone 10, equipped with advanced technology and a user-friendly interface, offers a convenient call recording feature that allows users to capture important conversations with ease. This functionality is particularly valuable for individuals who rely on their smartphones for professional and personal communication. Understanding the call recording feature on the iPhone 10 entails familiarizing oneself with its capabilities and the steps involved in enabling, recording, and managing calls.
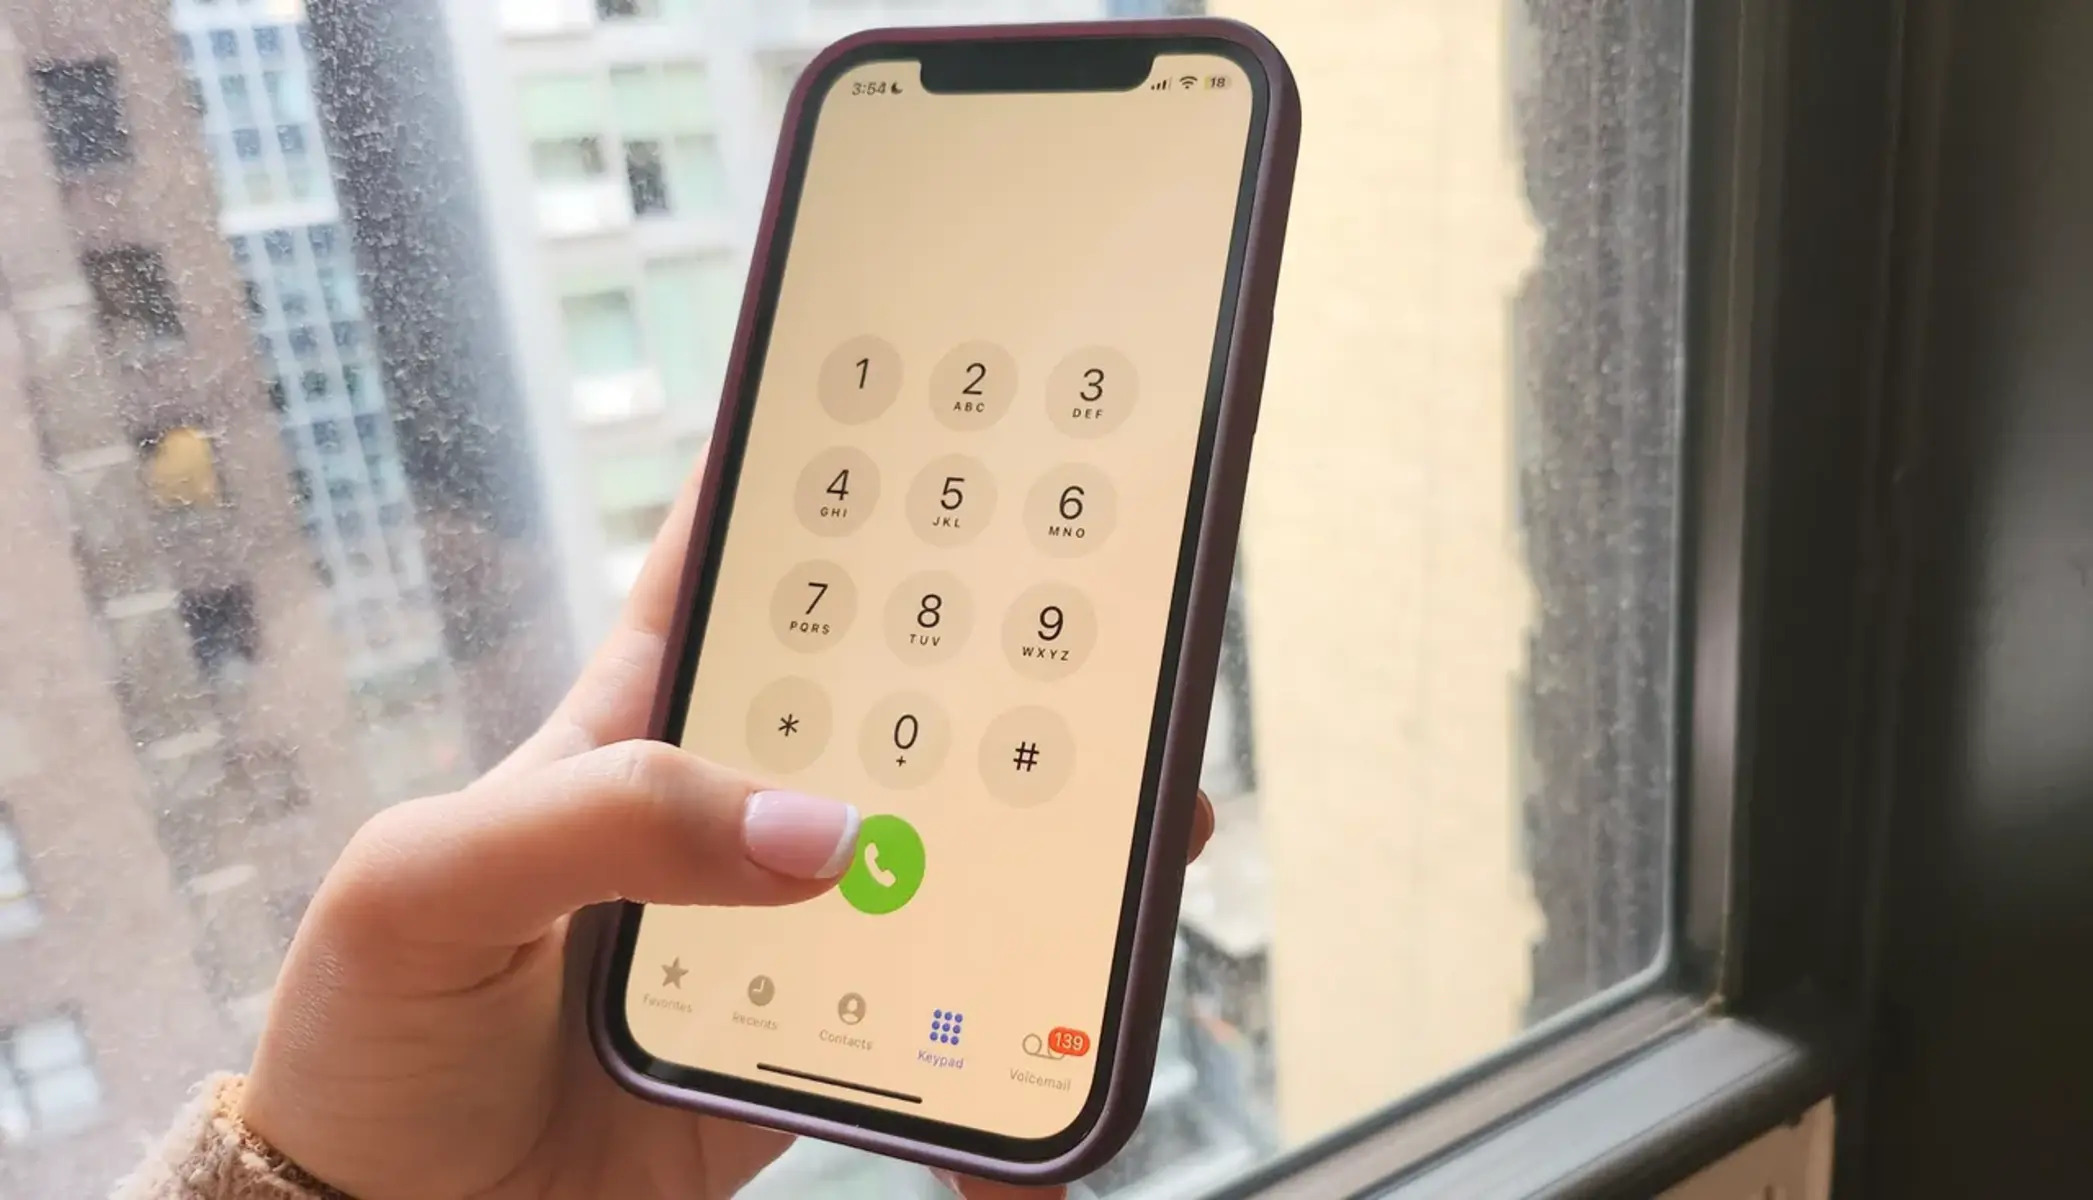
Seamless Integration with the Phone App
The call recording feature seamlessly integrates with the native Phone app on the iPhone 10, ensuring a streamlined user experience. This integration allows users to access the call recording functionality directly from the Phone app, eliminating the need for third-party applications or complex setups.
Legal and Ethical Considerations
It's essential for iPhone 10 users to be aware of the legal and ethical considerations associated with call recording. Depending on the jurisdiction, laws and regulations regarding call recording may vary. Therefore, it's crucial to understand the legal implications and obtain consent from all parties involved before initiating a call recording. This ensures compliance with applicable laws and ethical standards.
Privacy and Security Measures
Apple prioritizes user privacy and data security, and the call recording feature on the iPhone 10 reflects this commitment. The recorded calls are securely stored within the device's ecosystem, safeguarded by Apple's robust security measures. This ensures that sensitive information shared during calls remains protected and inaccessible to unauthorized individuals.
User-Friendly Interface and Accessibility
The call recording feature on the iPhone 10 boasts a user-friendly interface, making it accessible to users of varying technical proficiencies. The intuitive design of the feature simplifies the process of initiating and managing call recordings, enhancing the overall user experience.
Versatility and Practical Applications
The versatility of the call recording feature extends to its practical applications in both personal and professional contexts. From preserving important business discussions to capturing cherished conversations with loved ones, the feature serves as a valuable tool for preserving meaningful interactions.
Understanding the call recording feature on the iPhone 10 sets the stage for harnessing its potential to enhance communication and information retention. By familiarizing oneself with the legal considerations, privacy measures, and practical applications of this feature, users can leverage it effectively in diverse scenarios, thereby maximizing its utility.
Enabling Call Recording on iPhone 10
Enabling the call recording feature on your iPhone 10 is a straightforward process that empowers you to capture important conversations effortlessly. To initiate this functionality, follow the simple steps outlined below:
-
Update to the Latest iOS Version: Ensure that your iPhone 10 is running the latest version of iOS. Regular software updates often include enhancements and bug fixes, ensuring optimal performance of features such as call recording.
-
Access Settings: Navigate to the "Settings" app on your iPhone 10. This serves as the central hub for configuring various aspects of your device, including call recording settings.
-
Locate the Phone Settings: Within the "Settings" app, scroll down and tap on "Phone." This section houses a range of settings related to the phone functionality, including call forwarding, caller ID, and call recording.
-
Enable Call Recording: Upon accessing the "Phone" settings, look for the "Call Recording" option. Toggle the switch to enable call recording on your iPhone 10. Once activated, the call recording feature becomes seamlessly integrated into your device's native Phone app.
-
Review Legal Considerations: Before proceeding, it's essential to familiarize yourself with the legal implications of call recording in your jurisdiction. Depending on your location, consent from all parties involved in the call may be required. Adhering to legal and ethical standards ensures compliance and promotes responsible use of the call recording feature.
-
Test the Feature: To ensure that call recording is functioning as intended, initiate a test call to verify that the feature captures the audio accurately. This step allows you to confirm the proper activation of call recording on your iPhone 10.
By following these steps, you can enable the call recording feature on your iPhone 10, empowering yourself to preserve important conversations and valuable information with ease. It's important to approach call recording responsibly, respecting the privacy and consent of all parties involved, and adhering to applicable laws and regulations. Once enabled, the call recording feature seamlessly integrates into your device's communication capabilities, enhancing its utility in various personal and professional scenarios.
Recording an Incoming Call on iPhone 10
Recording an incoming call on your iPhone 10 is a valuable capability that allows you to preserve important conversations for future reference. Whether it's a crucial business discussion, a significant piece of information, or a cherished conversation with a loved one, the ability to capture incoming calls can be immensely beneficial. To initiate the recording of an incoming call on your iPhone 10, follow the step-by-step guide outlined below:
-
Answer the Call: When you receive an incoming call on your iPhone 10, proceed to answer it as you normally would. Once the call is connected, you can proceed to initiate the recording process.
-
Access the Phone App: While the call is in progress, navigate to the Phone app on your iPhone 10. This can be done by tapping the green phone icon located on the home screen or by accessing it from the app library.
-
Initiate Call Recording: Within the Phone app, locate the option to enable call recording. This may be represented by a dedicated button or an on-screen prompt, depending on the specific interface of your device. Tap the designated control to commence the recording of the ongoing call.
-
Notify the Caller (if required): Depending on the legal requirements in your jurisdiction, it may be necessary to inform the caller that the conversation is being recorded. If consent is mandated by law, ensure that you communicate this to the caller in a clear and respectful manner.
-
Verify the Recording: Once the call recording has been initiated, verify that the audio is being captured accurately. This can be done by monitoring the on-screen indicators or prompts within the Phone app, confirming that the recording is in progress.
-
End the Call and Save the Recording: Upon concluding the incoming call, the recorded conversation is typically saved automatically within the call log or a designated recordings section of the Phone app. Ensure that the recording is successfully saved for future access and reference.
By following these steps, you can effectively record incoming calls on your iPhone 10, preserving valuable conversations and essential information with ease. It's important to approach call recording responsibly, respecting the legal and ethical considerations associated with capturing incoming calls. Adhering to applicable laws and regulations ensures compliance and promotes the responsible use of this feature, enhancing its utility in various personal and professional scenarios.
Recording an Outgoing Call on iPhone 10
Capturing outgoing calls on your iPhone 10 provides a valuable means of preserving important conversations and essential information. Whether it's a professional discussion, a critical decision-making exchange, or a significant personal interaction, the ability to record outgoing calls empowers users to retain vital details for future reference. To initiate the recording of an outgoing call on your iPhone 10, follow the step-by-step guide outlined below:
-
Initiate the Outgoing Call: Begin by initiating the outgoing call from your iPhone 10 as you typically would. Once the call is connected and in progress, you can proceed to enable the recording feature.
-
Access the Phone App: While the outgoing call is ongoing, navigate to the Phone app on your iPhone 10. This can be accomplished by tapping the green phone icon on the home screen or accessing it from the app library.
-
Enable Call Recording: Within the Phone app, locate the option to enable call recording for outgoing calls. This functionality may be represented by a dedicated button or an on-screen prompt, depending on the specific interface of your device. Tap the designated control to commence the recording of the outgoing call.
-
Notify the Recipient (if required): Depending on the legal requirements in your jurisdiction, it may be necessary to inform the recipient of the call that the conversation is being recorded. If consent is mandated by law, ensure that you communicate this to the recipient in a clear and respectful manner.
-
Verify the Recording: Once the call recording has been initiated, verify that the audio is being captured accurately. This can be done by monitoring the on-screen indicators or prompts within the Phone app, confirming that the recording is in progress.
-
End the Call and Save the Recording: Upon concluding the outgoing call, the recorded conversation is typically saved automatically within the call log or a designated recordings section of the Phone app. Ensure that the recording is successfully saved for future access and reference.
By following these steps, you can effectively record outgoing calls on your iPhone 10, preserving valuable conversations and essential information with ease. It's crucial to approach call recording responsibly, respecting the legal and ethical considerations associated with capturing outgoing calls. Adhering to applicable laws and regulations ensures compliance and promotes the responsible use of this feature, enhancing its utility in various personal and professional scenarios.
Managing and Accessing Recorded Calls on iPhone 10
Managing and accessing recorded calls on your iPhone 10 is a seamless process that empowers you to organize and revisit important conversations with ease. Whether it's for professional documentation, legal compliance, or personal reference, the ability to manage and access recorded calls enhances the utility of the call recording feature. Here's a detailed guide on effectively managing and accessing recorded calls on your iPhone 10:
Accessing Recorded Calls
Upon successfully recording a call, accessing the recorded conversation is a straightforward task. The recorded calls are conveniently stored within the Phone app, allowing for easy retrieval and playback. To access recorded calls, follow these steps:
-
Open the Phone App: Navigate to the Phone app on your iPhone 10's home screen or app library.
-
Access the Call Log: Within the Phone app, locate the call log section, which typically displays a chronological list of incoming, outgoing, and missed calls.
-
Identify Recorded Calls: Recorded calls are often denoted by a specific indicator or icon within the call log, distinguishing them from regular calls.
-
Select the Recorded Call: Tap on the recorded call entry to access playback options and additional details, such as the date and duration of the recorded conversation.
Managing Recorded Calls
Effectively managing recorded calls involves organizing and categorizing them for future reference and archival purposes. The Phone app offers intuitive features for managing recorded calls, ensuring seamless organization and accessibility. Here's how you can manage recorded calls on your iPhone 10:
-
Create Custom Labels: Utilize the labeling feature within the Phone app to categorize recorded calls based on their relevance or significance. This allows for easy identification and retrieval of specific conversations when needed.
-
Add Notes and Context: Enhance the utility of recorded calls by adding contextual notes or tags to each recording. This provides valuable context and aids in recalling the details of the conversation at a later time.
-
Archive Important Calls: For long-term storage and archival purposes, consider archiving important recorded calls. This prevents accidental deletion and ensures that crucial conversations are retained for future reference.
-
Share and Export: The ability to share and export recorded calls facilitates collaboration and documentation. Utilize the sharing options within the Phone app to securely share recorded conversations with relevant parties or export them for external storage.
By effectively managing and accessing recorded calls on your iPhone 10, you can harness the full potential of the call recording feature, ensuring that important conversations are organized, preserved, and readily available when needed. This capability enhances communication documentation, facilitates legal compliance, and empowers users to retain valuable information with convenience and efficiency.