
Tools and Supplies Needed to Remove Rear View Mirror Button
Removing the rear view mirror button from your car’s windshield may seem like a daunting task, but with the right tools and supplies, it can be a straightforward process. Before you begin, gather the following items:
- Flathead screwdriver: This will be used to pry the rear view mirror button off the windshield.
- Protective gloves: Ensure your hands are protected during the removal process.
- Isopropyl alcohol: This is instrumental in cleaning the windshield and removing any adhesive residue.
- Clean microfiber cloth: Use a soft cloth to ensure a streak-free and clean surface.
- Adhesive remover: In case there is stubborn adhesive residue left on the windshield, an adhesive remover can come in handy.
Having these tools and supplies ready will make the process of removing the rear view mirror button much smoother. It’s important to use a flathead screwdriver specifically for this task, as it has a slim edge that can easily fit between the button and the windshield without causing damage.
Additionally, wearing protective gloves is crucial to avoid any injuries or discomfort while working with the screwdriver. Isopropyl alcohol is recommended for cleaning the windshield, as it effectively removes any dirt or adhesive residue without leaving marks.
Remember to use a clean microfiber cloth to wipe the windshield after cleaning to ensure a pristine finish. Lastly, if there are any stubborn remnants of adhesive left on the windshield, an adhesive remover can be used to safely and efficiently remove them.
By having these tools and supplies ready, you’ll be well-prepared to tackle the task of removing your rear view mirror button and ensuring a smooth and successful process.
Step-by-Step Guide for Removing Rear View Mirror Button
Removing the rear view mirror button from your car’s windshield requires careful execution to avoid any damage. Follow this step-by-step guide to ensure a safe and successful removal:
- Prepare the area: Park your car in a well-lit and spacious area. Ensure the windshield is clean and free from any dirt or debris that may hinder the removal process.
- Put on protective gloves: Before you begin, protect your hands by wearing gloves. This will also provide a better grip while working on the mirror button.
- Examine the button: Assess the type of rear view mirror button you have. Some are attached with adhesive, while others use a locking mechanism. Knowing this will guide your removal approach.
- Position the flathead screwdriver: If your mirror button is held by adhesive, gently insert the flathead screwdriver between the button and the windshield. Apply pressure and carefully pry it off, working your way around the edges.
- Release the locking mechanism: For mirror buttons with a locking mechanism, locate the release lever or button. Press it while carefully pulling the button away from the windshield.
- Disconnect the wiring: Once the mirror button is removed, locate the wiring harness connected to it. Depending on the make and model of your vehicle, this may involve removing a cover or accessing it from behind the mirror assembly.
- Disconnect the wiring: Carefully disconnect the wiring harness by gently pressing the release tab and pulling the connectors apart. Take note of the wiring configuration for easier reinstallation.
- Clean the windshield: With the mirror button removed, use isopropyl alcohol and a clean microfiber cloth to thoroughly clean the area where the button was attached. This will remove any adhesive residue and ensure a clean surface for reinstallation.
By following these step-by-step instructions, you can safely remove the rear view mirror button from your car’s windshield without causing any damage. Take your time, be gentle, and if in doubt, consult your vehicle’s manual or seek professional assistance.
Precautions to Take Before Removing Rear View Mirror Button
Before you begin removing the rear view mirror button from your car’s windshield, it’s important to take certain precautions to ensure a smooth and safe process. Here are some key precautions to keep in mind:
- Turn off the car: Before attempting any work on your vehicle, turn off the engine and remove the keys from the ignition. This helps prevent any accidental movements of the mirror or damage to the electrical system.
- Park in a safe location: Ensure your car is parked in a safe, well-lit area with enough space to comfortably work around the windshield. Avoid working on the mirror button in a busy or tight parking lot to minimize the risk of accidents.
- Protective gloves: Wear protective gloves to avoid any injuries or discomfort while removing the mirror button. This will provide a better grip and protect your hands from any sharp edges or debris.
- Use caution with the screwdriver: When using the flathead screwdriver to pry off the mirror button, exercise caution to prevent scratching or damaging the windshield. Apply gentle pressure and evenly distribute it along the edges of the button.
- Support the mirror assembly: If your rear view mirror assembly is attached to the button, provide support with your other hand to prevent it from falling and potentially causing damage.
- Avoid excessive force: Be patient and avoid using excessive force during the removal process. If the button does not come off easily, reassess your approach and seek professional assistance if necessary.
- Disconnect the wiring carefully: Take care when disconnecting the wiring harness from the mirror button. Use gentle pressure and locate the release tab to safely disconnect the connectors without causing any damage.
- Keep track of wiring configuration: Ensure you make a note or take a picture of the wiring configuration before disconnecting it. This will help during reinstallation and prevent any errors or confusion.
By taking these precautions, you can minimize the risk of accidents, damage, or injury while removing the rear view mirror button from your car’s windshield. Remember to always prioritize safety and consult your vehicle’s manual or seek professional assistance if you are unsure or uncomfortable with performing the removal process on your own.
How to Disconnect the Wiring of Rear View Mirror Button
Disconnecting the wiring harness of the rear view mirror button is a crucial step before completely removing it from your car’s windshield. Follow these steps to ensure a proper disconnection:
- Locate the wiring harness: Depending on the make and model of your vehicle, the wiring harness may be located behind the mirror assembly or covered by a protective housing. Take your time to locate it before proceeding.
- Identify the release tab: Inspect the wiring harness connectors and look for a small release tab. This tab needs to be pressed or lifted to disengage the connector.
- Press the release tab: Using your thumb or a small tool, gently press the release tab while holding the connector firmly. Apply consistent pressure until you feel the connector start to loosen.
- Pull the connectors apart: While still applying pressure to the release tab, carefully pull the connectors apart. They should disconnect smoothly without any excessive force. If they seem stuck, reassess the positioning of the release tab and ensure a proper grip to avoid damaging the connectors.
- Take note of the wiring configuration: Before completely disconnecting the wiring, take note of the configuration or even take a picture for reference. This will help during reinstallation, ensuring the correct reconnection and preventing any confusion or errors.
- Secure the wiring harness: Once the connectors are separated, make sure to secure the wiring harness in place. Use zip ties or tape to ensure that it doesn’t dangle or interfere with other components in your vehicle.
It’s important to approach the disconnection of the rear view mirror button’s wiring harness with care and attention. Applying gentle pressure to the release tab and maintaining a firm grip on the connectors will help prevent any damage or accidental disconnections.
By following these steps and taking the necessary precautions, you can successfully disconnect the wiring harness of the rear view mirror button from your car’s windshield.
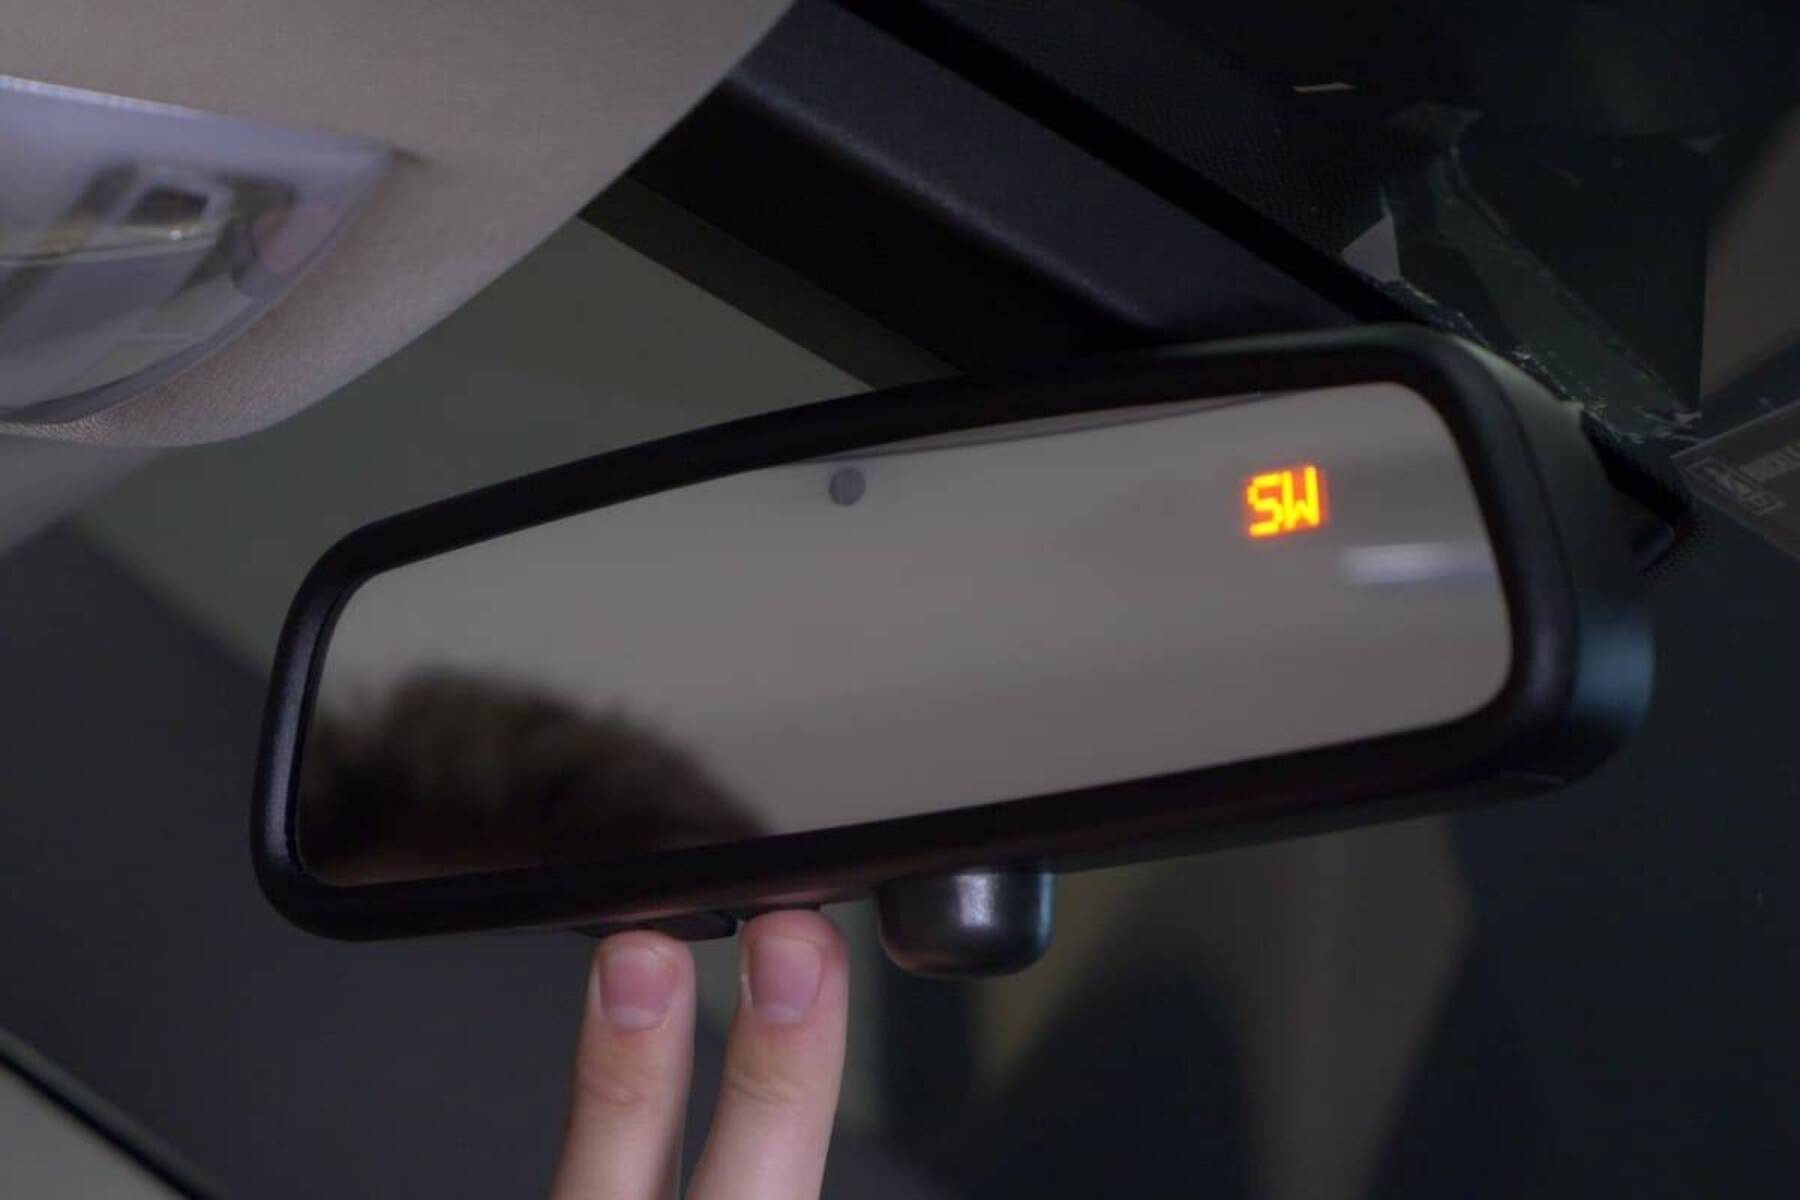
Removing the Rear View Mirror Button from the Windshield
Once you have successfully disconnected the wiring harness, it’s time to remove the rear view mirror button from the windshield. Follow these steps to safely remove it:
- Prepare the area: Ensure the windshield is clean and free from any dirt or debris that may hinder the removal process. Park your car in a well-lit and spacious area for better visibility and maneuverability.
- Put on protective gloves: Before you begin, put on a pair of protective gloves to avoid any injuries or discomfort while handling the mirror button.
- Inspect the button: Take a close look at the rear view mirror button and note how it is attached to the windshield. Some buttons are held in place by adhesive, while others may have a locking mechanism.
- Pry off the button: If the button is held by adhesive, carefully insert a flathead screwdriver between the button and the windshield. Apply gentle pressure and slowly pry it off, working your way around the edges. Be cautious not to scratch or damage the windshield while doing so.
- Release the locking mechanism: For buttons with a locking mechanism, locate the release lever or button. Press it while gently pulling the button away from the windshield. Take care not to apply excessive force, as it may cause damage.
- Clean the windshield: Once the mirror button is removed, take the opportunity to clean the area where it was attached. Use isopropyl alcohol and a clean microfiber cloth to remove any adhesive residue or dirt. This will ensure a smooth surface for future installations.
During the removal process, it’s important to exercise caution and take your time to prevent any damage to the windshield or the rear view mirror assembly. Using a flathead screwdriver with a slim edge will help minimize the risk of scratching the glass.
By following these steps and being mindful of the condition of your windshield, you can successfully remove the rear view mirror button without any complications or damage.
Tips for Removing and Replacing the Rear View Mirror Button
Removing and replacing the rear view mirror button on your car’s windshield can be a delicate process. Here are some helpful tips to ensure a successful removal and replacement:
- Take your time: The removal process requires patience and a gentle touch. Rushing through it may result in damage to the windshield or the mirror button. Take your time to carefully follow the steps and be mindful of any potential risks.
- Use the right tools: Ensure you have the necessary tools, such as a flathead screwdriver and protective gloves, to safely remove the mirror button. Using the proper tools will make the process easier and minimize the risk of accidents or damage.
- Inspect the adhesive: If your mirror button is attached with adhesive, check the condition of the adhesive before attempting the removal. If it is old or deteriorated, consider using an adhesive remover to soften it and facilitate the removal process.
- Support the mirror assembly: When removing the mirror button, it’s important to support the mirror assembly with your other hand to prevent it from falling or getting damaged.
- Clean the windshield thoroughly: Before replacing the mirror button, ensure the windshield is clean and free from any debris or adhesive residue. Use isopropyl alcohol and a clean microfiber cloth to achieve a pristine surface.
- Properly align the replacement button: When replacing the mirror button, ensure it is aligned correctly with the mounting bracket on the windshield. Take your time to position it accurately to avoid any issues with attachment or functionality.
- Reconnect the wiring harness carefully: When reconnecting the wiring harness, double-check the configuration and ensure the connectors are securely fastened. Listen for a click or a solid connection to verify that they are properly seated.
- Test the functionality: After replacing the mirror button, test its functionality by adjusting the mirror and ensuring it holds the desired position securely. Verify that all electrical features, such as auto-dimming or built-in lights, are working correctly.
By following these tips, you can safely remove and replace the rear view mirror button on your car’s windshield. Remember to take your time, be cautious, and consult your vehicle’s manual or seek professional assistance if you encounter any difficulties or uncertainties.
Cleaning and Reinstalling the Rear View Mirror Button
Once you have successfully removed the rear view mirror button from the windshield, it’s important to clean it properly before reinstalling. Here’s a step-by-step guide for cleaning and reinstalling the rear view mirror button:
- Inspect the mirror button: Before cleaning, inspect the mirror button for any dirt, dust, or adhesive residue that may have accumulated on the surface. If necessary, use a soft, clean cloth to gently remove any debris.
- Clean with isopropyl alcohol: Dampen a clean microfiber cloth with isopropyl alcohol. Gently wipe the surface of the mirror button to remove any dirt, fingerprints, or residue that may be present. Be careful not to apply excessive pressure, as it may damage the button.
- Clean the windshield contact area: Use the same cloth and isopropyl alcohol to clean the contact area on the windshield where the mirror button will be reinstalled. This will ensure a clean and smooth surface for proper adhesion.
- Allow drying time: After cleaning, allow both the mirror button and the windshield contact area to dry completely. This will prevent any moisture from affecting the adhesion during reinstallation.
- Apply adhesive (if necessary): If your mirror button requires adhesive for installation, carefully follow the instructions provided with the adhesive. Apply a small amount to the back of the mirror button or directly on the windshield contact area, as directed.
- Position and press the button: Align the mirror button with the mounting bracket on the windshield. Slowly and firmly press the mirror button onto the windshield, making sure it is firmly secured in place. Apply even pressure across the entire button to ensure a strong bond.
- Reconnect the wiring: If applicable, reconnect the wiring harness to the mirror button. Match the connectors correctly and make sure they are securely fastened. Listen for a click or feel for a solid connection to ensure proper engagement.
- Test functionality: Once the mirror button is installed and the wiring is connected, test its functionality. Adjust the mirror position, check for any electrical features, and ensure everything is working as intended.
By following these steps, you can clean the rear view mirror button and reinstall it properly onto the windshield. Taking the time to clean and prepare both the mirror button and the windshield surface will help ensure a secure and long-lasting installation.
Remember to refer to your vehicle’s manual or seek professional assistance if you encounter any difficulties during the cleaning or reinstallation process.