
Why Replace a Rear View Mirror
The rear view mirror is a vital component of your vehicle that allows you to see what is happening behind you while driving. It provides crucial visibility, helping you maneuver safely on the road. However, there are several reasons why you may need to replace your rear view mirror:
- Damage: Accidents, vandalism, or even everyday wear and tear can lead to a damaged or broken rear view mirror. A cracked mirror or a loose mount can impair your ability to see clearly, posing a safety hazard.
- Malfunction: Over time, the internal mechanisms of the mirror, such as the auto-dimming feature or the compass, may stop working correctly. If your rear view mirror is no longer functioning properly, it’s time for a replacement.
- Upgrade: Maybe you want to enhance the functionality of your rear view mirror. Upgrading to a mirror with features like a built-in backup camera, integrated GPS navigation, or a digital display can improve your driving experience and safety.
- Style and aesthetics: Some motorists choose to replace their rear view mirror simply for cosmetic reasons. A sleek, modern mirror can add a touch of elegance to your vehicle’s interior, giving it a fresh look.
Whatever the reason for replacing your rear view mirror, it is important to address the issue promptly to ensure your safety on the road. A clear and functional rear view mirror is crucial in preventing accidents and allowing you to have a complete view of your surroundings while driving.
Tools and Materials Needed
Before you replace your rear view mirror, gather the necessary tools and materials. Having everything prepared ahead of time will make the process smoother and more efficient. Here is a list of what you will need:
- Screwdriver: Depending on your vehicle, you may need a flathead or Phillips screwdriver to remove the screws holding the old mirror in place.
- Pliers: Pliers can be handy for gripping and manipulating small components during the replacement process.
- Adhesive: Check the instructions for your new mirror to see if it requires adhesive for installation. If so, gather the appropriate adhesive specified by the manufacturer.
- Cleaning supplies: Before attaching the new mirror, it is essential to clean and prepare the mounting area. Gather some glass cleaner or rubbing alcohol, along with a clean cloth or paper towels.
- Protective gear: It’s always a good idea to wear gloves and eye protection when working on your vehicle to prevent any injuries or accidents.
- New mirror: Of course, you’ll need the replacement mirror itself. Ensure you have the correct mirror that matches your vehicle’s make and model.
By having these tools and materials readily available, you’ll be fully prepared to proceed with replacing your rear view mirror. Now that you’re equipped, let’s move on to the next steps of the process.
Assessing the Damage
Before diving into replacing your rear view mirror, it’s essential to assess the extent of the damage. This will help you determine the best course of action and ensure that a replacement is indeed necessary. Here are the steps to follow when assessing the damage:
- Inspect the mirror: Take a close look at the mirror itself and check for any cracks, scratches, or other visible damage. A small crack or chip may not necessarily require a complete replacement, as there are repair kits available on the market.
- Check the mount: Examine the mount or the base of the mirror. Look for any signs of looseness, detachment, or damage. If the mount is compromised, a replacement mirror may be necessary.
- Test functionality: If your mirror has additional features like auto-dimming, compass, or temperature display, test whether these functions are still working. If they are malfunctioning, it may be an indication that a replacement is needed.
- Consider safety implications: Even if the damage seems minor, prioritize your safety. If the damage obstructs your view or compromises the mirror’s stability, it’s crucial to replace it promptly.
By thoroughly assessing the damage, you can make an informed decision about whether to proceed with replacing the rear view mirror. If the damage is severe or impairs your ability to see clearly, it’s advisable to replace the mirror to ensure safe and reliable visibility while driving.
Removing the Old Mirror
Once you’ve determined that replacing your rear view mirror is necessary, you can begin the process of removing the old mirror. Follow these steps to safely remove the old mirror:
- Disconnect the power source (if applicable): If your rear view mirror has any electrical connections, such as for power adjustment or heating, disconnect them before proceeding. This will prevent any accidental shorts or damage to the electrical system.
- Remove any coverings: Some vehicles may have a cover or trim piece that needs to be removed to access the mounting screws. Gently pry off or remove any coverings to expose the screws.
- Unscrew the mounting screws: Using the appropriate screwdriver, carefully unscrew the mounting screws that hold the old mirror in place. Be cautious not to drop the screws or damage the surrounding area during this step.
- Detach the old mirror: Once the screws are removed, carefully detach the old mirror from the mount. It may be held in place by clips, adhesive, or a combination of both. Use gentle pressure and avoid applying excessive force to prevent any damage.
- Disconnect any remaining attachments: If there are any additional attachments or connectors, such as wiring harnesses or support brackets, disconnect them from the old mirror.
After completing these steps, you should have successfully removed the old rear view mirror from your vehicle. Take a moment to clean the mounting area and prepare it for the installation of the new mirror. Next, we’ll move on to the next phase of the replacement process.
Preparing the New Mirror
With the old rear view mirror successfully removed, it’s time to prepare the new mirror for installation. This step is crucial to ensure a seamless and secure attachment. Follow these steps to prepare the new mirror:
- Read the manufacturer’s instructions: Before you begin, carefully read the instructions provided by the manufacturer. Each mirror may have specific guidelines and recommendations for installation that you need to follow.
- Clean the mounting area: Use a clean cloth or paper towel along with glass cleaner or rubbing alcohol to thoroughly clean the mounting area. This will ensure proper adhesion and a secure attachment for the new mirror.
- Prepare adhesive (if required): If your new mirror requires adhesive for installation, follow the manufacturer’s instructions to prepare it. Make sure you use the appropriate adhesive specified by the manufacturer to ensure a strong bond.
- Position the new mirror: Place the new mirror onto the mount, aligning it with the screw holes or clips. Carefully position it in the desired orientation to ensure optimal visibility from the driver’s seat.
- Attach any connectors or attachments: If there are any connectors or attachments that need to be connected to the new mirror, follow the manufacturer’s instructions to do so. This may include wiring harnesses, support brackets, or additional features.
By following these steps, you’ll have prepared the new rear view mirror for installation. Taking the time to properly prepare the mirror will ensure a secure attachment and optimal functionality once it is installed. Now, let’s move on to the next phase—attaching the new mirror to your vehicle.
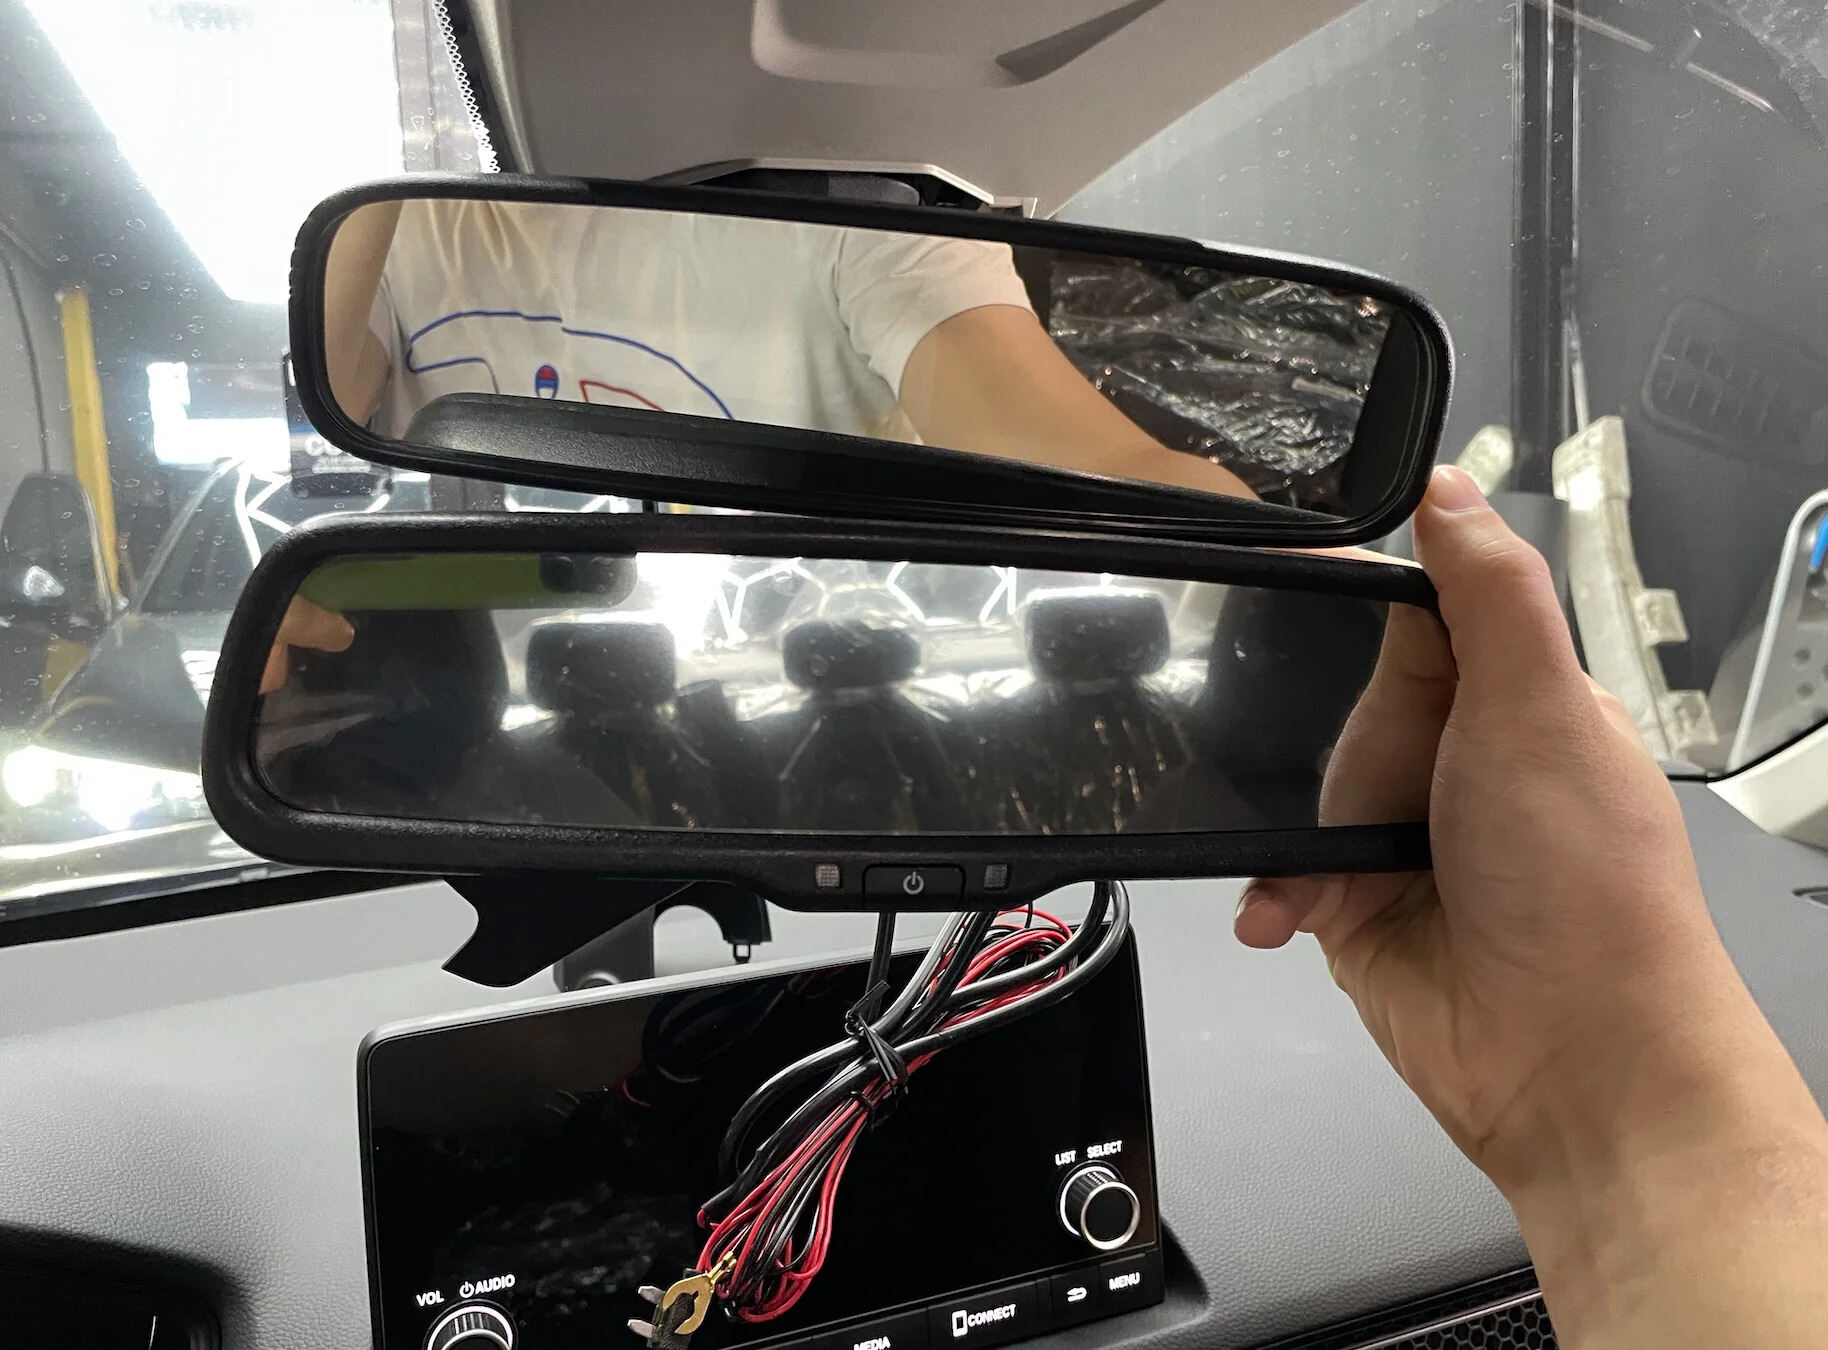
Attaching the New Mirror
With the old mirror removed and the new mirror prepared, it’s time to attach the new mirror to your vehicle. Follow these steps to properly install the new rear view mirror:
- Align the screw holes or clips: Position the new mirror onto the mount, aligning it with the screw holes or clips that were exposed when you removed the old mirror. Take care to ensure a proper fit and alignment.
- Insert and tighten the screws: Using the appropriate screwdriver, insert the screws through the holes and into the mount. Carefully tighten them, but be cautious not to overtighten and risk damaging the mount or mirror.
- Attach any connectors or attachments: Reconnect any electrical connectors or attachments that were disconnected earlier. Follow the manufacturer’s instructions to ensure proper connections.
- Apply adhesive (if required): If your new mirror requires adhesive for installation, apply it according to the manufacturer’s instructions. Ensure a sufficient amount is applied to create a strong bond between the mirror and the mount.
- Hold the mirror in place: If using adhesive, hold the new mirror firmly in place for the recommended amount of time to allow the adhesive to bond properly. This will ensure a secure attachment.
By following these steps, you’ll have successfully attached the new rear view mirror to your vehicle. Take a moment to inspect the mirror and ensure it is securely mounted. Now, let’s move on to the next phase—securing the mirror in place.
Securing the Mirror in Place
Once the new mirror is attached to your vehicle, the next step is to secure it in place to ensure stability and prevent any unwanted movement. Follow these steps to properly secure the rear view mirror:
- Tighten the screws: Double-check the tightness of the screws that hold the mirror in place. Ensure they are snug but be cautious not to overtighten, as this could damage the mount or mirror.
- Verify adhesive bond: If you used adhesive during installation, confirm that the bond between the mirror and the mount is secure. Allow the adhesive to fully cure or set according to the manufacturer’s instructions.
- Test for stability: Gently shake or lightly tap the mirror to check for any movement or looseness. If you notice any instability, adjust the screws or reapply adhesive as needed to achieve a secure fit.
- Consider additional support: In some cases, you may want to provide additional support for the mirror. This could include using a small adhesive pad on the back of the mirror or adding a support bracket for added stability.
- Ensure proper alignment: Take a moment to sit in the driver’s seat and check the mirror’s alignment. Make any necessary adjustments to ensure optimal visibility of the rear view when seated in the driving position.
By following these steps, you’ll secure the rear view mirror in place, preventing any unintended movement or instability. Take the time to verify the stability and alignment of the mirror before moving on to the next step—adjusting the mirror to your desired position.
Adjusting the Mirror
Once the rear view mirror is securely in place, the next step is to adjust it to your desired position for optimal visibility while driving. Follow these steps to properly adjust the mirror:
- Sit in the driving position: Take a moment to sit in the driver’s seat and adjust your seating position to your normal driving posture. This will ensure that the mirror is adjusted for your specific viewpoint.
- Use the mirror controls: Depending on your vehicle, you may have manual or electronic controls to adjust the mirror. Use these controls to move the mirror vertically, horizontally, or tilt it until you have a clear view of the rear.
- Focus on the rear: As you adjust the mirror, focus your attention on the rear view through the mirror. Ensure that you can see the full width of the rear window and that there are no blind spots obstructing your view.
- Eliminate glare: If you’re experiencing excessive glare from headlights or sunlight, adjust the mirror to minimize the glare. Use the anti-glare feature or slightly tilt the mirror to reduce distracting reflections.
- Check for blind spots: While adjusting the mirror, take note of any potential blind spots created by the mirror’s position. Make necessary adjustments to ensure that there are no areas obstructed from your view.
By following these steps, you’ll be able to adjust the rear view mirror to your desired position, optimizing visibility and safety while driving. Take the time to double-check your adjustments and ensure that you have a clear, unobstructed view of the rear. Now, it’s time to move on to the final step—testing your new rear view mirror.
Test Your New Rear View Mirror
After installing and adjusting your new rear view mirror, it’s crucial to test its functionality and effectiveness before hitting the road. Testing the mirror will ensure that it provides a clear view of the rear and enhances your overall driving experience. Follow these steps to test your new rear view mirror:
- Sit in the driver’s seat: Once again, position yourself in the driver’s seat to ensure that you have a clear line of sight through the mirror.
- Verify rear visibility: Look through the mirror and check whether you have a clear and unobstructed view of the rear. Ensure that the mirror’s position does not create any blind spots.
- Observe the field of view: Pay attention to the width and depth of the field of view provided by the mirror. Confirm that it allows you to see vehicles, pedestrians, and other objects in the rear without straining or adjusting your view excessively.
- Check for image distortion: Examine the mirror to ensure that there is no distortion or warping of the reflected image. A clear, undistorted image is essential for accurate perception of objects and distances.
- Test anti-glare feature: If your mirror has an anti-glare feature, test its effectiveness by toggling the switch or button. Make sure it adequately reduces glare from headlights or sunlight without compromising visibility.
- Adjust if necessary: If during testing you encounter any issues with visibility, blind spots, or image quality, make adjustments to the mirror’s position or angle as needed to address these concerns.
By following these steps and conducting a thorough test, you can ensure that your new rear view mirror is functioning correctly and providing you with a clear view of the rear. If you encounter any significant issues or concerns during the test, consider consulting a professional for further assistance. With a properly installed and tested rear view mirror, you can drive with confidence and heightened awareness of your surroundings.
Final Tips and Considerations
As you complete the process of replacing your rear view mirror, here are some final tips and considerations to keep in mind:
- Follow the manufacturer’s instructions: Always refer to the manufacturer’s instructions for your specific mirror model. This will ensure that you install and adjust the mirror correctly.
- Take your time: Rushing the replacement process can lead to mistakes or improper installation. Take your time, follow the steps carefully, and be patient to achieve the best results.
- Ensure proper alignment: Double-check the alignment of the mirror to ensure that it provides an unobstructed view of the rear while seated in the driver’s position. Proper alignment is crucial for effective use.
- Regularly clean and maintain the mirror: Make it a habit to clean your rear view mirror regularly to ensure optimal visibility. Use a suitable glass cleaner and a lint-free cloth to remove dust, dirt, and smudges.
- Consider professional assistance: If you’re unsure or uncomfortable with replacing the rear view mirror yourself, it’s best to seek professional assistance from a qualified technician. They can ensure a proper installation and address any specific concerns.
- Stay up to date with local regulations: Familiarize yourself with the laws and regulations regarding rear view mirrors in your location. Ensure that your replacement mirror meets the necessary requirements.
By keeping these tips and considerations in mind, you can effectively replace your rear view mirror and enjoy a clear, unobstructed view of the rear while driving. A well-functioning rear view mirror enhances safety and helps you navigate the roads with confidence.