
Gather Supplies
Before you begin removing the ceiling lamp cover, it’s important to gather all the necessary supplies. Having everything prepared will make the process smoother and more efficient. Here are the essential items you’ll need:
- A ladder or step stool: Ensure it is stable and high enough to reach the ceiling.
- Screwdriver: Determine the type of screws used on your ceiling lamp cover, whether they are Phillips head, flathead, or hex screws.
- Safety gloves: Protect your hands from any sharp edges or potential electrical hazards.
- Safety glasses: Shield your eyes from falling debris or dust particles.
- Electrical tester: Use this to double-check that the power is turned off before working on the ceiling lamp.
- Cleaning cloth or sponge: Prepare a soft cloth or sponge to clean the ceiling lamp cover once it is removed.
Having these supplies readily available will help ensure a smooth and hassle-free process. Make sure to double-check that you have everything before starting. Safety should be your top priority, so wearing safety gloves and glasses is highly recommended throughout the process. With all the supplies in hand, you’re ready to move on to the next step: turning off the power.
Turn Off Power
Before attempting to remove the ceiling lamp cover, it is crucial to ensure that the power to the light fixture is turned off. This step is essential to prevent any potential electrical accidents. Follow these steps to safely turn off the power:
- Locate the electrical panel or circuit breaker box in your home. It is usually found in the basement, utility room, or garage.
- Open the panel or circuit breaker box carefully.
- Look for the circuit breaker labeled for the specific room or area where the ceiling lamp is installed. If you are unsure, you can turn off the main power switch to cut electricity throughout the entire house.
- Flip the switch or toggle the circuit breaker to the “Off” position. You can test if the power is turned off by trying to switch on the light. If it doesn’t work, you’ve successfully cut the power.
- For an extra layer of safety, use an electrical tester to validate that there is no electrical current running through the wires. This step is especially important if you are unsure about the circuit or if the labeling is unclear.
Remember, electrical safety is of utmost importance. Take your time to ensure that the power is indeed turned off before proceeding to the next steps. By following these guidelines, you minimize the risk of experiencing an electric shock when removing the ceiling lamp cover.
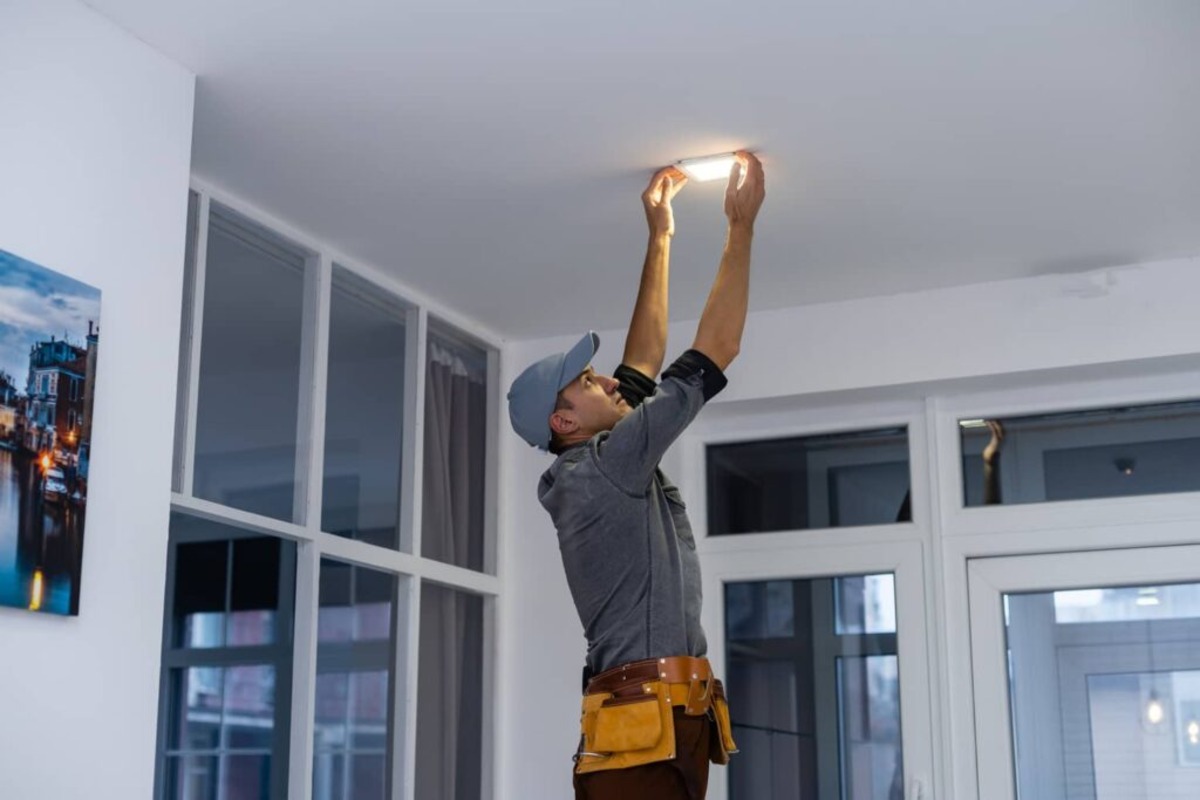
Remove Screws
Now that the power has been turned off, you can proceed to remove the screws that hold the ceiling lamp cover in place. Follow these steps to safely remove the screws:
- Position yourself securely on the ladder or step stool directly beneath the ceiling lamp.
- Using the appropriate screwdriver, carefully unscrew each screw that secures the cover to the ceiling. Usually, there are two or more screws holding the cover in place.
- Place the screws in a safe spot to ensure you don’t lose them during the process.
- Once all the screws have been removed, gently pull the cover downward to detach it from the ceiling. Be cautious as some covers may be connected with clips or hooks that require a slight twist or push to release.
- Set the cover aside in a secure location to avoid any damage or breakage.
It’s important to note that some ceiling lamp covers may be attached more securely than others. If you encounter any difficulty in removing the cover, double-check for any hidden screws or additional locking mechanisms. Take your time and be patient to avoid damaging the cover or the ceiling.
With the screws removed and the cover separated, you can move on to the next step: lowering the cover from the ceiling.
Lower Cover
After successfully removing the screws, the next step is to lower the ceiling lamp cover from its position. Follow these steps to safely lower the cover:
- Ensure that you have a firm grip on the cover before attempting to lower it. Depending on the design, the cover may be lightweight or heavy, so be prepared for any scenario.
- Slowly and gently bring the cover down from the ceiling. Pay attention to any wires or cords that may be connected to the cover. Take care not to pull or strain them.
- If the cover is connected to the ceiling by hooks or clips, release them by giving the cover a slight twist or push. Be cautious to avoid dropping the cover or damaging any surrounding fixtures.
- Lower the cover to a safe and stable surface, such as a table or soft flooring, to prevent any accidental damage or breakage.
Once the cover is safely lowered, inspect it for any signs of damage, such as cracks or discoloration. This is a good time to clean the cover if needed, which we will cover in the next section. It’s important to handle the cover with care throughout the process to maintain its integrity.
Now that you have successfully lowered the cover, the next step is to disconnect any wires connected to it.
Disconnect Wires
With the ceiling lamp cover safely lowered, it’s time to disconnect the wires that are connected to it. Follow these steps to disconnect the wires:
- Take a moment to examine the wiring connections and identify any wires that are attached to the cover.
- Before proceeding, it is essential to reconfirm that the power is turned off. Use an electrical tester to check for any live current in the wires. Safety should always be the top priority.
- Once you are certain that the power is off, proceed to disconnect the wires using the appropriate method. Depending on the wiring setup, you may encounter one of the following scenarios:
- If the wires are connected using wire nuts, twist the wire nuts counterclockwise to loosen them. Separate the wires once they are loose.
- If the wires are connected using terminal screws, use a screwdriver to loosen and unscrew the terminals. Once loosened, gently pull the wires away from the terminals.
- If the wires are connected with connectors, such as push-in connectors, carefully release the wires by pressing down on the connector tab. Pull the wires out once the connector is released.
- As you disconnect the wires, it’s a good practice to label or take note of their positions. This will make it easier to reconnect them correctly when you reassemble the ceiling lamp.
- Once all the wires are disconnected, secure them to prevent any accidental contact with each other or other electrical components. You can use electrical tape or twist wire caps onto the exposed wire ends.
Take your time during this step to ensure that the wires are properly disconnected and secured. If you encounter any difficulties or are unsure about the wiring connections, it’s best to consult a qualified electrician for assistance. With the wires safely disconnected, you can proceed to clean the cover in the next section.
Clean Cover
After successfully disconnecting the wires, it’s time to clean the ceiling lamp cover. Over time, dust, dirt, and grime can accumulate on the cover, affecting its appearance and the quality of light it emits. Follow these steps to clean the cover effectively:
- First, prepare a clean, soft cloth or sponge and dampen it with water. Avoid using harsh chemicals or abrasive materials that can damage the cover’s surface.
- Gently wipe the entire surface of the cover, removing any dirt or dust. Pay close attention to any intricate designs or patterns on the cover.
- If the cover has stubborn stains or grime, you can mix a mild detergent or dish soap with water. Dip the cloth or sponge into the soapy water and gently scrub the affected areas.
- Rinse the cloth or sponge to remove any soap residue, and then dampen it with clean water again. Wipe down the cover to rinse off the soap.
- Once you have cleaned the cover thoroughly, use a dry cloth or towel to pat it dry. Make sure the cover is completely dry before reassembling it.
It’s important to note that some ceiling lamp covers may have specific cleaning instructions provided by the manufacturer. If available, refer to those instructions to ensure you are cleaning the cover correctly and safely.
By keeping the ceiling lamp cover clean, you not only improve the appearance of the fixture but also ensure optimal light output. With the cover now cleaned and dry, it’s time to move on to the final step: reassembling the ceiling lamp.
Reassemble
Now that you have cleaned the ceiling lamp cover, it’s time to reassemble the fixture. Follow these steps to safely and properly reassemble the cover:
- Begin by aligning the screw holes on the cover with the corresponding holes on the ceiling fixture.
- Gently lift the cover back up towards the ceiling, taking care to avoid damaging any wires or other components.
- Once the cover is in place, reinsert the screws and tighten them with the appropriate screwdriver. Be careful not to over-tighten the screws, as this can damage the cover or the ceiling fixture.
- After tightening the screws, give the cover a gentle push or twist to ensure it is securely fastened.
- If there are any additional hooks or clips that hold the cover in place, make sure to latch or secure them properly.
- With the cover reassembled, take a step back and ensure everything looks aligned and well-fitted.
Once you have completed the reassembly process, it’s essential to double-check that the power is still turned off before turning it back on. Use your electrical tester to verify that there is no live current running through the wires. Safety should always be the top priority.
Now that you have successfully reassembled the ceiling lamp, you can turn the power back on and enjoy the renewed illumination in the room. It’s a good practice to periodically clean the cover to maintain its appearance and ensure the optimal performance of the ceiling lamp.