
Materials Needed
To build a hanging shelf, you will need a few essential materials. Here’s a list to help you get started:
- Wooden shelf boards
- Brackets or shelf supports
- Screws
- Wall anchors (if necessary)
- Measuring tape
- Pencil
- Saw
- Sandpaper
- Stain or paint
- Paintbrushes or foam rollers
- Level
Ensure that the thickness and length of the shelf boards are suitable for your intended design. The brackets or shelf supports should be sturdy enough to support the weight of the shelves and any items you plan to display. Screws should be long enough to securely attach the brackets to the wall and the shelves to the brackets.
If you have drywall or plaster walls, consider using wall anchors to provide extra stability. Measure the space where you intend to hang the shelf to determine the appropriate length for your shelf boards. Lastly, choose a stain or paint color that matches your desired aesthetic.
Step 1: Measure and Mark Placement
The first step in building a hanging shelf is to measure and mark the desired placement on your wall. Here’s how to do it:
- Using a measuring tape, determine the height at which you want to hang your shelf. Consider the spacing between the shelf and any furniture or objects that will be placed beneath it. Mark this height on the wall with a pencil.
- Next, use a level to ensure that the mark is straight and aligned with the rest of the room. Adjust the mark as necessary.
- If you plan to hang multiple shelves, measure the distance between each shelf and mark it on the wall accordingly. This will help create an evenly spaced and visually appealing arrangement.
- Take into account any obstructions on the wall, such as electrical outlets or light switches. Make sure the placement of your shelves avoids these obstacles.
Once you have marked the placement for your shelves, step back and double-check the measurements and straightness of the marks. This will ensure that your shelves are properly positioned and visually balanced.
Step 2: Choose and Prepare Wood
Selecting the right wood for your hanging shelf is crucial for both its durability and aesthetic appeal. Follow these steps to choose and prepare the wood:
- Choose a type of wood that suits your design preferences and budget. Common options include pine, oak, and plywood. Consider the weight of the items you plan to display on the shelf, as some woods are sturdier than others.
- Measure and mark the desired dimensions for your shelf boards on the chosen wood. Use a measuring tape and pencil to ensure accurate measurements.
- Using a saw, carefully cut the wood according to the marked dimensions. Take your time to make clean and precise cuts.
- After cutting, use sandpaper to smooth any rough edges or surfaces. Sanding will create a polished finish and make handling the wood safer.
- If you prefer a natural wood look, you can leave the boards as they are. However, if you want to add some color or protect the wood, consider staining or painting the boards.
- Apply the stain or paint of your choice using a paintbrush or foam roller. Follow the manufacturer’s instructions on the product for the best results. Allow the boards to dry completely before proceeding.
Choosing high-quality wood and properly preparing it will ensure a sturdy and visually appealing hanging shelf. Take your time during the wood selection and preparation process to achieve the best possible outcome.
Step 3: Cut Wood to Size
Once you have chosen the wood for your hanging shelf and prepared it, the next step is to cut the wood to the desired size. Follow these steps to cut the wood accurately:
- Take the measurements you marked on the wood during the previous step. Use a measuring tape to ensure precise measurements.
- Before making any cuts, double-check the measurements to avoid any mistakes. Measure twice, cut once to ensure accuracy.
- Using a saw appropriate for your chosen wood (such as a circular saw or a handsaw), carefully cut along the marked lines. Take your time and use even, steady strokes to achieve clean and straight cuts.
- For longer shelves, consider using a straightedge or a guide to help you make perfectly straight cuts.
- After cutting the wood, use sandpaper to smooth any rough edges. This will prevent splinters and create a polished finish.
- Repeat the cutting process for each shelf, ensuring that all pieces are cut to the desired length.
Paying close attention to the measurements and making precise cuts will ensure that your hanging shelves fit perfectly in the designated space. Take your time during this step to achieve the best results and avoid any unnecessary mistakes.
Step 4: Sand and Stain/Paint the Wood
After cutting the wood to size for your hanging shelf, it’s time to sand and apply a finish to enhance its appearance and durability. Follow these steps to sand and stain/paint the wood:
- Begin by sanding the surfaces and edges of the wood using sandpaper. Start with a coarse-grit sandpaper to remove any roughness or imperfections, and then switch to a finer-grit sandpaper for a smoother finish. Sand in the direction of the wood grain to avoid causing scratches.
- Pay special attention to the cut edges of the wood, as they may be rougher than the other surfaces. Sand them until they are smooth and even with the rest of the board.
- Once you’ve finished sanding, wipe down the wood with a clean cloth to remove any dust or debris.
- If you prefer a natural look, you can skip the staining or painting step and proceed to the final touches. However, if you want to add color or protect the wood, apply a wood stain or paint of your choice. Use a paintbrush or foam roller to evenly coat the surfaces of the wood. Follow the manufacturer’s instructions for the best results.
- Allow the stain or paint to dry completely before handling the wood or moving on to the next step.
Sanding the wood and applying a finish not only improves its appearance but also protects it from wear and tear. Take your time during this step to achieve a smooth and professional-looking finish that will enhance the overall aesthetic of your hanging shelf.
Step 5: Attach Brackets to the Wall
Now that you have prepared the wood for your hanging shelf, it’s time to attach the brackets to the wall. Follow these steps to securely install the brackets:
- Hold one of the brackets against the wall at the height and position where you want your shelf to be installed. Make sure it is level by using a level tool. Use a pencil to mark the screw holes on the wall through the bracket’s pre-drilled holes.
- Repeat the process for the remaining brackets, ensuring that they are evenly spaced and level with each other. Double-check the measurements and positions before proceeding.
- If you will be attaching the brackets to drywall or plaster walls, it’s important to use wall anchors for added stability. Choose the appropriate wall anchors for your wall type and insert them into the marked screw holes.
- Align the brackets over the wall anchors or screw holes and use a screwdriver or drill to secure them to the wall. Make sure the brackets are tightly secured for optimal support.
- Once all the brackets are attached to the wall, double-check their alignment and stability. Adjust as necessary to ensure the brackets are level and securely in place.
Attaching the brackets to the wall is a critical step as they will bear the weight of the shelves and the items you plan to display. Taking the time to properly align and secure the brackets will ensure a sturdy and functional hanging shelf.
Step 6: Attach Shelves to Brackets
Now that the brackets are securely attached to the wall, it’s time to attach the shelves to the brackets. Follow these steps to complete the installation of your hanging shelf:
- Place one of the prepared wooden shelves onto the installed brackets. Ensure that it sits evenly and securely on top.
- Using a drill or screwdriver, carefully insert screws through the holes in the brackets and into the bottom of the shelf. Make sure to drive the screws in straight to prevent any damage to the wood.
- Repeat the process for the remaining shelves, ensuring that they are evenly spaced and level with each other.
- Double-check the alignment and stability of each shelf after attaching it to the brackets. Make any necessary adjustments to ensure they are level and properly secured.
Attaching the shelves to the brackets is a crucial step in the construction of your hanging shelf. Ensuring a snug and stable fit will allow the shelf to support the weight of the items you plan to display. Take your time during this step to achieve a secure and visually appealing final product.
Step 7: Final Touches and Styling
With the shelves securely attached to the brackets, it’s time to add the final touches and style your hanging shelf. Follow these steps to complete the project:
- Inspect the shelves and brackets for any visible screw heads or imperfections. If necessary, touch up the wood with stain or paint to hide any imperfections and create a seamless look.
- Organize and arrange your items on the shelves. Consider the height and spacing between objects to create an aesthetically pleasing display.
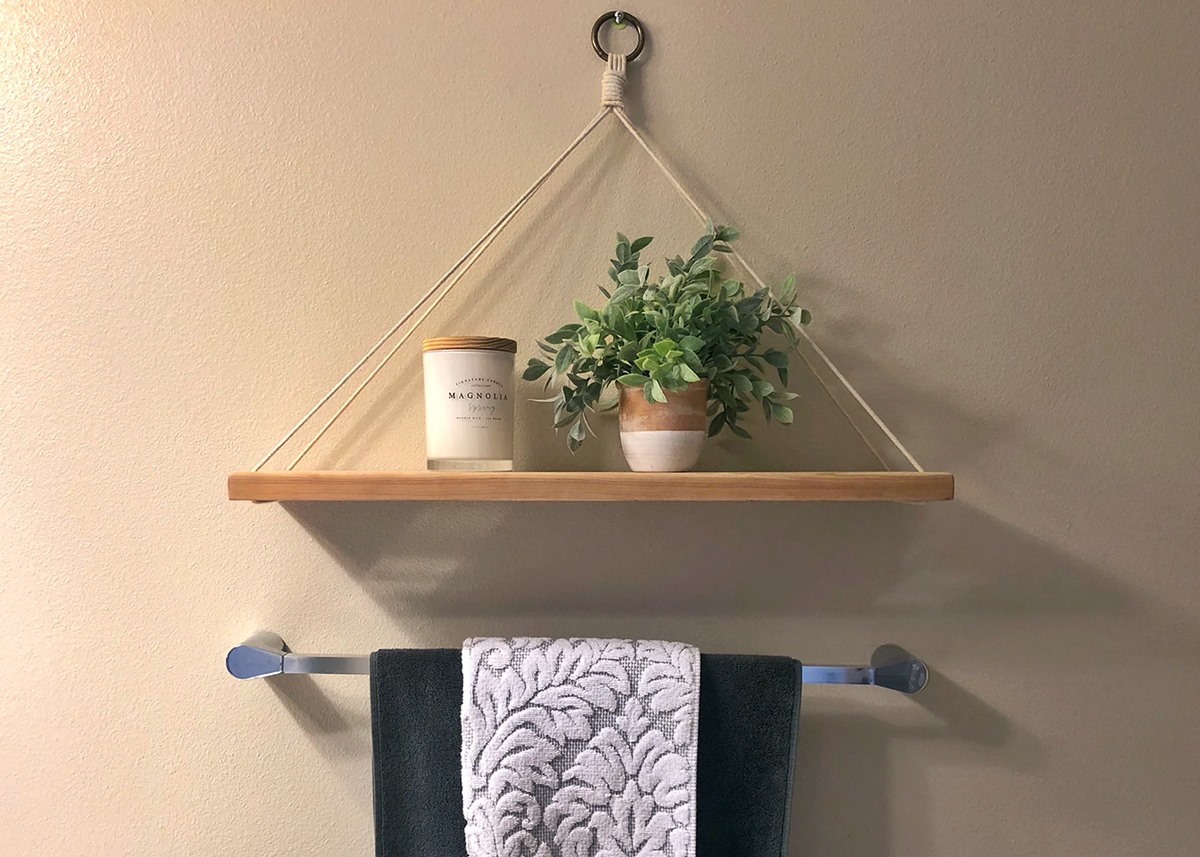
- You can further enhance the look of your hanging shelf by adding decorative items such as potted plants, picture frames, or small figurines.
- Take a step back and evaluate the overall look of your hanging shelf. Adjust the positioning or styling as needed to create a balanced and visually appealing arrangement.
Remember, the ultimate goal is to create a hanging shelf that not only provides functional storage but also complements the overall design aesthetic of the room. Don’t be afraid to get creative and personalize the shelf with items that reflect your personal style and interests.
Step 8: Tips and Tricks
Building a hanging shelf can be a rewarding DIY project. To ensure success and make the process easier, consider the following tips and tricks:
- Before starting the project, make sure you have all the necessary tools and materials on hand. This will help you work efficiently and prevent any delays or interruptions.
- Measure twice and cut once. Taking accurate measurements ensures that your hanging shelf fits perfectly in the designated space.
- Use a level when marking the placement of the brackets and during the installation process. This will ensure that your shelves are level and visually pleasing.
- If you are unsure about the weight capacity of your shelves, consider using heavier-duty brackets or adding additional support, such as metal L-brackets.
- When attaching the brackets to the wall, use wall anchors for added stability, especially if you have drywall or plaster walls.
- Take breaks throughout the project to ensure your safety and prevent fatigue. This will help you maintain focus and accuracy during the construction process.
- Consider the overall style and theme of your room when choosing the wood type, stain, or paint color for your hanging shelf. Aim for a cohesive look that complements the existing décor.
- Experiment with different shelf arrangements and styling options. Don’t be afraid to change the display periodically to keep it fresh and interesting.
- Regularly inspect the shelves and brackets for any signs of wear or instability. Tighten screws if necessary and fix any damages to maintain the longevity of your hanging shelf.
By following these tips and tricks, you’ll be able to build and maintain a beautiful and functional hanging shelf that adds style and storage to any room in your home.