
Signs of Water in iPhone 11 Microphone
Detecting water in your iPhone 11 microphone is crucial for preventing potential damage to your device. Here are some signs that indicate the presence of water in the microphone:
-
Muffled or Distorted Sound: If you notice that the sound quality during calls or recordings has become muffled or distorted, it could be an indication of water seeping into the microphone.
-
Intermittent Sound: Water in the microphone may cause the sound to cut in and out intermittently, leading to an inconsistent audio experience.
-
No Sound: In severe cases, the presence of water can completely disrupt the microphone's functionality, resulting in no sound transmission at all.
-
Background Noise or Static: Water in the microphone may introduce unwanted background noise or static during calls or recordings, indicating a potential issue.
-
Decreased Volume: If the volume of the microphone output has significantly decreased, it could be a sign of water affecting the microphone's performance.
-
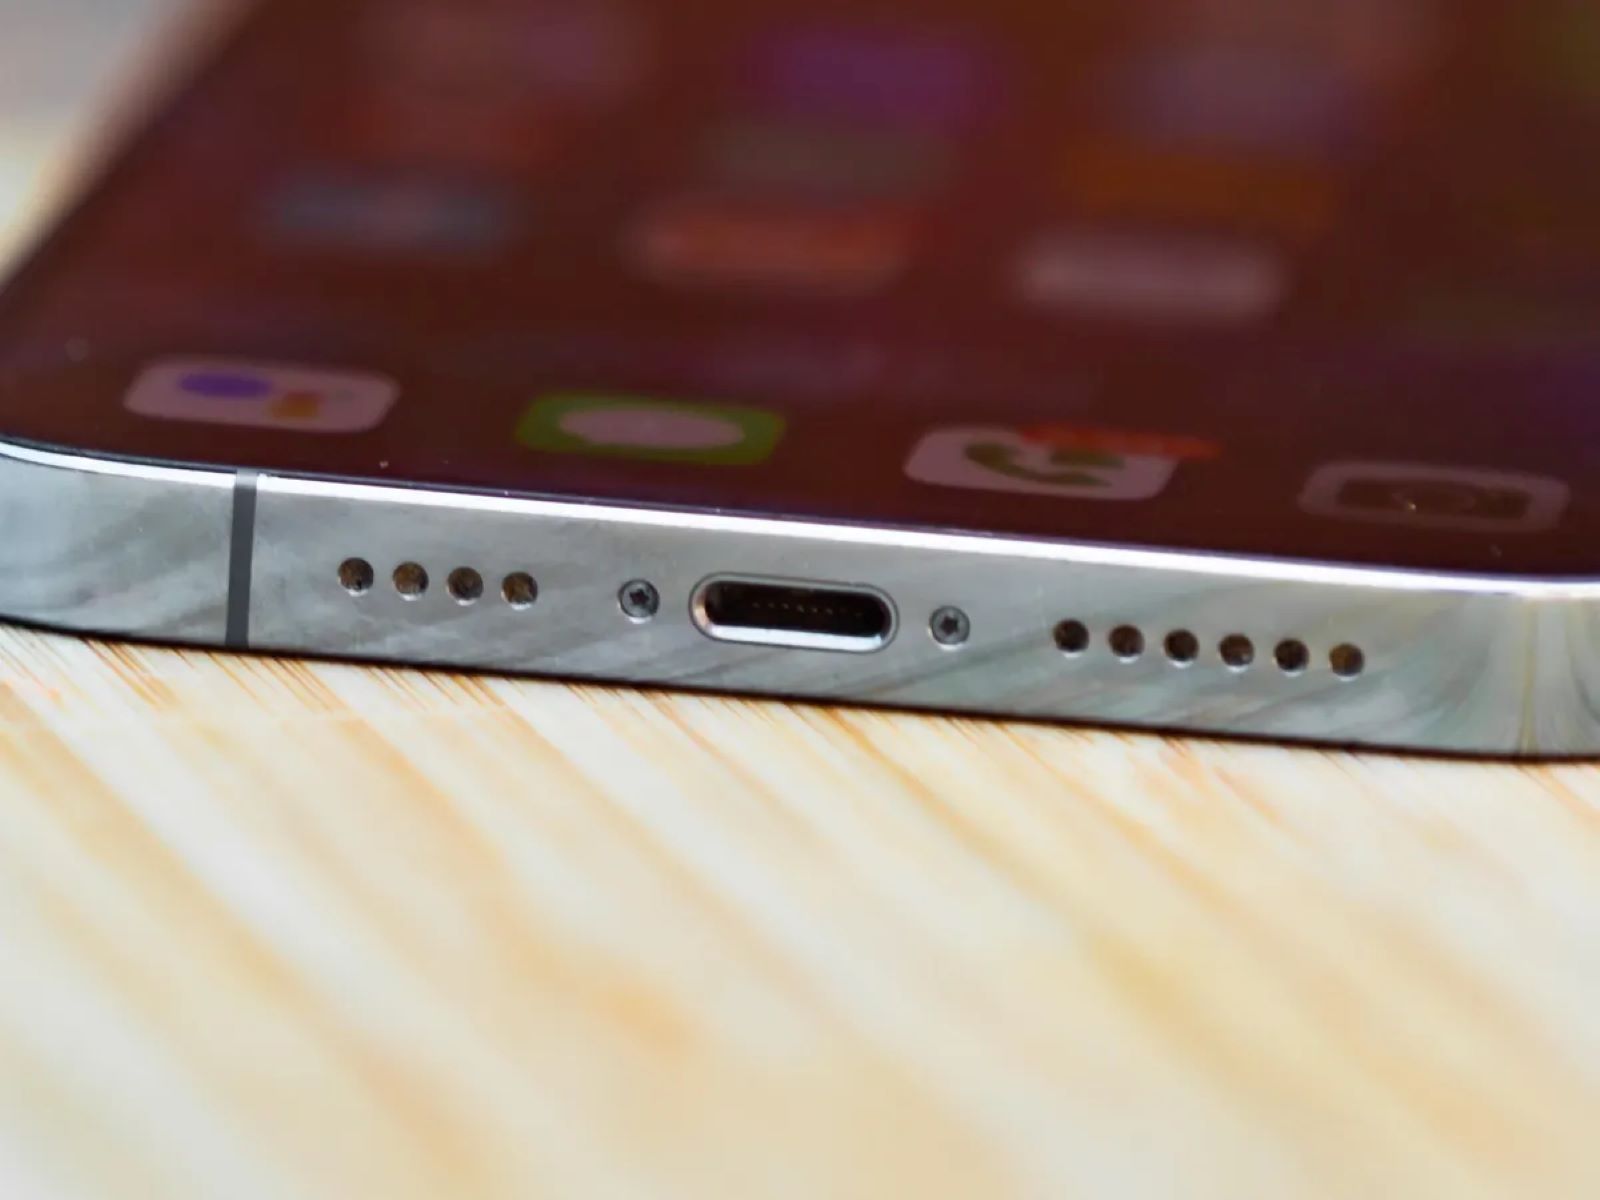
Visual Indicators: In some instances, visual indicators such as water condensation under the microphone grille or visible water damage on the device may also suggest the presence of water in the microphone.
It's important to be vigilant and attentive to these signs, as addressing water damage promptly can help prevent further complications and maintain the optimal functionality of your iPhone 11 microphone.
Steps to Remove Water from iPhone 11 Microphone
Discovering water in your iPhone 11 microphone can be a cause for concern, but taking swift and appropriate action can help mitigate potential damage. Here are the steps to effectively remove water from your iPhone 11 microphone:
-
Power Off the Device: As soon as you suspect water has entered the microphone, power off your iPhone 11 immediately. This precautionary measure can help prevent electrical shorts and further damage to the internal components.
-
Remove the Case: If your iPhone 11 is housed in a protective case, carefully remove it to allow for better air circulation around the device.
-
Dry the Exterior: Gently pat the exterior of the iPhone 11 with a soft, absorbent cloth to remove any visible moisture. Avoid shaking or tapping the device, as this can potentially drive water deeper into the internal components.
-
Position the Device: Place the iPhone 11 on a clean, dry surface with the microphone facing downward. This orientation can encourage any trapped water to drain out of the microphone opening.
-
Utilize Absorbent Materials: Silica gel packets, uncooked rice, or desiccant pouches can be effective in absorbing moisture. Carefully position the iPhone 11 in a container filled with these materials, ensuring that the microphone area is adequately covered. Leave the device in this setup for at least 24-48 hours to allow the absorbent materials to draw out the moisture from the microphone.
-
Avoid Heat Sources: While it may be tempting to expedite the drying process using heat sources such as hair dryers or heaters, it's crucial to refrain from doing so. Exposing the iPhone 11 to excessive heat can damage the internal components and exacerbate the water-related issues.
-
Monitor the Progress: After the designated drying period, carefully remove the iPhone 11 from the absorbent material and inspect the microphone area for any remaining moisture. If the device still feels damp, repeat the drying process until the microphone is completely dry.
-
Test the Microphone: Once you are confident that the iPhone 11 microphone is dry, power on the device and test the microphone functionality by making a call or recording a voice memo. Ensure that the sound quality is clear and consistent, indicating that the water has been successfully removed from the microphone.
By following these steps diligently, you can effectively remove water from your iPhone 11 microphone and safeguard its optimal performance. Swift and thorough action is key to minimizing the impact of water damage and preserving the functionality of your device.
Using Silica Gel Packets to Remove Water
Silica gel packets are highly effective in absorbing moisture and can be utilized to remove water from the iPhone 11 microphone. These small, translucent packets contain silica gel beads, a desiccant known for its exceptional moisture-absorbing properties. When properly employed, silica gel packets can expedite the drying process and aid in restoring the optimal functionality of the microphone.
To begin, carefully remove the iPhone 11 from any protective case and gently pat the exterior of the device with a soft, absorbent cloth to eliminate visible moisture. Once the exterior is dry, position the iPhone 11 on a clean, dry surface with the microphone facing downward to facilitate the drainage of any trapped water.
Next, acquire a sufficient number of silica gel packets to adequately cover the iPhone 11 and the affected microphone area. These packets are commonly found in product packaging, especially with items that are sensitive to moisture, such as electronics and leather goods. Alternatively, silica gel packets can be purchased from hardware stores, craft shops, or online retailers.
Place the iPhone 11 in a sealable container and carefully position the silica gel packets around and on top of the device, ensuring that the microphone area is thoroughly covered. Seal the container to create a controlled environment that promotes the absorption of moisture by the silica gel packets.
Allow the iPhone 11 to remain in this setup for a minimum of 24-48 hours, providing ample time for the silica gel packets to draw out the moisture from the microphone. Throughout this period, it is essential to keep the container undisturbed to maximize the effectiveness of the desiccant.
After the designated drying period, carefully remove the iPhone 11 from the container and inspect the microphone area for any remaining moisture. If the device still feels damp, repeat the drying process with fresh silica gel packets until the microphone is completely dry.
By leveraging the moisture-absorbing capabilities of silica gel packets, you can effectively expedite the removal of water from the iPhone 11 microphone, thereby minimizing the risk of damage and preserving the optimal functionality of the device. This method offers a reliable and non-invasive approach to addressing water-related issues, ensuring that your iPhone 11 continues to deliver clear and consistent sound output.
Using Rice to Remove Water
Rice, a household staple, can serve as a practical and accessible solution for removing water from the iPhone 11 microphone. This method harnesses the natural moisture-absorbing properties of rice to facilitate the drying process and restore the optimal functionality of the affected device.
To initiate the water removal process using rice, begin by carefully removing the iPhone 11 from any protective case and gently patting the exterior of the device with a soft, absorbent cloth to eliminate visible moisture. Once the exterior is dry, position the iPhone 11 on a clean, dry surface with the microphone facing downward to encourage the drainage of any trapped water.
Next, acquire a sufficient quantity of uncooked rice to effectively cover the iPhone 11 and the impacted microphone area. Uncooked rice, particularly white rice, is renowned for its ability to absorb moisture, making it a readily available and cost-effective option for addressing water-related issues.
Place the iPhone 11 in a sealable container and carefully position the uncooked rice around and on top of the device, ensuring that the microphone area is thoroughly covered. Seal the container to create a controlled environment that promotes the absorption of moisture by the rice.
Allow the iPhone 11 to remain in this setup for a minimum of 24-48 hours, providing ample time for the uncooked rice to draw out the moisture from the microphone. Throughout this period, it is crucial to keep the container undisturbed to maximize the effectiveness of the rice as a desiccant.
After the designated drying period, carefully remove the iPhone 11 from the container and inspect the microphone area for any remaining moisture. If the device still feels damp, repeat the drying process with fresh uncooked rice until the microphone is completely dry.
By leveraging the natural moisture-absorbing properties of uncooked rice, you can effectively expedite the removal of water from the iPhone 11 microphone, thereby minimizing the risk of damage and preserving the optimal functionality of the device. This method offers a simple, non-invasive, and budget-friendly approach to addressing water-related issues, ensuring that your iPhone 11 continues to deliver clear and consistent sound output.
Using a Hair Dryer to Remove Water
Utilizing a hair dryer is a common approach to removing water from electronic devices, including the iPhone 11 microphone. When employed with caution and precision, a hair dryer can expedite the evaporation of moisture from the affected area, aiding in the restoration of optimal functionality.
To initiate the water removal process using a hair dryer, begin by setting the device to its lowest heat setting and ensuring that the airflow is directed away from the microphone opening. It is crucial to maintain a safe distance of at least 6-12 inches between the hair dryer and the iPhone 11 to prevent excessive heat exposure, which can potentially damage the internal components.
Gently apply the warm airflow to the microphone area in short bursts, moving the hair dryer in a sweeping motion to evenly distribute the heat. It is imperative to exercise patience and avoid prolonged or concentrated heat application, as excessive heat can lead to further damage and compromise the device's functionality.
Throughout the drying process, periodically pause to allow the iPhone 11 to cool down, preventing the accumulation of heat within the device. This intermittent approach helps mitigate the risk of overheating and safeguards the integrity of the internal components.
Continue the targeted application of warm airflow for a duration of 10-15 minutes, periodically assessing the moisture level in the microphone area. It is essential to remain vigilant and attentive, ensuring that the heat application is gentle and controlled to prevent any adverse effects on the device.
After the designated drying period, carefully inspect the microphone area for any remaining moisture. If the device still feels damp, it is advisable to discontinue the hair dryer method and consider alternative approaches to ensure thorough water removal.
When employing a hair dryer to remove water from the iPhone 11 microphone, exercising caution and precision is paramount. By adhering to the recommended heat settings, maintaining a safe distance, and employing gentle, intermittent airflow, you can effectively expedite the evaporation of moisture and aid in restoring the optimal functionality of the device.
This method offers a proactive and accessible approach to addressing water-related issues, contributing to the preservation of the iPhone 11's microphone performance and overall functionality.
Using a Vacuum Cleaner to Remove Water
Utilizing a vacuum cleaner presents a practical and effective method for removing water from the iPhone 11 microphone. This approach leverages the suction power of the vacuum to extract moisture from the affected area, facilitating the restoration of optimal functionality.
To commence the water removal process using a vacuum cleaner, it is essential to select a vacuum attachment that provides a narrow and precise nozzle, ideally suited for targeting the microphone opening. This focused nozzle enables the vacuum to effectively draw out the trapped moisture without causing damage to the internal components of the device.
Carefully position the iPhone 11 on a stable surface, ensuring that the microphone area is easily accessible. With the selected narrow nozzle attachment affixed to the vacuum cleaner, set the device to its lowest suction setting to avoid excessive force that could potentially damage the delicate components of the iPhone 11.
Gently maneuver the narrow nozzle of the vacuum cleaner around the microphone opening, maintaining a steady and controlled approach to ensure thorough suction without exerting undue pressure on the device. It is crucial to exercise patience and precision, allowing the vacuum to effectively extract the moisture from the microphone area.
Employ a methodical and sweeping motion, systematically covering the entire microphone opening to ensure comprehensive moisture removal. Throughout the process, remain attentive to the subtle changes in suction, indicating the extraction of moisture from the device.
Continue the targeted application of the vacuum cleaner for a duration of 5-10 minutes, periodically assessing the moisture level in the microphone area. It is imperative to remain vigilant and observant, ensuring that the suction is gentle and controlled to prevent any unintended damage to the device.
After the designated suction period, carefully inspect the microphone area for any remaining moisture. If the device still feels damp, it is advisable to repeat the vacuuming process to ensure thorough water removal and promote the restoration of optimal functionality.
By employing a vacuum cleaner to remove water from the iPhone 11 microphone, you can effectively extract trapped moisture and contribute to the preservation of the device's performance. This method offers a non-invasive and targeted approach to addressing water-related issues, aiding in the maintenance of clear and consistent sound output from the iPhone 11 microphone.