
Finder Basics
The Finder is the default file management application on Mac computers, allowing you to navigate and organize your files and folders with ease. Understanding the basics of using Finder is essential for effectively managing your files and maximizing productivity. In this section, we will explore the fundamental features and functions of Finder.
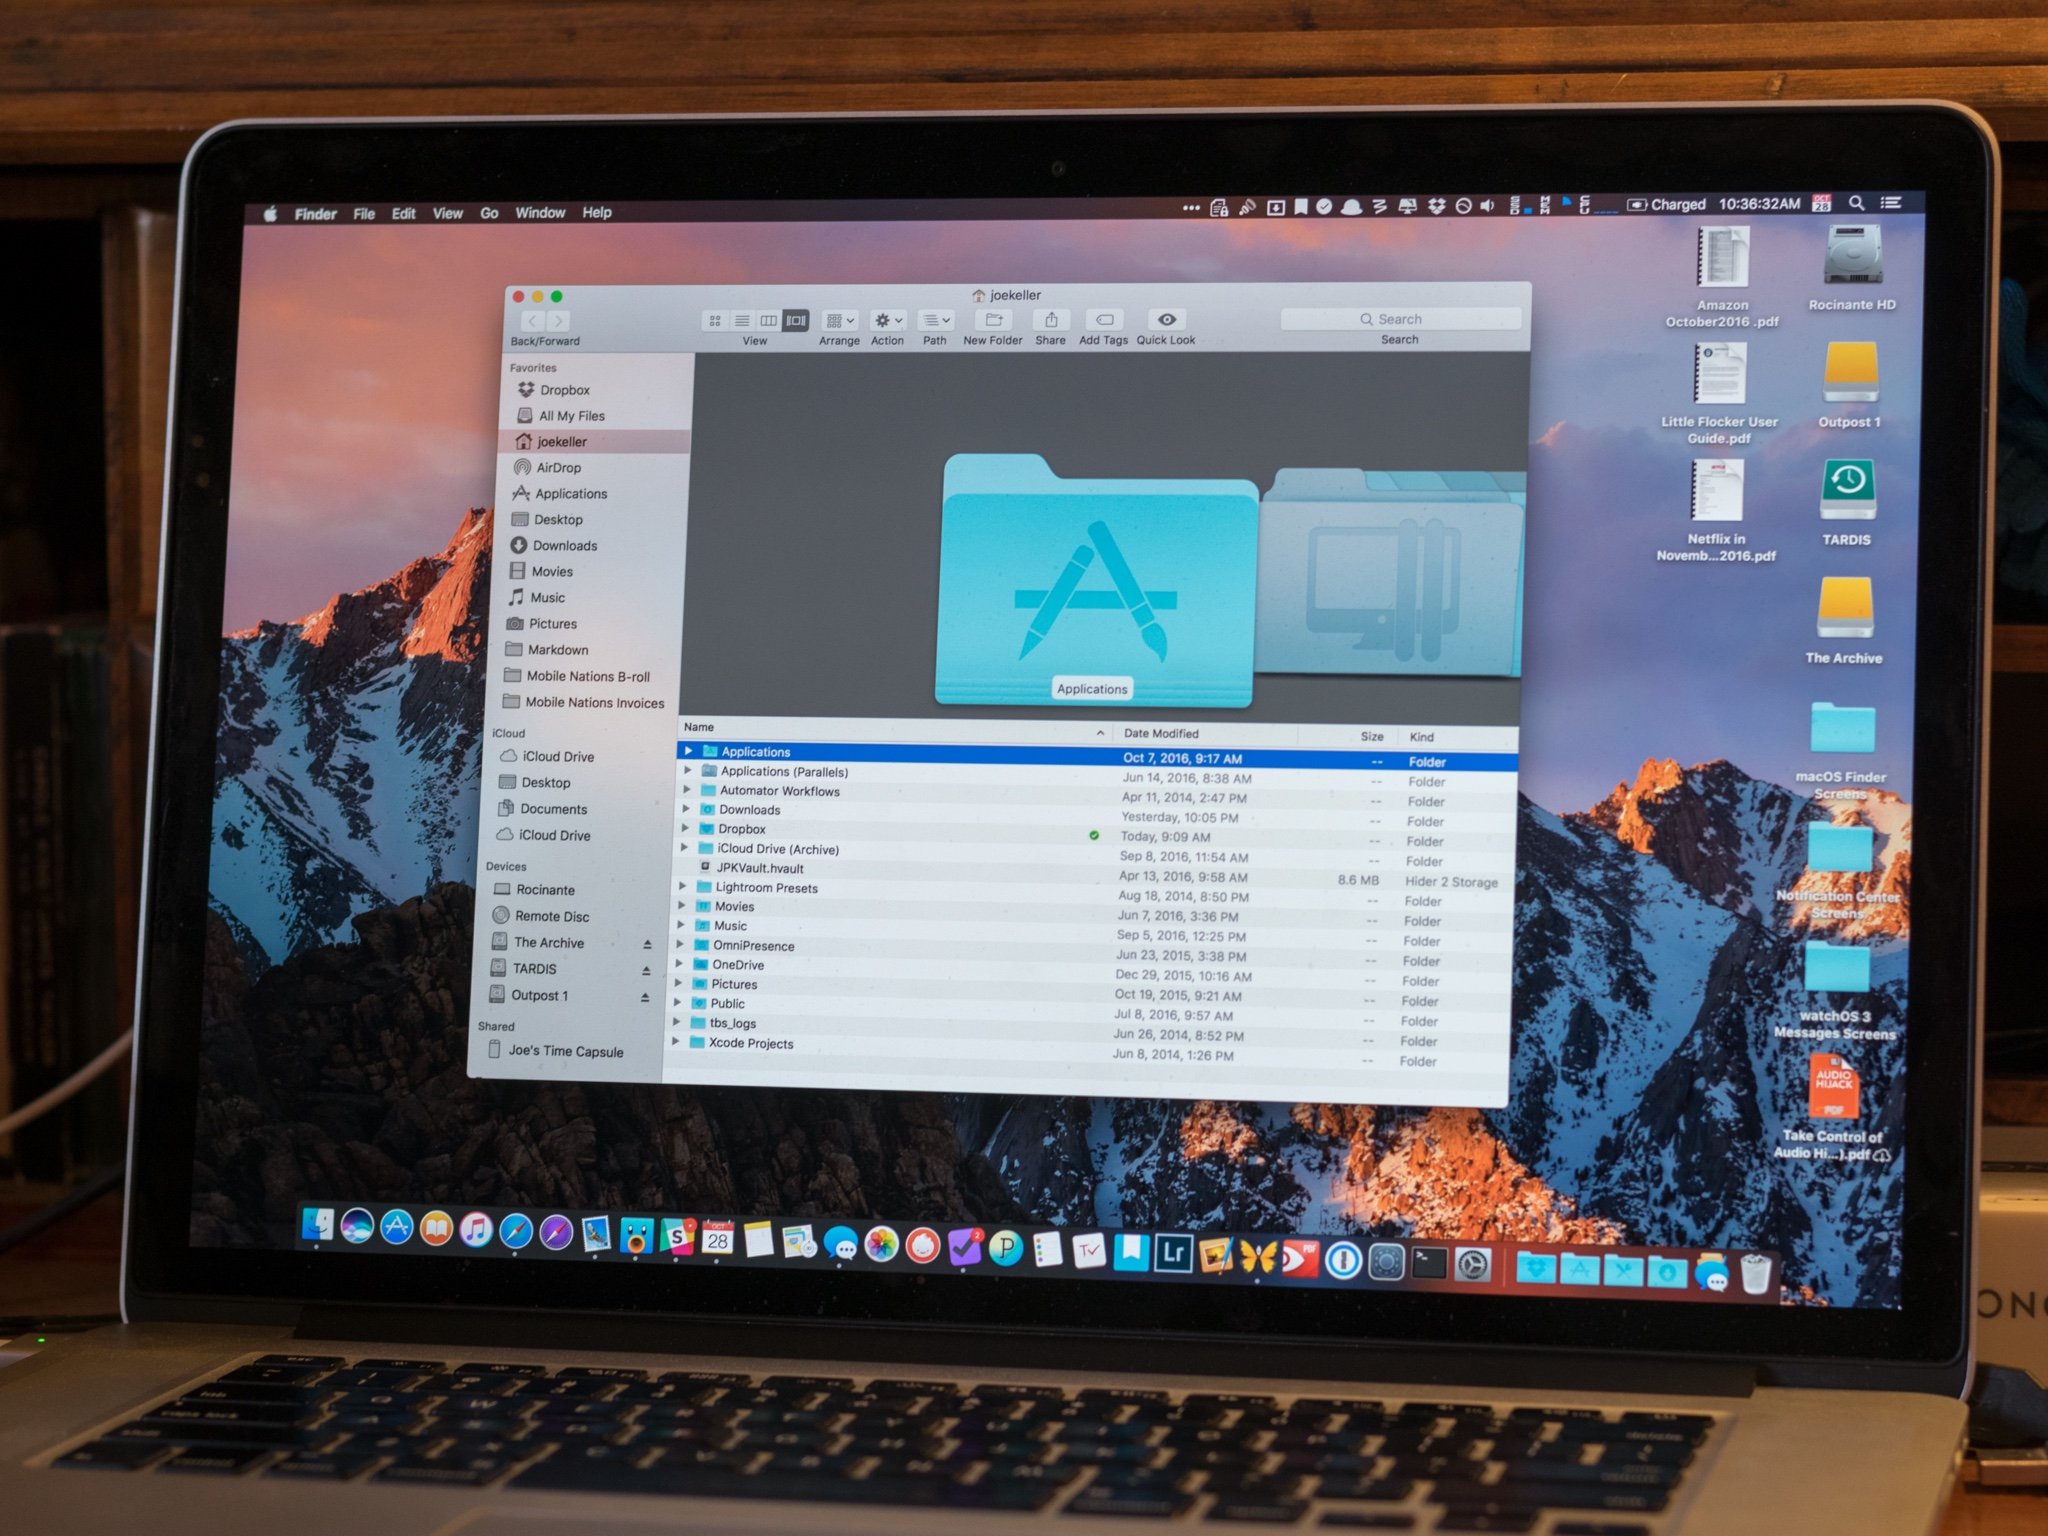
When you open Finder, you will see a window with a sidebar on the left and a main area displaying the contents of the selected folder. The sidebar provides quick access to commonly used locations such as your Home folder, Documents, Downloads, and Applications.
To move around different folders, simply click on the desired folder in the sidebar, or use the back and forward arrow buttons in the toolbar. You can also use keyboard shortcuts like Command + Up Arrow to go up one level, or Command + Down Arrow to open a selected folder.
In the main area of Finder, you can view and sort files in various ways. You can change the view options by clicking on the four view buttons in the toolbar: Icon view, List view, Column view, or Gallery view. Each view provides a different way of visualizing and interacting with your files.
Sorting files in Finder allows you to arrange them based on criteria such as name, date modified, size, and more. Simply click on the column header to sort the files accordingly. You can also customize the columns displayed by right-clicking on the column headers and choosing the desired attributes.
Organizing your files and folders in Finder is crucial for staying organized and finding what you need quickly. You can create new folders by clicking on the “File” menu and selecting “New Folder.” To move files or folders, simply drag and drop them to their desired location. You can also rename files by selecting them and pressing the “Return” key.
Finder also offers a powerful feature called Quick Look, allowing you to preview the contents of a file without opening it. To use Quick Look, simply select a file and press the Spacebar. This is especially useful for quickly glancing at the contents of documents, images, videos, and more.
Searching for files in Finder is a breeze. You can use the search bar located at the top-right corner of the Finder window to search for files by name, content, or specific attributes. The search results will update as you type, making it easier to find what you are looking for.
Connecting external devices, such as external hard drives or USB flash drives, is simple with Finder. When you plug in a device, it will appear in the sidebar of Finder. You can then access and manage the files on the external device, just like you would with any other folder.
With the introduction of macOS Sierra and later versions, Finder now supports tabs, making it easier to manage multiple folders and locations. You can open a new tab in Finder by going to “File” and selecting “New Tab.” Tabs can be quickly switched and closed, providing a more organized and efficient file management experience.
Lastly, Finder allows you to customize preferences to suit your individual needs. You can access Finder preferences by clicking on the “Finder” menu and selecting “Preferences.” Here, you can adjust settings such as what items are shown in the sidebar, which folders open automatically, and more.
As you become more familiar with the Finder Basics, you will be able to navigate, organize, and manage your files and folders with ease. These foundational skills will set the stage for more advanced usage of Finder and help you optimize your workflow on your Mac.
Navigating through Folders
Efficiently navigating through folders is a key aspect of using Finder effectively on your Mac. Whether you’re organizing files or searching for specific documents, mastering the art of folder navigation will save you time and streamline your workflow. In this section, we will explore different methods to navigate through folders in Finder.
The sidebar in Finder provides quick access to frequently used locations such as your Home folder, Documents, Downloads, and Applications. Simply click on a folder in the sidebar to open it and view its contents. If the sidebar is not visible, you can show it by going to the “View” menu and selecting “Show Sidebar”.
Another way to navigate through folders is by using the back and forward arrow buttons in the toolbar. These buttons allow you to move backward or forward through the folders you have previously visited. You can also use the keyboard shortcuts: Command + [ to go back and Command + ] to go forward.
For more precise navigation, you can use the Path Bar located at the bottom of the Finder window. The Path Bar displays the current path or location of the selected folder. You can click on any folder in the Path Bar to quickly jump to that folder or navigate up the hierarchy by clicking on the parent folder.
In addition to the sidebar, arrow buttons, and Path Bar, you can also utilize keyboard shortcuts to navigate through folders in Finder. For example, Command + Up Arrow takes you up one level in the folder hierarchy, while Command + Down Arrow opens the selected folder.
If you frequently access specific folders, you can create shortcuts or bookmarks for quick access. To create a shortcut, simply drag a folder to the sidebar or the toolbar. You can then click on the shortcut to instantly open that folder. To add a bookmark, open the folder and go to the “Bookmarks” menu in the toolbar and select “Add Bookmark”. The bookmark will appear in the sidebar for easy access.
Finder also offers a convenient feature called the Recent Folders list, which displays a list of recently visited folders. You can access this list by right-clicking on the Finder icon in the Dock or by holding the Control key and clicking on the Finder icon in the menu bar.
When searching for a specific file or folder, the Finder search bar located at the top-right corner of the window can be a lifesaver. You can simply type in keywords or the name of the item you’re looking for, and the search results will update in real-time. You can even narrow down the search results by specifying criteria such as the file type or the date modified.
As you become more adept at navigating through folders in Finder, you will be able to locate and access your files with ease. These navigation techniques will help enhance your efficiency and productivity, making file management on your Mac a breeze.
Viewing and Sorting Files
Viewing and sorting files is an essential part of managing your files effectively in Finder on your Mac. Being able to visualize and organize your files in a way that suits your preferences will help you navigate through your folders and locate specific items efficiently. In this section, we will explore different methods for viewing and sorting files in Finder.
Finder offers four different view options to display your files: Icon view, List view, Column view, and Gallery view. You can switch between these views by clicking on the corresponding view icons in the toolbar. Each view provides a unique way of presenting your files and allows you to choose the one that works best for you.
In Icon view, files and folders are displayed as icons or thumbnail previews, allowing you to quickly recognize them by their visual appearance. You can adjust the size of the icons by using the slider in the toolbar or by using the pinch-to-zoom gesture on a trackpad.
List view presents your files in a structured list format, showing details such as the name, size, kind, and date modified. This view is particularly useful when you need a comprehensive overview of your files and want to sort them based on specific attributes.
Column view displays your files and folders in a hierarchical structure, showing each level as a separate column. This view is ideal for navigating through deep folder hierarchies and inspecting the contents of folders without opening them.
The Gallery view, introduced in macOS Mojave, offers a visually rich and immersive way to browse through your files. It displays a large preview of the selected file along with a strip of thumbnail previews at the bottom, allowing you to easily scroll through your files.
Sorting files in Finder allows you to arrange them in a specific order based on various criteria. By default, files are sorted by name in ascending order. However, you can change the sorting criteria by clicking on the column headers. For example, clicking on the “Date Modified” column header will sort the files based on the most recent modification date.
You can also customize the columns displayed in List view to show different attributes of your files. Simply right-click on the column headers and choose the desired attributes from the dropdown menu. This allows you to tailor the view to show relevant information for your specific needs.
An additional way to quickly locate files is by using the Finder search bar. You can type in keywords or part of the file name, and the search results will update in real-time. This is especially useful when dealing with a large number of files and folders.
By mastering the art of viewing and sorting files in Finder, you’ll be able to visually navigate your folders and quickly find the files you need. Experiment with different view options and sorting criteria to optimize your workflow and improve your overall file management experience on your Mac.
Organizing Files and Folders
Keeping your files and folders organized is crucial for maintaining a clear and efficient file management system in Finder on your Mac. A well-organized structure makes it easier to locate and manage files, boosts productivity, and reduces clutter. In this section, we will explore different methods for organizing files and folders in Finder.
Creating new folders is the first step towards organizing your files. To create a new folder in Finder, go to the “File” menu and choose “New Folder,” or use the keyboard shortcut Command + Shift + N. You can then give the folder a name and place it in a specific location.
Moving files and folders around is simple in Finder. You can drag and drop items to their desired location. Alternatively, you can use the “Cut” and “Paste” commands from the “Edit” menu or use the keyboard shortcuts Command + X and Command + V. This way, you can reorganize your files by moving them between different folders.
If you find yourself frequently accessing certain folders, you can create shortcuts or bookmarks for quick access. To create a shortcut, simply drag a folder to the sidebar or the toolbar in Finder. You can then click on the shortcut to instantly open that folder. To add a bookmark, open the folder and go to the “Bookmarks” menu in the toolbar and select “Add Bookmark.” The bookmark will appear in the sidebar for easy access.
Renaming files and folders can help you keep track of their contents more easily. To rename a file or folder, select it and press the “Return” key. This will highlight the name, allowing you to edit and modify it. Renaming files and folders also works by right-clicking on them and selecting “Rename” from the context menu.
In addition to manual organization, Finder provides the option to group files and folders by specific criteria. For example, you can choose to group files by kind, date, or tags. To group files, go to the “View” menu and select “Arrange By.” Then, choose the desired grouping criteria from the submenu. This feature can be useful when you want to analyze or sort files based on certain attributes.
Tags offer an intuitive way to categorize and label your files. You can assign different tags to files and then easily search and filter files based on their tags. To add tags to a file or folder, select the item and go to the “File” menu, then choose “Tags” and select the desired tags. You can also assign tags by right-clicking on the item and selecting “Tags” from the context menu.
To further enhance your organization, you can utilize Smart Folders in Finder. Smart Folders automatically gather files based on specific file attributes, such as file type, date, or keywords. You can create Smart Folders by going to the “File” menu and selecting “New Smart Folder.” Specify the search criteria, and the Smart Folder will dynamically update to include files that match your defined criteria.
By utilizing these techniques for organizing files and folders, you can create a structured and efficient system for managing your files in Finder. Experiment with different organization methods to find the approach that works best for you and stay on top of your digital clutter.
Using Quick Look
Quick Look is a powerful feature in Finder that allows you to preview the contents of files without opening them. It provides a quick and convenient way to glance at documents, images, videos, and more, saving you time and effort. In this section, we will explore how to use Quick Look and make the most out of this handy feature.
To use Quick Look, simply select a file in Finder and press the Spacebar. Alternatively, you can right-click on the file and select “Quick Look” from the context menu. The Quick Look window will appear, displaying a preview of the file’s contents.
With Quick Look, you can easily navigate through multi-page documents or scroll through lengthy text files. Use the arrow keys on your keyboard or the navigation buttons in the Quick Look window to move through the file. You can also zoom in or out on images and PDFs by using the zoom controls or by pinching and spreading your fingers on a trackpad.
For images, Quick Look provides additional tools to enhance your viewing experience. You can rotate an image, view it in full screen by clicking on the full-screen button, or even start an automated slideshow of multiple images by clicking on the play button.
Quick Look is not limited to just file previews. It also supports the previewing of files within archives, such as ZIP or RAR files, without the need to extract them. This is particularly useful when you want to quickly check the contents of an archived file without going through the extraction process.
Additionally, Quick Look offers the ability to mark up files. For PDFs and images, you can click on the markup button in the Quick Look window to access annotation tools. These tools allow you to draw, highlight, add text, and even sign documents directly in the preview. Any annotations made in Quick Look can be saved or shared if desired.
To exit Quick Look, simply press the Spacebar again, click on the close button in the top-left corner of the Quick Look window, or press the Escape key. This will close the Quick Look preview and return you to Finder.
Quick Look is a valuable tool for quickly previewing files, eliminating the need to open multiple applications or wait for files to load. Whether you’re browsing through documents, reviewing images, or checking the contents of archives, Quick Look provides a seamless and efficient preview experience right within Finder on your Mac.
Searching for Files
Searching for files is a vital aspect of managing and locating specific items on your Mac. Whether you’re searching for a document, a photo, or a specific file type, Finder provides powerful search capabilities to help you find what you’re looking for. In this section, we will explore different methods for searching files in Finder.
The search bar in Finder, located at the top-right corner of the window, is your primary tool for conducting searches. To perform a basic search, simply start typing keywords or the name of the file you’re seeking in the search bar. As you type, the search results will update in real-time, narrowing down the list of files to match your search query.
You can refine your search by using additional search criteria. Click on the “+” button to the right of the search bar to reveal the search options. Here, you can specify criteria such as the file type, the date modified, or even specific words contained within the file. Adding these criteria will further filter the search results, making it easier to find the exact file you’re looking for.
When conducting a search, you can also choose where to search for files. By default, Finder searches the entire Mac, including your Home folder and connected external drives. However, you can narrow down the search scope by selecting specific locations in the sidebar, such as Documents or Downloads.
Another handy feature for searching files in Finder is the ability to save searches as Smart Folders. To create a Smart Folder, perform a search with specific criteria, and then click on the “Save” button in the toolbar. A Smart Folder will be created, which displays dynamic search results based on your defined criteria. Smart Folders are especially helpful for frequently performed searches.
For more advanced users, Finder supports the use of boolean operators in searches. You can use operators like “AND”, “OR”, and “NOT” to refine your search queries and combine multiple search criteria. For example, you can search for files that contain “report” AND were modified in the past week.
If you come across a search query that you frequently use, you can save it as a template. To do this, go to the “File” menu, select “Save Search,” and choose a location to save the search template. This way, you can easily access and run the search template whenever you need it.
Finder’s search capabilities are designed to make it easier for you to locate files, regardless of their location or file type. By utilizing the search bar, refining your search criteria, and taking advantage of advanced options like Smart Folders, you can quickly and efficiently find the files you need on your Mac.
Connecting to External Devices
Connecting external devices to your Mac, such as external hard drives, USB flash drives, or cameras, allows you to transfer and access files conveniently. Finder provides seamless integration for managing files on external devices, making it easy to transfer, organize, and work with files on these devices. In this section, we will explore how to connect and utilize external devices in Finder.
When you connect an external device to your Mac, it will appear in the sidebar of Finder. The device will be listed with its name or icon, allowing you to easily identify and access it. Simply click on the device in the sidebar to reveal its contents.
To transfer files to or from an external device, simply drag and drop files or folders between Finder windows. You can also use the “Cut” and “Paste” commands from the “Edit” menu, or use the keyboard shortcuts Command + X and Command + V, respectively. This makes it straightforward to move or copy files between your Mac and the connected device.
If you frequently work with a specific external device, you can create a shortcut or bookmark for quick access. Simply drag the device from the sidebar to the toolbar or the sidebar itself. This will create a shortcut, allowing you to easily access the device and its contents without having to navigate through the sidebar.
When you no longer need to use an external device, it’s important to safely eject it from your Mac. To do this, locate the device in the sidebar of Finder and click on the eject button next to its name or icon. Alternatively, you can control-click on the device and select “Eject” from the context menu. Ejecting a device ensures that any data is written, and it is safe to remove the device without risk of data loss or corruption.
In addition to traditional external storage devices, you can also connect cameras, iPhones, or other iOS devices to your Mac. When you connect a camera or iPhone, Finder will automatically open the Photos app, providing access to import and manage photos and videos. You can also navigate to the device in the sidebar of Finder to access additional files and folders stored on the device.
External devices connected to your Mac can be formatted in various file systems, including FAT, exFAT, or APFS. If you encounter an external device that is not recognized or cannot be accessed by your Mac, it may need to be formatted to a compatible file system. Ensure to back up any important data from the device before formatting it.
Connecting and utilizing external devices in Finder allows you to expand your storage capacity, share files between devices, and seamlessly work with files on the go. By utilizing the simple drag-and-drop functionality and safely ejecting devices, you can make the most out of your external devices and enhance your file management experience on your Mac.
Using Tabs in Finder
Tabs in Finder provide a convenient way to manage and navigate through multiple folders and locations within a single Finder window. With tabs, you can organize your workflow, streamline your file management, and easily switch between different directories without cluttering your desktop with multiple windows. In this section, we will explore how to use and maximize the benefits of tabs in Finder.
To open a new tab in Finder, you have multiple options. You can go to the “File” menu and select “New Tab” or use the keyboard shortcut Command + T. Alternatively, you can double-click on an empty space in the tab bar at the top of the Finder window. A new tab will appear, ready for you to use.
Once you have multiple tabs open, you can switch between them by clicking on the desired tab. The active tab will be highlighted, indicating the currently selected location. You can also use the keyboard shortcut Command + Shift + ] to cycle through the open tabs sequentially.
When you open a new tab, it will initially display the same folder as the active tab. However, you can easily navigate to a different location within the new tab. Simply select a folder in the sidebar, use the back and forward buttons, or enter a specific folder path in the Path Bar at the bottom of the Finder window.
Dragging and dropping files and folders between tabs is a breeze. You can move items from one tab to another by simply dragging them to the desired tab. This allows you to easily transfer files and rearrange items across different locations without the need for multiple windows.
If you find that you frequently work with specific sets of tabs, you can save them as a window configuration. To do this, go to the “Window” menu and select “Merge All Windows.” This will consolidate all open tabs and windows into a single Finder window. You can then save this window configuration as a workspace by going to the “Window” menu and choosing “Save Window Arrangement.” This allows you to quickly restore the saved tabs and window layout at any time.
If you want to close a tab, simply click on the close button (X) in the top-left corner of the tab. If you accidentally close a tab and want to reopen it, you can go to the “File” menu and select “Open Recent” to access recently closed tabs.
Using tabs in Finder not only helps you stay organized but also improves your productivity by reducing the number of open windows and making it easier to switch between different folders. By leveraging the drag-and-drop functionality, saving window configurations, and mastering keyboard shortcuts, you can take full advantage of tabs in Finder and optimize your file management workflow on your Mac.
Customizing Finder Preferences
Customizing Finder preferences allows you to personalize the behavior and appearance of Finder on your Mac, tailoring it to your specific needs and preferences. By modifying the settings in Finder preferences, you can optimize your file management experience and streamline your workflow. In this section, we will explore various options for customizing Finder preferences.
To access Finder preferences, go to the “Finder” menu in the menu bar and select “Preferences.” Alternatively, you can use the keyboard shortcut Command + comma (,). The Finder preferences window will appear, providing you with a range of customization options.
In the “General” tab of Finder preferences, you can choose what items are shown in the sidebar and the top menu bar. You can customize the sidebar by selecting or deselecting items such as Devices, Favorites, Shared, and Tags. By choosing the items that are most relevant to your workflow, you can create a sidebar that gives you quick access to the folders and locations you use most frequently.
In the “Advanced” tab, you have additional options for customizing Finder preferences. Here, you can choose whether to show file extensions, enable spring-loaded folders for enhanced navigation, or adjust how the scrolling and sorting behavior works within Finder windows.
Finder preferences also allow you to customize the default folder that opens when you launch a new Finder window. In the “General” tab, under “New Finder windows show,” you can select the desired location, such as your Home folder, Documents, or a specific folder of your choice.
In the “Sidebar” tab, you can further refine the items displayed in the sidebar. You can drag and drop folders or locations from the Finder window to the sidebar to add them, or you can right-click on an item and select “Add to Sidebar.” Similarly, you can remove items from the sidebar by dragging them out of the sidebar or by right-clicking on them and choosing “Remove from Sidebar”.
Finder preferences also offer options for customizing the appearance of icons and labels. In the “Icon view” tab, you can choose the size and grid spacing of file and folder icons. In the “List view” tab, you can customize the appearance and arrangement of columns in the List view. These options allow you to fine-tune the visual representation of your files and folders within Finder.
If you want to see detailed file information directly in the List view, you can enable the “Show Preview” option in the “List view” tab of Finder preferences. This will display a preview column that shows additional information about each file, such as its size, kind, and date modified.
Lastly, Finder preferences allow you to customize the behavior of labels and tags in Finder. In the “Tags” tab, you can create custom tags, assign colors to them, and rearrange them according to your preferences. You can also enable the option to display tags in the sidebar for easy access and management.
By customizing Finder preferences, you can create a personalized and efficient workflow that matches your unique requirements. Experiment with different settings and options to find the configuration that enhances your productivity and makes file management a seamless experience on your Mac.
Keyboard Shortcuts for Finder
Using keyboard shortcuts in Finder can significantly improve your efficiency and speed in navigating, managing, and organizing files and folders on your Mac. By memorizing and utilizing these shortcuts, you can minimize reliance on the mouse or trackpad, ultimately streamlining your workflow. In this section, we will explore some of the most useful keyboard shortcuts for Finder.
Here are a few essential keyboard shortcuts to begin with:
- Command + N: Create a new Finder window.
- Command + T: Open a new tab in Finder.
- Command + W: Close the active window or tab in Finder.
- Command + Shift + N: Create a new folder.
- Command + Up Arrow: Go up one level in the folder hierarchy.
- Command + Down Arrow: Open the selected folder.
- Command + Left Arrow: Go back to the previous folder.
- Command + Right Arrow: Go forward to the next folder.
- Command + Y: Use Quick Look to preview selected files.
- Command + A: Select all items in the active window or folder.
- Command + C: Copy the selected item(s) to the clipboard.
- Command + X: Cut the selected item(s) and move them to the clipboard.
- Command + V: Paste the contents of the clipboard.
- Spacebar: Use Quick Look to preview the selected file.
- Command + Delete: Move selected item(s) to the Trash.
- Command + Shift + Delete: Empty the Trash.
These are just a few examples of the keyboard shortcuts available in Finder. There are many more shortcuts that can help you perform various tasks quickly and efficiently. You can explore additional keyboard shortcuts specific to your needs by going to the “Finder” menu, selecting “Preferences,” and clicking on the “Keyboard Shortcuts” tab.
Furthermore, it’s worth noting that you can customize your own keyboard shortcuts for specific actions in Finder. To do this, go to the “Apple” menu, select “System Preferences,” then choose “Keyboard” and click on the “Shortcuts” tab. From there, select “App Shortcuts” on the left side, click the “+” button, choose Finder as the application, specify the exact menu command you want to assign a shortcut to, and enter the desired keyboard shortcut.
By incorporating keyboard shortcuts into your workflow, you can save time and effort in navigating through Finder, managing files, and performing common actions. Practice using these shortcuts regularly to familiarize yourself with them and gradually increase your productivity when working with Finder on your Mac.