
What is Disk Utility?
Disk Utility is a built-in application on Mac computers that serves as a powerful tool for managing and maintaining the health of your hard drives and disk permissions. It allows you to perform a variety of tasks, including formatting and partitioning drives, repairing disk errors, and verifying disk permissions.
One of the key features of Disk Utility is its ability to diagnose and repair common disk issues. In many cases, disk problems can lead to sluggish performance, unexpected crashes, and other issues that can disrupt your workflow. By using Disk Utility to address these problems, you can potentially improve your computer’s speed and stability.
This versatile application also provides you with a comprehensive overview of your disk status, including information about the capacity, available space, and overall health of your hard drives. It also allows you to view detailed information about individual partitions, such as file system type and utilized space.
Furthermore, Disk Utility offers a range of advanced functions, such as creating disk images, mounting and unmounting volumes, and securely erasing data. Whether you are a casual user looking to troubleshoot minor disk issues or an advanced user in need of more robust disk management tools, Disk Utility has you covered.
It is worth noting that Disk Utility is exclusive to Mac computers and is typically pre-installed on macOS. While there are similar utilities available for other operating systems, such as Windows or Linux, Disk Utility provides a unified and user-friendly interface tailored specifically for Mac users.
Overall, Disk Utility is an invaluable tool for maintaining the health and performance of your hard drives and disk permissions. Its comprehensive functionality and user-friendly interface make it an essential application for all Mac users. Whether you are a novice or an expert, incorporating Disk Utility into your maintenance routine can help prevent and resolve disk-related issues, allowing you to enjoy a smoother and more efficient computing experience.
Why Should You Use Disk Utility to Repair Hard Drives and Disk Permissions?
When it comes to maintaining the health and performance of your Mac’s hard drives and disk permissions, Disk Utility is the go-to tool. Here are several important reasons why you should use Disk Utility for repairing these crucial components:
- Fix Disk Errors: Over time, hard drives may develop errors that can impact their performance. Disk Utility allows you to diagnose and repair these errors effectively. Whether it’s fixing corrupted file systems, repairing bad sectors, or resolving disk inconsistencies, Disk Utility provides the necessary tools to get your drives back in shape.
- Enhance System Speed: When your hard drive becomes cluttered or heavily fragmented, it can slow down your Mac’s overall performance. By using Disk Utility’s repair features, you can optimize your drives and improve their read and write speeds. This can result in faster boot times and snappier application launches.
- Prevent Data Loss: Disk failures or corrupted file systems can lead to data loss, which can be devastating. By regularly using Disk Utility to repair your hard drives, you can minimize the risk of losing important files and documents. It’s an excellent preventive measure to protect your valuable data by keeping your drives in optimal condition.
- Ensure Stable System Operation: Disk-related issues can cause your Mac to freeze, crash, or experience unexpected errors. By using Disk Utility to repair disk permissions, you can ensure that file access and modifications are performed correctly, preventing system instability. This promotes a more stable and reliable computing experience.
- Optimize Storage Space: Disk Utility allows you to analyze the disk usage of your drives. It provides valuable insights into what files and folders are taking up the most space, helping you identify areas where you can free up storage. By decluttering your drives, you can maximize available space and ensure efficient storage management.
Overall, Disk Utility offers a comprehensive set of features that make it an indispensable tool for repairing hard drives and disk permissions on your Mac. By regularly utilizing its capabilities, you can maintain the integrity and performance of your drives, prevent data loss, optimize storage, and enjoy a smoother, more efficient computing experience.
How to Access Disk Utility on Mac
Accessing Disk Utility on your Mac is a straightforward process. Follow the steps below to open this powerful tool:
- Using Spotlight: Press Command + Spacebar on your keyboard to open the Spotlight search bar. Type in “Disk Utility” and press Enter or click on the Disk Utility application that appears in the search results.
- Using Finder: Open a new Finder window by clicking on the Finder icon in the Dock (blue and smiling face). In the left sidebar, under the “Favorites” section, locate and click on Applications. Scroll down until you find the Utilities folder, then double-click on it. Inside the Utilities folder, you will see the Disk Utility application. Double-click on it to launch.
- Using Launchpad: Click on the Launchpad icon in the Dock (gray rocket ship). Once Launchpad opens, you’ll see a grid of application icons. You can either scroll through the grid or use the search bar at the top and type in “Disk Utility.” Click on the Disk Utility icon to open it.
- Using Applications Folder: Open a new Finder window by clicking on the Finder icon in the Dock (blue and smiling face). In the left sidebar, under the “Favorites” section, locate and click on Applications. Inside the Applications folder, scroll through the alphabetical list of applications until you find Disk Utility. Double-click on it to launch.
Once you have successfully opened Disk Utility, you will be greeted with a simple and intuitive interface that showcases all the available drives and volumes connected to your Mac. From here, you can select the specific drive or volume you want to repair or manage, and access various tools and features provided by Disk Utility.
Note that the steps mentioned above may vary slightly depending on the version of macOS you are using. However, the general process of accessing Disk Utility remains consistent, ensuring that you can easily harness the power of this essential maintenance tool on your Mac.
How to Repair Hard Drives using Disk Utility
If you suspect that your Mac’s hard drive is experiencing issues or errors, Disk Utility provides a simple yet effective way to repair them. Follow the steps below to repair hard drives using Disk Utility:
- Access Disk Utility: Open Disk Utility by following the steps outlined in the previous section.
- Select the Drive: In the left-hand sidebar of Disk Utility, you’ll see a list of available drives and volumes. Choose the hard drive you want to repair by clicking on it.
- Click on the “First Aid” tab: Once you have selected the desired drive, click on the “First Aid” tab at the top of the Disk Utility window. This tab contains the necessary tools to diagnose and repair disk errors.
- Click on “Run” or “Repair Disk”: In the “First Aid” tab, you will see a button labeled “Run” or “Repair Disk”. Click on this button to initiate the disk repair process. Disk Utility will then analyze the drive for any errors and attempt to repair them.
- Monitor the Repair Process: Disk Utility will display a progress bar indicating the status of the repair process. Depending on the size and condition of the drive, this process may take several minutes or longer. It’s important to let Disk Utility complete the repair without interrupting it.
- Review the Repair Results: After the repair process is complete, Disk Utility will display a summary of the repairs performed. Take a moment to review the results and ensure that the repairs were successful.
- Restart your Mac: To ensure that the repairs are fully applied, it’s recommended to restart your Mac. This will refresh the system and allow the repaired hard drive to function optimally.
By following these steps, you can effectively repair hard drives using Disk Utility. It’s important to note that Disk Utility is a powerful tool, but it may not be able to fix all hard drive issues. In some cases, severe disk problems may require professional assistance or advanced data recovery methods.
Regularly performing disk repairs using Disk Utility can help maintain the health and performance of your hard drives, ensuring a more stable computing experience. It’s a good practice to include disk repair as part of your regular maintenance routine to avoid potential data loss and maximize the lifespan of your drives.
How to Repair Disk Permissions using Disk Utility
Disk permissions are an important aspect of macOS, controlling access to files and folders on your Mac’s hard drive. Over time, these permissions can become inconsistent or corrupted, potentially causing issues with application functionality and system stability. Disk Utility provides a simple method to repair disk permissions. Follow the steps below:
- Open Disk Utility: Launch Disk Utility by following the steps mentioned earlier on how to access Disk Utility on your Mac.
- Select the Drive: In the left-hand sidebar of Disk Utility, locate and select the hard drive for which you want to repair the disk permissions.
- Click on the “First Aid” tab: At the top of the Disk Utility window, click on the “First Aid” tab. This tab contains the necessary tools for repairing disk permissions.
- Click on “Run” or “Repair Disk Permissions”: Once in the “First Aid” tab, look for the button labeled “Run” or “Repair Disk Permissions”. Click on this button to initiate the repair process.
- Wait for the Process to Complete: Disk Utility will analyze the disk permissions and repair any inconsistencies or errors it detects. This process may take a few moments or longer, depending on the size of the drive and the number of files.
- Review the Repair Summary: After the repair process is complete, Disk Utility will display a summary of the repairs performed. Take a moment to review the report and ensure that the disk permissions have been successfully repaired.
It is important to know that not all versions of macOS provide the option to repair disk permissions. Starting from macOS El Capitan (10.11) and later, Apple removed the option to repair disk permissions for system files, as they are now managed differently. However, you can still repair disk permissions for individual user files and applications on these versions of macOS.
By regularly repairing disk permissions using Disk Utility, you can help maintain the integrity of file access and modification settings, promoting system stability and preventing potential issues with your Mac. It is a good practice to include disk permission repair as part of your routine maintenance to ensure optimal performance.
Tips and Best Practices for Using Disk Utility
Here are some tips and best practices to enhance your experience and ensure effective usage when working with Disk Utility:
- Backup Your Data: Before performing any disk repairs or modifications with Disk Utility, it’s crucial to backup your data. This ensures that you have a copy of your files in case anything goes wrong during the process.
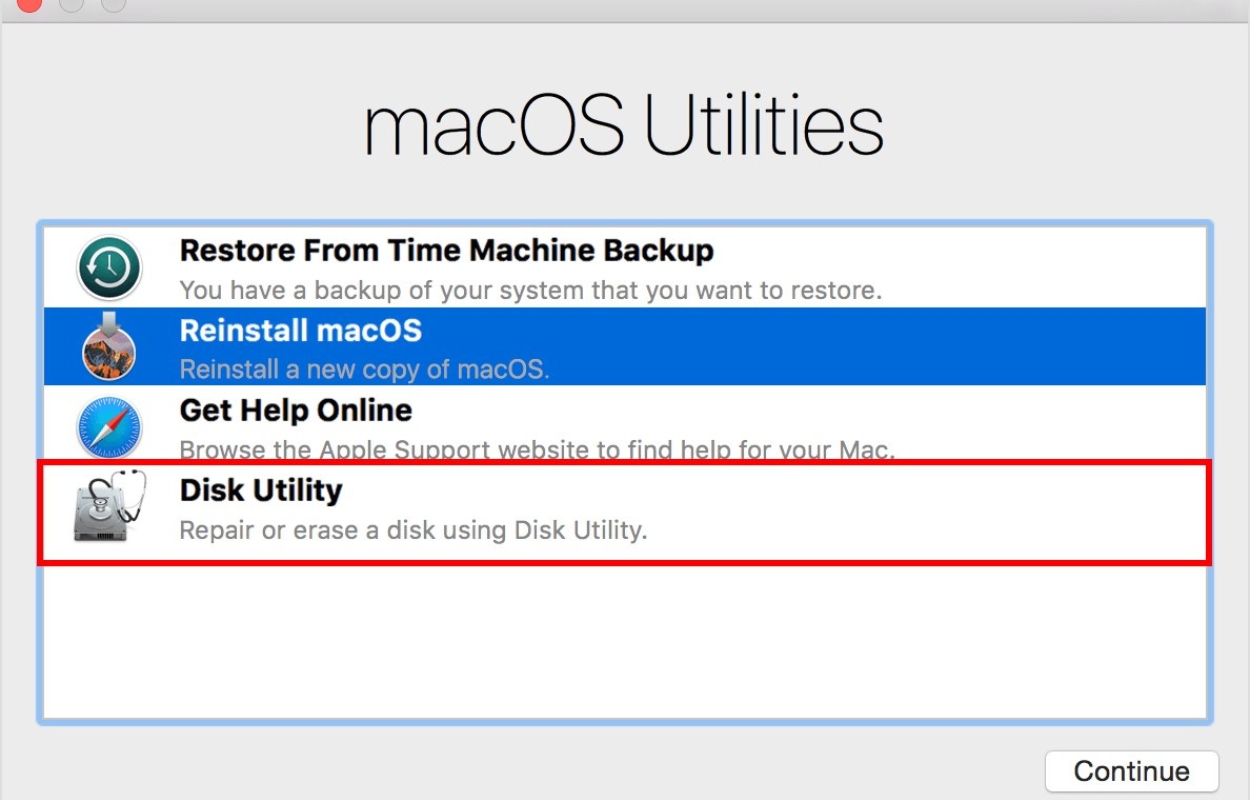
- Run Disk Utility in Recovery Mode: For more comprehensive repairs or when encountering issues that prevent your Mac from starting up, consider running Disk Utility in Recovery Mode. To access Recovery Mode, restart your Mac and hold down Command + R until the Apple logo appears.
- Verify Disk Permissions Regularly: Even if you don’t encounter any apparent issues, it’s a good practice to regularly verify disk permissions. This allows you to catch and address any inconsistencies before they develop into potential problems.
- Use Disk Utility for Maintenance Tasks: In addition to repairs, Disk Utility offers various maintenance tasks like checking and repairing disk errors, verifying disk integrity, and optimizing storage. Incorporate these tasks into your routine maintenance to keep your hard drives in peak condition.
- Perform Disk Repairs in Single-User Mode: In cases where Disk Utility encounters difficulties repairing disk errors, you can attempt repairs in Single-User Mode. Restart your Mac and hold down Command + S until you see a text-based interface. From there, use Terminal commands to initiate and monitor repairs in a more controlled environment.
- Be Patient during Disk Repairs: When repairing disk errors or disk permissions with Disk Utility, it’s important to be patient. The repair process may take some time, especially for larger drives. Interrupting the repair process can have adverse effects on your system’s stability and the effectiveness of the repairs.
- Upgrade to Latest macOS Version: Keeping your Mac’s operating system up to date is beneficial for overall system performance and security. Ensure that you are running the latest version of macOS to take advantage of the improvements and bug fixes provided by Apple.
- Seek Professional Help when Needed: While Disk Utility is a powerful tool, there are instances where specialized knowledge or professional assistance may be required. If you encounter persistent disk issues or suspect hardware problems, consider consulting an expert or contacting Apple Support for further guidance.
By following these tips and best practices, you can make the most of Disk Utility’s capabilities and ensure optimal performance and reliability for your Mac’s hard drives and disk permissions.