
Common Causes of Kernel Panics
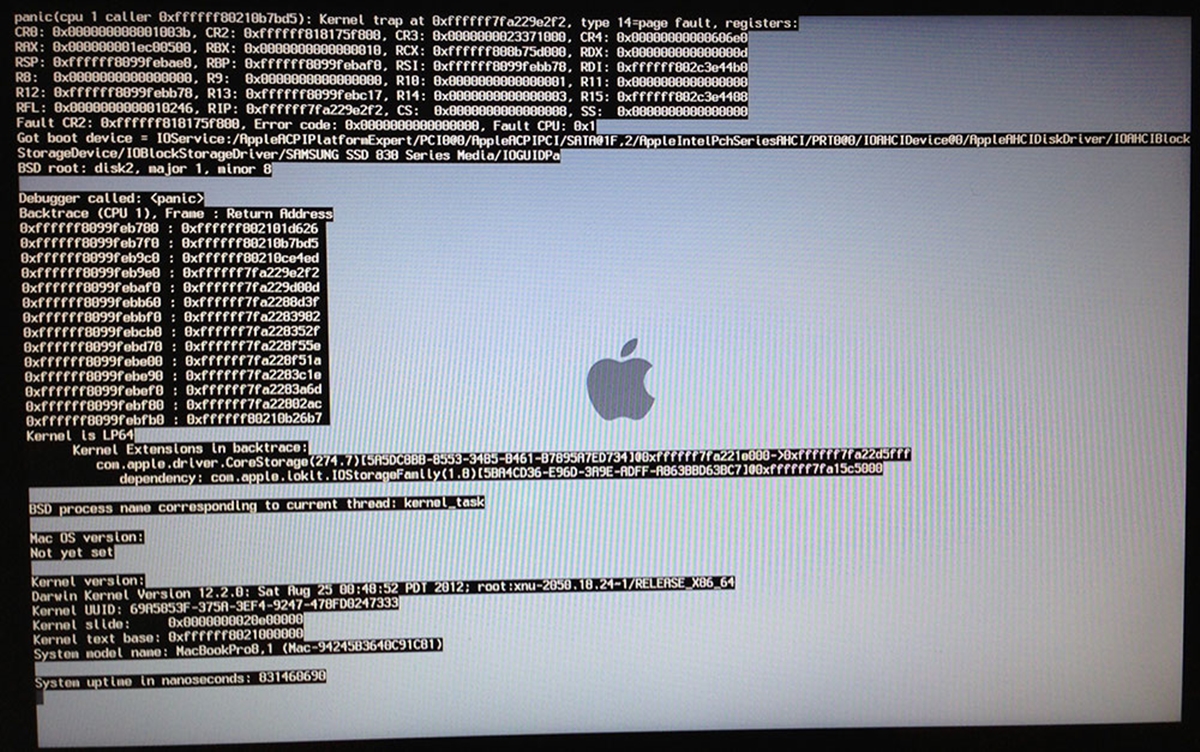
Kernel panics are one of the most dreaded issues that Mac users can experience. They occur when the operating system encounters a problem that it cannot recover from, resulting in a sudden system shutdown. Understanding the common causes of kernel panics can help diagnose and resolve these frustrating incidents.
1. Hardware conflicts: Incompatibility between hardware components can lead to kernel panics. When installing new hardware, it is crucial to ensure that it is compatible with your Mac model and operating system version.
2. Software conflicts: Similarly, incompatible or poorly-coded software can trigger kernel panics. These can include device drivers, system extensions, or even third-party applications. It’s essential to keep your software up-to-date and verify the compatibility of any newly installed software.
3. Overheating: Macs are designed to prevent overheating, but excessive heat can still cause kernel panics. Dust accumulation or a malfunctioning cooling system can lead to temperature issues. Regularly cleaning your Mac and ensuring proper ventilation can help mitigate this problem.
4. Faulty RAM: Random Access Memory (RAM) issues can also result in kernel panics. Dirty or faulty RAM modules can lead to system instability. Running a diagnostic test or swapping out the RAM modules can help identify and resolve this problem.
5. Corrupted files or disk errors: A corrupted system file or hard drive issue can trigger a kernel panic. Running Disk Utility to repair disk permissions and verify the integrity of the file system can often resolve these issues.
While these are some of the common causes of kernel panics, there can be other factors involved as well. Identifying the underlying cause can often require a trial and error approach, ruling out potential issues one by one.
Checking for Recently Installed Software or Updates
A kernel panic can sometimes be triggered by recently installed software or updates. If you experience a kernel panic shortly after installing new software or updating your operating system, it is worth investigating whether they could be the cause.
1. Software updates: Start by checking if any system updates or software updates were installed before the kernel panic occurred. Sometimes, updates can introduce compatibility issues or contain bugs that can lead to system instability. Check the release notes of the updates or search online forums to see if others have experienced similar issues.
2. Third-party applications: If you recently installed any new third-party applications, try uninstalling or disabling them temporarily to see if the kernel panics cease. Faulty or incompatible software can cause conflicts that result in system crashes. Make sure you’re using the latest version of the application and check the developer’s website for any reported issues.
3. System extensions: Some software may install system extensions or kernel extensions that could potentially cause kernel panics. These extensions can interfere with the stability of the operating system. Use the System Preferences or the Terminal to manage and remove any unnecessary or problematic extensions.
4. Removal and reinstallation: If you suspect that a specific application or update is causing the issue, try completely removing it from your system and reinstalling it. This process ensures that all associated files and settings are properly cleared and reconfigured.
5. Time Machine: If you have Time Machine enabled, consider restoring your system to a previous state before the kernel panics started occurring. This step can help determine if the issue is specific to software changes made within a certain timeframe.
Remember to test your system after each step to see if the kernel panics persist. It’s also a good idea to check for any known issues or patches recommended by the software developers or the Apple support community.
If you’re still experiencing kernel panics after checking for recently installed software or updates, there may be other underlying causes to investigate, which will be discussed in the following sections.
Running Disk Utility to Repair Disk Permissions
In some cases, kernel panics can be caused by disk permission issues. Disk Utility is a built-in macOS tool that can help identify and repair these problems, potentially resolving kernel panic occurrences.
1. Launch Disk Utility: Open the “Applications” folder, then go to the “Utilities” folder and double-click on “Disk Utility” to launch the application.
2. Verify Disk Permissions: In the Disk Utility window, select your Mac’s startup disk from the left-hand sidebar. Then, click on the “First Aid” button in the toolbar and select “Verify Disk Permissions.” This process will scan your disk and identify any permission-related issues.
3. Repair Disk Permissions: If the verification process detects any issues, click on the “Repair Disk Permissions” button to fix them. Disk Utility will attempt to correct the file permissions that may be contributing to the kernel panics. This process may take some time to complete.
4. Restart your Mac: After repairing disk permissions, it is a good practice to restart your Mac. This allows the changes to take effect and ensures a fresh start for your system.
5. Monitor for kernel panics: After performing the disk permissions repair, monitor your Mac for any further occurrences of kernel panics. If the issue persists, it may indicate an underlying problem that requires additional troubleshooting.
Keep in mind that running Disk Utility to repair disk permissions is not a guaranteed solution for all kernel panic scenarios. It is just one step in the troubleshooting process. If the kernel panics continue, you may need to explore other potential causes such as hardware or software conflicts.
Understanding and addressing disk permission issues can help maintain the stability and performance of your Mac. Regularly checking and repairing disk permissions, along with other maintenance tasks, can help prevent future kernel panic incidents.
Verifying Third-Party Hardware and Software Compatibility
When encountering kernel panics on your Mac, it’s important to consider the compatibility of any third-party hardware or software that you have installed. Incompatibilities or conflicts with these components can contribute to system instability and crashes.
1. Third-Party Hardware: If you recently installed any new hardware components, such as RAM, external drives, or peripherals, check their compatibility with your Mac model and operating system. Make sure to refer to the manufacturer’s documentation or website for any known compatibility issues or required software drivers.
2. Disconnect Peripheral Devices: Disconnect all peripheral devices, such as printers, scanners, or external storage, from your Mac to see if the kernel panics resolve. Faulty or incompatible peripherals can cause conflicts and system crashes. Connect them back one at a time to determine if a specific device is causing the issue.
3. Third-Party Software: Review all third-party software applications you have installed on your Mac. Verify whether they are up-to-date and compatible with your operating system. Outdated or incompatible software can cause kernel panics. Visit the developer’s website or support forums to check for any reported issues or updates.
4. Disable Startup Items: Some third-party applications may have startup items that run when your Mac boots up. These items can potentially conflict with the operating system, causing kernel panics. Open System Preferences, click on “Users & Groups,” select your user account, and then navigate to the “Login Items” tab. Remove any unnecessary or problematic startup items.
5. Safe Mode: Booting your Mac in Safe Mode can help determine whether third-party software is causing the kernel panics. To do this, restart your Mac and hold down the Shift key until the Apple logo appears. Safe Mode only loads essential system extensions and disables third-party software. If the kernel panics don’t occur in Safe Mode, it suggests that third-party software is the likely cause.
By verifying the compatibility of third-party hardware and software, you can identify potential sources of kernel panics. Removing or upgrading any incompatible components or updating software may help prevent future crashes. However, if the issue persists, further troubleshooting may be necessary.
Resetting NVRAM and SMC
If you’re experiencing kernel panics on your Mac, resetting the NVRAM (non-volatile random access memory) and SMC (system management controller) can be a useful troubleshooting step. These procedures can help resolve certain hardware-related issues and reset various system configurations.
1. Resetting NVRAM:
– Shut down your Mac.
– Press the power button to turn it back on and immediately press and hold the following keys: Command + Option + P + R.
– Keep holding these keys until you hear the startup sound for the second time or see the Apple logo appear and disappear for the second time.
– Release the keys and allow your Mac to restart as normal.
2. Resetting SMC:
– Shut down your Mac.
– For Macs with a T2 security chip: Press and hold the power button for 10 seconds, then release it.
– For Macs without a T2 security chip: Disconnect the power adapter from your Mac, then press and hold the power button for 10 seconds. Release the power button and reconnect the power adapter.
– Wait a few seconds, then press the power button to turn on your Mac.
Resetting NVRAM and SMC can help resolve issues related to hardware settings, power management, and other system configurations. However, it’s important to note that these procedures will reset certain settings, such as speaker volume, screen resolution, and time zone, back to their default values.
If you continue to experience kernel panics after resetting NVRAM and SMC, it may be necessary to further investigate other potential causes, such as software conflicts or hardware malfunctions.
Remember to monitor your Mac for any recurring kernel panics after performing these resets. If the issue persists, additional troubleshooting steps may be required to identify and resolve the underlying problem.
Running Apple Diagnostics
If you’re experiencing frequent kernel panics on your Mac, running Apple Diagnostics can help identify potential hardware issues that could be causing the crashes. Apple Diagnostics is a built-in tool that can perform various diagnostic tests on your Mac’s hardware components.
1. Disconnect all external peripherals: Before running Apple Diagnostics, disconnect any external devices connected to your Mac, except for the keyboard, mouse, and display.
2. Shut down your Mac: Ensure your Mac is powered off before proceeding.
3. Start Apple Diagnostics: Press the power button, then immediately press and hold the D key until the Apple Diagnostics screen appears. If prompted, select your language and click “Continue.”
4. Perform the diagnostics: Apple Diagnostics will automatically start running a series of tests on your Mac’s hardware, including the logic board, memory, storage, and more. These tests may take some time to complete, so be patient.
5. Review the results: Once the tests are complete, you’ll see a summary of any hardware issues detected. If Apple Diagnostics finds any problems, it will provide recommendations for further action, such as contacting Apple Support or visiting an Apple Store for assistance. Make a note of any error codes or specific messages displayed.
Running Apple Diagnostics can give you valuable insight into any potential hardware-related causes of kernel panics. If a specific hardware component is identified as faulty, you may need to replace or repair it to resolve the issue.
It’s important to note that Apple Diagnostics doesn’t diagnose software-related issues, so if no hardware issues are identified or if the kernel panics persist, further investigation into software compatibility or configuration may be necessary.
Remember to periodically run Apple Diagnostics, especially if you continue experiencing kernel panics or encounter other persistent issues with your Mac’s hardware. Regular diagnostics can help ensure the reliability and performance of your system.
Checking for Hard Drive Errors
If you’re encountering kernel panics on your Mac, it’s essential to check for hard drive errors. Corrupted or failing disk sectors can contribute to system instability and crashes. Fortunately, macOS provides built-in tools that help identify and repair these errors.
1. Disk Utility: Launch Disk Utility by navigating to the “Applications” folder, then the “Utilities” folder. Select your Mac’s startup disk from the left-hand sidebar and click on the “First Aid” button in the toolbar.
2. Verify Disk: In the Disk Utility window, click on “Verify Disk” to initiate the verification process. This process will scan the disk for any errors or potential issues. If errors are detected, proceed to the next step.
3. Repair Disk: If Disk Utility finds disk errors, click on the “Repair Disk” button to attempt to repair them. This process may take some time, so be patient and let it complete. If the repair is successful, it can help resolve disk-related issues that may be causing the kernel panics.
4. Third-Party Disk Repair Tools: If the built-in Disk Utility does not resolve the issue, you may consider using third-party disk repair tools. Tools such as TechTool Pro or Drive Genius can provide more comprehensive disk repair and diagnostic capabilities.
5. Disk Health Monitoring: Installing a disk health monitoring program, such as DriveDx or SMART Utility, can help proactively monitor the health of your hard drive. These tools can provide real-time updates on the status of your drive and alert you to any potential issues before they escalate to kernel panics or data loss.
Regularly checking for hard drive errors and repairing them promptly can help maintain the stability and reliability of your Mac. However, if you continue to experience kernel panics even after resolving disk errors, further investigation into other potential causes may be necessary.
Always ensure you have a backup of your important data before performing any disk repairs or maintenance. Hard drive errors can sometimes lead to data loss, and having a backup ensures you can restore your files if needed.
Reinstalling Mac OS X
If you’ve exhausted other troubleshooting methods and are still experiencing persistent kernel panics on your Mac, reinstalling macOS can be a viable solution. Reinstalling the operating system can help resolve software-related issues and restore your Mac to a stable state.
Before proceeding with the reinstallation, it’s crucial to back up your data to ensure that you don’t lose any valuable information.
1. Create a backup: Use Time Machine or another backup method to create a complete backup of your Mac’s data. This step is essential to safeguard your files and settings.
2. Connect to reliable power: Ensure that your Mac is connected to a reliable power source throughout the reinstallation process. A sudden power loss during installation can cause further complications.
3. Boot into macOS Recovery: Restart your Mac and hold down the Command + R keys until the Apple logo or a spinning globe appears. This will boot your Mac into macOS Recovery, a special utility that allows you to reinstall the operating system.
4. Select Disk Utility: In macOS Recovery, select “Disk Utility” from the available options. Use Disk Utility to format your Mac’s internal drive (usually named “Macintosh HD”) and erase all existing data.
5. Reinstall macOS: Once the drive has been formatted, exit Disk Utility and choose the “Reinstall macOS” option. Follow the on-screen instructions to reinstall a fresh copy of macOS on your Mac. This process may take some time.
6. Restore data and settings: After the reinstallation is complete, you can use the Time Machine backup or other backup method to restore your files, applications, and settings onto your Mac. This step will help you regain access to your personal data and preferences.
Reinstalling macOS provides a clean start and eliminates any software-related issues that may have been causing kernel panics. However, it’s worth noting that if the kernel panics continue after the reinstallation, it might indicate an underlying hardware problem that requires further investigation or professional assistance.
Regularly updating your software, including macOS and applications, can help prevent kernel panics and ensure a smoother overall experience. Additionally, maintaining a backup routine ensures the safety of your data and simplifies the reinstallation process if needed in the future.
Contacting Apple Support or Visiting an Apple Store
If you have tried all the troubleshooting methods mentioned earlier and are still unable to resolve the kernel panics on your Mac, it may be time to reach out to Apple Support or visit an Apple Store for professional assistance. Apple’s support team and retail staff are trained to diagnose and address a wide range of Mac issues.
1. Apple Support website: The first step is to visit the Apple Support website. Here, you can find various resources, including articles, troubleshooting guides, and community forums, that may help you find a solution to your specific issue. Search for keywords related to kernel panics or browse the support categories to find relevant information.
2. Contact Apple Support: If the information on the website doesn’t resolve your kernel panic problem, you can consider reaching out to Apple Support directly. Apple offers multiple support options, such as phone support, online chat, and email support. Visit the Apple Support website for the contact details specific to your region.
3. Book an appointment: If you prefer in-person assistance, you can schedule an appointment at your nearest Apple Store. Apple’s retail staff can provide in-depth technical support and diagnose hardware-related issues that may be causing the kernel panics. To book an appointment, use the “Genius Bar” feature on the Apple website or via the Apple Support app.
4. Provide detailed information: When contacting Apple Support or visiting an Apple Store, be sure to provide as much detailed information as possible about the kernel panics you are experiencing. Include any error messages, patterns of occurrence, and steps you have already taken to troubleshoot. This information will help the support team or technician better understand the issue and find an appropriate solution.
5. Warranty or AppleCare+: If your Mac is still under warranty or you have AppleCare+ coverage, you may be eligible for additional support or repairs at no cost or discounted rates. Provide the necessary warranty or AppleCare+ details when reaching out to Apple Support or during your visit to the Apple Store.
Apple Support and Apple Store visits are valuable options when standard troubleshooting methods fail to resolve kernel panic issues. The support team and retail staff have the expertise and resources to assess your Mac’s hardware and software, pinpoint the root cause of the kernel panics, and recommend suitable solutions.
Remember to always back up your data before seeking support or visiting an Apple Store, as troubleshooting steps or repairs may require erasing or replacing your hard drive.