
Checking Your Phone and TV Compatibility
When it comes to connecting your phone to your TV via USB, the first step is to ensure that both your phone and TV are compatible with this type of connection. Here's how you can check for compatibility:
Phone Compatibility
-
USB-C or Micro USB: Determine the type of USB port on your phone. Most modern Android phones use a USB-C port, while older models may feature a micro USB port. Some phones, particularly those from Apple, use a proprietary Lightning connector. Ensure that your phone's USB port matches the cable or adapter you plan to use for the connection.
-
Operating System Support: Check if your phone's operating system supports USB-to-TV connectivity. For Android devices, this typically involves enabling the "USB debugging" option in the developer settings. For iOS devices, compatibility may vary based on the specific model and iOS version.
-
MHL Support: Mobile High-Definition Link (MHL) is a technology that allows compatible phones to connect to TVs through the USB port. Check if your phone supports MHL, as this can simplify the connection process.
TV Compatibility
-
HDMI Port: Most modern TVs feature HDMI ports, which are essential for connecting external devices. Ensure that your TV has at least one available HDMI port for the connection.
-
USB Port Functionality: While some TVs have USB ports, not all of them support USB-to-TV connections for displaying phone content. Check your TV's manual or specifications to confirm if the USB port supports this functionality.
-
Screen Mirroring Support: Some smart TVs offer built-in screen mirroring functionality, allowing you to wirelessly display your phone's screen on the TV. Check if your TV supports this feature, as it provides an alternative to USB-based connections.
By verifying the compatibility of your phone and TV, you can proceed with confidence, knowing that the necessary hardware and software requirements are in place for a successful USB connection. If compatibility issues arise, alternative connection methods, such as wireless display adapters, may provide a viable solution.
Ensuring compatibility between your phone and TV is the crucial first step in establishing a USB connection. Once compatibility is confirmed, you can explore the various methods for physically connecting your devices and troubleshooting any potential issues that may arise.
Using a USB-C to HDMI Cable
Connecting your phone to a TV using a USB-C to HDMI cable is a straightforward method that leverages the HDMI input on your TV and the USB-C port on your phone. Follow these steps to initiate the connection:
Step 1: Acquire a USB-C to HDMI Cable
Ensure that you have a USB-C to HDMI cable compatible with your phone and TV. These cables typically feature a USB-C connector on one end and an HDMI connector on the other, allowing for a direct physical connection between the two devices.
Step 2: Connect the Cable
Insert the USB-C end of the cable into your phone’s USB-C port. Then, plug the HDMI end into an available HDMI port on your TV. Once both ends are securely connected, the physical setup is complete.
Step 3: Select the HDMI Input
Using your TV’s remote or control panel, select the HDMI input to which your phone is connected. This action ensures that the TV recognizes the signal from your phone and displays its content accordingly.
Step 4: Adjust Phone Settings (if necessary)
Depending on your phone’s settings, you may need to enable screen mirroring or adjust display preferences to initiate the connection. Navigate to the appropriate settings on your phone to ensure that the TV receives the desired content seamlessly.
Step 5: Enjoy the Connection
Once the connection is established, your phone’s screen should be mirrored or extended onto the TV, allowing you to enjoy videos, photos, presentations, and other content on a larger display.
Using a USB-C to HDMI cable offers a reliable and direct method for connecting your phone to a TV, leveraging the cable’s physical connection and the TV’s HDMI input. This approach is particularly suitable for situations where wireless connectivity may not be feasible or when a stable and high-quality connection is preferred.
By following these steps, you can seamlessly bridge your phone and TV, unlocking a broader viewing experience and enhancing the versatility of your devices.
Using a USB to HDMI Adapter
When your phone and TV have differing port types, such as USB on the phone and HDMI on the TV, a USB to HDMI adapter serves as a valuable intermediary, enabling the connection between the two devices. Here’s how you can utilize a USB to HDMI adapter for this purpose:
Step 1: Obtain a USB to HDMI Adapter
Acquire a USB to HDMI adapter that is compatible with your phone and TV. These adapters typically feature a USB connector on one end and an HDMI port on the other, facilitating the transmission of audio and video signals between devices.
Step 2: Connect the Adapter
Insert the USB end of the adapter into your phone’s USB port. Then, connect an HDMI cable from the adapter to an available HDMI port on your TV. This physical setup establishes the necessary link between your phone and TV.
Step 3: Select the HDMI Input
Using your TV’s remote or control panel, select the HDMI input to which your phone is connected via the adapter. This action prompts the TV to recognize the incoming signal from your phone and display its content accordingly.
Step 4: Adjust Phone Settings (if necessary)
Depending on your phone’s settings, you may need to enable screen mirroring or adjust display preferences to initiate the connection. Navigate to the appropriate settings on your phone to ensure seamless transmission of content to the TV.
Step 5: Experience the Connection
Once the connection is established, your phone’s screen content should be mirrored or extended onto the TV, allowing for an enriched viewing experience on a larger display.
Utilizing a USB to HDMI adapter provides a practical solution for bridging the connectivity gap between devices with differing port types. This method enables seamless transmission of audio and video signals, empowering you to enjoy a wide range of content on the expansive screen of your TV.
By following these steps, you can harness the capabilities of a USB to HDMI adapter to create a unified viewing experience, transcending the limitations posed by varying port configurations on your phone and TV.
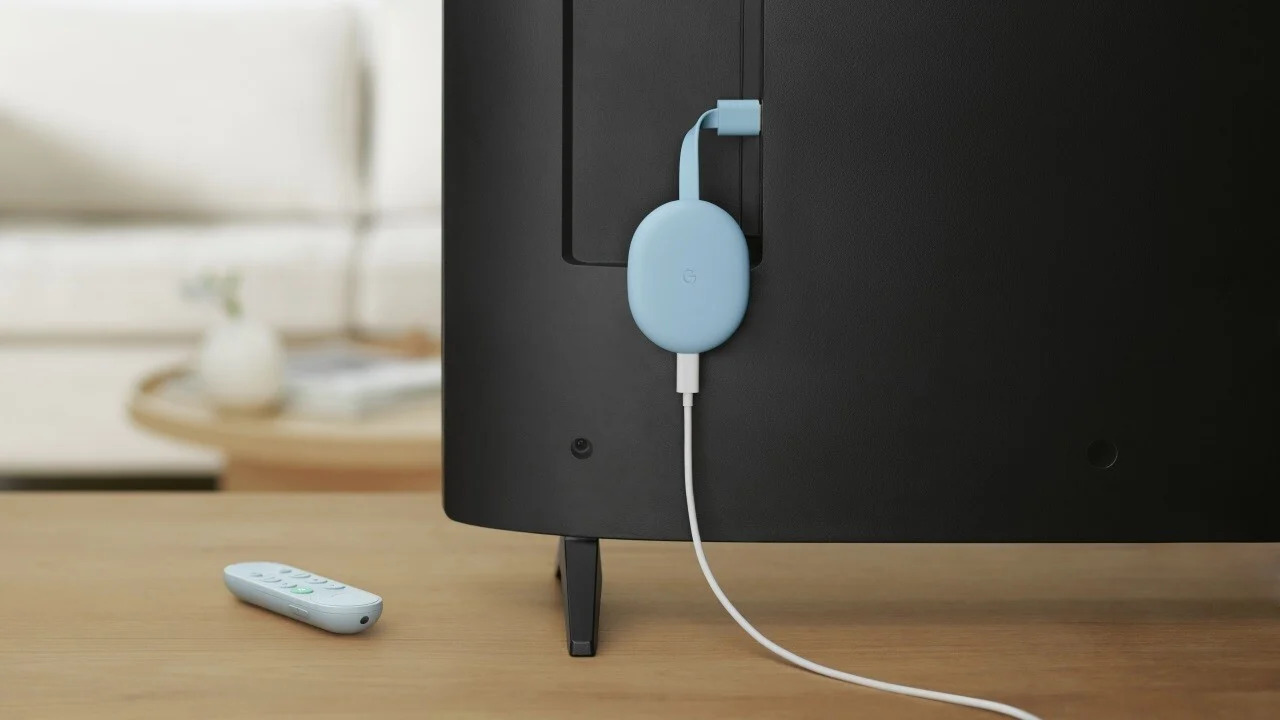
Using a Wireless Display Adapter
When a physical USB connection between your phone and TV is not feasible or preferred, a wireless display adapter offers a versatile and convenient alternative, enabling seamless screen mirroring and content transmission. Here’s how you can utilize a wireless display adapter to connect your phone to a TV:
Step 1: Acquire a Wireless Display Adapter
Obtain a wireless display adapter compatible with your phone and TV. These adapters typically utilize technologies such as Miracast or AirPlay to establish a wireless connection between devices, allowing for screen mirroring and content transmission.
Step 2: Connect the Adapter to the TV
Plug the wireless display adapter into an available HDMI port on your TV. Ensure that the adapter is powered and ready to establish a wireless connection with your phone.
Step 3: Enable Screen Mirroring on Your Phone
Access your phone’s settings or quick access menu to enable screen mirroring. Depending on your phone’s operating system, this feature may be labeled as "Smart View," "Cast," or "Screen Mirroring." Activate this function to initiate the wireless connection with the TV’s display adapter.
Step 4: Select the Adapter on Your Phone
Once screen mirroring is enabled, your phone should detect the wireless display adapter. Select the adapter from the available devices to establish the wireless connection and begin mirroring your phone’s screen on the TV.
Step 5: Experience Wireless Connectivity
With the wireless connection established, your phone’s screen content will be mirrored or extended onto the TV, allowing for a seamless and immersive viewing experience without the constraints of physical cables.
Utilizing a wireless display adapter liberates you from the limitations of physical connections, offering a flexible and dynamic method for sharing content from your phone to the expansive display of your TV. This wireless approach is particularly advantageous in scenarios where mobility and convenience are paramount.
By following these steps, you can harness the capabilities of a wireless display adapter to effortlessly bridge your phone and TV, unlocking a world of entertainment and productivity possibilities without the constraints of physical cables.
Troubleshooting Common Issues
While connecting your phone to a TV via USB or a wireless display adapter can be a seamless process, occasional issues may arise. By understanding and addressing these common challenges, you can ensure a smooth and uninterrupted connection between your devices. Here are some troubleshooting steps for addressing common issues:
No Signal Detected on TV
If your TV displays a "No Signal" message when attempting to connect your phone, ensure that the HDMI cable or wireless display adapter is securely connected. Verify that the correct HDMI input is selected on the TV and that the adapter or cable is functioning properly. Reconnecting the cable or adapter and power cycling the TV may resolve this issue.
Audio or Video Playback Issues
If you encounter audio or video playback issues, such as distorted sound or pixelated visuals, ensure that the cable or wireless connection is stable. Check for any physical damage to the cable or adapter, and verify that your phone’s audio and video settings are configured appropriately for TV output. Using a different HDMI cable or adjusting the wireless connection settings can help address these issues.
Compatibility and Software Updates
Ensure that your phone’s operating system and the TV’s firmware are up to date, as outdated software can lead to compatibility issues. Check for any available updates for both devices and apply them accordingly. Additionally, verify that your phone and TV are compatible with the chosen connection method, whether it’s USB-C to HDMI, USB to HDMI adapter, or wireless display adapter.
Interference and Network Connectivity
If using a wireless display adapter, interference from other electronic devices or Wi-Fi networks can disrupt the connection. Position the wireless adapter and your phone in close proximity to ensure a strong and stable wireless signal. Minimizing interference from other devices and networks can improve the reliability of the wireless connection.
By addressing these common issues, you can overcome potential obstacles and ensure a seamless connection between your phone and TV. Troubleshooting connectivity challenges empowers you to fully leverage the capabilities of your devices, enabling uninterrupted access to a diverse range of content on the expansive screen of your TV.