
Common Email Sending Issues on iPhone 12
Sending emails from your iPhone 12 should be a seamless experience, but sometimes, you might encounter issues that hinder the delivery of your messages. Understanding the common email sending issues on iPhone 12 can help you troubleshoot and resolve these problems effectively.
-
Outbox Stuck: One of the most prevalent issues is when emails get stuck in the Outbox and refuse to send. This can be frustrating, especially when time-sensitive information needs to be communicated.
-
Failed Send Attempts: Another common problem is encountering repeated failed send attempts, despite a stable internet connection and accurate recipient details.
-
Delayed Sending: Occasionally, emails may experience significant delays in sending, causing inconvenience and potential misunderstandings.
-
Error Messages: Users may also encounter cryptic error messages that offer little insight into the root cause of the sending issues.
Understanding these common email sending issues on iPhone 12 is the first step towards resolving them effectively. By delving into the specific causes and solutions for each problem, you can regain control over your email communication and ensure that your messages reach their intended recipients without unnecessary delays or complications.
Checking Internet Connection
Ensuring a stable internet connection is paramount when troubleshooting email sending issues on your iPhone 12. A weak or unstable connection can impede the seamless transmission of emails, leading to frustration and potential communication breakdowns. To address this, follow these steps to verify and optimize your internet connection:
-
Wi-Fi or Cellular Data: Firstly, confirm that your iPhone 12 is connected to a reliable Wi-Fi network or has a strong cellular data signal. Weak or intermittent connectivity can disrupt the sending process, causing emails to linger in the Outbox or fail to send altogether.
-
Airplane Mode: Check if Airplane Mode is inadvertently enabled on your device, as this setting disables all wireless connections. If it's activated, disable Airplane Mode and observe if the email sending issue persists.
-
Network Signal Strength: Assess the strength of your Wi-Fi or cellular signal by checking the signal bars on your device. Ideally, you should have at least two to three bars for a stable connection. If the signal is weak, consider moving closer to the router or accessing a different Wi-Fi network with better signal strength.
-
Data Usage Limit: For users relying on cellular data, ensure that you have not exceeded your data usage limit. When the data cap is reached, some carriers may throttle the connection speed, leading to sending issues. Verifying your data usage status can help rule out this potential cause.
-
Network Congestion: In cases of network congestion, especially in crowded public Wi-Fi hotspots, sending emails may be hindered. Consider switching to a less congested network or waiting until the network traffic subsides for smoother email transmission.
By meticulously examining and addressing these aspects of your internet connection, you can eliminate potential connectivity-related barriers that impede the sending of emails from your iPhone 12. Once a stable and robust internet connection is established, you can proceed to investigate other potential causes of email sending issues, ensuring a seamless communication experience on your device.
Verifying Outgoing Mail Server Settings
Verifying the outgoing mail server settings is a crucial step in troubleshooting email sending issues on your iPhone 12. The outgoing mail server, also known as the SMTP (Simple Mail Transfer Protocol) server, is responsible for transmitting your outgoing emails to the intended recipients. Any misconfiguration or discrepancy in these settings can lead to persistent sending problems. To ensure the accuracy and effectiveness of your outgoing mail server settings, follow these comprehensive steps:
-
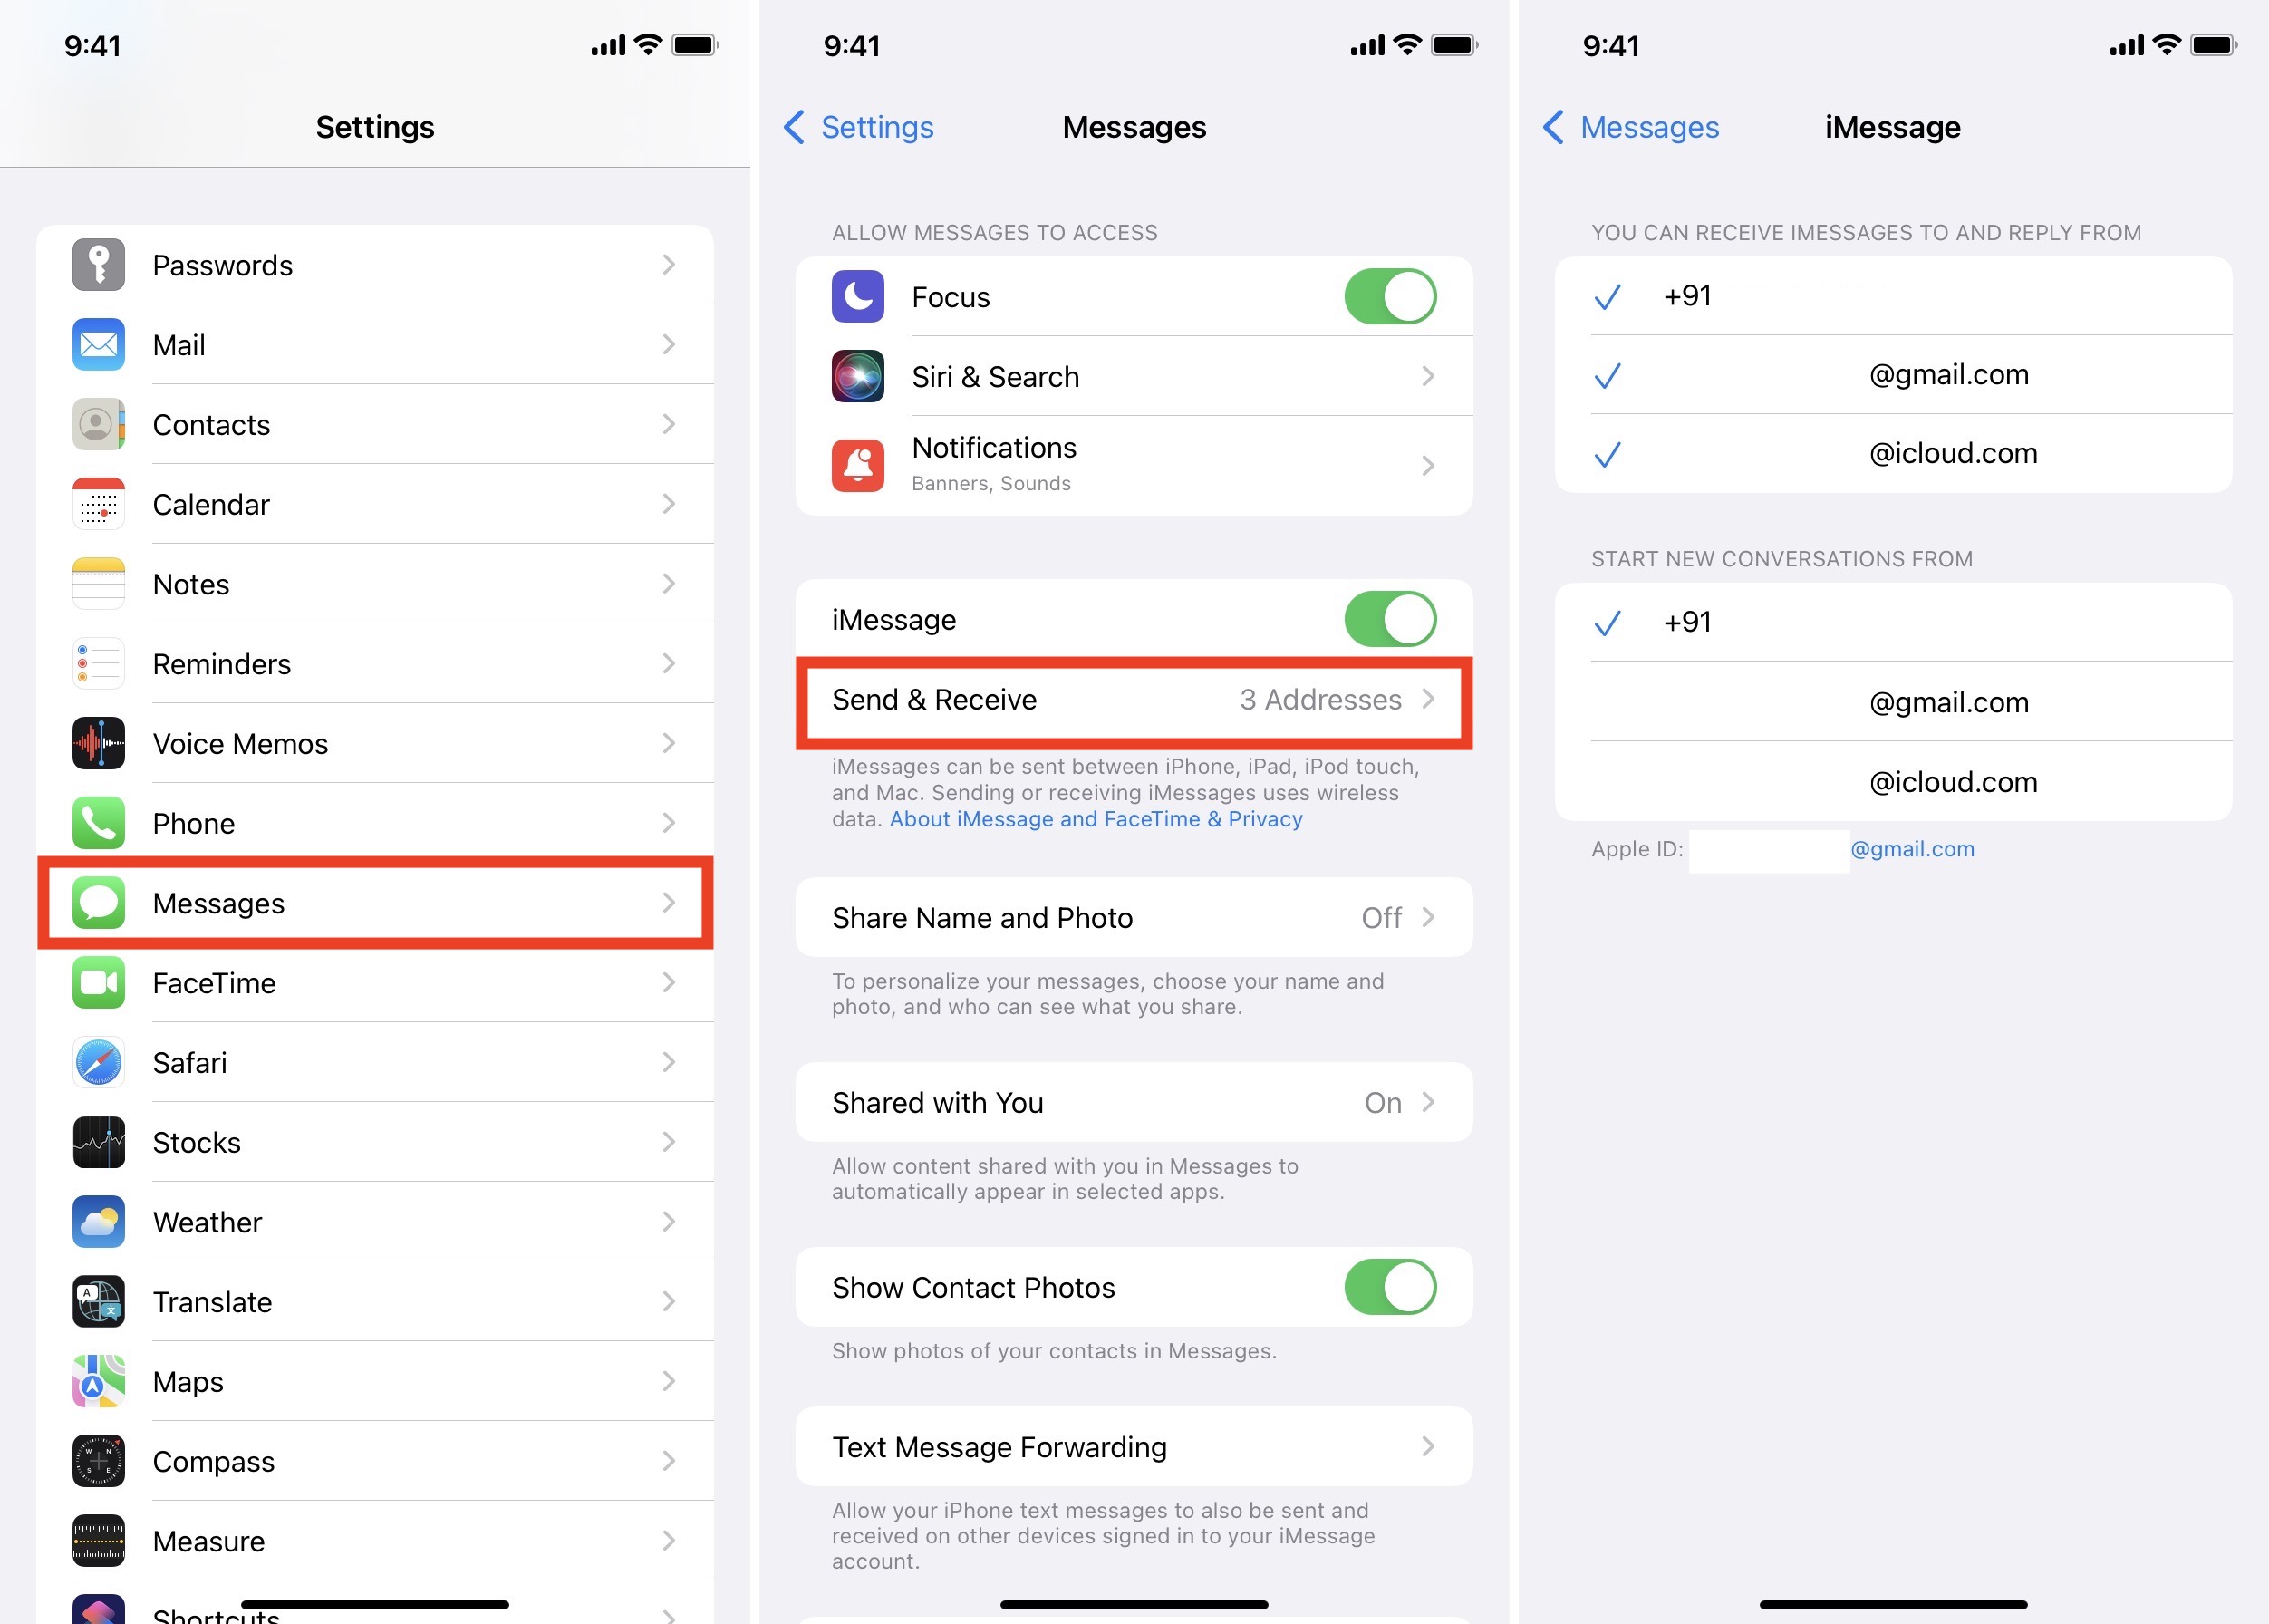
Access Mail Settings: Begin by accessing the Mail settings on your iPhone 12. Navigate to the "Settings" app and scroll down to locate and tap on "Mail."
-
Select Email Account: Within the Mail settings, select the email account for which you are experiencing sending issues. This will allow you to access and modify the specific outgoing mail server settings associated with that account.
-
Outgoing Mail Server: Tap on the "Outgoing Mail Server" or "SMTP" option to review and modify the server settings. It's essential to ensure that the server information is accurate and aligned with the requirements of your email service provider.
-
Verify Server Name: Check the server name or hostname to confirm that it matches the recommended settings provided by your email service provider. Any typographical errors or discrepancies in the server name can disrupt the sending process.
-
Authentication: Confirm that the authentication method is correctly configured. Depending on your email provider, this may involve using a password, SSL/TLS encryption, or specific authentication protocols such as OAuth2.
-
Port Settings: Review the port settings for the outgoing mail server. The standard ports for SMTP communication are 25, 465, and 587. Ensure that the designated port aligns with the recommended configuration provided by your email service provider.
-
Username and Password: Double-check the username and password associated with the outgoing mail server. Inaccurate credentials can prevent successful authentication and hinder the sending of emails.
-
SSL/TLS Encryption: If SSL/TLS encryption is required for secure communication with the outgoing mail server, verify that it is enabled and configured according to the provider's specifications.
-
Save Changes: After reviewing and potentially modifying the outgoing mail server settings, ensure that you save any changes made to the configuration. This will update the settings and apply the modifications to your email account.
By meticulously verifying and adjusting the outgoing mail server settings on your iPhone 12, you can eliminate potential configuration discrepancies that impede the sending of emails. Once the settings are accurately aligned with the requirements of your email service provider, you can proceed to test the sending functionality and ensure that your outgoing emails are transmitted seamlessly and reliably.
Updating iPhone 12 Software
Ensuring that your iPhone 12 is running the latest software is essential for addressing email sending issues and maintaining overall device performance. Software updates often include bug fixes, security enhancements, and optimizations that can directly impact the functionality of email-related features. To initiate the process of updating your iPhone 12 software, follow these comprehensive steps:
-
Check for Available Updates: Begin by accessing the "Settings" app on your iPhone 12. Scroll down and tap on "General," followed by "Software Update." This action prompts your device to check for available software updates from Apple's servers.
-
Download and Install: If a software update is available for your iPhone 12, you will be presented with the option to "Download and Install" the update. Ensure that your device is connected to a stable Wi-Fi network to facilitate the download process. Additionally, it's advisable to have your iPhone 12 connected to a power source or ensure that the battery level is sufficient to support the update installation.
-
Review Update Details: Before proceeding with the update, review the details provided about the available software version. This may include information about the improvements, bug fixes, and security enhancements included in the update. Understanding the potential impact of the update can help you make an informed decision regarding its installation.
-
Initiate Installation: Once you are prepared to proceed, tap on "Download and Install" to initiate the installation of the software update. Your iPhone 12 will begin the update process, which involves downloading the update package and subsequently installing it on the device.
-
Device Restart: After the installation is complete, your iPhone 12 will automatically restart to apply the software update. This process ensures that the new software version is fully integrated into the device's operating system.
-
Verification and Testing: Upon restarting, navigate back to the "Settings" app and recheck for any pending software updates. This step ensures that your iPhone 12 is running the latest available software version. Subsequently, test the email sending functionality to determine if the software update has positively impacted the sending process.
By proactively updating the software on your iPhone 12, you can leverage the latest improvements and optimizations provided by Apple. These updates often address underlying software issues that may contribute to email sending problems, ultimately enhancing the overall reliability and performance of your device. Additionally, staying current with software updates is integral to maintaining the security and stability of your iPhone 12, ensuring a seamless and secure email communication experience.
Clearing Email App Cache
Clearing the email app cache on your iPhone 12 can be a valuable troubleshooting step to address persistent email sending issues and optimize the performance of the email application. The app cache consists of temporary data and files that are stored to facilitate quicker access to frequently used information, such as email attachments, images, and message content. However, over time, this cache can accumulate outdated or corrupted data, potentially leading to operational inefficiencies and sending-related complications. By clearing the email app cache, you can effectively refresh the application's data storage, potentially resolving sending problems and enhancing the overall responsiveness of the email client.
To clear the email app cache on your iPhone 12, follow these detailed steps:
-
Access Settings: Begin by navigating to the "Settings" app on your iPhone 12. Scroll down to locate and tap on "Mail."
-
Select Email Account: Within the Mail settings, select the specific email account for which you are experiencing sending issues. This action allows you to access and manage the settings and data associated with that particular account.
-
Clear Cache: Look for the option to "Clear Cache" or "Clear Data" within the settings of the email app. This action may vary depending on the specific email client you are using. Tap on this option to initiate the process of clearing the app cache.
-
Confirmation: A confirmation prompt may appear to ensure that you intend to clear the app cache. Confirm the action to proceed with clearing the cache associated with the selected email account.
-
Restart the Email App: After clearing the app cache, it's advisable to restart the email application to allow the changes to take effect. Close the app completely and then relaunch it to observe the impact of clearing the cache on the email sending functionality.
By clearing the email app cache, you effectively reset the temporary data storage associated with the email application, potentially eliminating any underlying issues related to outdated or corrupted cache files. This process can contribute to a more streamlined and efficient email sending experience on your iPhone 12, as the app operates with refreshed data and optimized performance.
In addition to addressing sending issues, clearing the email app cache can also free up storage space and enhance the overall responsiveness of the email client. By periodically clearing the app cache, you can maintain the optimal performance of the email application, ensuring a seamless and reliable communication experience on your iPhone 12.
Resetting Network Settings
Resetting the network settings on your iPhone 12 can serve as a powerful troubleshooting measure to address persistent email sending issues and restore the overall connectivity and communication functionality of your device. This process effectively resets all network-related configurations to their default state, potentially resolving underlying issues that hinder the seamless transmission of emails. By initiating a network settings reset, you can eliminate potential network configuration discrepancies, address connectivity disruptions, and optimize the performance of essential communication features on your iPhone 12.
To initiate the process of resetting network settings on your iPhone 12, follow these comprehensive steps:
-
Access Settings: Begin by navigating to the "Settings" app on your iPhone 12. Scroll down to locate and tap on "General," followed by "Reset." This action will present you with various reset options to choose from.
-
Select Network Reset: Within the "Reset" menu, select the option for "Reset Network Settings." This action prompts your device to confirm the network settings reset, emphasizing that all network-related configurations will be restored to their default state.
-
Confirmation and Authentication: Upon selecting the network reset option, your iPhone 12 may prompt you to enter your device passcode or authenticate the action. This security measure ensures that the network settings reset is authorized and initiated by the device owner.
-
Initiate Network Reset: After confirming the network settings reset, proceed with initiating the process. Your iPhone 12 will proceed to reset all network-related configurations, including Wi-Fi, cellular, Bluetooth, and VPN settings, to their default state.
-
Device Restart: Following the network settings reset, your iPhone 12 will automatically restart to apply the changes. This restart ensures that the reset configurations are fully integrated into the device's network functionality.
By resetting the network settings on your iPhone 12, you effectively eliminate potential network-related barriers that may impede the sending of emails and hinder overall connectivity. This process serves as a comprehensive reset mechanism, addressing a wide range of network configurations to establish a fresh and optimized network environment on your device. Once the network settings are reset, you can proceed to test the email sending functionality and assess the impact of the reset on the seamless transmission of emails.
In addition to addressing email sending issues, resetting the network settings can resolve various connectivity disruptions, Wi-Fi or cellular signal inconsistencies, and other network-related complications that may impact the overall communication experience on your iPhone 12. By periodically considering a network settings reset, you can maintain the optimal network performance of your device, ensuring reliable connectivity and efficient email communication.
Contacting Email Service Provider
When all other troubleshooting methods have been exhausted and persistent email sending issues continue to disrupt your communication experience on the iPhone 12, reaching out to your email service provider directly can provide invaluable insights and targeted assistance. Your email service provider, whether it's a major platform like Gmail, Outlook, or Yahoo, or a custom domain-based service, possesses the expertise and resources to address specific email-related challenges that may be affecting your account.
Initiating contact with your email service provider involves leveraging their customer support channels to seek guidance and resolution for the sending problems you are encountering. This proactive approach allows you to tap into the specialized knowledge and technical support offered by the provider, potentially uncovering underlying issues and receiving tailored solutions to restore the seamless functionality of your email account.
When contacting your email service provider, consider the following recommended steps:
-
Accessing Support Resources: Begin by visiting the official website of your email service provider to explore the available support resources. Most providers offer comprehensive help sections, knowledge bases, and troubleshooting guides that address common email-related issues. These resources can provide initial insights and potential solutions for your specific sending problems.
-
Utilizing Online Support Channels: Many email service providers offer online support channels, including live chat support, community forums, and email-based assistance. Engaging with these channels allows you to interact directly with support representatives or fellow users who may have encountered similar sending issues. By articulating your problem clearly and providing relevant details, you can receive targeted guidance and recommendations.
-
Contacting Customer Support: If the available online resources do not fully address your email sending issues, consider reaching out to the official customer support team of your email service provider. This may involve initiating a support ticket, sending an email inquiry, or utilizing a dedicated support hotline. When communicating with customer support, provide specific details about the sending problems, including error messages, affected email accounts, and any relevant troubleshooting steps you have already undertaken.
-
Seeking Account-Specific Assistance: For users with custom domain-based email accounts, contacting the domain hosting provider or IT administrator can yield specialized assistance tailored to the unique configuration and settings of the domain. These providers can offer targeted guidance on verifying domain settings, resolving authentication issues, and optimizing the email infrastructure for reliable sending functionality.
By proactively contacting your email service provider, you demonstrate a commitment to resolving the email sending issues on your iPhone 12 and leveraging the expertise of the provider to restore seamless communication. The insights and solutions provided by the email service provider can complement your own troubleshooting efforts, potentially uncovering nuanced technical issues and implementing effective remedies to ensure the consistent and reliable sending of emails from your device.
Remember that each email service provider may have distinct support processes and channels, so it's essential to familiarize yourself with the specific support options available to you. By leveraging the expertise and assistance of your email service provider, you can navigate and overcome persistent sending issues, ultimately enhancing the overall email communication experience on your iPhone 12.