
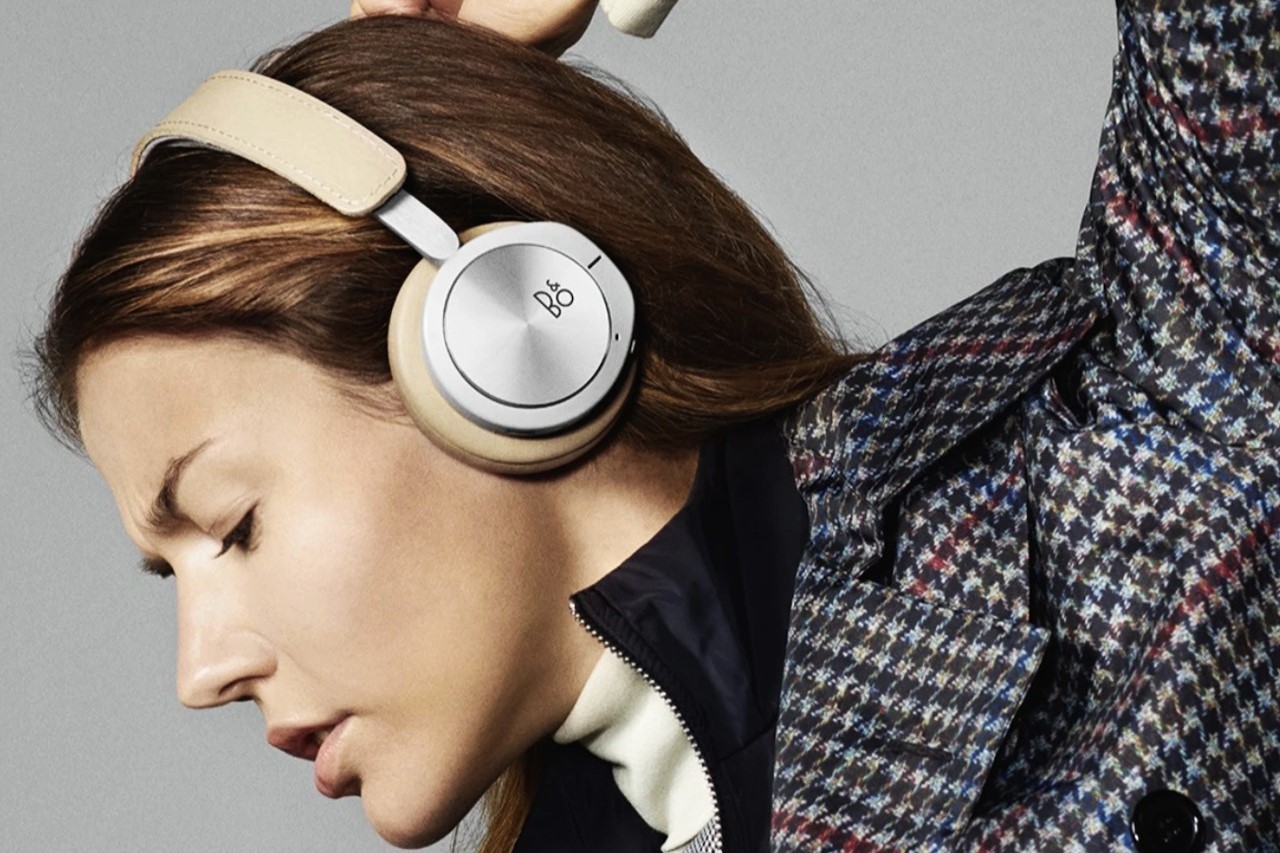
Choosing the Right Headset
When it comes to maximizing comfort and clarity while using a headset, selecting the right one for your needs is crucial. With a plethora of options available in the market, it’s essential to consider several factors before making a purchase. Here’s a comprehensive guide to help you choose the perfect headset for your specific requirements:
- Headset Type: Determine whether you need a wired or wireless headset. Wireless headsets offer freedom of movement, while wired ones ensure a consistent connection.
- Comfort: Look for headsets with adjustable headbands and cushioned ear cups to ensure a comfortable fit, especially if you’ll be wearing it for extended periods.
- Sound Quality: Consider the audio quality you require. If you’ll be using the headset for professional purposes, such as conference calls or gaming, opt for a model with superior sound reproduction and noise-canceling features.
- Microphone Quality: If you’ll be engaging in voice calls or online meetings, a headset with a high-quality microphone is essential for clear communication.
- Compatibility: Ensure that the headset is compatible with your devices, whether it’s a computer, gaming console, mobile phone, or any other gadget you intend to use it with.
- Budget: Set a budget and explore headsets within that range. While it’s important to invest in a quality headset, there are various options available at different price points.
By considering these factors and conducting thorough research, you can make an informed decision and choose a headset that aligns with your specific needs, ultimately enhancing your overall experience with the device.
Positioning the Headset on Your Head
Once you’ve chosen the right headset, the next step is to ensure that it is positioned correctly on your head for optimal comfort and performance. Proper positioning not only enhances comfort but also contributes to clearer audio transmission. Here’s a detailed guide to help you achieve the ideal headset positioning:
- Headband Placement: Position the headband over the top of your head, ensuring that it rests comfortably without exerting excessive pressure. The headband should be parallel to the ground, providing a secure yet gentle fit.
- Ear Cup Alignment: Adjust the ear cups so that they cover your ears entirely, creating a seal for effective sound isolation. Ensure that the cushions rest comfortably around your ears without causing any discomfort or pressure points.
- Secure Fit: The headset should fit securely without being too tight. A snug fit prevents the headset from shifting or slipping during use, maintaining consistent audio quality and comfort.
- Balance: Check for any imbalance in the headset’s positioning. Both ear cups should exert equal pressure on your ears, ensuring a balanced and comfortable fit.
- Freedom of Movement: While the headset should fit securely, it’s essential to maintain freedom of movement. Avoid over-tightening the headband or ear cups, which could restrict blood flow and cause discomfort over time.
By following these guidelines, you can position your headset correctly, ensuring both comfort and optimal audio performance. A well-positioned headset sets the stage for a seamless and enjoyable user experience, whether you’re engaging in work-related calls, immersive gaming, or simply enjoying your favorite music.
Adjusting the Headband and Ear Cups
Properly adjusting the headband and ear cups of your headset is essential to achieve a comfortable and personalized fit. These adjustments not only contribute to comfort but also play a significant role in the overall audio experience. Here’s a detailed guide on how to adjust the headband and ear cups for an optimal fit:
- Headband Length: If your headset features an adjustable headband, ensure that it is extended or retracted to fit the size of your head comfortably. The headband should rest securely on the top of your head without causing any discomfort or pressure points.
- Ear Cup Positioning: Adjust the position of the ear cups to align with your ears. They should fully enclose your ears without pressing too tightly, providing a comfortable seal for effective sound isolation.
- Cushion Pressure: Check the pressure exerted by the ear cup cushions. They should provide a gentle and even pressure around your ears, ensuring comfort without creating hotspots or discomfort over time.
- Secure Fit: After making adjustments, ensure that the headset fits securely without being too loose or too tight. A secure fit prevents the headset from shifting during use, maintaining consistent audio quality and comfort.
- Testing the Fit: Once adjustments are made, move your head gently to ensure that the headset remains in place. If the fit feels secure and comfortable, you have achieved an optimal adjustment.
By carefully adjusting the headband and ear cups to fit your unique dimensions and comfort preferences, you can optimize the overall headset experience. A well-adjusted headset not only enhances comfort during prolonged use but also ensures that you can fully immerse yourself in the audio content without distractions.
Placing the Microphone Correctly
Positioning the microphone of your headset correctly is crucial for ensuring clear and effective communication during calls, gaming, or recording sessions. A well-placed microphone not only enhances the clarity of your voice but also minimizes background noise. Here’s a comprehensive guide on how to position the microphone of your headset correctly:
- Optimal Distance: Position the microphone at a distance of about two finger widths from the corner of your mouth. This distance allows for clear vocal transmission without the microphone being too close or too far away.
- Microphone Direction: Ensure that the microphone is pointing towards the corner of your mouth, capturing your voice accurately. Avoid positioning it directly in front of your mouth, as this may lead to excessive breath noise during speech.
- Adjusting the Boom: If your headset features a microphone boom, adjust its position so that it aligns with the corner of your mouth. The boom should maintain a stable position without causing any discomfort or obstruction.
- Testing the Placement: Speak a few sentences and record your voice to test the microphone’s placement. Listen for clarity and adjust the position if necessary to achieve optimal sound quality.
- Background Noise Reduction: Positioning the microphone correctly helps in minimizing background noise, ensuring that your voice takes precedence during conversations or recordings.
By following these guidelines and ensuring that the microphone is positioned correctly, you can significantly improve the clarity and effectiveness of your communication while using the headset. Whether you’re engaging in professional calls, online gaming, or content creation, a well-placed microphone is essential for delivering clear and articulate vocal transmissions.
Testing the Sound Quality and Adjusting Settings
After positioning your headset and microphone, it’s essential to test the sound quality and adjust settings to ensure an optimal audio experience. Whether you’re using the headset for work, gaming, or entertainment, fine-tuning the audio settings can significantly enhance the overall quality. Here’s a comprehensive guide on testing the sound quality and adjusting settings for your headset:
- Audio Playback Test: Play a piece of music or a sound clip to evaluate the headset’s audio quality. Listen for clarity, depth, and balance in the sound reproduction.
- Volume Adjustment: Adjust the volume to a comfortable level that allows you to hear audio details without causing discomfort. Avoid setting the volume too high, as it may lead to ear fatigue or potential hearing damage over time.
- Equalizer Settings: If your device or audio software features an equalizer, experiment with different presets or manually adjust the settings to tailor the audio output to your preferences. Enhance bass, treble, or mid-range frequencies based on your listening preferences.
- Microphone Test: Record a short voice clip or engage in a test call to evaluate the microphone’s performance. Listen for clarity, absence of background noise, and the overall quality of your voice transmission.
- Noise Cancellation: If your headset features noise-cancellation features, test them in a noisy environment to assess their effectiveness in minimizing external distractions.
- Software Configuration: If your headset comes with dedicated software, explore the configuration options to customize audio profiles, microphone settings, and any additional features specific to your device.
By thoroughly testing the sound quality and adjusting settings, you can tailor the audio experience to your preferences and ensure that your headset performs optimally in various scenarios. Whether you’re immersing yourself in music, engaging in virtual meetings, or exploring the virtual landscapes of gaming, a well-adjusted headset enhances the overall audio experience and contributes to a more enjoyable and productive usage.