
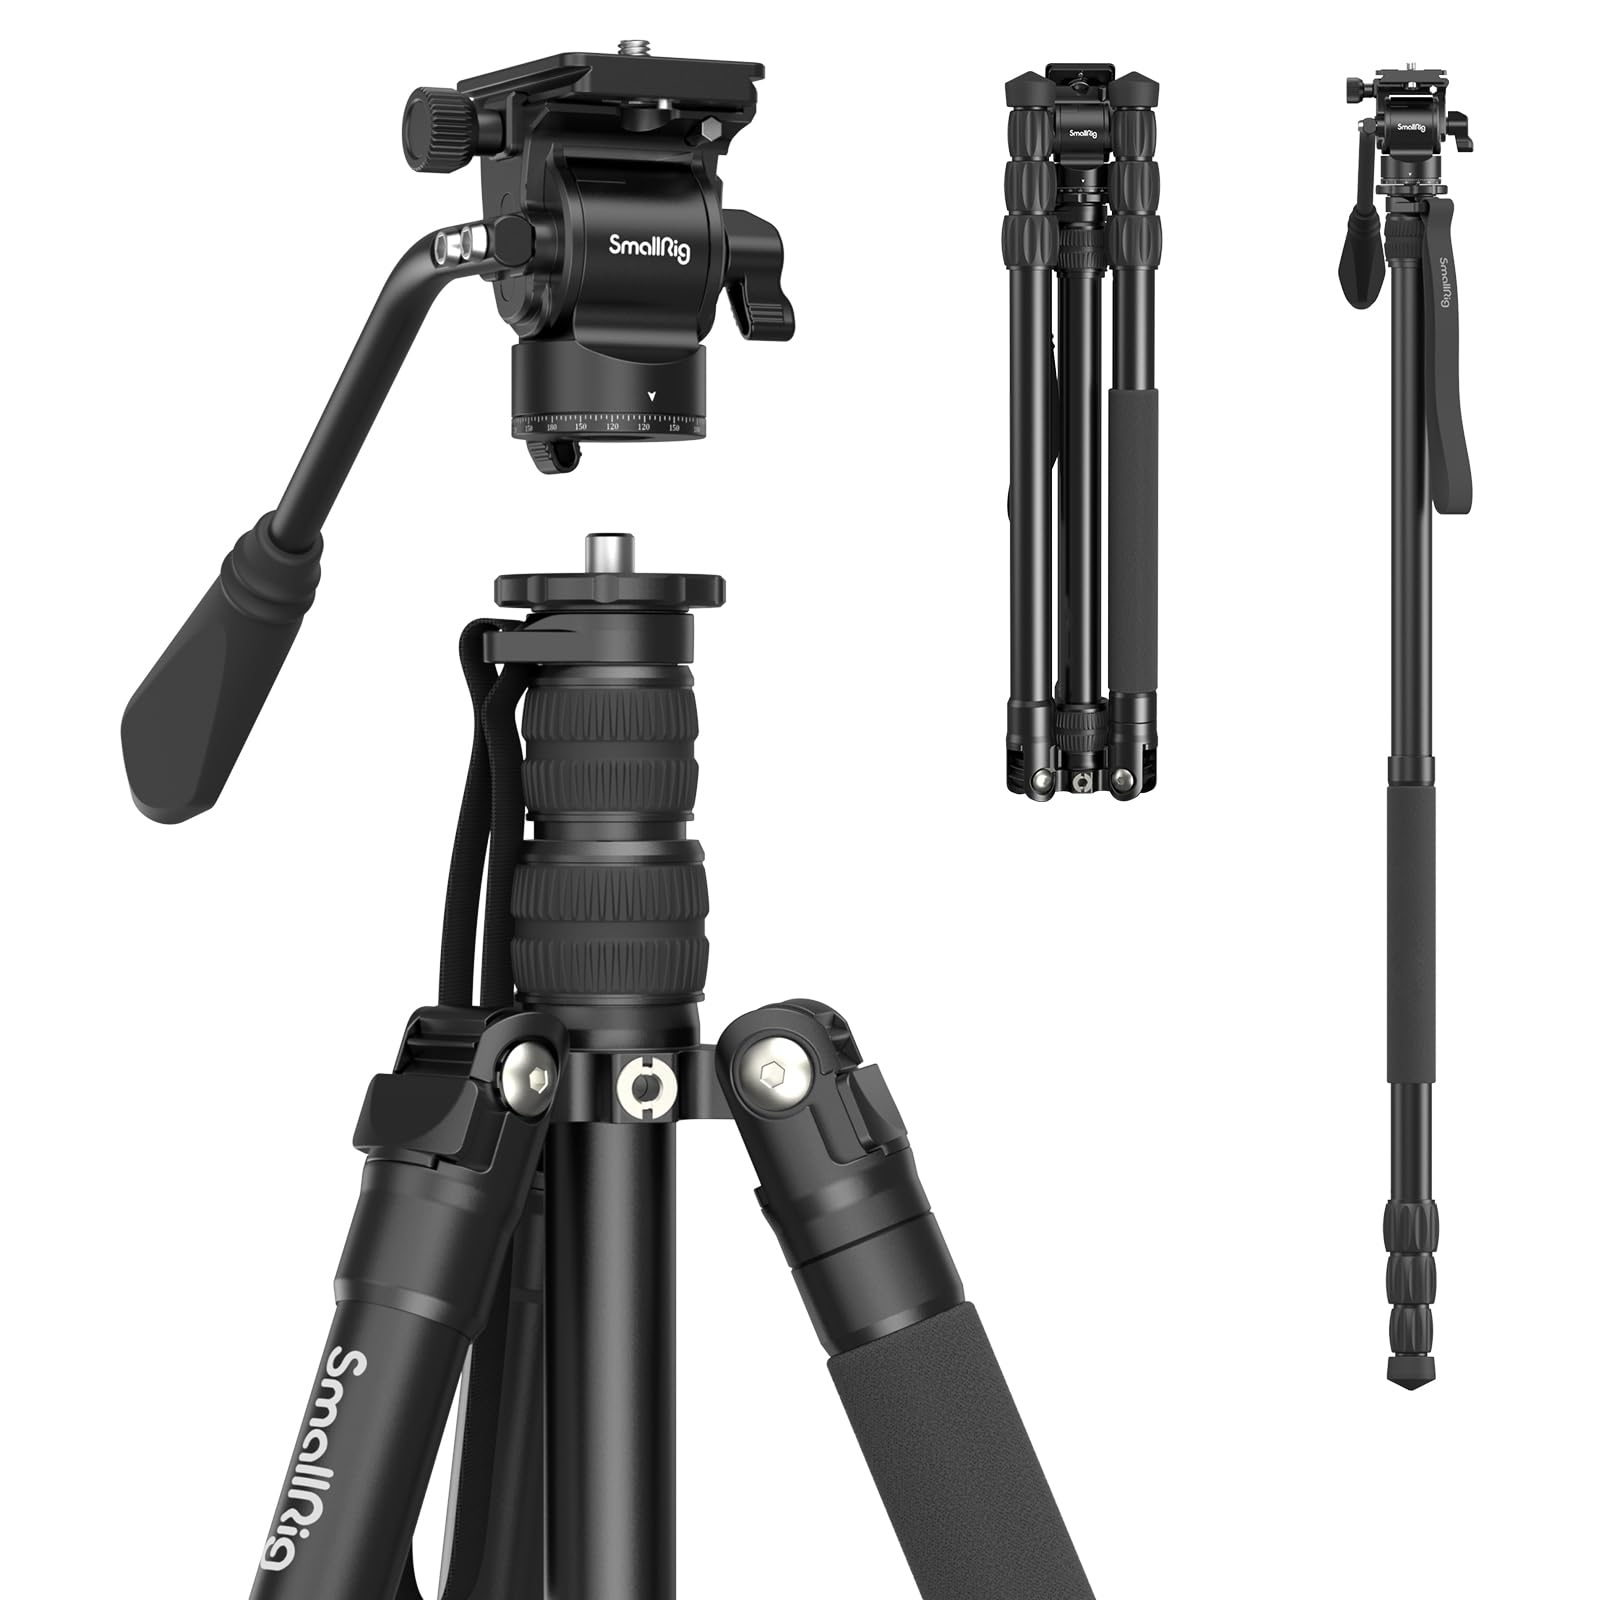
Choosing the Right Monopod and Tripod
When it comes to capturing stunning photographs and videos, having the right support equipment is crucial. Monopods and tripods are essential tools for stabilizing your camera and achieving steady shots, but choosing the right ones can be a daunting task. Here are some essential factors to consider when selecting the perfect monopod and tripod for your needs.
- Intended Use: Before making a purchase, think about the type of photography or videography you’ll be primarily engaged in. If you’re into sports or wildlife photography that requires mobility and quick adjustments, a monopod might be the ideal choice. On the other hand, for landscape or studio photography where stability is key, a tripod would be more suitable.
- Weight and Portability: If you frequently shoot on location or travel with your gear, the weight and portability of the monopod and tripod are crucial. Look for lightweight materials without compromising on durability. Carbon fiber is a popular choice for its strength and lightweight properties.
- Height and Stability: Consider the maximum and minimum height of the monopod and tripod to ensure they meet your shooting requirements. Additionally, stability is paramount, especially when using longer lenses or shooting in windy conditions. A sturdy base and robust locking mechanisms are essential for maintaining stability.
- Payload Capacity: Your camera, lens, and any additional accessories contribute to the overall weight that the monopod and tripod need to support. Check the payload capacity of the equipment to ensure it can handle your gear without compromising stability.
- Flexibility and Adjustability: Look for features that provide flexibility and ease of adjustment. This includes quick-release plates, adjustable leg angles, and smooth panning and tilting mechanisms. These features can greatly enhance your shooting experience and allow for creative freedom.
- Budget: While quality comes at a price, it’s essential to find a balance between your budget and the features you require. Investing in a reliable and durable monopod and tripod is a long-term commitment that can significantly impact the quality of your work.
By carefully considering these factors, you can make an informed decision when selecting the right monopod and tripod to support your photographic endeavors. Now that you’ve chosen the perfect equipment, let’s delve into the step-by-step process of assembling your monopod and tripod for optimal performance.
Assembling the Monopod
Assembling a monopod is a straightforward process that begins with unpacking the components and familiarizing yourself with the different parts. Here’s a step-by-step guide to help you assemble your monopod effectively.
- Unpack the Monopod: Start by carefully unpacking the monopod and laying out the components on a clean, flat surface. Ensure that all the parts, including the monopod leg, locking mechanisms, and any additional accessories, are accounted for.
- Extend the Leg Sections: With the monopod upright, unlock the leg sections by twisting the locking collars or using any quick-release mechanisms. Gently extend the sections to your desired height, making sure that each section securely locks into place.
- Secure the Leg Sections: Once you’ve extended the leg sections, tighten the locking mechanisms to ensure stability. It’s crucial to verify that the monopod is firmly locked in position to prevent any unexpected movement while in use.
- Attach the Monopod Head: If your monopod features a detachable head or mounting plate, securely attach it to the top of the monopod. Ensure that it is fastened tightly to prevent any wobbling or slippage during use.
- Test for Stability: Before attaching your camera, perform a stability check by gently applying pressure to the monopod. Verify that it remains steady and doesn’t exhibit any wobbling or instability. If necessary, make any adjustments to the leg sections or locking mechanisms to enhance stability.
Assembling a monopod is a quick and uncomplicated process that can significantly improve the quality of your photography and videography. Once your monopod is assembled, you’re ready to attach your camera and begin capturing stunning, stable shots. Now, let’s move on to the next crucial step: assembling the tripod to complement your equipment setup.
Assembling the Tripod
Assembling a tripod is a fundamental skill that ensures the stability and support necessary for capturing exceptional photographs and videos. Follow these step-by-step instructions to effectively assemble your tripod:
- Unpack the Tripod: Carefully unpack the tripod components and lay them out on a clean, flat surface. Verify that all the parts, including the legs, center column, tripod head, and any accompanying accessories, are present and accounted for.
- Extend the Legs: Begin by loosening the leg locks or releasing any quick-release mechanisms to extend the tripod legs. Adjust the legs to your desired height, ensuring that each leg section is securely locked in place to provide stability.
- Adjust the Leg Angles: Many tripods feature adjustable leg angles to accommodate uneven terrain or provide low-level shooting capabilities. If needed, adjust the leg angles to suit the shooting environment and ensure a stable setup.
- Attach the Center Column (if applicable): If your tripod includes a center column, attach it to the designated mount at the top of the tripod legs. Ensure that the column is securely fastened to maintain stability and support the tripod head and camera.
- Mount the Tripod Head: If your tripod head is detachable, securely attach it to the center column or the top plate of the tripod. Ensure that the head is firmly fastened to prevent any unwanted movement or slippage during use.
- Test for Stability: Once the tripod is fully assembled, perform a stability check by gently applying pressure to the top of the tripod. Verify that it remains steady and free from any wobbling or instability. Make any necessary adjustments to the leg angles or locking mechanisms to enhance stability.
Mastering the art of assembling a tripod is essential for any photographer or videographer seeking reliable support for their equipment. With your tripod assembled, you’re now prepared to attach your camera and explore the versatility and stability it offers. Next, we’ll delve into the crucial steps of adjusting the height and angle of your monopod and tripod for optimal shooting capabilities.
Adjusting the Height and Angle
Once you’ve assembled your monopod or tripod, the next step is to adjust the height and angle to achieve the perfect shooting position. Properly adjusting the height and angle is essential for framing your shots, maintaining stability, and adapting to various shooting conditions. Here’s a detailed guide on how to adjust the height and angle of your monopod and tripod:
- Height Adjustment: Begin by unlocking the height adjustment mechanisms, which may involve extending the leg sections or adjusting the center column. Carefully raise or lower the monopod or tripod to your desired height, ensuring that it remains stable and balanced throughout the adjustment process.
- Angle Adjustment (Tripod Only): If your tripod features adjustable leg angles, take advantage of this functionality to adapt to uneven terrain or achieve low-level shooting perspectives. Adjust the leg angles as needed to ensure a stable and level platform for your camera.
- Camera Positioning: Once the monopod or tripod is at the desired height and angle, consider the positioning of your camera. Mount the camera securely to the monopod or tripod head, ensuring that it is level and properly aligned with your intended subject or scene.
- Stability Check: After making height and angle adjustments, perform a stability check to ensure that the monopod or tripod remains steady and free from any wobbling or instability. This step is crucial for capturing sharp and clear images or videos.
- Fine-Tuning and Locking: Take the time to fine-tune the height and angle settings to achieve the perfect composition for your shot. Once satisfied, lock the height adjustment mechanisms and leg angles securely to maintain the desired position throughout your shooting session.
By mastering the art of adjusting the height and angle of your monopod and tripod, you can elevate your photography and videography to new heights. These adjustments not only provide stability and support but also enable you to explore diverse shooting perspectives and creative compositions. With your monopod or tripod perfectly positioned, you’re now ready to attach your camera and delve into the art of capturing stunning imagery. Next, we’ll explore the crucial steps of attaching your camera to the monopod and tripod for seamless integration and optimal performance.
Attaching the Camera to the Monopod and Tripod
With your monopod or tripod assembled and adjusted, the final step before capturing stunning images or videos is to securely attach your camera to the support equipment. Properly mounting the camera ensures stability, precise framing, and the ability to explore various shooting angles. Here’s a comprehensive guide on how to attach your camera to both the monopod and tripod:
- Mounting Plate or Quick-Release System: If your monopod or tripod features a mounting plate or quick-release system, start by securely attaching the plate to the bottom of your camera. Ensure that it is fastened tightly to prevent any movement or slippage during use.
- Aligning the Camera: Position the camera on the mounting plate or quick-release system, aligning it to achieve the desired framing and composition for your shot. Take the time to ensure that the camera is level and properly oriented to capture your subject or scene accurately.
- Securing the Camera: Once the camera is aligned, use the locking mechanisms on the mounting plate or quick-release system to secure the camera in place. Verify that the camera is firmly attached and free from any wobbling or instability.
- Testing the Setup: Perform a final stability check by gently adjusting the camera and verifying that the monopod or tripod remains steady. This step is crucial for confirming that the camera is securely mounted and ready for use.
- Exploring Shooting Angles: With the camera securely attached to the monopod or tripod, take the opportunity to explore different shooting angles and perspectives. Adjust the height, angle, and position of the support equipment to capture unique and compelling shots.
By effectively attaching your camera to the monopod or tripod, you can unleash the full potential of your equipment and elevate your photography and videography to new heights. The stability and support provided by the monopod or tripod allow you to focus on framing your shots, achieving precise compositions, and exploring creative perspectives. With your camera securely mounted, you’re now prepared to test the stability and balance of your setup, ensuring optimal performance for your photography or videography endeavors.
Testing Stability and Balance
After assembling your monopod or tripod and attaching your camera, it’s essential to conduct a thorough stability and balance test to ensure that your setup is ready to deliver steady and precise shots. Testing the stability and balance of your equipment is a critical step in achieving optimal performance and capturing high-quality images or videos. Here’s a comprehensive guide on how to test the stability and balance of your monopod and tripod:
- Static Stability Test: Start by positioning the monopod or tripod on a flat, stable surface. Gently apply pressure to the top of the support equipment to assess its resistance to movement and ensure that it remains steady and balanced. This test helps verify the initial stability of the setup.
- Dynamic Stability Test: With the camera mounted, simulate the movements and adjustments you might make while shooting. Pan the camera from side to side, tilt it up and down, and make subtle adjustments to gauge the stability and balance of the monopod or tripod during dynamic movements.
- Long Exposure Test: If you’re primarily engaged in photography, consider conducting a long exposure test to evaluate the stability of the setup over an extended period. Capture a long exposure image to assess whether the monopod or tripod effectively minimizes camera shake and produces sharp, clear results.
- Wind Resistance Test: If shooting outdoors, expose the monopod or tripod to gentle wind or breezes to assess its resistance to external forces. Verify that the setup remains stable and can withstand mild wind conditions without compromising the integrity of your shots.
- Balance Adjustment: If any instability or imbalance is detected during the tests, make necessary adjustments to the height, angle, or positioning of the monopod or tripod. Ensure that the setup is properly balanced and stable to support your camera and facilitate smooth, shake-free shooting.
By meticulously testing the stability and balance of your monopod or tripod, you can identify and address any potential issues that may impact the quality of your photography or videography. A stable and balanced setup provides the foundation for capturing sharp, clear, and professional-grade images and videos. With your equipment successfully tested and fine-tuned, you’re now fully prepared to embark on your photographic journey with confidence and precision.