Checking Compatibility
Before setting up your PlayStation Gold headset for PC use, it's crucial to ensure that your headset is compatible with your computer. Here are the steps to check the compatibility of your headset with your PC:
-
Review the System Requirements: Start by reviewing the system requirements for the PlayStation Gold headset. Check the specifications provided by the manufacturer to see if the headset is compatible with your PC's operating system. Typically, the PlayStation Gold headset is compatible with Windows and macOS systems, but it's essential to verify this information before proceeding.
-
Check for USB Ports: The PlayStation Gold headset connects to the PC using a USB wireless adapter. Ensure that your PC has an available USB port for the adapter. Additionally, make sure that the USB port is functioning correctly to establish a stable connection between the headset and the PC.
-
Verify Bluetooth Capability: If you plan to use the headset wirelessly via Bluetooth, confirm that your PC has Bluetooth capability. Some PCs come with built-in Bluetooth, while others may require an external Bluetooth adapter. Check your PC's specifications or settings to determine if it supports Bluetooth connectivity.
-
Update Device Drivers: It's advisable to update your PC's audio and USB drivers to the latest versions. This can help prevent compatibility issues and ensure that the headset functions optimally with your PC. Visit the official website of your PC's manufacturer or the respective hardware components to download and install the latest drivers.
By following these steps, you can confirm the compatibility of your PlayStation Gold headset with your PC, ensuring a seamless setup process. If your headset meets the compatibility requirements, you can proceed with installing the USB adapter and pairing the headset with your PC for an enhanced gaming and audio experience.
Installing the USB Adapter
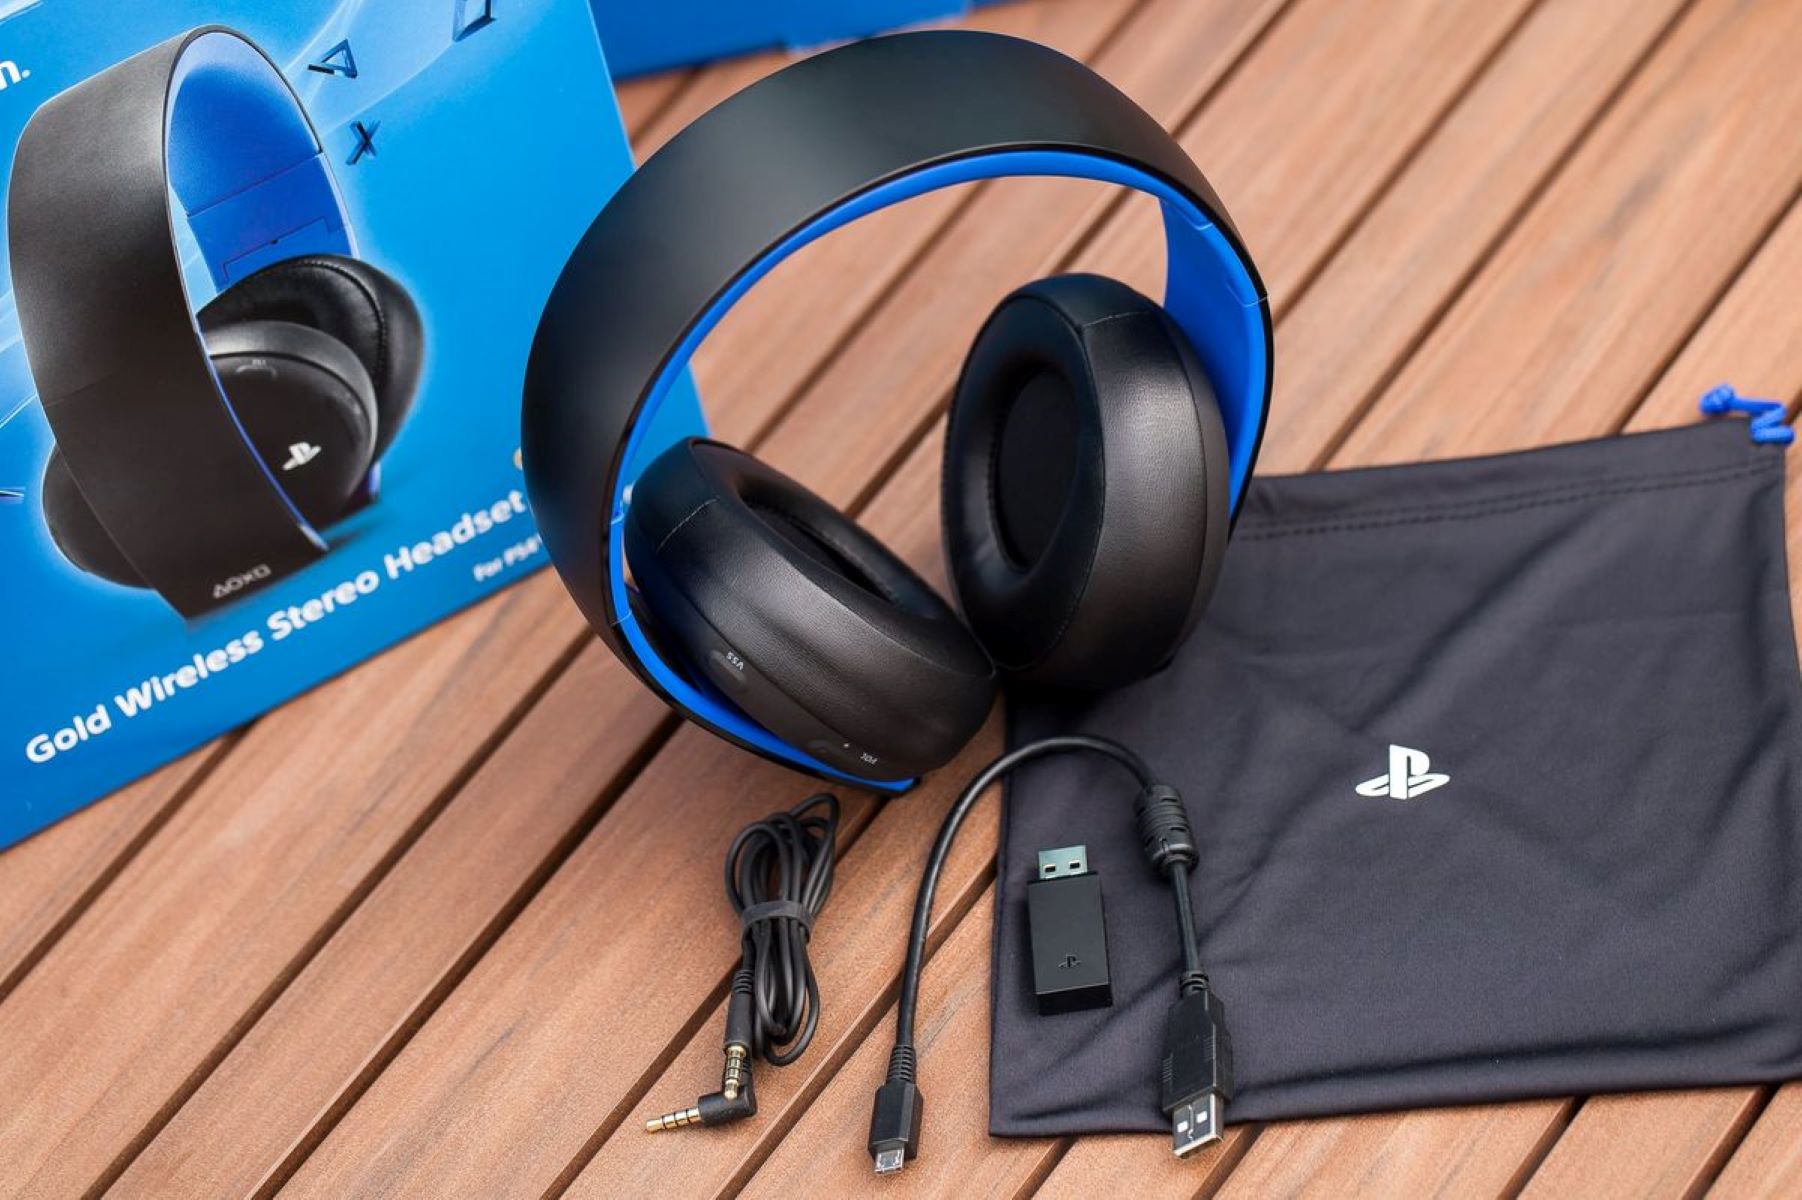
Once you have confirmed the compatibility of your PlayStation Gold headset with your PC, the next step is to install the USB wireless adapter. This adapter enables the wireless connection between the headset and your computer. Follow these steps to install the USB adapter:
- Locate an Available USB Port: Begin by identifying an available USB port on your PC. The USB wireless adapter needs to be plugged into a USB port to establish a connection with the headset. Choose a USB port that is easily accessible and provides ample clearance for the adapter.
- Insert the USB Adapter: Gently insert the USB wireless adapter into the USB port on your PC. Ensure that the adapter is securely inserted to establish a stable connection. Once inserted, the adapter may emit a small LED light to indicate that it is powered and ready for pairing with the headset.
- Driver Installation (if required): In some cases, your PC may automatically install the necessary drivers for the USB adapter. However, if the drivers are not installed automatically, you may need to download and install them from the official website of the headset manufacturer. Follow the provided instructions to complete the driver installation process.
- Confirm Connection: After inserting the USB adapter, confirm that it is recognized by your PC. You can check the device manager or the system settings to ensure that the USB adapter is detected and functioning properly. This step is crucial to ensure that the headset can establish a wireless connection with the PC.
By following these steps, you can successfully install the USB wireless adapter for your PlayStation Gold headset, paving the way for the subsequent pairing process. Once the adapter is installed and recognized by your PC, you can proceed to pair the headset with your computer for an immersive audio experience.
Pairing the Headset with PC
After installing the USB wireless adapter, the next step is to pair your PlayStation Gold headset with your PC. This process establishes the wireless connection between the headset and the computer, allowing you to enjoy high-quality audio and seamless communication. Here’s how to pair the headset with your PC:
- Power On the Headset: Start by powering on your PlayStation Gold headset. Depending on the model, you may need to press and hold the power button until the LED indicator lights up, indicating that the headset is ready to pair.
- Activate Pairing Mode: To initiate the pairing process, activate the pairing mode on your headset. This typically involves pressing and holding the pairing button or following the specific instructions provided in the headset’s user manual. Once in pairing mode, the LED indicator may flash to indicate that the headset is ready to establish a connection.
- Initiate Pairing on PC: On your PC, navigate to the Bluetooth or wireless devices settings. Look for the option to add a new device or search for available Bluetooth devices. Activate the Bluetooth discovery mode on your PC to allow it to detect nearby Bluetooth devices, including your PlayStation Gold headset.
- Select and Pair the Headset: Once your PC detects the PlayStation Gold headset, select it from the list of available devices to initiate the pairing process. Follow any on-screen prompts to confirm the pairing and establish the wireless connection between the headset and your PC. Upon successful pairing, your PC will recognize the headset as an audio output device.
Upon completing these steps, your PlayStation Gold headset is successfully paired with your PC, allowing you to enjoy immersive audio while gaming, streaming content, or engaging in virtual meetings. The wireless connection provides the freedom to move around without being tethered to your computer, enhancing your overall audio experience.
Adjusting Audio Settings
Once your PlayStation Gold headset is paired with your PC, it’s essential to fine-tune the audio settings to optimize your listening experience. Adjusting the audio settings ensures that you can fully enjoy the immersive sound quality offered by the headset. Here’s how to adjust the audio settings on your PC:
- Access Sound Settings: Navigate to the sound settings on your PC. This can typically be found in the system settings or control panel under the “Sound” or “Audio” section. Alternatively, you can often access sound settings directly from the taskbar by right-clicking on the sound icon.
- Select the Headset as Default Audio Output: Within the sound settings, locate the option to choose the default audio output device. Select your paired PlayStation Gold headset from the list of available audio devices to ensure that audio is routed through the headset when in use. This step directs all audio output from your PC to the headset, providing a seamless listening experience.
- Adjust Volume and Equalizer Settings: Once the headset is set as the default audio output, you can fine-tune the volume levels and equalizer settings to suit your preferences. Adjust the volume to a comfortable level and explore any available equalizer presets or manual adjustments to enhance the audio quality based on the type of content you are engaging with, whether it’s gaming, music, or video streaming.
- Test the Audio Output: To ensure that the audio settings are optimized, play a sample audio or video file to test the audio output through your PlayStation Gold headset. Listen for clarity, balance, and richness in the sound. Make further adjustments as needed to achieve the desired audio quality.
By following these steps, you can customize the audio settings on your PC to complement the capabilities of your PlayStation Gold headset, resulting in an enhanced audio experience across various activities, from gaming to multimedia consumption.
Using the Headset with PC Games
Once your PlayStation Gold headset is successfully set up and paired with your PC, you can delve into an immersive gaming experience, leveraging the headset’s audio capabilities to enhance gameplay. Here’s how to optimize the use of your headset with PC games:
- Game Audio Configuration: Within the settings of your PC games, navigate to the audio or sound options. Select the PlayStation Gold headset as the default audio output device to ensure that the game’s sound effects, music, and dialogue are delivered through the headset, enriching your gaming experience.
- Virtual Surround Sound: The PlayStation Gold headset offers virtual surround sound, providing an expansive audio environment that enhances spatial awareness and immersion in games. If your games support virtual surround sound, enable this feature within the headset’s companion app or system settings to fully utilize the headset’s capabilities.
- Communication and Chat: If you engage in multiplayer gaming or online communication while playing PC games, the headset’s built-in microphone enables clear voice communication. Ensure that the microphone is selected as the default input device within the game’s settings, allowing you to communicate effectively with teammates and other players.
- Audio Presets and Customization: Some PC games offer audio presets or customization options tailored to specific headsets. Explore the in-game audio settings to see if there are any presets optimized for the PlayStation Gold headset. Additionally, you can fine-tune the headset’s equalizer settings using the companion app to match the audio profile to your gaming preferences.
- Immersive Gaming Experience: With the PlayStation Gold headset seamlessly integrated with your PC games, you can enjoy an immersive and dynamic audio experience. From the nuanced sound effects in single-player adventures to the strategic communication in multiplayer battles, the headset elevates the overall gaming ambiance, making every gaming session more engaging and captivating.
By leveraging the advanced audio features of the PlayStation Gold headset and optimizing its integration with PC games, you can elevate your gaming escapades to new heights, immersing yourself in the rich audio landscapes crafted by game developers.