
Checking Screen Recording Settings
Before diving into the world of screen recording on your iPhone 13, it's essential to ensure that your device is configured to capture the best possible footage. Checking the screen recording settings allows you to customize various aspects of the recording process, ensuring that your recordings meet your specific needs and preferences.
To access the screen recording settings on your iPhone 13, start by navigating to the "Settings" app on your home screen. Once there, scroll down and tap on "Control Center." This is where you can customize the controls available in the Control Center, including the screen recording feature.
Next, tap on "Customize Controls." Here, you will find a list of controls that can be added to the Control Center. Look for "Screen Recording" in the list and ensure that it is included in the "Include" section. If it's not already included, tap the green plus button next to "Screen Recording" to add it to the Control Center.
After adding the screen recording control to the Control Center, you can arrange its position by tapping and holding the three horizontal lines next to "Screen Recording" and dragging it to your preferred location within the "Include" section.
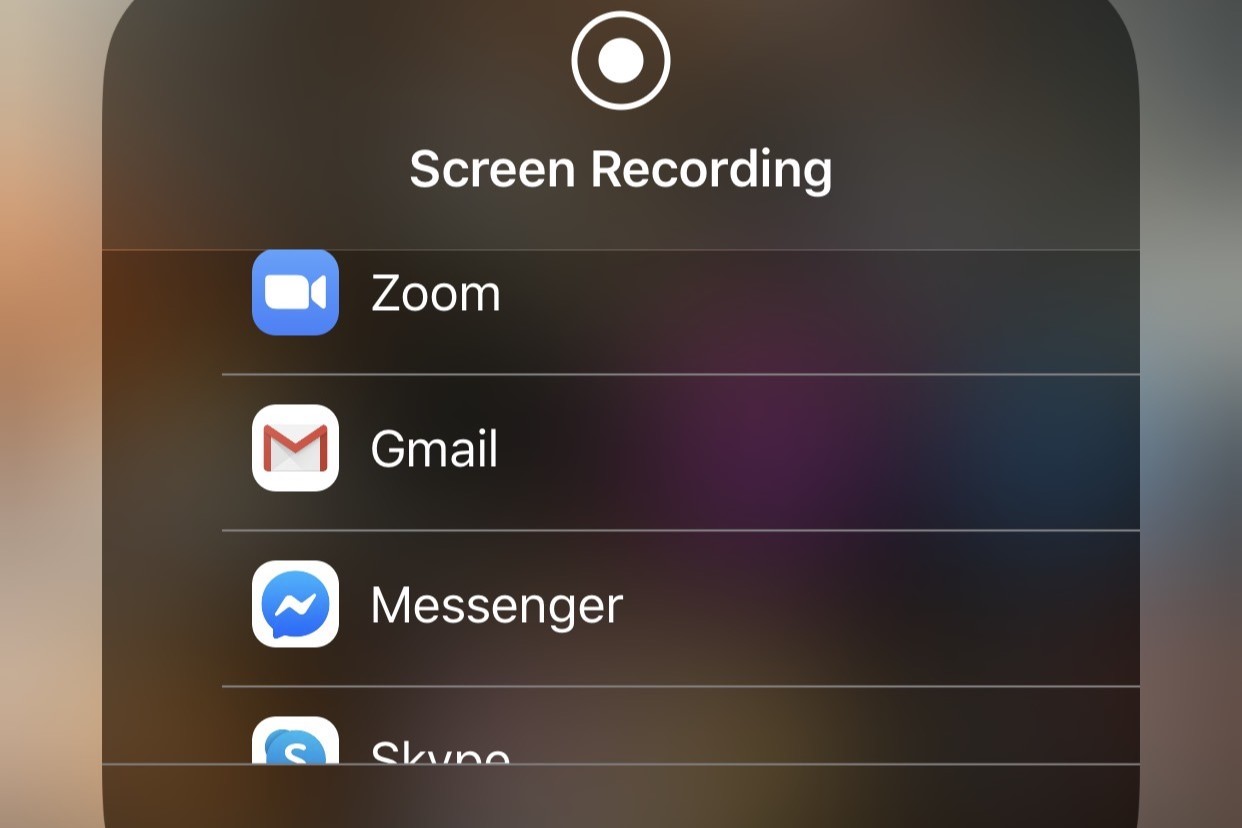
Once you have added and arranged the screen recording control in the Control Center, you can exit the Settings app and swipe down from the top-right corner of the screen (or swipe up from the bottom of the screen, depending on your iPhone model) to access the Control Center. Here, you should see the screen recording button represented by a solid circle within a circle icon.
By checking and customizing the screen recording settings on your iPhone 13, you can ensure that the screen recording feature is easily accessible and configured to meet your specific preferences. This simple yet crucial step sets the stage for seamless and personalized screen recording experiences on your device.
Starting a Screen Recording
Initiating a screen recording on your iPhone 13 is a straightforward process that empowers you to capture and preserve important moments, share valuable information, or simply indulge in creative expression. Whether you wish to record a tutorial, save a memorable in-app achievement, or document a fascinating conversation, the screen recording feature on your iPhone 13 equips you with the tools to do so effortlessly.
To commence a screen recording, begin by navigating to the screen or app that you intend to capture. Once you are ready to initiate the recording, access the Control Center by swiping down from the top-right corner of the screen. If you are using an older iPhone model, you can access the Control Center by swiping up from the bottom of the screen.
Within the Control Center, locate the screen recording button, which is represented by a solid circle within a circle icon. Tap this button to initiate the screen recording process. Upon tapping the screen recording button, a three-second countdown will appear, providing you with a brief window to prepare the content you wish to record.
After the countdown, the status bar at the top of the screen will turn red, indicating that the screen recording is in progress. This visual cue serves as a reminder that your actions and interactions on the screen are being captured. Whether you are demonstrating a process, showcasing a feature, or simply capturing a moment, the red status bar ensures that you are aware of the ongoing recording.
Once the screen recording is initiated, you have the freedom to navigate through apps, interact with content, and demonstrate various functionalities on your iPhone 13. Whether you are showcasing a game, guiding someone through a process, or simply capturing a moment of interest, the screen recording feature allows you to encapsulate these experiences with ease.
When you have completed the recording, simply access the Control Center again and tap the red status bar at the top of the screen. A prompt will appear, asking if you wish to stop the recording. Tap "Stop" to conclude the screen recording process. The recorded footage will be saved to your Photos app, allowing you to access, review, and share it as desired.
Initiating a screen recording on your iPhone 13 is a seamless and empowering process that enables you to capture and preserve a wide array of content. Whether you are a content creator, educator, or simply someone who values preserving meaningful moments, the screen recording feature on your iPhone 13 provides a versatile and user-friendly tool for capturing and sharing valuable content.
Pausing and Stopping a Screen Recording
Pausing and stopping a screen recording on your iPhone 13 is a simple yet crucial aspect of the screen recording process. Whether you need to momentarily halt the recording to gather your thoughts or swiftly conclude the capture, understanding how to pause and stop a screen recording empowers you to maintain control over your recorded content.
When you are in the midst of a screen recording and need to momentarily pause the capture, you can do so by tapping the red status bar at the top of the screen. This action temporarily halts the recording, allowing you to address any interruptions, gather additional information, or simply take a brief pause without disrupting the continuity of the recording.
Upon pausing the screen recording, a banner notification will appear at the top of the screen, indicating that the recording has been paused. This visual cue serves as a reminder that the recording is temporarily on hold, ensuring that you are aware of the current status of the capture.
Once you are ready to resume the recording, simply tap the red status bar again. This action seamlessly continues the recording from where it was paused, allowing you to maintain a smooth and uninterrupted flow of content.
When the time comes to conclude the screen recording, you can do so by accessing the Control Center and tapping the red status bar once more. A prompt will appear, asking if you wish to stop the recording. By tapping "Stop," you effectively bring the screen recording to a close, finalizing the capture and saving the footage to your Photos app.
Understanding how to pause and stop a screen recording on your iPhone 13 grants you the flexibility and control to manage your recorded content effectively. Whether you need to momentarily pause the capture or swiftly conclude the recording, mastering these actions ensures that you can seamlessly navigate through the screen recording process, capturing and preserving valuable content with ease.
Accessing and Editing Screen Recordings
Accessing and editing screen recordings on your iPhone 13 allows you to refine and tailor your captured content, ensuring that it aligns with your specific requirements and preferences. Whether you aim to trim the footage, add annotations, or extract key segments for sharing, the ability to access and edit screen recordings empowers you to enhance the quality and impact of your captured content.
Upon concluding a screen recording, the footage is automatically saved to your Photos app, where it can be accessed and managed with ease. To locate your screen recordings, open the Photos app and navigate to the "Albums" tab. Here, you will find a dedicated "Screen Recordings" album, which houses all your captured screen recordings in one convenient location.
Once you have located the desired screen recording within the "Screen Recordings" album, tapping on it allows you to view the footage in full detail. This initial review stage enables you to assess the content and identify any areas that may require editing or refinement.
To initiate the editing process, tap the "Edit" button while viewing the screen recording. This action opens up a range of editing options, including the ability to trim the footage, add annotations, and apply various enhancements to the recording.
When trimming a screen recording, you can drag the start and end points of the footage to select the specific segment you wish to retain. This feature is particularly useful for removing any unnecessary content at the beginning or end of the recording, ensuring that the final footage is concise and focused.
In addition to trimming, the editing tools also allow you to add annotations to the screen recording. Whether you wish to highlight a specific area, add explanatory text, or emphasize key points within the footage, the annotation feature provides a versatile means of enhancing the visual clarity and communicative impact of the recording.
Furthermore, the editing options encompass various enhancements, such as the ability to apply filters, adjust the playback speed, and incorporate background music to complement the captured content. These enhancements enable you to infuse your screen recordings with a personalized touch, elevating the overall viewing experience for your audience.
Upon completing the editing process, you can save the refined screen recording to your Photos app, where it remains easily accessible for sharing, archiving, or further customization. By leveraging the accessibility and editing capabilities of screen recordings on your iPhone 13, you can refine and personalize your captured content, ensuring that it resonates with your intended audience and fulfills your specific objectives.
Saving and Sharing Screen Recordings
Upon completing a screen recording on your iPhone 13 and applying any desired edits, the next pivotal steps involve saving and sharing the captured content. These actions enable you to preserve the recording for future access and distribute it to your intended audience, whether for educational, informative, or entertainment purposes.
After finalizing the editing process, tap the "Done" button to confirm the changes made to the screen recording. This action ensures that the refined version of the recording is saved within the Photos app, ready for seamless access and sharing. The edited screen recording is automatically stored alongside your other media content, maintaining a cohesive and organized library within the app.
To save the screen recording to a specific location or album within the Photos app, tap the "Share" button while viewing the recording. From the sharing options that appear, select "Save Video." This action prompts you to choose the destination album for the saved recording, allowing you to categorize and manage your screen recordings according to your preferences.
Once the screen recording is saved within the Photos app, you can effortlessly access it at any time, ensuring that the captured content remains readily available for future reference or sharing. The seamless integration of screen recordings within the Photos app streamlines the process of managing and archiving your captured content, fostering a user-friendly and efficient approach to content organization.
In addition to saving the screen recording within the Photos app, you can leverage the sharing capabilities of your iPhone 13 to distribute the captured content to a wider audience. By tapping the "Share" button while viewing the screen recording, you can explore a range of sharing options, including messaging, email, social media platforms, and cloud storage services.
The sharing options empower you to disseminate the screen recording across various channels, enabling you to reach your intended audience with ease. Whether you aim to educate, inform, entertain, or collaborate, the ability to share screen recordings facilitates seamless communication and content distribution, amplifying the impact and reach of your captured content.
By saving and sharing screen recordings on your iPhone 13, you ensure that your captured content is preserved for future access and distributed to your desired audience. These actions not only facilitate efficient content management but also empower you to engage and connect with others through the seamless dissemination of valuable and impactful screen recordings.