
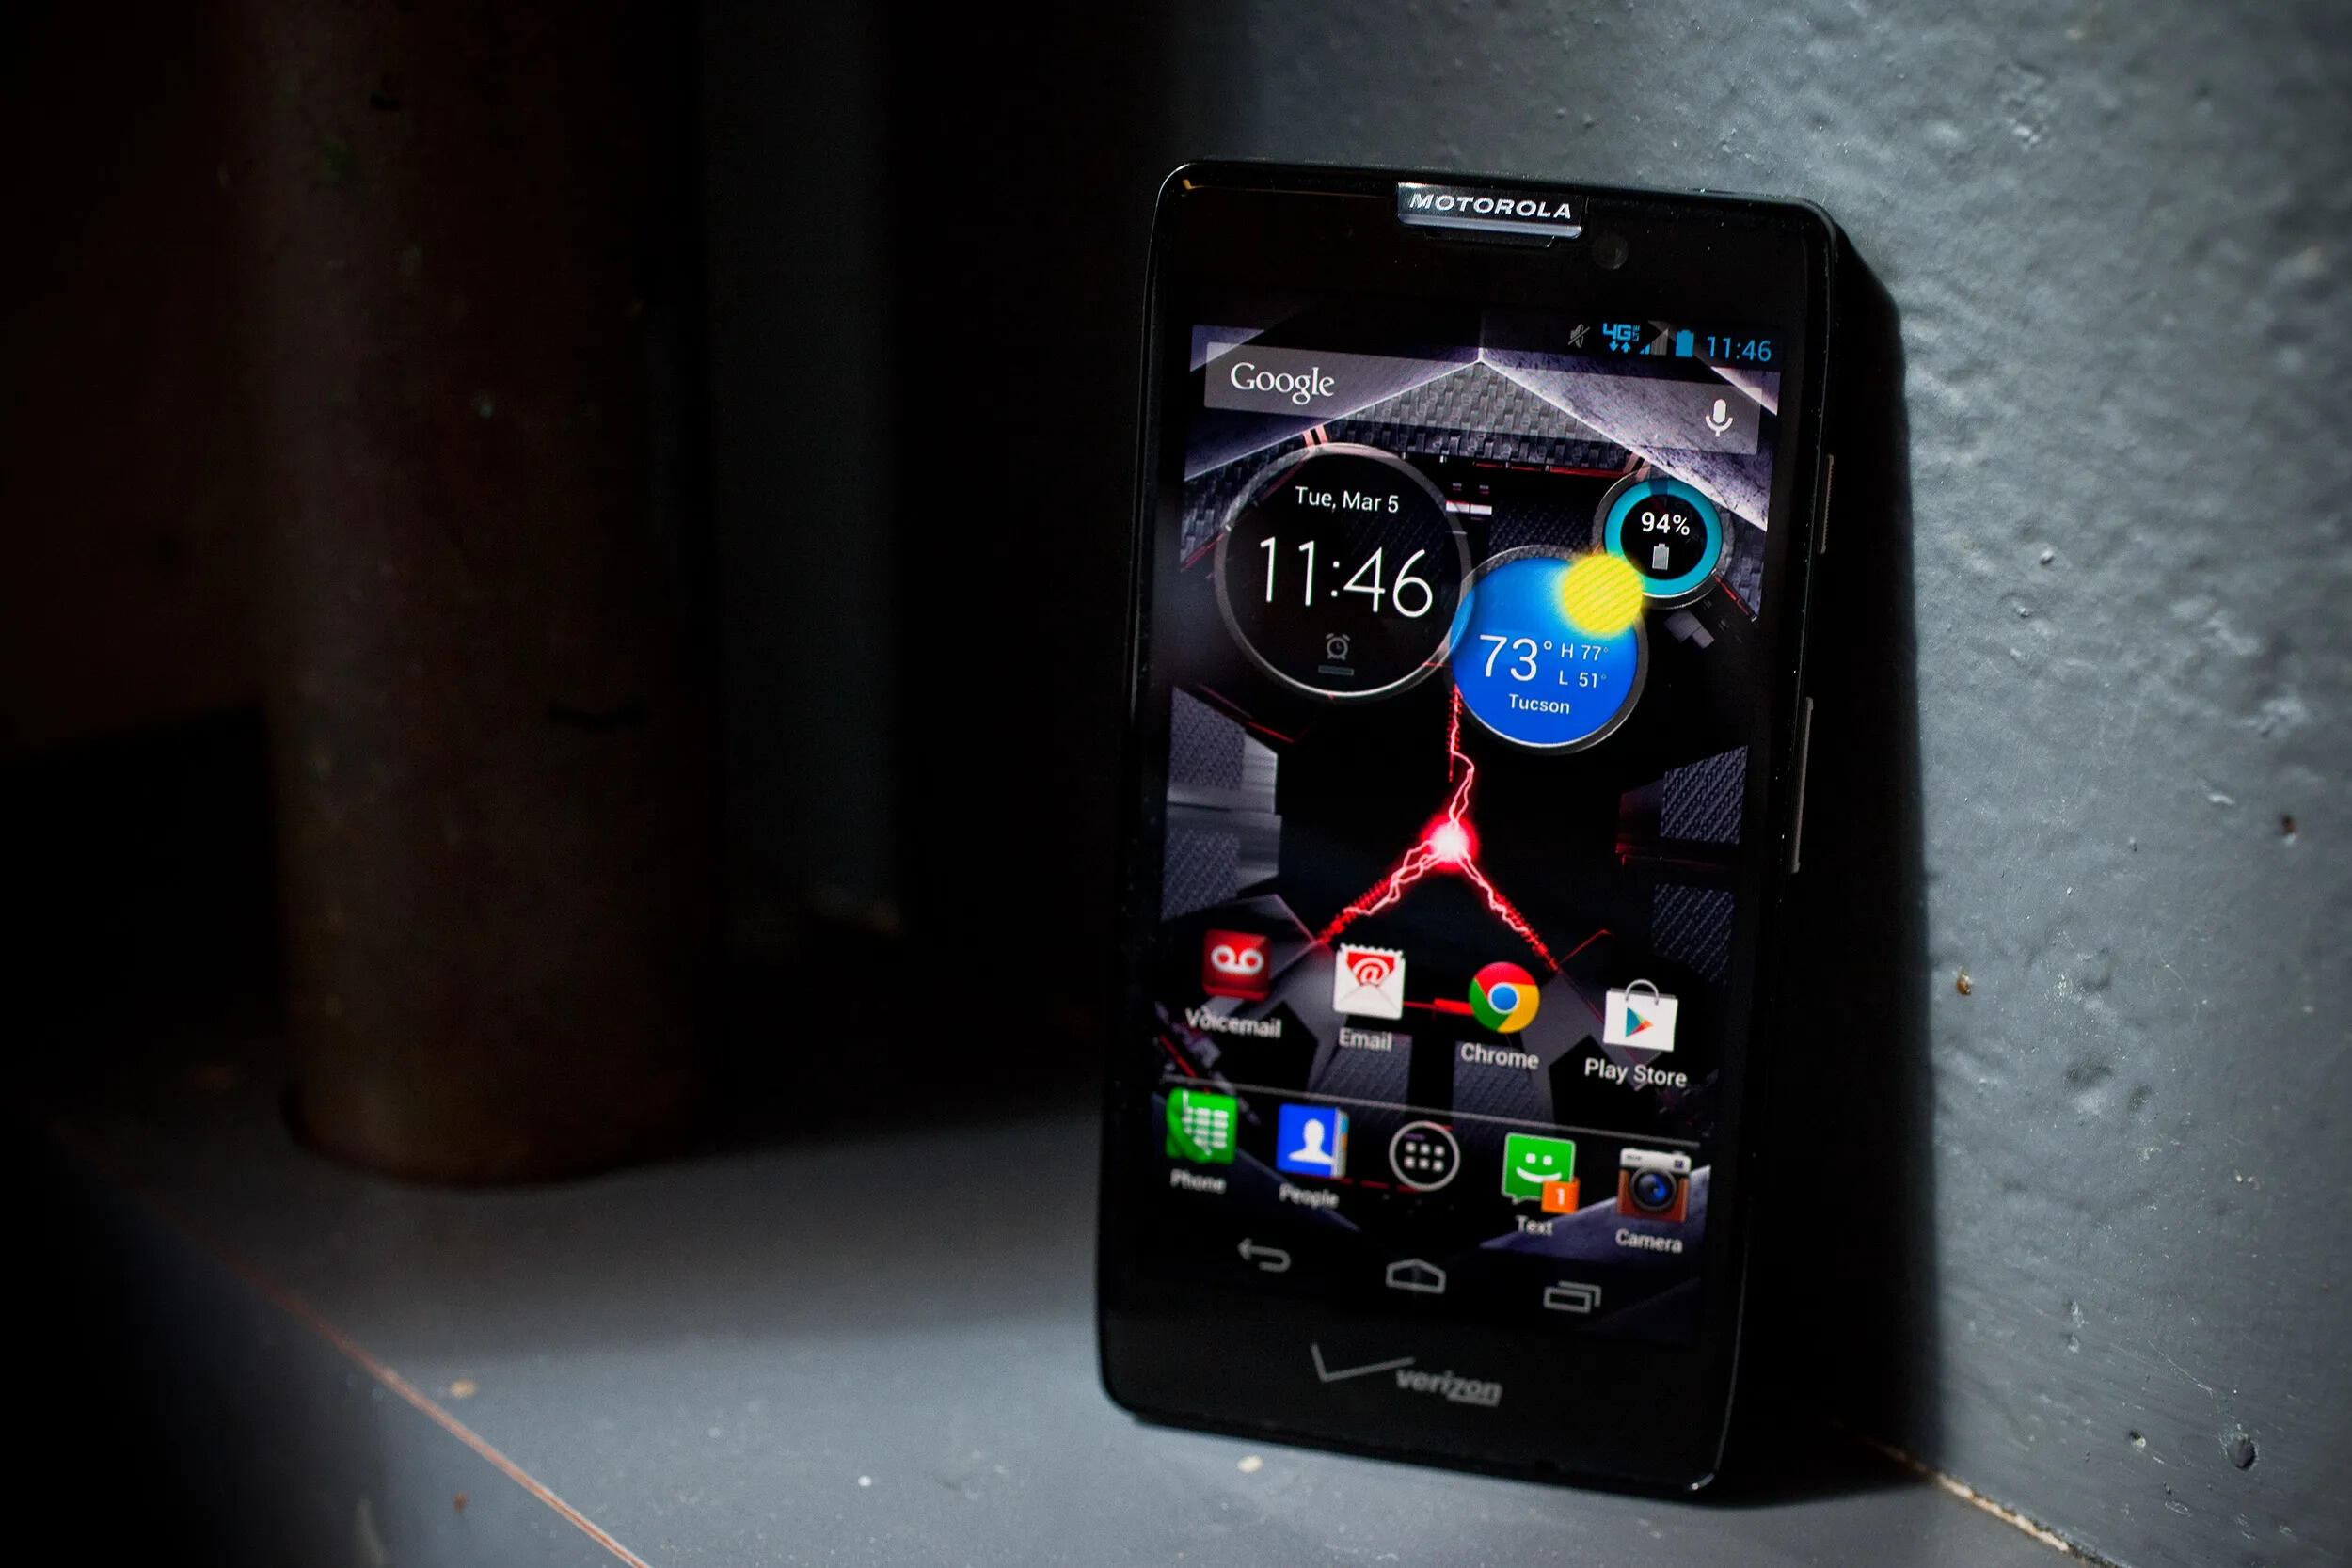
Enable USB Debugging on Your Motorola Razr Maxx
Enabling USB debugging on your Motorola Razr Maxx is a crucial step in the process of retrieving photos from your device. USB debugging allows your phone to communicate with the Android Software Development Kit (SDK) over a USB connection. This functionality is essential for accessing advanced features and diagnostic tools that can aid in the photo retrieval process.
To enable USB debugging on your Motorola Razr Maxx, follow these steps:
-
Access the Developer Options: First, navigate to the "Settings" menu on your Motorola Razr Maxx. Scroll down and tap on "About phone." Here, you will find the "Build number" option. Tap on "Build number" seven times in quick succession. After the seventh tap, you will see a message confirming that you are now a developer.
-
Enable Developer Options: Once you have unlocked the developer mode, go back to the main "Settings" menu. You will now see "Developer options" listed above "About phone." Tap on "Developer options" to access the advanced settings.
-
Enable USB Debugging: Within the "Developer options" menu, locate the "USB debugging" option. It is usually found under the "Debugging" section. Toggle the switch next to "USB debugging" to enable this feature. When prompted, confirm your action by tapping "OK" on the dialog box that appears.
By completing these steps, you have successfully enabled USB debugging on your Motorola Razr Maxx. This will allow the Android Data Recovery software to establish a connection with your device and initiate the photo retrieval process.
Enabling USB debugging is a fundamental aspect of accessing the full potential of your Android device when it comes to data recovery and software development. It empowers users to interact with their devices at a deeper level, enabling advanced troubleshooting and data transfer capabilities.
With USB debugging enabled, you are now ready to proceed with the next steps in the photo retrieval process, ultimately leading to the successful recovery of your precious memories from your Motorola Razr Maxx.
Connect Your Motorola Razr Maxx to Your Computer
Connecting your Motorola Razr Maxx to your computer is a pivotal step in the process of retrieving photos from your device. This connection facilitates the seamless transfer of data between your phone and the computer, enabling the Android Data Recovery software to access and recover your precious pictures.
To connect your Motorola Razr Maxx to your computer, follow these steps:
-
Prepare Your Computer: Before initiating the connection, ensure that your computer is powered on and ready to receive the device. If you are using a desktop computer, make sure it is connected to a stable power source. For laptop users, ensure that the device is sufficiently charged or connected to a power outlet to prevent any interruptions during the data retrieval process.
-
Use the Original USB Cable: Locate the original USB cable that came with your Motorola Razr Maxx. Using the original cable is recommended as it is specifically designed for your device and ensures a secure and stable connection. If the original cable is not available, use a high-quality USB cable that is compatible with your phone to avoid any potential connectivity issues.
-
Connect the USB Cable: With your computer and phone ready, carefully insert one end of the USB cable into the USB port on your computer. Take the other end of the cable and gently insert it into the charging port of your Motorola Razr Maxx. Ensure that the connection is secure to prevent any disruptions during the data transfer process.
-
Establish the Connection: Once the USB cable is securely connected to both your computer and Motorola Razr Maxx, the devices should recognize each other. Your computer may display a notification indicating that a new device has been connected. Additionally, your phone may prompt you to select a USB connection type. Choose the "File Transfer" or "Media Transfer" option to enable the transfer of photos and other media files between your phone and computer.
-
Verify the Connection: To ensure that the connection is successful, navigate to the file explorer or device manager on your computer. Your Motorola Razr Maxx should appear as a connected device, allowing you to access its internal storage and SD card if applicable.
By following these steps, you have successfully connected your Motorola Razr Maxx to your computer, establishing a vital link for the Android Data Recovery software to access and retrieve your cherished photos. This connection sets the stage for the subsequent steps in the photo retrieval process, bringing you closer to recovering your valuable memories from your Motorola Razr Maxx.
Install and Run Android Data Recovery Software
Installing and running Android Data Recovery software is a pivotal phase in the process of retrieving photos from your Motorola Razr Maxx. This specialized software is designed to scan, analyze, and recover lost or deleted data from Android devices, including photos, videos, contacts, messages, and more. By following the steps outlined below, you can initiate the installation and execution of the Android Data Recovery software, setting the stage for the comprehensive retrieval of your precious pictures.
-
Download the Android Data Recovery Software: Begin by accessing the official website of the Android Data Recovery software provider. Look for the appropriate version of the software that is compatible with your computer's operating system. Once located, initiate the download process and save the installation file to a familiar location on your computer, such as the desktop or downloads folder.
-
Install the Software: After the download is complete, locate the installation file and double-click to initiate the installation process. Follow the on-screen prompts to install the Android Data Recovery software on your computer. Ensure that you grant the necessary permissions and agree to the terms and conditions presented during the installation.
-
Launch the Software: Once the installation is complete, locate the shortcut icon for the Android Data Recovery software on your desktop or in the designated installation directory. Double-click the icon to launch the software and initiate the application.
-
Connect Your Motorola Razr Maxx: With the Android Data Recovery software running on your computer, connect your Motorola Razr Maxx to the computer using the previously established USB connection. Ensure that USB debugging is enabled on your device to facilitate seamless communication between the software and your phone.
-
Grant Necessary Permissions: Upon connecting your Motorola Razr Maxx, the Android Data Recovery software may prompt you to grant certain permissions on your device to enable the scanning and retrieval process. Follow the on-screen instructions to grant the required permissions, allowing the software to access the internal storage and SD card of your device.
-
Select the Photo Recovery Option: Within the Android Data Recovery software interface, navigate to the photo recovery or media recovery section. Select the specific file types you wish to recover, focusing on photos in this instance. By narrowing down the file types, the software can streamline the scanning process, expediting the retrieval of your valuable pictures.
By meticulously following these steps, you have successfully installed and launched the Android Data Recovery software, positioning yourself to embark on the next crucial phases of the photo retrieval process. The software's robust capabilities and intuitive interface empower you to initiate the scanning and recovery of your cherished photos from your Motorola Razr Maxx, bringing you closer to reuniting with your treasured memories.
Select the File Types You Want to Retrieve
When using the Android Data Recovery software to retrieve photos from your Motorola Razr Maxx, the process of selecting the file types you want to recover plays a pivotal role in streamlining the scanning and recovery process. By specifying the file types, such as photos, you can focus the software's efforts on identifying and retrieving the specific data that holds immense value to you.
Upon reaching the stage of selecting the file types for retrieval, the Android Data Recovery software presents a comprehensive list of data categories that can be recovered from your Motorola Razr Maxx. These categories typically include photos, videos, contacts, messages, call logs, documents, and more. However, for the purpose of photo retrieval, you will specifically focus on selecting the "Photos" or "Media" category, depending on the software's interface.
By choosing the "Photos" category, you instruct the software to prioritize the scanning and recovery of image files, including JPEG, PNG, GIF, and other common photo formats stored on your device's internal storage and, if applicable, the SD card. This targeted approach significantly expedites the scanning process, as the software can allocate its resources to specifically identify and recover the photos that are of utmost importance to you.
Furthermore, the ability to select the file types you want to retrieve empowers you to customize the recovery process based on your unique needs. Whether you are seeking to recover a specific set of vacation photos, cherished family moments, or important work-related images, the software's flexibility allows you to tailor the retrieval process to align with your specific objectives.
In addition to photos, the Android Data Recovery software enables you to select multiple file types for recovery, providing a comprehensive approach to data retrieval. This versatility allows you to address diverse data loss scenarios, encompassing not only photos but also other critical data categories that may have been inadvertently deleted or lost due to unforeseen circumstances.
By carefully selecting the file types you want to retrieve, you are effectively guiding the Android Data Recovery software to concentrate its efforts on recovering the specific data that holds immense significance to you. This targeted approach, coupled with the software's advanced scanning capabilities, positions you to embark on the next phase of the photo retrieval process with confidence and precision.
Start Scanning Your Motorola Razr Maxx
Initiating the scanning process on your Motorola Razr Maxx marks a pivotal phase in the comprehensive endeavor to retrieve your precious photos. The scanning process, facilitated by the Android Data Recovery software, entails a meticulous examination of your device's internal storage and, if applicable, the SD card, with the objective of identifying and recovering the targeted file types, particularly photos, that hold immense value to you.
Upon commencing the scanning process, the Android Data Recovery software leverages advanced algorithms and data analysis techniques to systematically traverse through the storage repositories of your Motorola Razr Maxx. This systematic approach enables the software to meticulously scrutinize the digital footprint left by your photos, even in instances where the files have been inadvertently deleted or seemingly lost due to various factors.
The scanning process encompasses a comprehensive exploration of the device's storage architecture, delving into the intricacies of file structures, metadata, and residual data fragments. This thorough examination is designed to unearth traces of the photos that you seek to recover, transcending the surface-level visibility to identify and extract the underlying data that encapsulates your cherished memories.
As the scanning progresses, the Android Data Recovery software diligently catalogs the discovered data, assembling a comprehensive inventory of the identified photos and related media files. This meticulous cataloging process enables the software to present a structured overview of the recoverable photos, empowering you to preview and select the specific images that you aspire to reclaim.
Furthermore, the scanning process is characterized by its non-intrusive nature, ensuring that the integrity of your device and its data remains uncompromised throughout the operation. The software operates with precision and discretion, adhering to stringent data recovery protocols to safeguard the existing data while diligently pursuing the retrieval of your valuable photos.
The duration of the scanning process may vary based on factors such as the storage capacity of your Motorola Razr Maxx, the quantity of data to be scanned, and the overall performance of your device. However, the Android Data Recovery software is optimized to streamline the scanning process, leveraging efficient algorithms to expedite the identification and compilation of recoverable photos.
By embarking on the scanning process, you are actively propelling the photo retrieval endeavor forward, leveraging the advanced capabilities of the Android Data Recovery software to meticulously scrutinize your Motorola Razr Maxx and unearth the treasured photos that hold profound significance to you. This pivotal phase sets the stage for the subsequent preview and recovery of your valuable images, bringing you closer to reuniting with your cherished memories.
Preview and Recover Pictures from Your Motorola Razr Maxx
As the scanning process initiated by the Android Data Recovery software nears completion, you are poised to embark on the pivotal phase of previewing and recovering your cherished pictures from your Motorola Razr Maxx. This phase represents the culmination of the comprehensive photo retrieval endeavor, offering you the opportunity to meticulously review the identified photos and selectively reclaim the images that encapsulate your treasured memories.
Upon the completion of the scanning process, the Android Data Recovery software presents a structured overview of the recoverable photos, providing you with a comprehensive catalog of the identified images. This intuitive interface empowers you to navigate through the compiled list of photos, previewing each image with precision and clarity. The preview functionality allows you to visually assess the content of each photo, enabling you to verify the accuracy and relevance of the identified images before proceeding with the recovery process.
The preview stage serves as a pivotal checkpoint, affording you the opportunity to meticulously evaluate the recoverable photos and ascertain their significance in relation to your specific objectives. Whether you are seeking to recover a specific set of vacation memories, cherished family moments, or important work-related images, the preview functionality enables you to validate the content and quality of each photo, ensuring that the retrieval aligns with your unique needs and aspirations.
Furthermore, the preview interface facilitates seamless navigation through the identified photos, empowering you to selectively mark the images that you intend to recover. This selective approach grants you the autonomy to prioritize the retrieval of specific photos, streamlining the recovery process and ensuring that the software focuses its efforts on reclaiming the images that hold profound value to you.
Upon completing the meticulous preview and selection process, you are ready to initiate the photo recovery phase, signaling the Android Data Recovery software to commence the retrieval of the marked images from your Motorola Razr Maxx. The software leverages advanced data recovery mechanisms to meticulously extract the selected photos, ensuring the integrity and completeness of the retrieved images while adhering to stringent data preservation protocols.
As the photo recovery process unfolds, the Android Data Recovery software diligently compiles the selected images, orchestrating their seamless transfer from your device to your computer. This meticulous orchestration ensures that the recovered photos are securely preserved and readily accessible, empowering you to reunite with your treasured memories and seamlessly integrate the reclaimed images into your digital archives.
By meticulously navigating through the preview and recovery phase, you have successfully reclaimed the precious photos that hold profound significance to you, transcending the challenges of data loss and embracing the transformative capabilities of the Android Data Recovery software. This pivotal achievement marks the culmination of your photo retrieval endeavor, empowering you to cherish and preserve your invaluable memories captured within the images recovered from your Motorola Razr Maxx.