
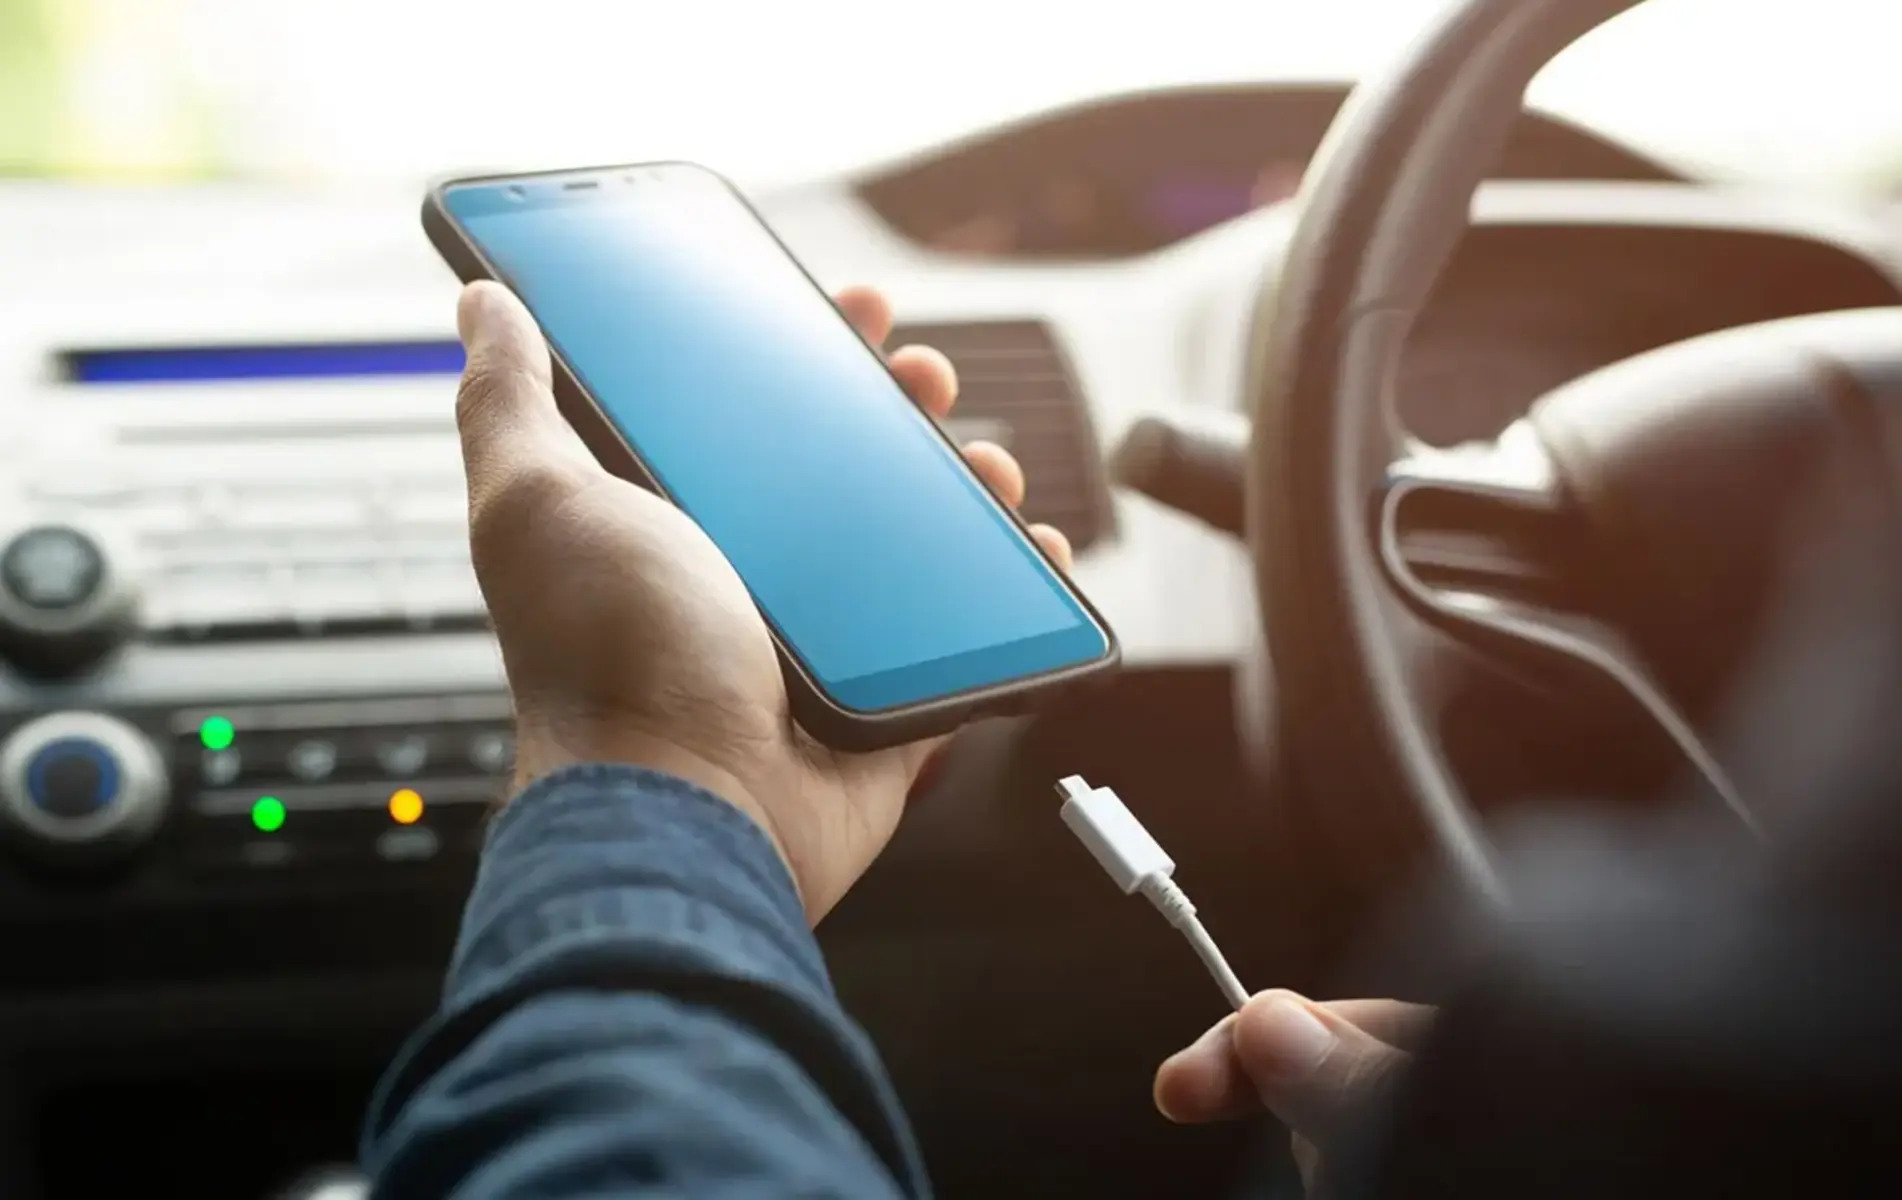
Choosing the Right USB Charger
When it comes to selecting a USB charger for your car, it’s essential to consider several factors to ensure compatibility and optimal performance. With a myriad of options available in the market, making an informed choice will guarantee a seamless and efficient charging experience on the go. Here are the key aspects to keep in mind:
- Compatibility: Prior to purchasing a USB charger, ascertain that it is compatible with your car’s make and model. Some vehicles may have specific voltage requirements or proprietary charging systems, necessitating the use of chargers designed for those specifications. Additionally, consider the number of ports required to accommodate your charging needs.
- Amperage: The amperage of a USB charger determines the rate at which it can deliver power to your devices. Higher amperage translates to faster charging, making it advantageous for individuals who frequently rely on their devices while traveling. Opt for a charger with at least 2.4 amps per port to facilitate rapid charging for smartphones, tablets, and other gadgets.
- Build Quality: Investing in a well-constructed USB charger is crucial for longevity and safety. Look for chargers with robust housing and reliable circuitry to withstand the rigors of daily use and ensure protection against overheating and overcharging. Additionally, consider models with built-in safeguards such as short-circuit protection and overcurrent protection for enhanced safety.
- Additional Features: Some USB chargers offer supplementary features that can enhance the overall user experience. These may include LED indicators for power status, quick-charge capabilities for compatible devices, and integrated cables for added convenience. Assess your preferences and requirements to determine which features are beneficial for your specific usage.
By carefully evaluating these factors, you can make an informed decision when selecting a USB charger for your car. This proactive approach will not only ensure seamless compatibility and optimal performance but also contribute to a safer and more convenient charging setup within your vehicle.
Preparing Your Car for Installation
Before embarking on the installation of a USB charger in your car, it’s crucial to prepare the vehicle to facilitate a smooth and effective setup process. Taking the necessary steps to ensure the proper functioning of the charger and the safety of the installation is paramount. Here’s a comprehensive guide to preparing your car for the installation:
- Identify a Suitable Location: Choose an optimal location within your car to install the USB charger. Ideally, this should be within easy reach of the driver and passengers, with sufficient space to accommodate the charger and provide convenient access to the connected devices. Common locations include the dashboard, center console, or near the existing power outlets.
- Assess Power Source Accessibility: Determine the proximity of the chosen installation location to the vehicle’s power source. Ensure that the selected spot allows for easy access to the wiring and fuse box, as this will streamline the installation process and minimize the need for extensive modifications to the car’s electrical system.
- Inspect the Electrical System: Before proceeding with the installation, conduct a thorough inspection of the car’s electrical system to identify any potential issues or anomalies. Check for existing wiring, fuse ratings, and available power capacity to ascertain compatibility with the USB charger’s power requirements.
- Gather Necessary Tools and Supplies: Equip yourself with the essential tools and supplies required for the installation, including wire strippers, electrical tape, a multimeter for voltage testing, and any additional components needed to secure the charger in place. Having these items readily available will expedite the installation process and ensure a professional outcome.
- Ensure Proper Grounding: Verify that the chosen installation location allows for secure grounding of the USB charger. A reliable ground connection is essential for the charger’s functionality and safety, preventing potential electrical issues and ensuring consistent performance.
By diligently preparing your car for the installation of a USB charger, you can lay the groundwork for a successful and hassle-free setup. This proactive approach not only streamlines the installation process but also contributes to the overall safety and functionality of the charging system within your vehicle.
Installing the USB Charger
Once you have chosen the right USB charger and prepared your car for installation, it’s time to proceed with the actual mounting and connection of the charger. This step-by-step guide will walk you through the process of installing the USB charger in your car:
- Disconnect the Car Battery: As a safety precaution, start by disconnecting the car’s battery to prevent any electrical mishaps during the installation process. This step is crucial to ensure your safety and avoid potential damage to the vehicle’s electrical system.
- Identify the Power Source: Locate the desired power source within the car, typically near the dashboard or center console. This may involve removing panels or accessing the fuse box to identify a suitable location with access to the vehicle’s electrical system.
- Mount the USB Charger: Securely mount the USB charger in the chosen location, ensuring that it is firmly positioned and easily accessible for plugging in devices. Use appropriate mounting hardware or adhesive to affix the charger in place, taking care to align it with the surrounding interior components.
- Connect the Wiring: Carefully connect the wiring of the USB charger to the designated power source, following the manufacturer’s instructions and any additional wiring diagrams provided. Use wire strippers to prepare the wires and ensure secure connections, and consider employing electrical tape or connectors for added safety.
- Ground the Charger: Establish a reliable ground connection for the USB charger to ensure proper functionality and safety. This typically involves connecting the charger’s ground wire to a suitable grounding point within the car, such as a metal chassis component, using appropriate hardware and techniques.
- Reconnect the Car Battery: Once the installation is complete and all connections have been verified, reconnect the car’s battery to restore power to the vehicle. This final step enables you to test the newly installed USB charger and ensure that it is operational.
By meticulously following these installation steps, you can successfully integrate a USB charger into your car’s interior, providing a convenient and reliable power source for charging your devices while on the move.
Testing the USB Charger
After completing the installation of the USB charger in your car, it’s imperative to conduct thorough testing to verify its functionality and ensure that it meets your charging requirements. Testing the charger will allow you to identify any potential issues and make adjustments as needed. Here’s a comprehensive guide to testing the USB charger:
- Power Verification: Begin by plugging in a compatible device, such as a smartphone or tablet, to each USB port on the charger. Confirm that the connected devices indicate charging status and that the charger delivers the expected power output. Use a USB power meter or the device’s own charging indicators to verify the charging current and ensure that it aligns with the charger’s specifications.
- Device Compatibility: Test the charger with a variety of devices to assess its compatibility and charging performance across different makes and models. This will help determine whether the charger adequately supports a range of devices and charging scenarios, ensuring versatility and functionality for all your gadgets.
- Temperature and Overheating: Monitor the temperature of the charger during operation, especially after prolonged use or when charging multiple devices simultaneously. Ensure that the charger remains within a safe temperature range and does not exhibit signs of overheating, as excessive heat can affect the charger’s performance and longevity.
- Long-Term Stability: Leave the charger connected to a device for an extended period, observing its stability and performance over time. This long-term test can reveal any potential issues related to charging consistency, power delivery, or intermittent connectivity, providing valuable insights into the charger’s reliability during prolonged use.
By systematically conducting these tests, you can ascertain the functionality, compatibility, and overall performance of the installed USB charger. This proactive approach allows you to address any potential issues early on and ensures that the charger meets your expectations for reliable and efficient device charging in your car.