
Downloading the Microsoft Authenticator App
Ensuring the security of your digital accounts is of utmost importance in today’s digital age. One effective way to protect your accounts is by using two-factor authentication (2FA). The Microsoft Authenticator app is a powerful tool that provides an extra layer of security for your Microsoft accounts. By downloading and setting up this app, you can enhance the protection of your sensitive information and prevent unauthorized access.
To get started, follow the steps below to download the Microsoft Authenticator app:
- Open the app store on your mobile device. If you have an iOS device, such as an iPhone, go to the App Store. If you have an Android device, such as a Samsung or Google phone, head to the Google Play Store.
- Search for “Microsoft Authenticator” in the app store’s search bar.
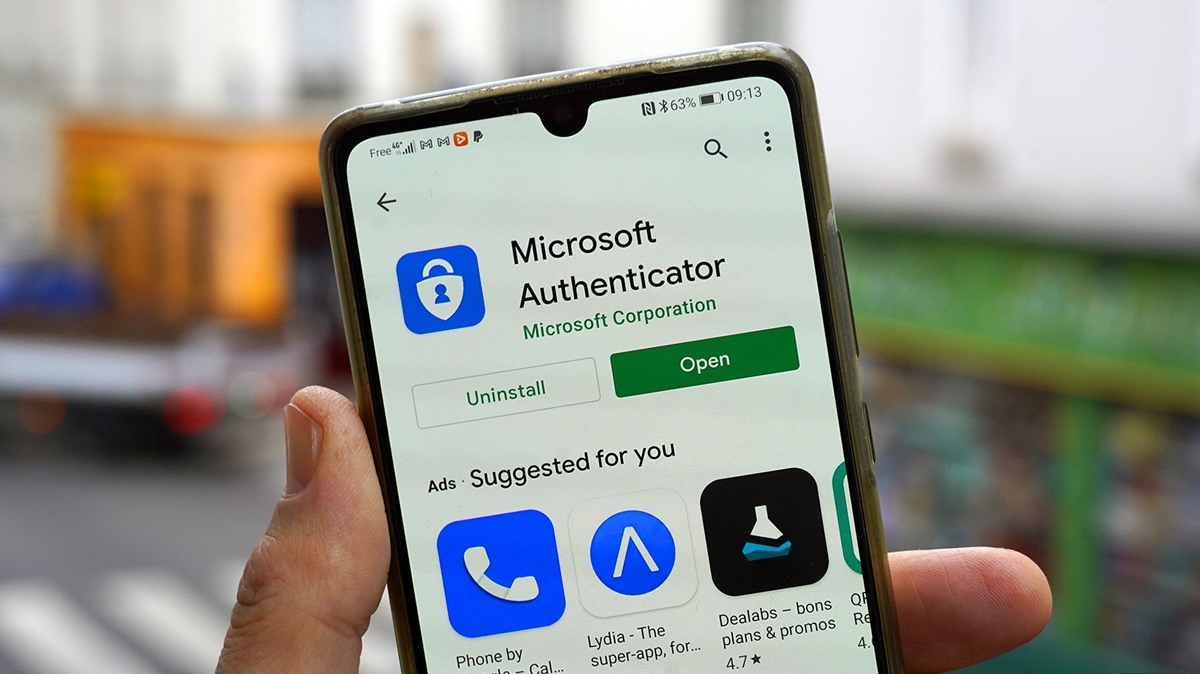
- Locate the official Microsoft Authenticator app and tap on it to select it.
- Click on the “Download” button to begin the installation process. Depending on your internet connection speed, the app may take a few moments to download.
- Once the download is complete, open the Microsoft Authenticator app on your device.
Now that you have successfully downloaded the Microsoft Authenticator app, you’re ready to set it up and start adding your accounts. In the next section, we’ll guide you through the process of setting up the Microsoft Authenticator app to ensure a seamless and secure experience.
Setting Up the Microsoft Authenticator App
Now that you have downloaded the Microsoft Authenticator app, it’s time to set it up and configure it for your specific needs. Follow the steps below to get started:
- Launch the Microsoft Authenticator app on your mobile device.
- If prompted, grant the necessary permissions for the app to access your camera and other necessary features.
- Click on the “Get started” button to begin the setup process.
- Choose whether you want to set up the app with a personal account or a work or school account. Select the appropriate option based on your needs.
- If you have a personal account, sign in with your Microsoft account credentials. If you have a work or school account, enter the email address associated with your organization, and follow the on-screen instructions to sign in.
- Next, you may be prompted to verify your identity. Depending on your account settings, you may receive a verification code via email or SMS. Enter the code when prompted to proceed.
- After successful verification, you’ll be taken to the main screen of the Microsoft Authenticator app.
- At this point, the app is ready to use, and you can start adding accounts to enhance their security.
It’s worth noting that the Microsoft Authenticator app also offers additional features, such as passwordless sign-in and the ability to manage multiple accounts. While these features are beyond the scope of this setup guide, you can explore them at your convenience to make the most of the app’s capabilities.
With the Microsoft Authenticator app set up on your device, you can now move forward and enable two-factor authentication for your Microsoft accounts. We’ll cover the process of enabling 2FA in the next section.
Enabling Two-Factor Authentication (2FA) for Microsoft Accounts
Two-factor authentication (2FA) adds an extra layer of security to your Microsoft accounts by requiring a second form of verification during the sign-in process. Enabling this feature ensures that even if someone gets hold of your password, they won’t be able to access your account without the second factor. To enable 2FA for your Microsoft accounts, follow the steps below:
- Sign in to your Microsoft account on a web browser using your credentials.
- Once signed in, navigate to the account settings or security settings section. The exact location may vary slightly depending on your specific account settings and preferences.
- Look for the option to enable two-factor authentication or 2FA. It may be labeled as “Security info” or “Additional security options.”
- Click on the option to enable 2FA, and follow the on-screen instructions.
- You may be asked to choose the second factor of authentication from available options such as phone sign-in, email verification, or the Microsoft Authenticator app. Select the option that suits your preferences.
- If you choose to use the Microsoft Authenticator app, follow the app’s prompts to link it to your Microsoft account. This will enable the app as a trusted method for verifying your identity during sign-in.
- After completing the setup process, 2FA will be enabled for your Microsoft account.
- From this point forward, whenever you sign in to your Microsoft account on a new device or browser, you will be prompted to provide the second factor of authentication, whether it’s a code generated by the Microsoft Authenticator app or other verification methods you have chosen.
Enabling 2FA adds an additional layer of security to your Microsoft accounts, reducing the risk of unauthorized access and protecting your personal information. It is highly recommended to enable this feature to secure your accounts effectively.
Moving forward, we will explore how to add accounts to the Microsoft Authenticator app, allowing you to conveniently verify sign-ins and keep your accounts secure.
Adding Accounts to the Microsoft Authenticator App
Now that you have set up the Microsoft Authenticator app and enabled two-factor authentication (2FA) for your Microsoft accounts, it’s time to add your accounts to the app. The Microsoft Authenticator app acts as a central hub for managing and verifying your sign-ins across various Microsoft services. Follow the steps below to add accounts to the app:
- Open the Microsoft Authenticator app on your device.
- Click on the plus icon (+) or the “Add account” button to start the account addition process.
- Choose the option to add an account manually or scan a QR code. The method you select will depend on your specific account setup.
- If you choose to add an account manually, enter the email or username associated with the account and follow the on-screen instructions to complete the setup.
- If you choose to scan a QR code, use your device’s camera to scan the QR code provided by the service you want to add. The code will automatically be recognized and added to the app.
- Once the account is added, it will appear in the Microsoft Authenticator app’s account list.
- If you have multiple accounts added, you can rearrange their order by tapping and dragging them in the account list. This can help you easily locate and access the desired account when verifying sign-ins.
- Repeat the above steps for each Microsoft account you want to add to the Microsoft Authenticator app.
By adding your accounts to the app, you can conveniently verify sign-ins with a simple tap on your device. The app generates a unique code for each sign-in attempt, providing an extra layer of security.
Additionally, the Microsoft Authenticator app allows you to manage advanced security features, such as passwordless sign-in and recovery codes. Explore the settings within the app to learn more about these options and customize your account security according to your preferences.
In the next section, we’ll delve into how to use the Microsoft Authenticator app to verify sign-ins for added security and peace of mind.
Using the Microsoft Authenticator App to Verify Sign-ins
The Microsoft Authenticator app plays a vital role in verifying sign-ins and providing an added layer of security for your Microsoft accounts. Once you have added your accounts to the app, follow the steps below to use it for sign-in verification:
- When you attempt to sign in to a Microsoft service or app, enter your username and password as usual.
- Next, depending on your account configuration, you will receive a notification on your device from the Microsoft Authenticator app.
- Open the notification, and you will see a prompt displaying the account name and a unique code or a confirmation message.
- If it’s a unique code, enter it into the sign-in screen to complete the verification process.
- If it’s a confirmation message, simply tap the “Approve” or “Confirm” button to verify the sign-in.
The Microsoft Authenticator app generates time-sensitive codes or push notifications that align with the sign-in attempts. These codes or messages are unique for each sign-in and are virtually impossible to replicate, adding an extra layer of security to your accounts.
Remember to keep your device secure and protect it with a passcode or biometric authentication to ensure that only you have access to the Microsoft Authenticator app and its verification codes.
In case you encounter any issues while using the Microsoft Authenticator app for sign-in verification, refer to the next section for troubleshooting tips and solutions.
The Microsoft Authenticator app simplifies the process of verifying sign-ins, offering convenience and enhanced security for your Microsoft accounts. By utilizing this powerful tool, you can protect your sensitive information and gain peace of mind knowing that your accounts are well-guarded.
Managing Account Settings in the Microsoft Authenticator App
The Microsoft Authenticator app not only provides seamless sign-in verification but also offers various options for managing account settings. These settings allow you to customize your experience and enhance the security of your Microsoft accounts. Here are some account management features available in the app:
- Passwordless Sign-In: The Microsoft Authenticator app supports passwordless sign-in for compatible accounts. You can enable this feature in the app settings and experience a password-free sign-in process, using biometric authentication or a PIN instead.
- Recovery Codes: In case you lose access to your device or encounter issues with the app, it’s essential to have a backup plan. The Microsoft Authenticator app allows you to generate and save recovery codes. These codes can be used to regain access to your Microsoft accounts if needed.
- Account Syncing: If you use the Microsoft Authenticator app on multiple devices, you can enable account syncing to ensure that all your accounts are seamlessly accessible across all devices. This feature simplifies the management of your accounts and their security settings.
- Account Removal: If you no longer use a particular Microsoft account or want to remove it from the app, you can do so by navigating to the account settings within the app and selecting the option to remove the account. Remember, once an account is removed, you will no longer be able to use the Microsoft Authenticator app to verify sign-ins for that account.
- Security Notifications: The app provides security notifications for important account activities, such as unusual sign-in attempts or changes to your security settings. You can enable or customize these notifications in the app settings to stay informed about potential security threats.
Exploring these account management settings in the Microsoft Authenticator app empowers you to tailor your experience and better protect your Microsoft accounts. Take the time to review and configure these settings according to your preferences and security needs.
As with any app, it’s crucial to keep the Microsoft Authenticator app updated to ensure it functions optimally with the latest security features and bug fixes. Regularly check for app updates in your device’s app store and install them as they become available.
In the next section, we’ll address common issues that users may encounter while using the Microsoft Authenticator app and provide troubleshooting tips to resolve them.
Backing Up and Restoring the Microsoft Authenticator App
Backing up and restoring the Microsoft Authenticator app is essential to ensure that your accounts and their security settings are protected in case of device loss, damage, or when transitioning to a new device. By following the steps below, you can safeguard your accounts and easily restore them when needed:
- Backing Up:
- Launch the Microsoft Authenticator app on your device.
- Open the app settings or account settings within the app.
- Look for the “Backup” or “Backup and Restore” option.
- Follow the prompts to create a backup of your accounts.
- The app will generate a recovery key or a QR code that you should save in a secure location. It is crucial to keep this information safe and easily accessible.
- Restoring:
- Install the Microsoft Authenticator app on your new or replacement device.
- Open the app and go to the app settings or account settings.
- Choose the “Restore” or “Recover accounts” option.
- Follow the on-screen instructions to restore your accounts.
- If you backed up your accounts using a recovery key, enter the recovery key when prompted. If you used a QR code, scan the code using your device’s camera.
- Once the accounts are restored, your Microsoft Authenticator app will contain the same accounts and security settings as before.
By regularly backing up your accounts, you can ensure that you retain access to your Microsoft accounts and their associated security settings, even in unexpected situations. It is advisable to perform backups regularly, especially before undertaking any device or app updates.
Remember to keep the recovery key or QR code secure and easily accessible. Storing it in a password manager or a physical location (like a secure document) can provide added peace of mind.
In the event that you lose your recovery key or encounter issues during the restoration process, it is crucial to have alternative recovery options. Make sure you have additional account recovery methods (such as email or mobile number verification) configured for your Microsoft accounts to avoid potential account lockouts.
Now that you know how to back up and restore the Microsoft Authenticator app, you can confidently manage your accounts and protect your sensitive information.
Troubleshooting Common Issues with the Microsoft Authenticator App
While the Microsoft Authenticator app is designed to provide a secure and seamless experience, you may occasionally encounter some common issues. However, most of these issues can be resolved with a few troubleshooting steps. Below are some solutions to help you overcome common problems with the Microsoft Authenticator app:
- Invalid Code or Code Not Working: If you receive an invalid code or find that the generated code is not working during sign-in verification, ensure that the time and date settings on your device are accurate. Incorrect time settings can cause synchronization issues, resulting in an invalid or expired code.
- Missing Account or Inability to Add Account: If you are unable to find a specific account in the Microsoft Authenticator app or encounter difficulties when adding an account, double-check that you have entered the correct account credentials. Make sure you are using the appropriate login information for each account.
- App Crashes or Freezes: If the Microsoft Authenticator app crashes or freezes on your device, first try closing and reopening the app. If the problem persists, restart your device and check for any available app updates. Updating the app to the latest version often resolves compatibility issues and improves stability.
- Device Change or Reset: If you have changed or reset your device and need to set up the Microsoft Authenticator app again, ensure that you have saved the recovery key or QR code associated with your accounts. This information is critical for restoring your accounts on a new or reset device.
- Unable to Receive Notifications: If you do not receive notifications from the Microsoft Authenticator app, check your device’s notification settings. Ensure that notifications for the app are enabled and not blocked or silenced by device settings or other applications.
- Account Recovery Issues: If you encounter difficulties with account recovery or restoring accounts after changing or resetting your device, make sure you have alternative account recovery options in place, such as email or phone number verification. If necessary, contact Microsoft support for further assistance with account recovery.
If none of the troubleshooting steps mentioned above resolve your issues, consider uninstalling and reinstalling the Microsoft Authenticator app. Before uninstalling, make sure you have a backup of your accounts and recovery information.
In case you need further assistance or encounter specific errors or issues not covered here, consult the Microsoft Authenticator app documentation or reach out to the Microsoft support team for specialized guidance and support.
By troubleshooting and resolving common issues, you can maximize the effectiveness and security of the Microsoft Authenticator app, ensuring a smooth and secure sign-in experience for your Microsoft accounts.